It’s not perfect, but my machine doesn’t handle millions of verts very well 
1 Like
That’s why we’re faking the small details with the AO and second bump layer. 
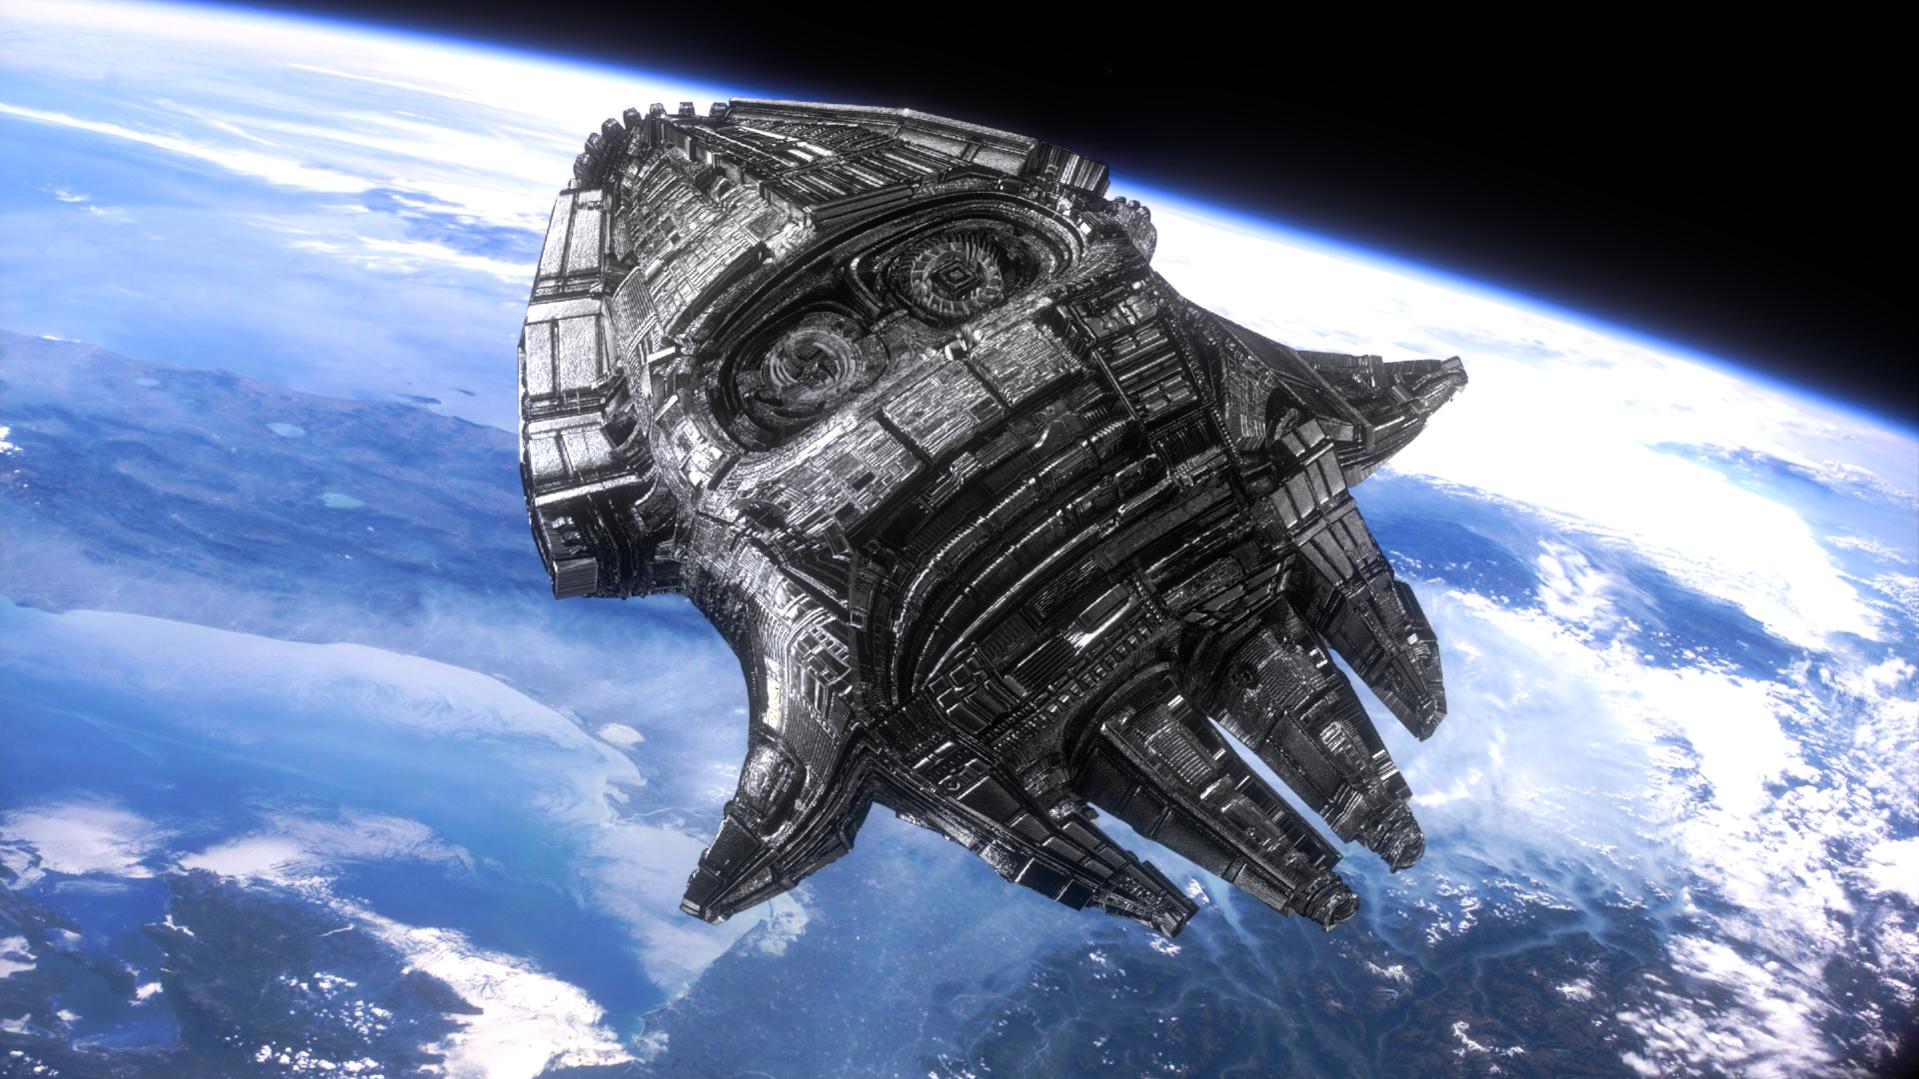
Nice… Is that a Super Mario Squid in space? Looks like a baby Reaper from Mass Effect.
Hi,
I´m new here thanks to this thread,especially thanks to the Michalis stuff.
I come from C4D,I tried this technique over and over in C4D and I can´t get it,very frustrated with that and the C4D community don´t help much about.
I think Blender,Zbrush…users are way more creative that C4D users.
I have not idea to use Blender “yet” but I gonna try to make some of the stuff of this thread for a short movie I want to to.
Just a question for the moment:
Can export the model and displacement maps to other app (c4d) ??
Thanks
Wow and amazing!
I was a little overwhelmed by the size of this thread. How do you create your own displacements (black and white images)?
There’s a very large video tutorial detailing that in the beginning of the thread (now generating a 404 error, see below, I found it).
I cant download things that big so I haven’t seen most of it and as a result never managed to learn this stuff, but what I did see of it was quite amazing and very detailed.
Heres the video:
http://blendtuts.com/tutorials-list/displacement-uvs-sculpt
Also I recommend starting at the beginning of this thread, Michalis and others go over everything from the beginning, and while Blender is likely changed by now I suspect the same stuff is still there.
Cheers!
Good luck and have fun!
Michalis?
Im getting better with Blender but STILL cant do any of this stuff.
How bout that huh?
GRIN!
Richfield thanks! I really don’t understand everything you’ve said but I’ll learn it.
- Do I need to subdivide the mesh when using Cycles? Cycles has displacemnet node.
- What is Cycles material setup for displacemment and AO texture ?
You’ll understand once you carefully read the whole thread. It’ll take ages and the information isn’t sorted in any way, but as far as I know it’s the only thread discussing this use of the displacement modifier.
Also there’s some cool art here.
Do I need to subdivide the mesh when using Cycles? Cycles has displacemnet node.
You mean when displacing or when creating the texture?
In case of displacing: Of course, it won’t work any other way. You’ll need the geometry.
In case of creating a displacment texture: Depends on the object, but I haven’t used it until now. Smooth shading and beveled edges are sufficient.
Forget the displacement socket of the material node. It only displaces in CPU experimental mode, will crash a lot and you’re missing out on the preview the displacement modifier can give you.
For everything else there’s the Bump Node.
What is Cycles material setup for displacemment and AO texture ?
Depends on what you want to create. The AO texture goes somwhere into the color mix to make deeper parts of the displacement darker. This will help creating an illusion of depth.
The displacement texture goes into the bump node.
Edit:
Here’s a .blend that I made for a recent “project”. It’s a few shapes for displacement. Does only really work on the object I had in mind.
Just render it and take a look at the nodes in the compositor to see what it’ll get you.
And this is a file in which I used the AO and Displacement texture created with the above file.
The textures are not packed, so you’ll have to render the textures first and then set them in the material node and the displacement modifier texture.
Object is nothing fancy, no “loops” created of such. The material setup is the most basic you can set up a cycles material…
Looks like I am late to the party, having just discovered this thread, but this is really great stuff! Thanks to everyone who contributed information, examples and inspiration.
I am having fun applying this technique to the new microdisplacement (experimental) feature in blender 2.78a. If you haven’t tried that yet, I highly recommend it. It’s even easier to set up and is SO much fun to play with.
I suck at blender, but with this technique even I can pop out fun things in just a few minute’s time.
There are a few issues with adaptive subdivisions and true displacement that do not play all that well with what we’re aiming at with the creative use of UVs.
Nontheless, it’s nice to have such a thing in blender and hopefully they keep improving it.
You can combine both, btw.
First a “normal” subdivison and displacement via modifier, then another subdivion modifier, but adaptive.
Then use the material displacement with another UV layout for the detailed greebles.
And I’d recommend creating AO textures with the displacement textures.
Hi guys,
just want to share with you two .blends.
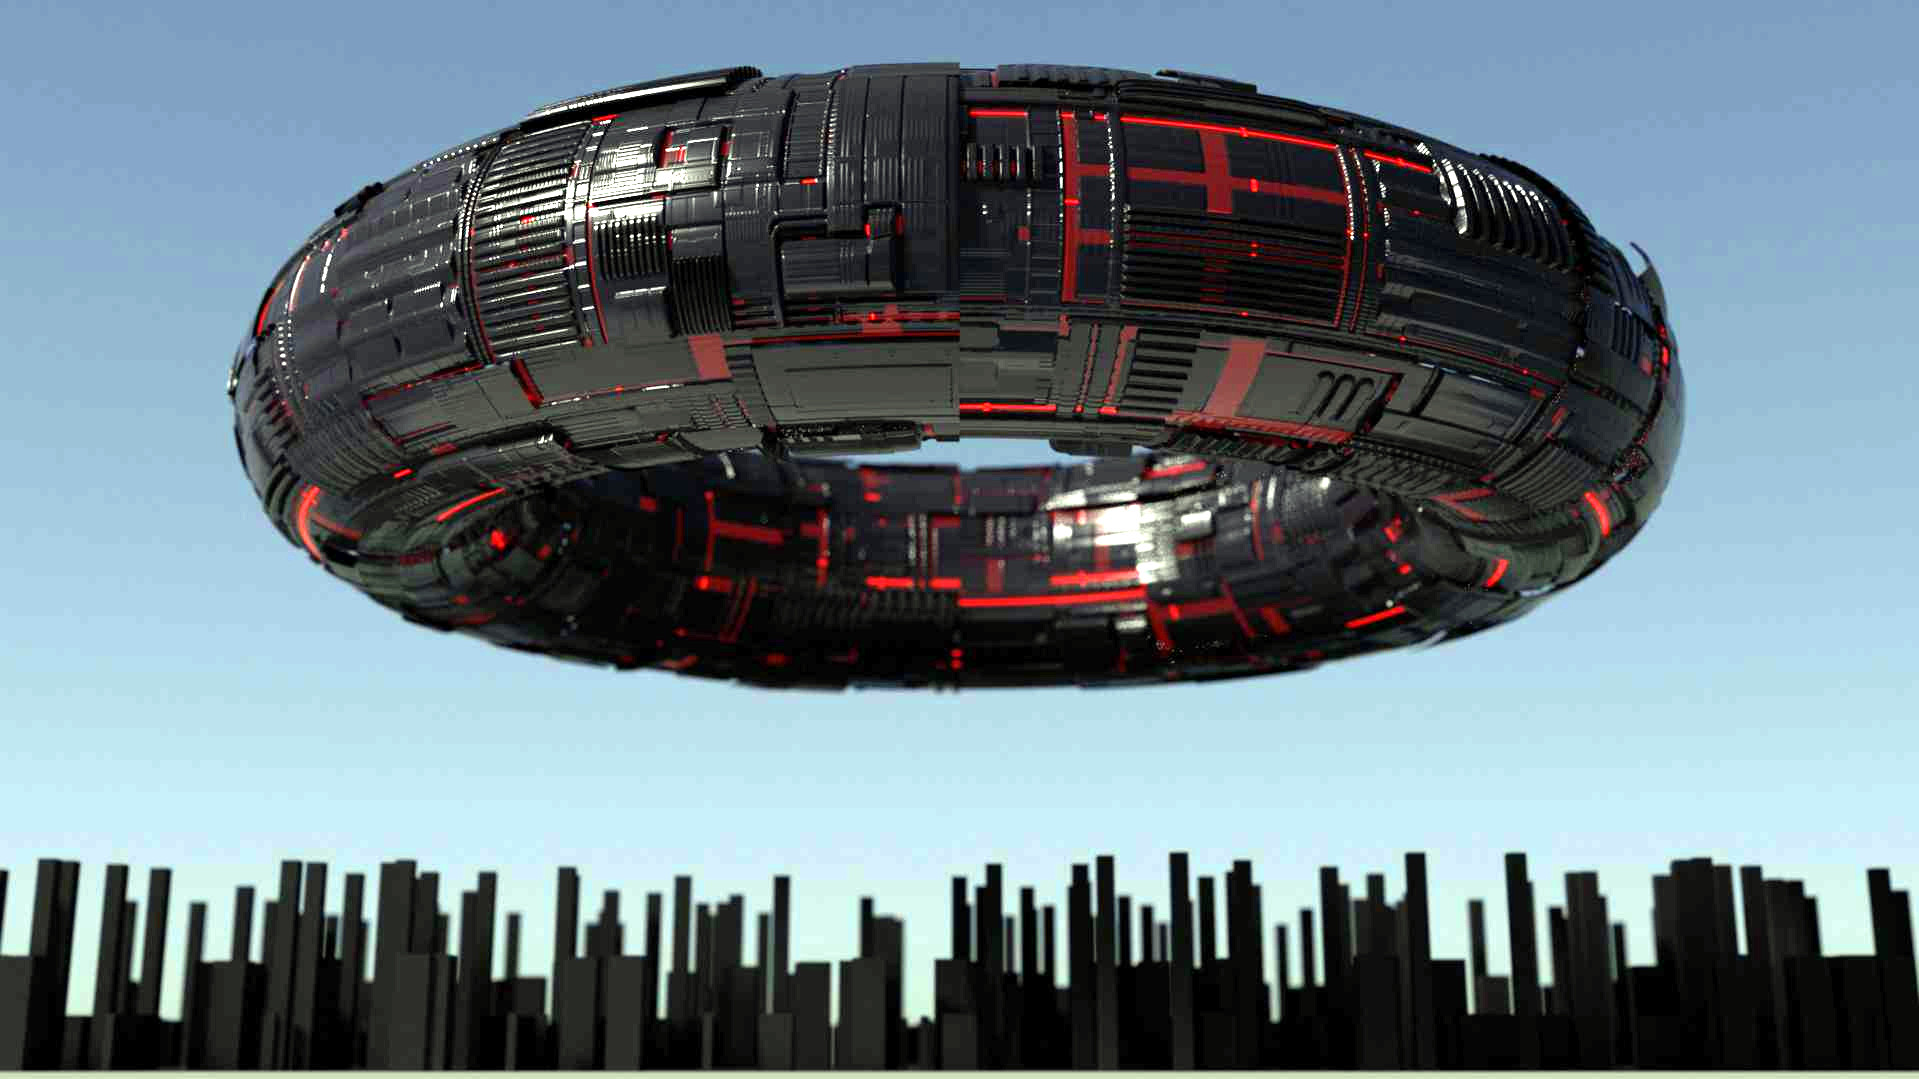
This is a fully uv - unwrapped torus with the first displacement map, I have done a while back ago and a nice node setup from Sir Richfield, I guess, maybe I have changed something, but I don´t know any more.
This file comes without an environment texture, so choose your own hdr file in the world settings --> environment texture to render correctly.
Torusknot.blend (5.45 MB)
And here is a displacement starter file to keep you going making your own displacement maps, would gladly like to see more individuals displacement maps shared here, instructions in the blend.

Create_your_own_Displacementmap.blend (1.67 MB)
Keep Blendering…
Hi,
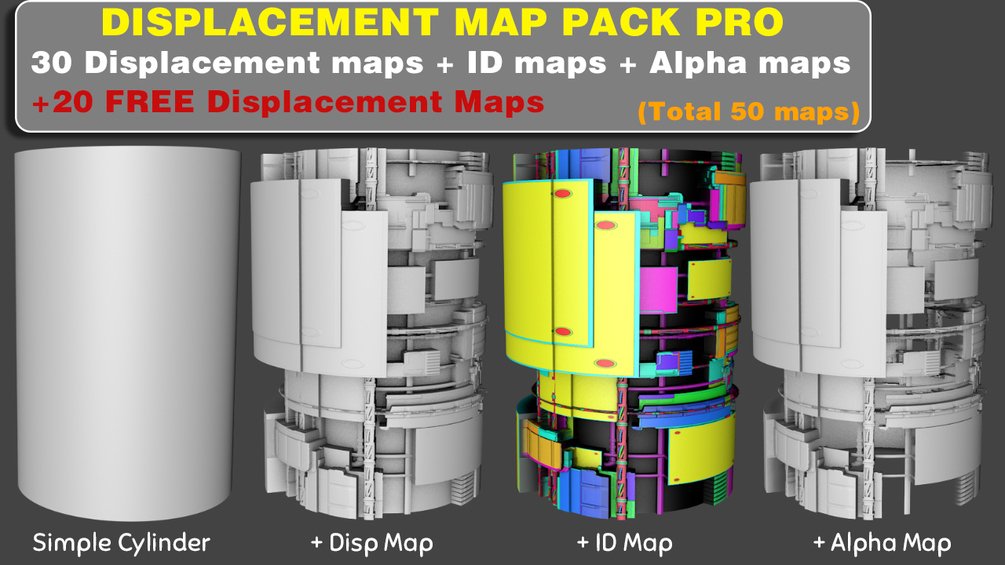
Take a look to this awesome “Displacement map pack PRO” very useful and very hight quality maps!
CONTENT: (total 50 maps)
30 Displacements maps 4K (resolution:4096px X 4096px ,. format: .TIF 16bts/chanels).
30 ID Maps (.TIF 16bts/chanels)
30 Opacity Maps (.TIF 16bts/chanels)
And 20 free 8K Displacement maps.
Displacement maps with pipes, grids, sci fi panels and more.
I started messing around with creating my own displacement maps and companion AO map. I have included them both in the ZIP file. This is my first serious attempt and I hope to make a few more.
The BLEND file I used to create these maps I pulled down from post #863 from this thread. I used that as a starting place and modified it by adding in squashed thin cc0 shipyard quad based models from the multiple offerings.
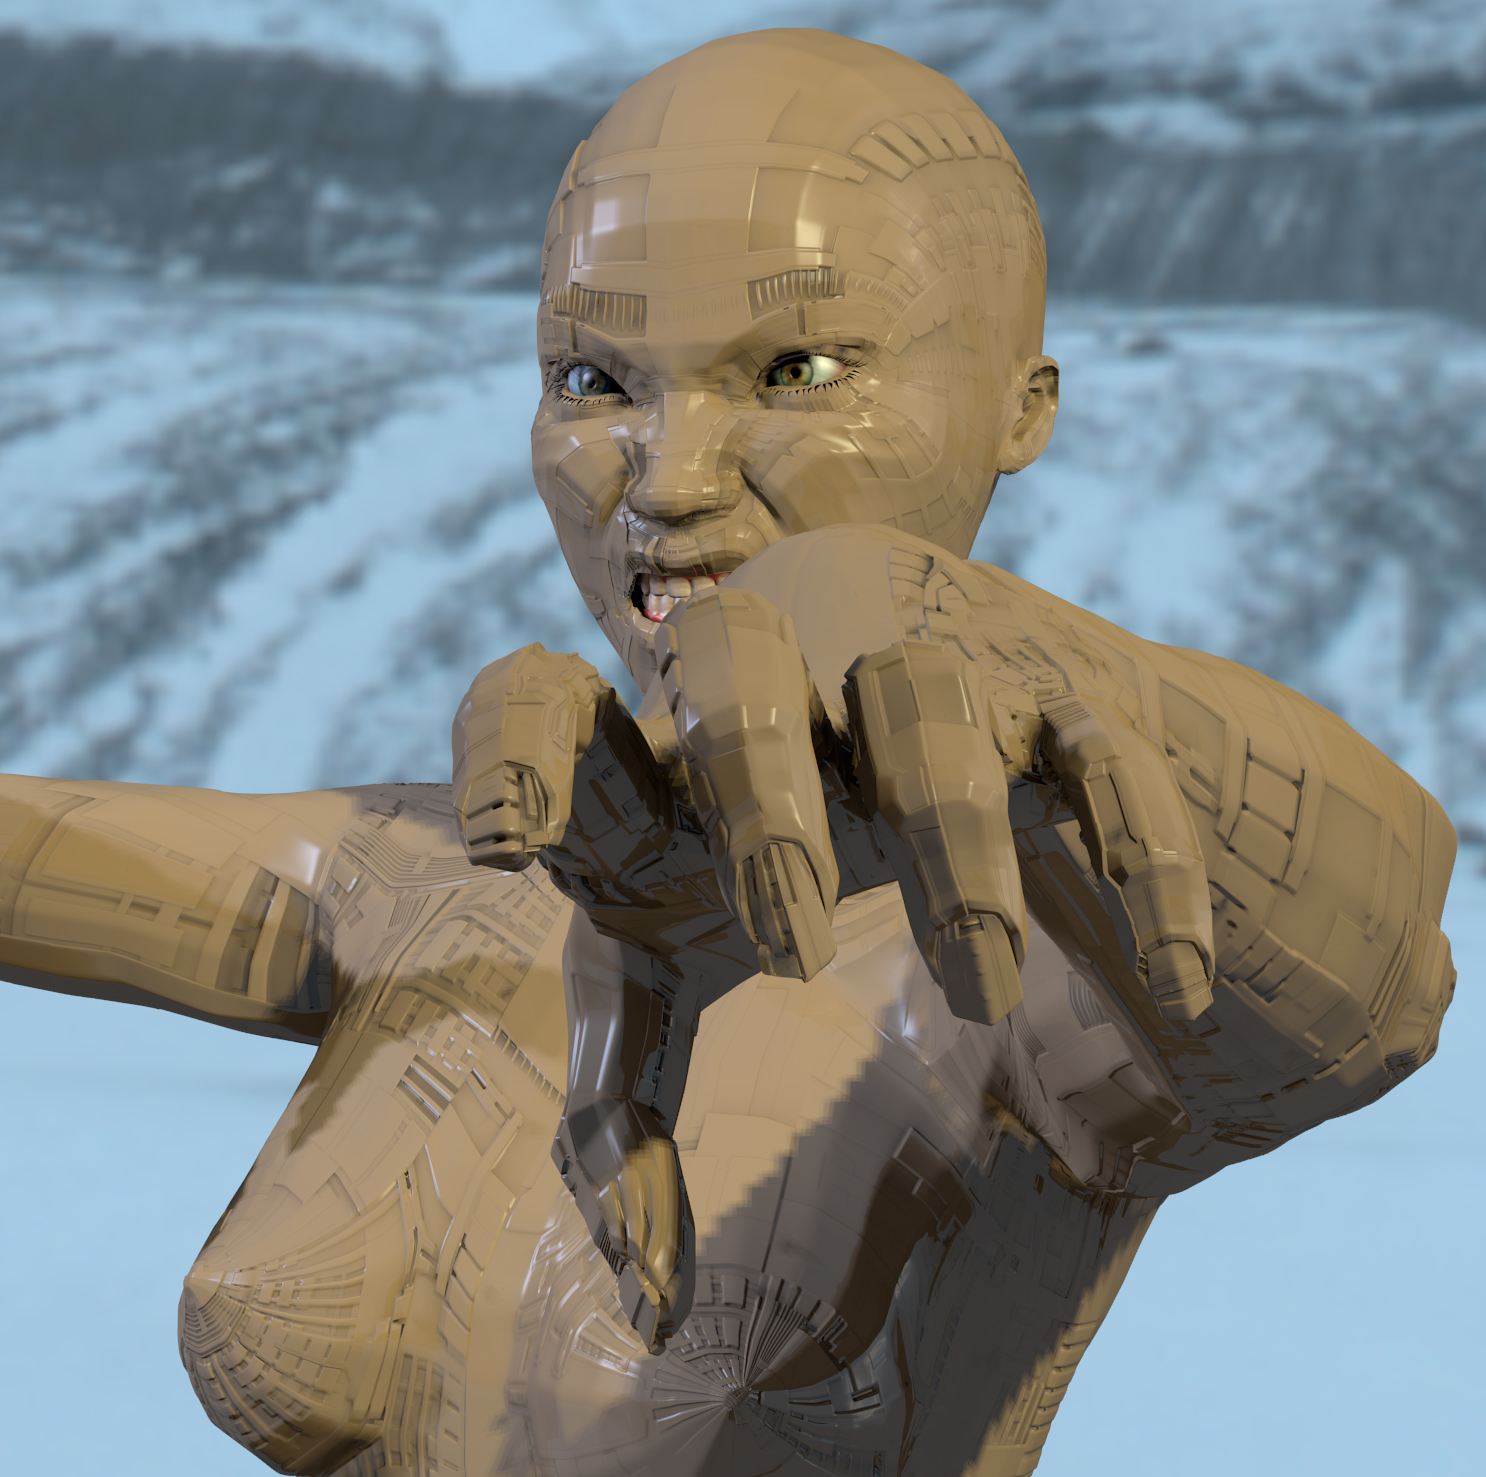
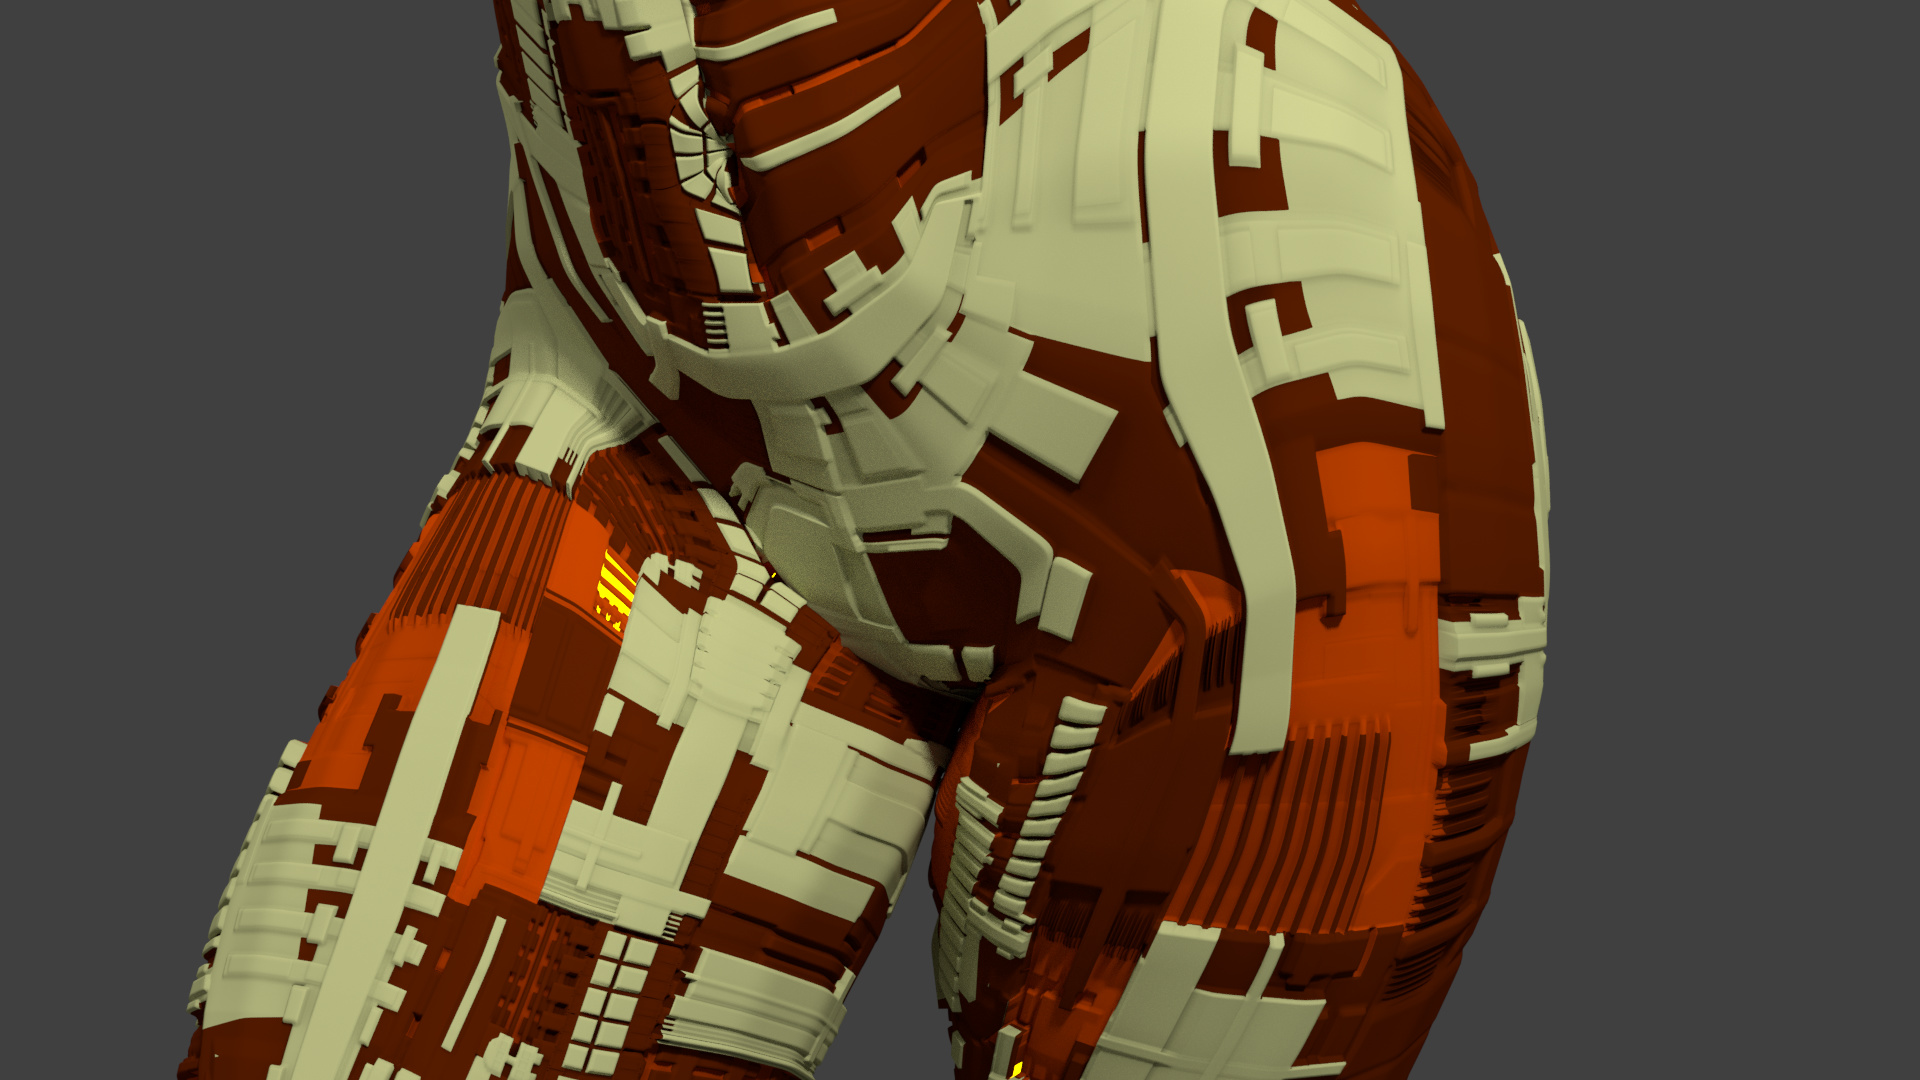
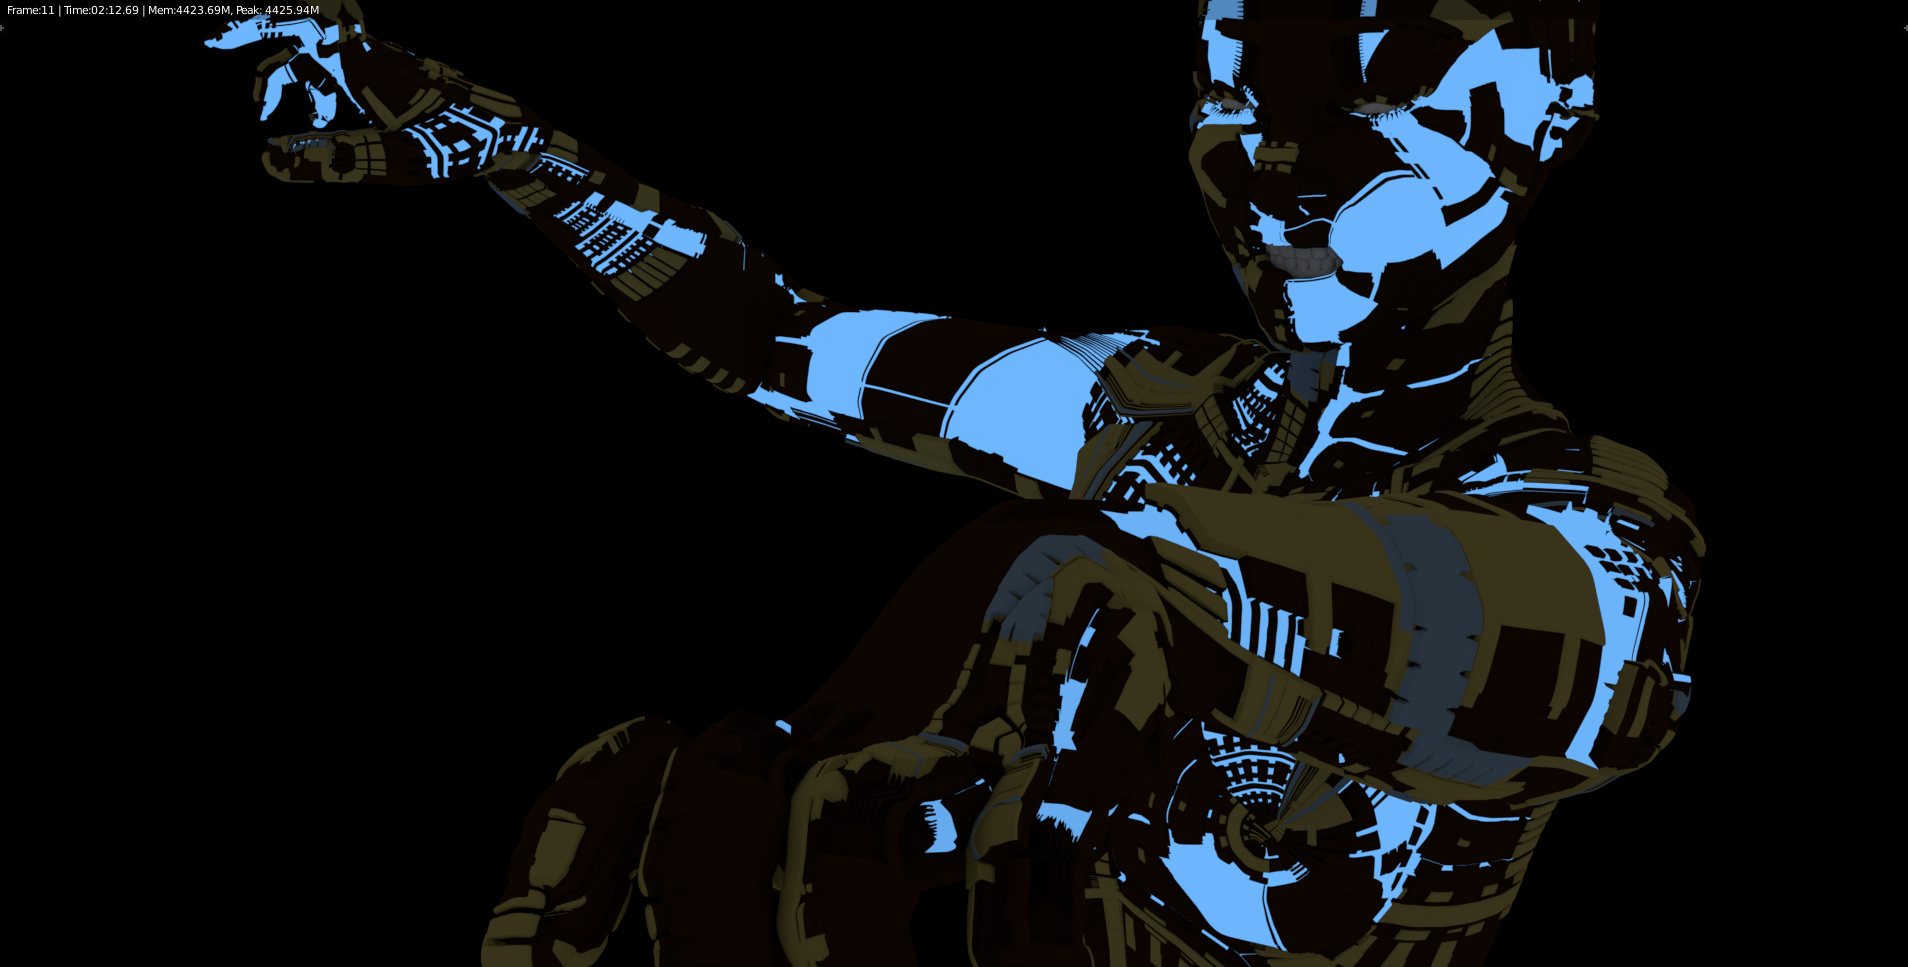
With the output from Manuel Bastioni being all quads I just could not resist giving this technique a try on a human model.
shipyard_displace_and_AO_maps.zip (5.36 MB)
Very cool application, Atom, that looks like a serious cyborg threat!
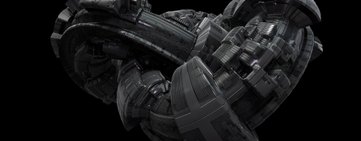
Thats what I tried too, when it came out.
Here are some of mine, over a year old now.
Good to see ya back, Atom,can you catchup with the latest developments?
I have tweaked the displace texture a bit to allow a more fuller range between 0 and 1.I still can’t break the 3x3 sub division memory barrier, however. When I try that Blender 2.78c crashes.
Shown here is the 2x3 Manuel Bastioni mesh.
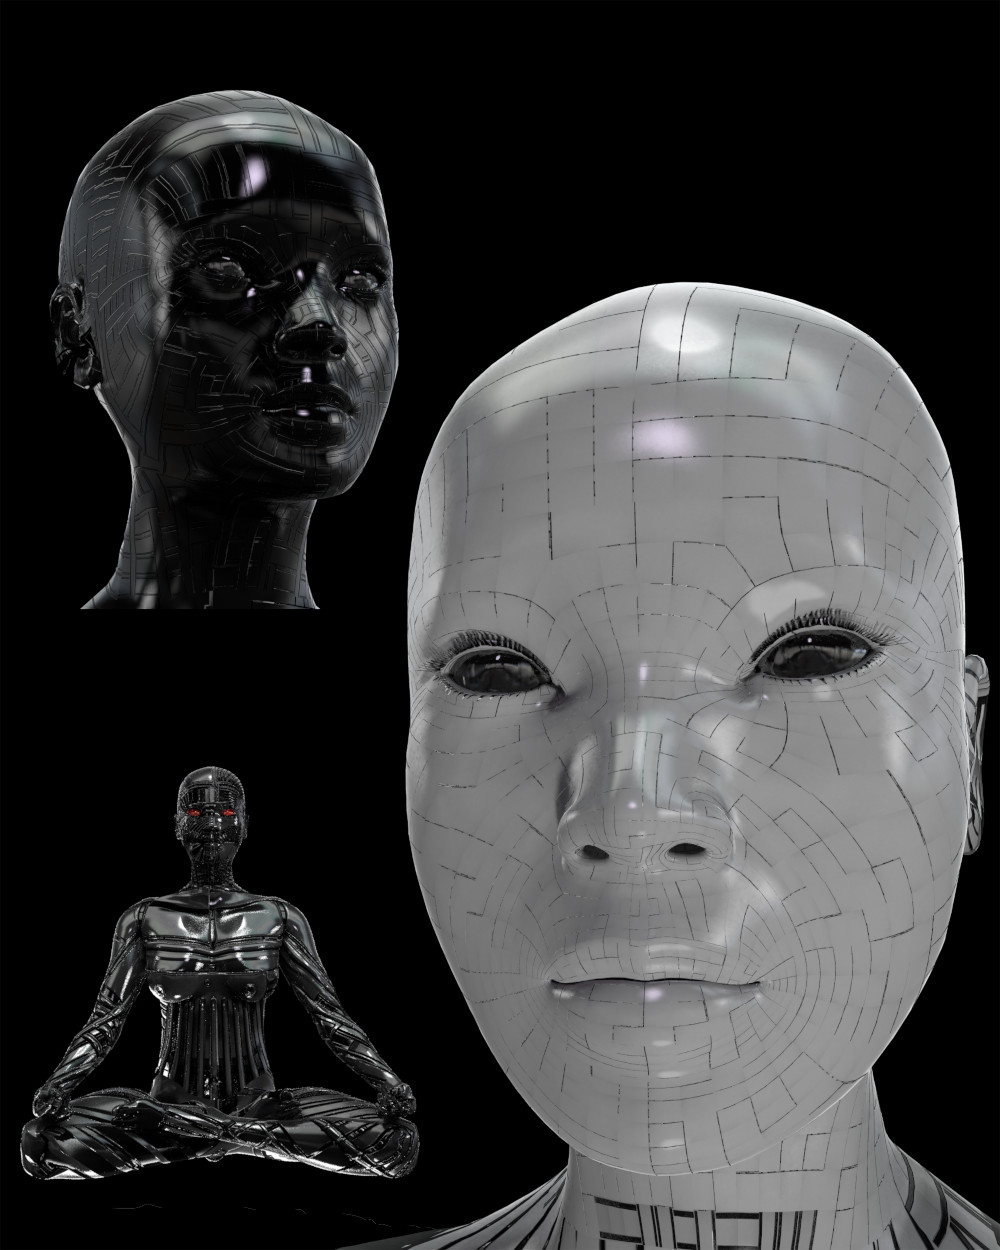
Here is the new AO.
In this image I have weight painted the model. I reduced the weight in the lips and eye socket area considerably.


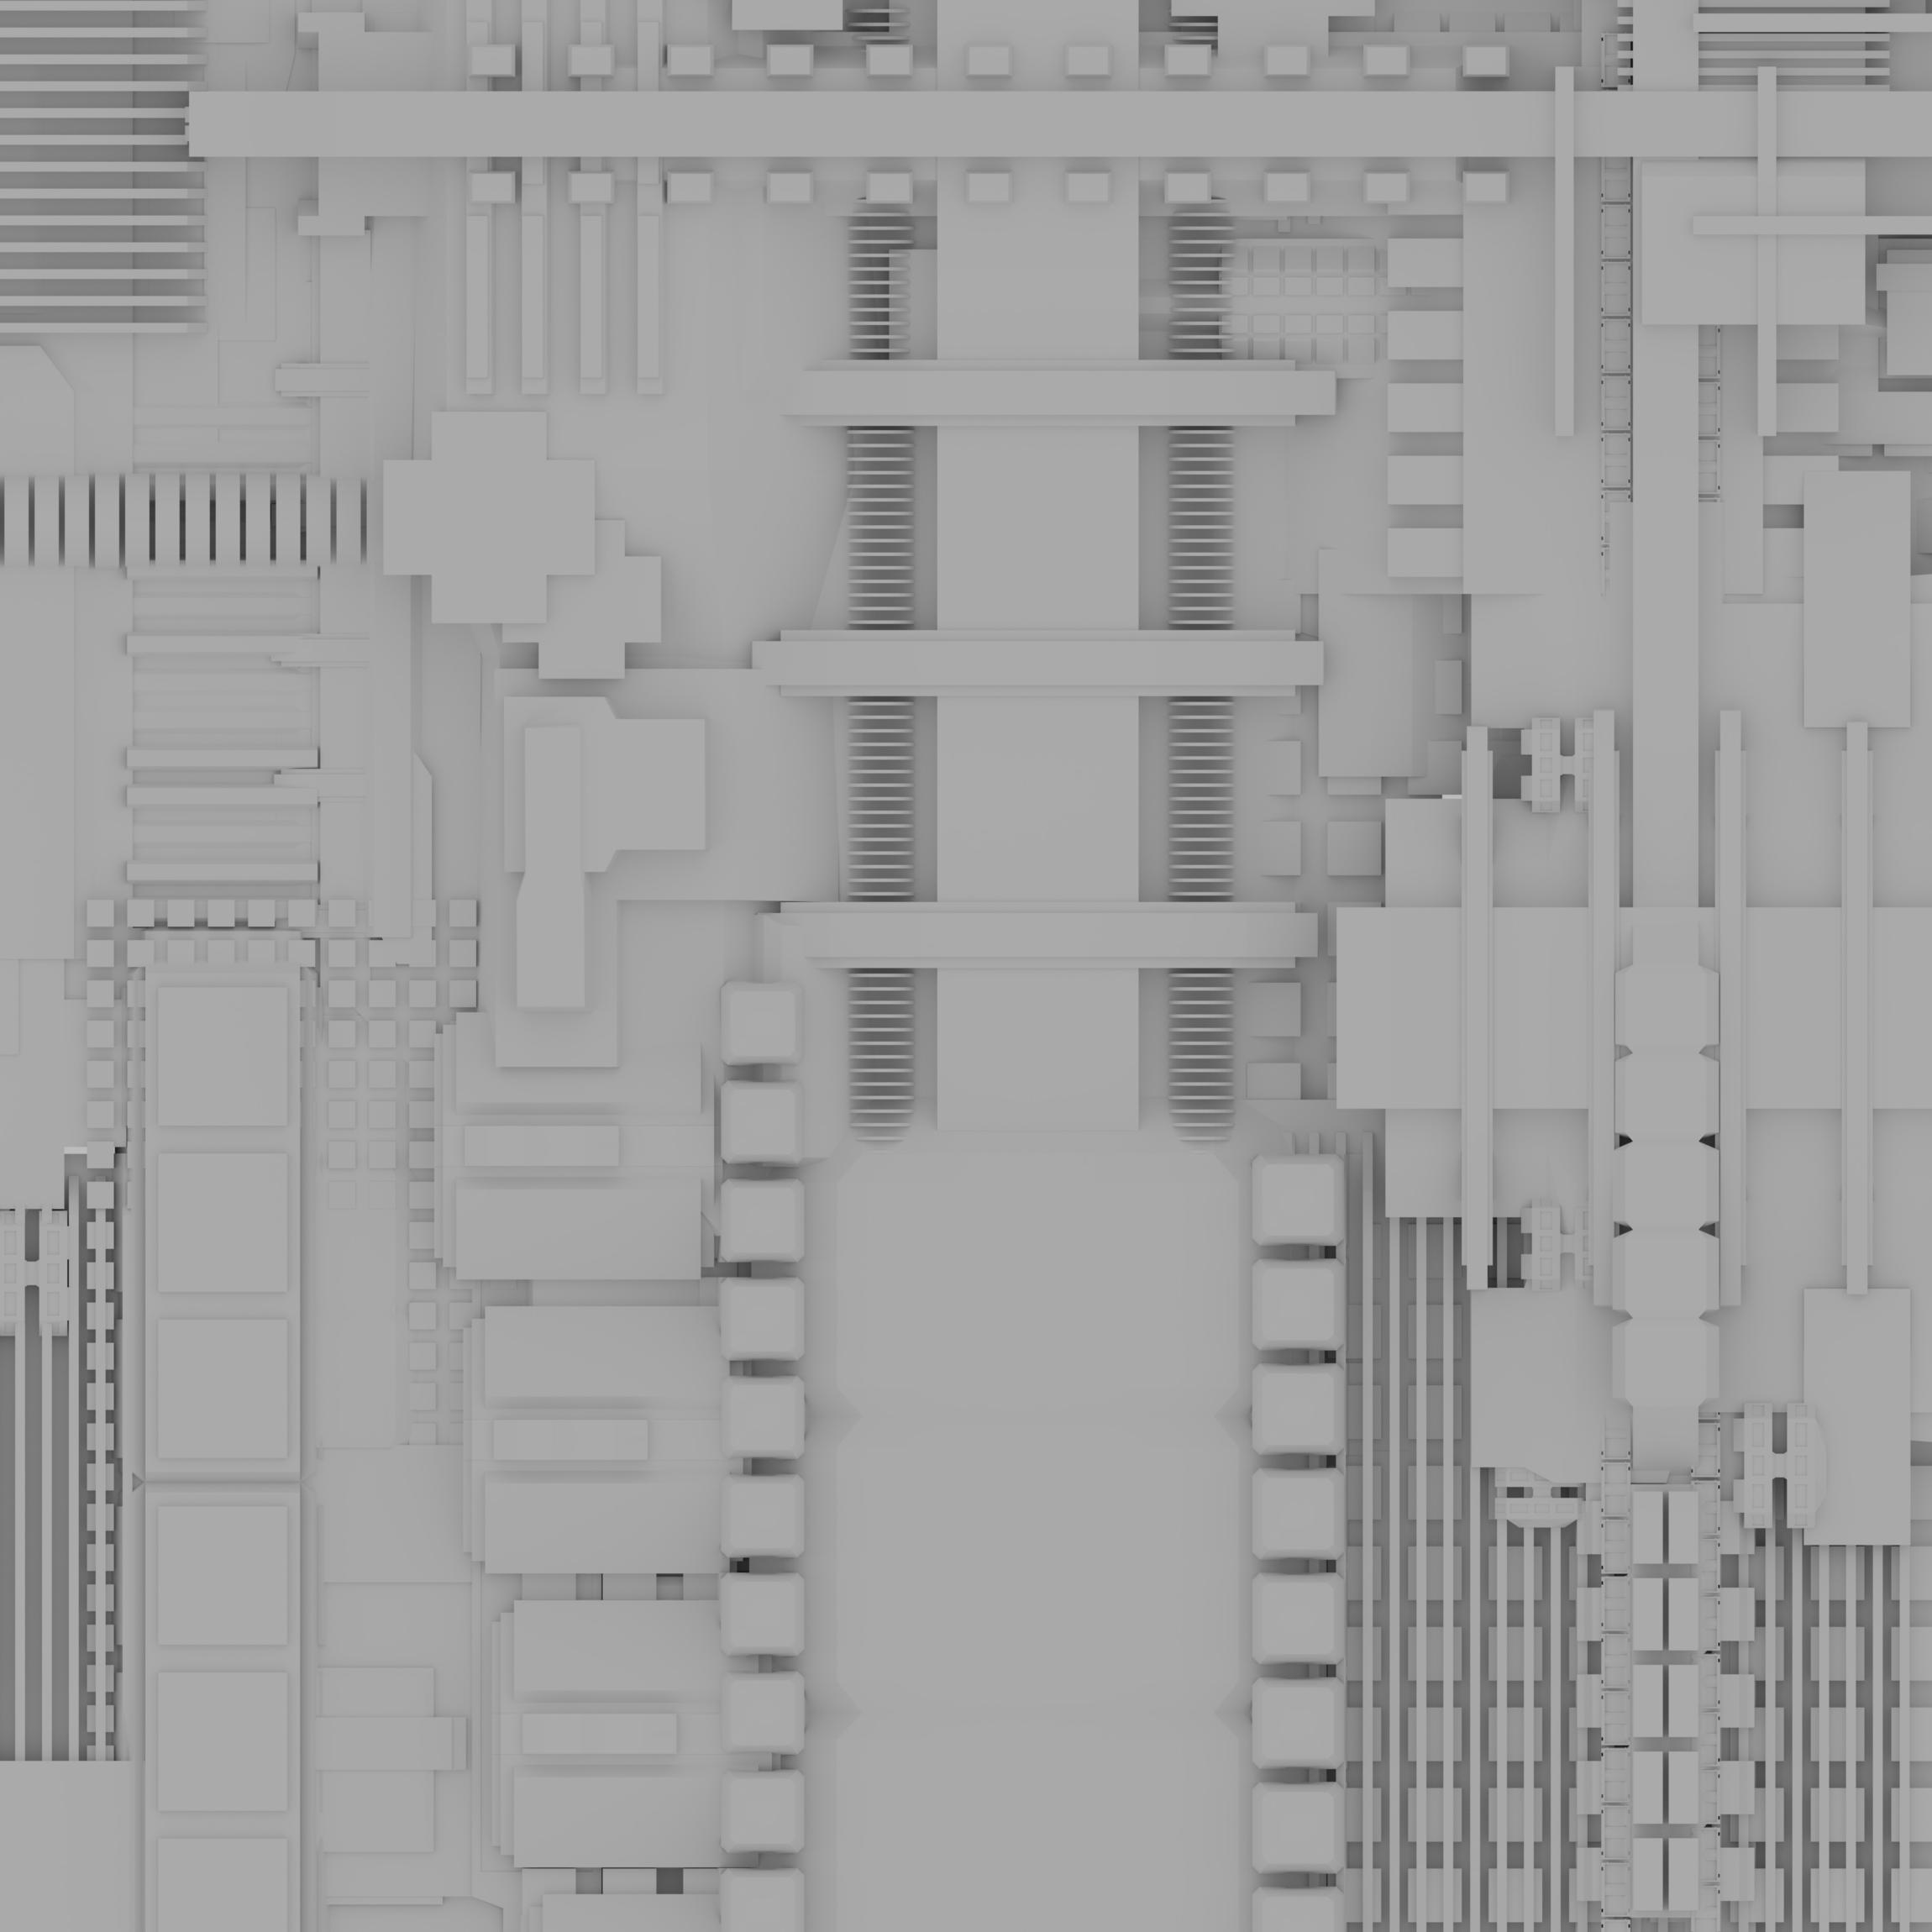
I put together another 4K matched image set for displacement. This one is more column and pipes based. Minimum curved angles and no diagonals are present in the maps.

Attachments
shipyard_04_displace_and_AO_maps.zip (5.37 MB)