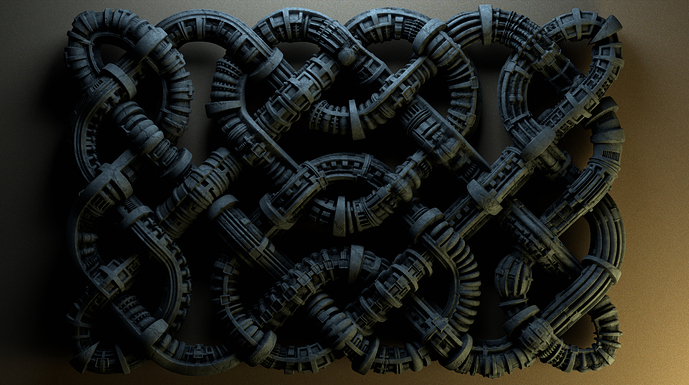
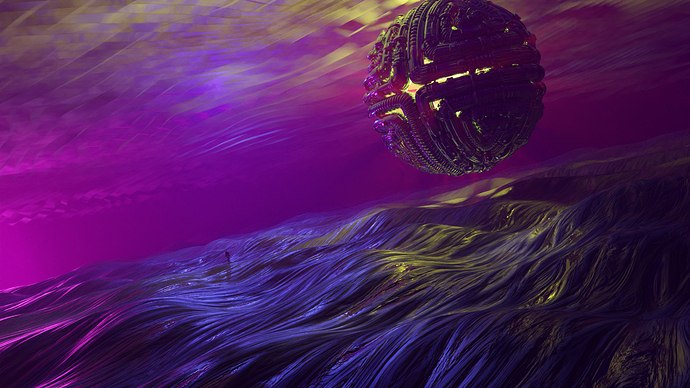
Yeah it was a pain for me tbh, I really wanted to get as much inspirational content from this thread as possible.
Hello, everyone. I have stumbled across this thread and am super interested in this kind of work. The stuff I have seen is really impressive, and is the sort of stuff I would like to learn how to do. I downloaded the file Create_Disp_Compositor.blend, but I have no idea how to use it. Can anyone point me in the right direction?
Thanks!
This smells like my file, interesting that it’s still available to download. I’ll check if I made any adjustments in the last couple of years/versions. I think I went back and forth with using the compositor and material override…
Edit: OK, I see… this thing is… ooooooooooold. 
The most recent version I can find (saved in blender 2.9) is the attached one._Empty_Disp_Mat_Override_Drivers.zip (87.3 KB)
Short howto (should be easy, after all I made if for myself and I’m lazy):
Create your objects within the bounds of “.Border_Reference”, as this marks the space the camera looks at.
Keep the stuff mentioned in this thread in mind, especially about the 90° angles on x and y axis. This is still relevant, even in the age of Adaptive Subdivision.
When satisfied with the objects, move the two empties “.1_Roof_Empty” and “.2_Floor_Empty” (Names were created before collections existed) acoordingly.
The height will be calculated between those empties, so that position of “floor” = 0 and “roof” = 1
HINT: keep “floor” a tiny bit lower than your lowest object, to prevent A) Z-Fighting and B) possible Math confusion.
Do not leave an empty space within Border_reference! Nothing to calculate will lead to -infinity.
There is an object “Default_floor” that only shows up in rendering. It’s there to prevent the previous point, but could mess up your render if you tried to create stuff below 0 on the Z-Axis. (Believe me, I’m the first to forget about it…)
Render in Cycles.
Do not worry about materials, as they will be overridden by the setting in layer properties
By default, you should now have rendered the AO map. (If you want more clear results, put more samples into it or use the denoise-filter. File was created before the latter existed.
Safe this render as png.
In the compositor, plug the “Displace” point into the composite node. This should change the rendered image to the displacement map.
Safe this as 32bit exr
Have fun with displacement and post your results! 
Thanks! You are the best!

