ok. I’ve missed the full video on the first post.
I’ve quickly tried and it works.
I’ll do a better test as I’ve made seams in a bad way.
Thank you
ok. I’ve missed the full video on the first post.
I’ve quickly tried and it works.
I’ll do a better test as I’ve made seams in a bad way.
Thank you
Update 0.5:
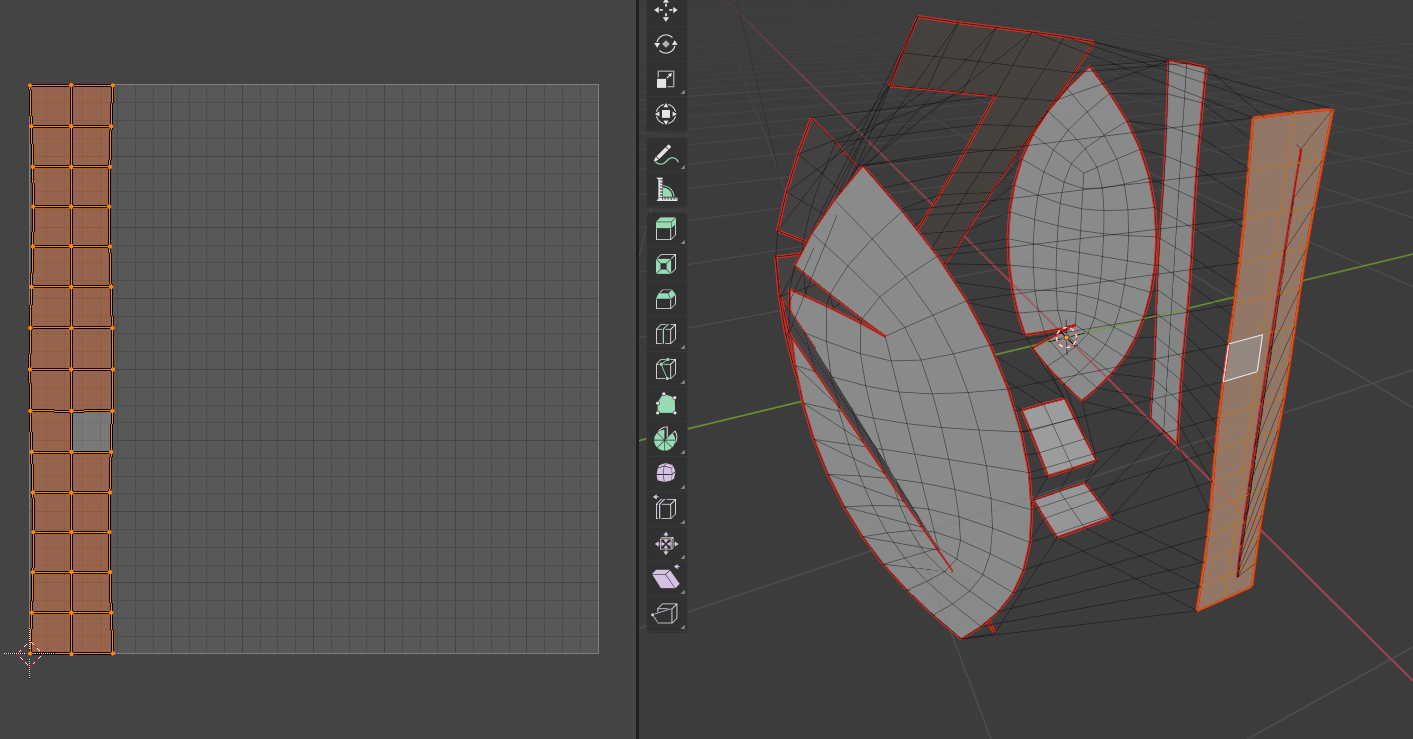
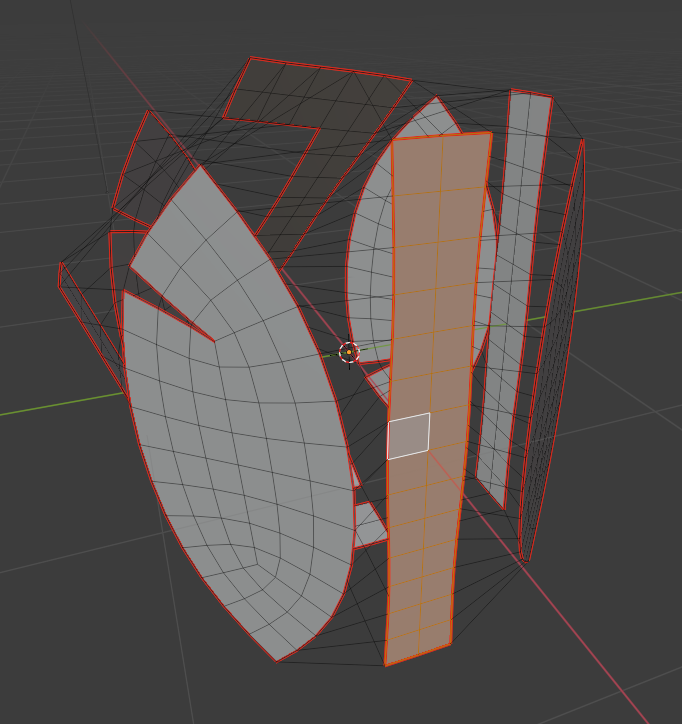
Because the plugin relies on UV unwrapping, very long strips (like in the images) would end up offset, because they are aligned to the bottom left in the UV editor.
This is now fixed in 0.5.
SeamsToSewingPattern.zip (v 0.5, for Blender 2.8 and 2.9) (2.7 KB)
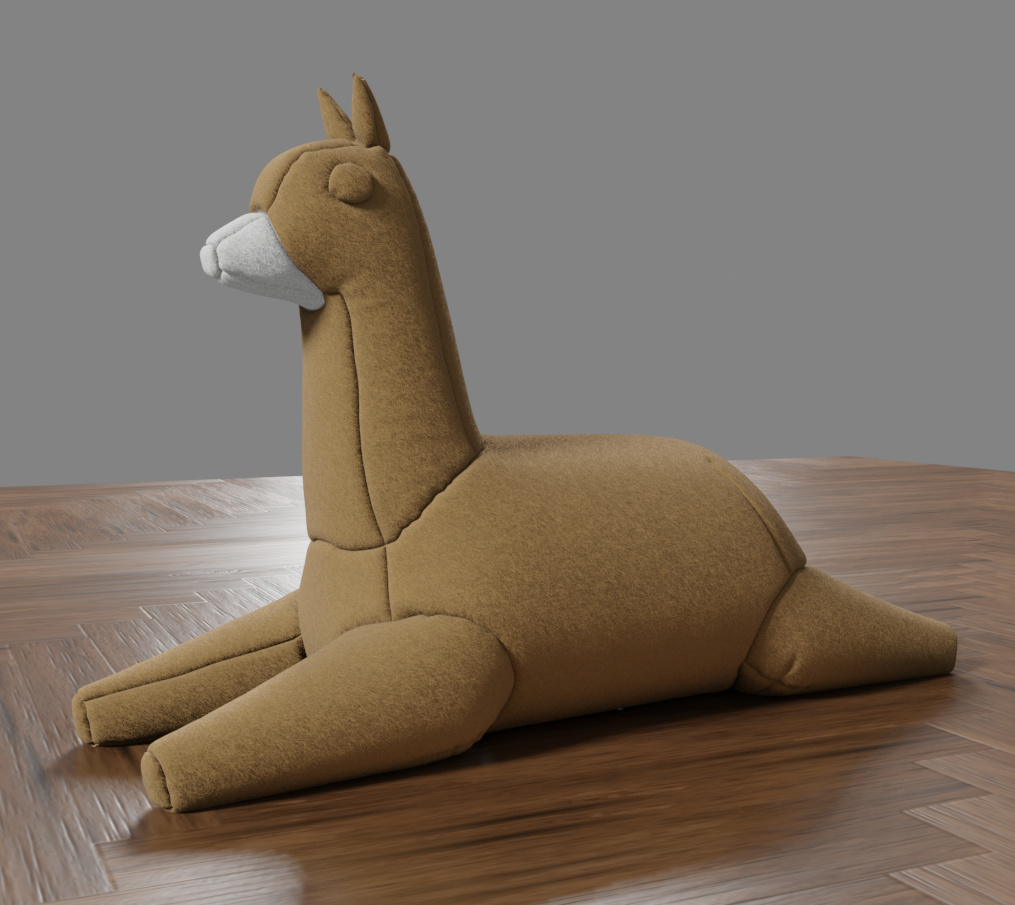
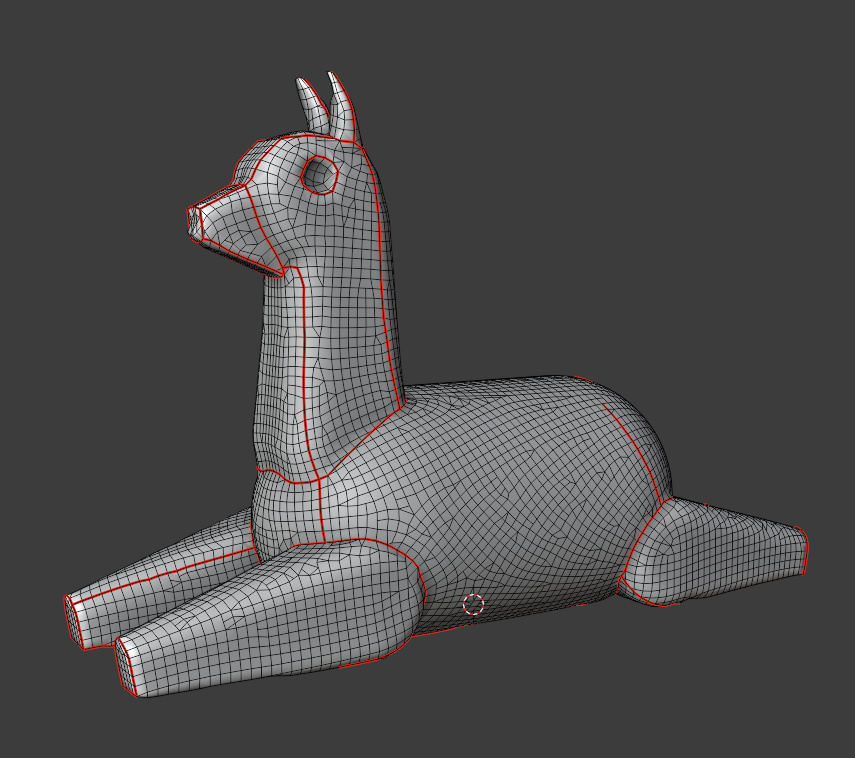
Based on the famous Tika Alpaca from MikaYeap on Thingiverse:
And here is the .blend file of the base mesh:
Alpaca.blend (1.9 MB)
I have a few things I want to implement before a 1.0 release.
A remesh function, so that you can unwrap models with non-uniform geometry. (maybe based on Boundary aligned remesh)
Exporting a proper sewing pattern to PNG, maybe including alignment markers.
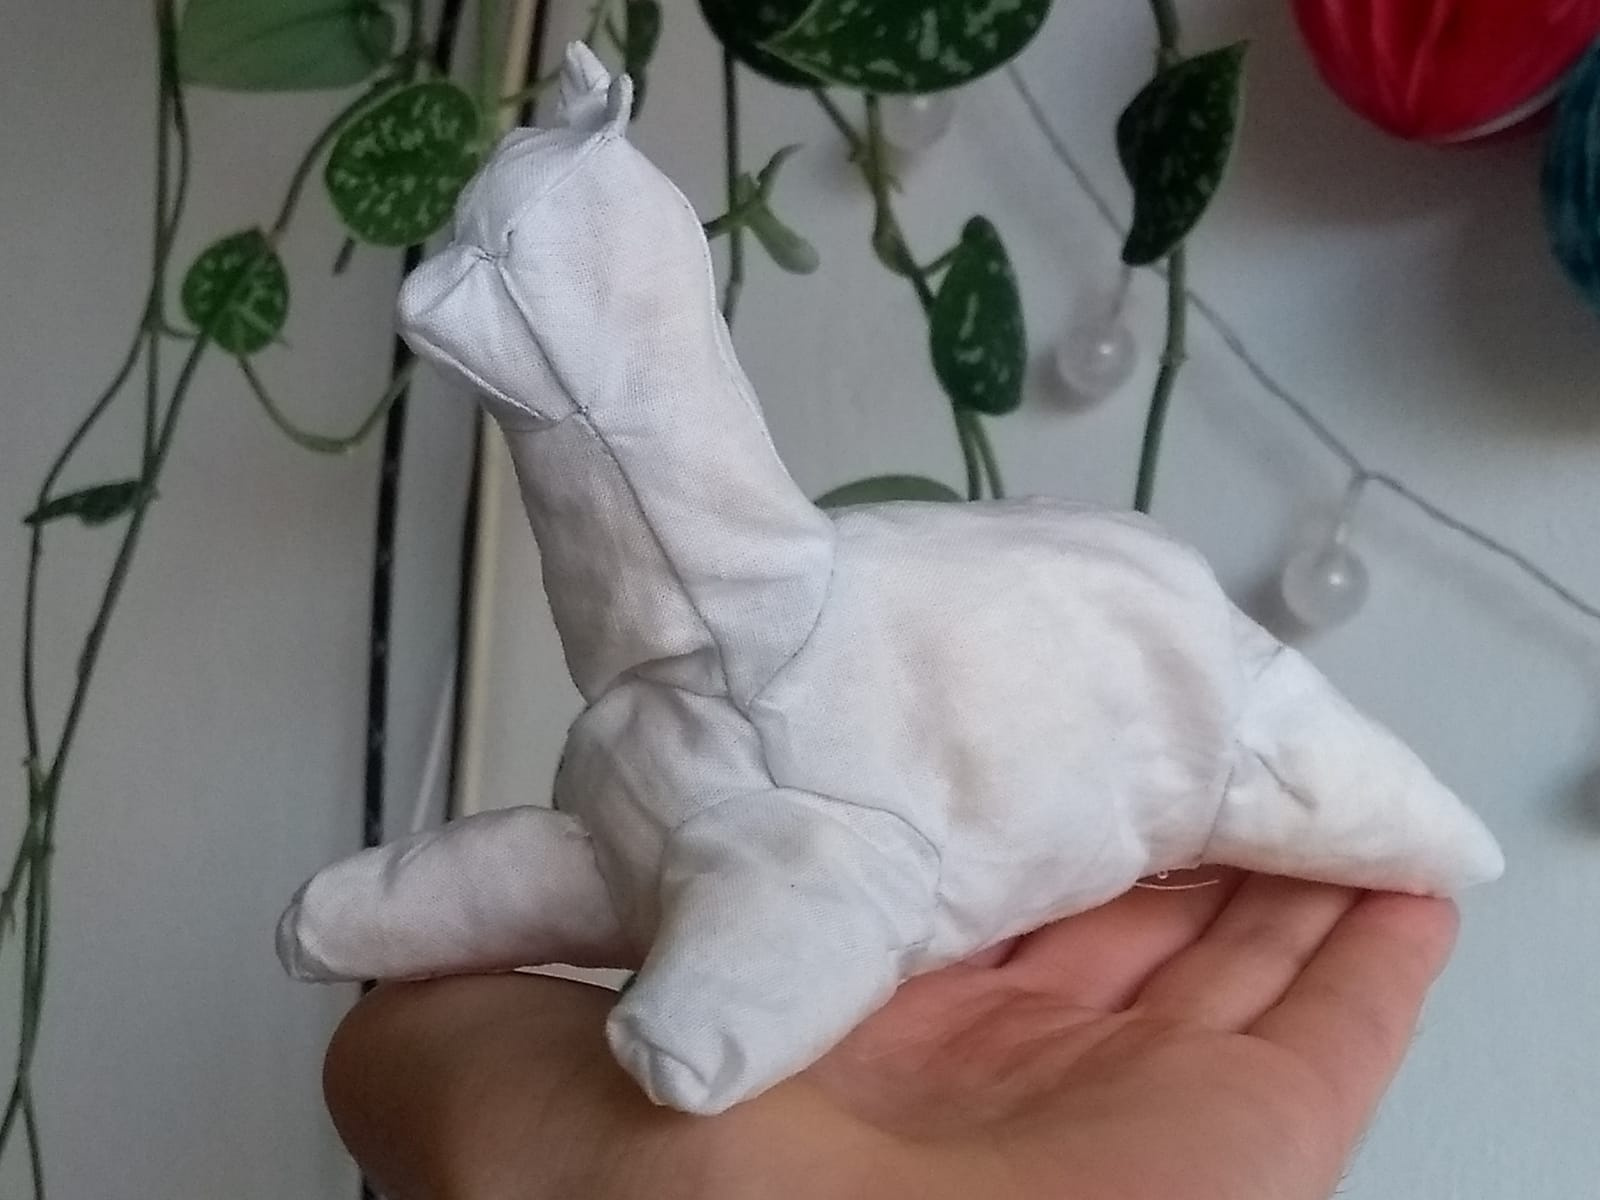
After iterating a little bit on the post above, I tried cutting it out of some cotton and stitching it together:
Not bad for a first attempt ![]()
Really cool an inverted marvelous. Let’s call it.
Suolevram.
It needs twice the amount of stuffing.
Awesome work, would love to see a sewing pattern export. Thank you for your hard work.
@skuax It has a nice ring to it 
@Acrivec I am aware of it, I have recently bought proper wool stuffing, and I’ll try to make another one out of proper cotton teddy fabric.
@wolfmanyoda I’ll try my best with the export function!
@Tosky Thanks for pointing out that fork, I’ll compare the two and see how I could implement it.
Out of curiousity, would it be possible to move each pattern outward and keep it shape instead of flatten the pattern?
Not yet, but I’ll keep it in mind for next release!
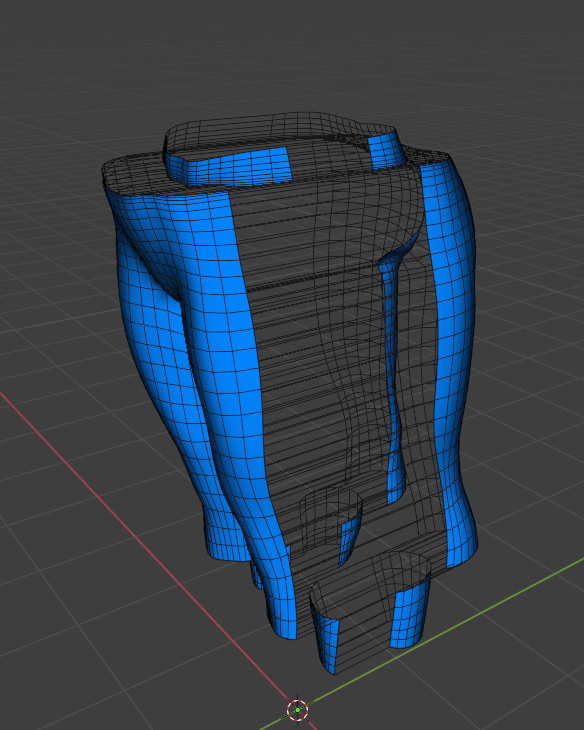
Awesome, i found it really hard to sew flat pattern when working on character clothes without cloth brush like in sculpt mode. And sculpt mode just doesn’t have Sew mode.
Do you mean when colliding with characters? In theory, the flat meshes produced by this plugin should in such a way that they fold back into the shape you intended, does that not work for you in this case? Could you share what happens if you tried?
This is what always happened when using flat pattern
Oh, I hadn’t considered the cloth missing the silhouette, thanks for sharing.
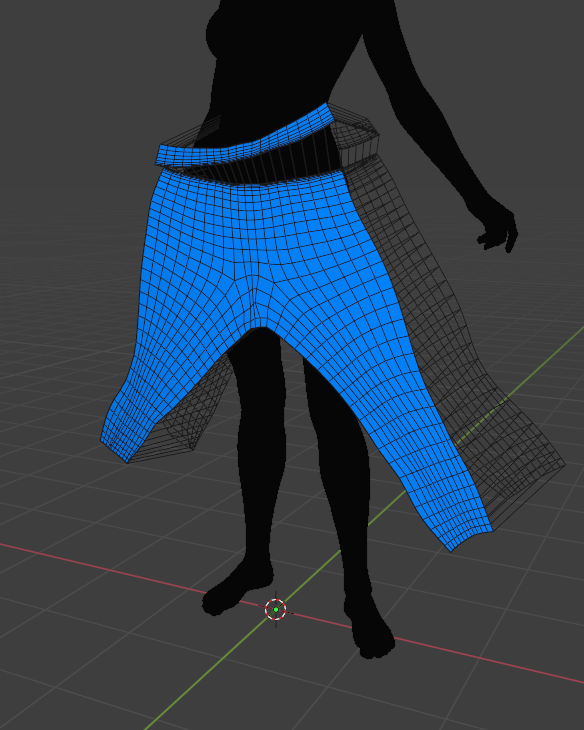
Most sewing patterns I could find have a seam down the middle, you could consider adding that in this case.
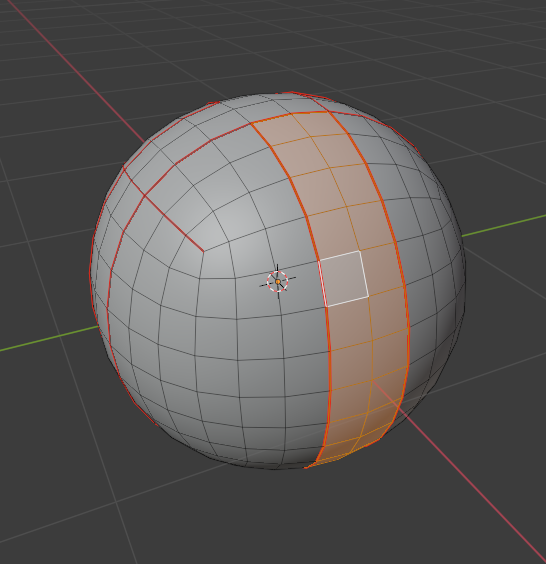
If you UV-unwrap this model and go to UV Editor > Sidebar > View > Overlays > Stretching > Area, you can preview how much the fabric would have to stretch to fit the original 3D shape. If it’s too green / yellow, consider adding a seam.
Ah right, i totally forgot about the middle sew line. That did help in this case
Now i really want this function as a Modifier so it become non destructive and work together with subdivision modifier 
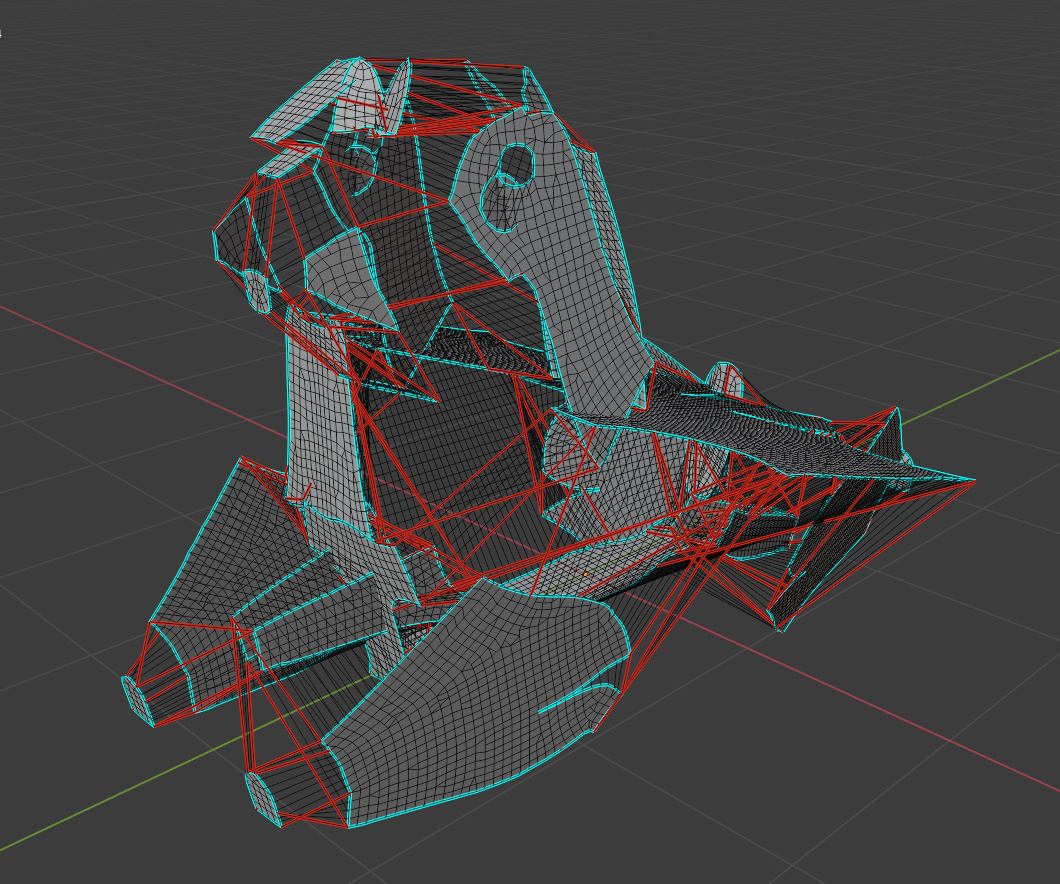
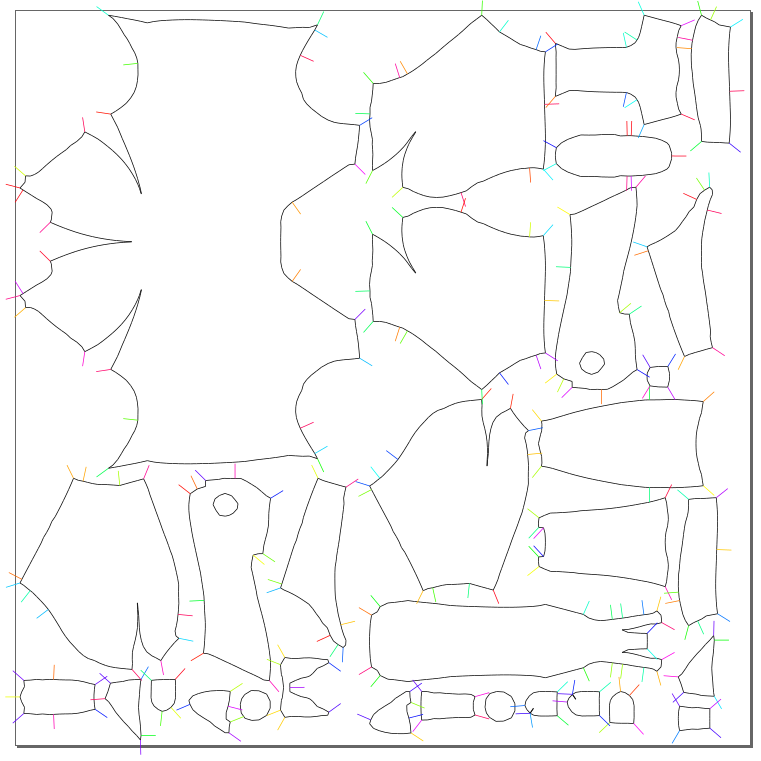
New feature coming up:
Sewing pattern to SVG.
Here’s how it works:
Perform the Seams to Sewing Patterns operation.
Mark sewing edges that would help if they were highlighted as “Seam” (this can be done automatically, by finding corners)
Export the sewing pattern as .SVG
All those highlighted edges are now color-coded, and will help you when assembling the pieces in real life.
The resulting SVG is a bit of a mess, I’ll work on grouping each island so you can easily reassemble.
It’s still a proof-of-concept, but should make it into the plugin soon enough!
For the experimental people:
(The SVG is copied to clipboard, save manually)
import bpy
import bmesh
import mathutils
import random

bpy.ops.object.mode_set(mode='EDIT')
bpy.ops.mesh.select_mode(type="EDGE")
bpy.ops.mesh.select_all(action='SELECT')

obj = bpy.context.edit_object
me = obj.data
bm = bmesh.from_edit_mesh(me)

bpy.ops.mesh.region_to_loop()

bpy.ops.mesh.select_mode(type="VERT")

boundary_vertices = [v for v in bm.verts if v.select]

for v in boundary_vertices:
    intrest = 0
    for e in v.link_edges:
        if (len(e.link_faces) != 0):
            intrest += 1;
    if intrest == 2:
        for l in v.link_edges:
            if (len(l.link_faces) == 0):
                l.seam = True
import bpy
import bmesh
import mathutils
import random

svgstring = '<svg xmlns="http://www.w3.org/2000/svg" viewBox="0 0 100 100">'
svgstring += '\n<defs><style>.seam{stroke: #000; stroke-width:0.1px;} .sewinguide{stroke-width:0.1px;}</style></defs>'
svgstring += '\n<g>'
bpy.ops.object.mode_set(mode='EDIT')
bpy.ops.mesh.select_mode(type="EDGE")
bpy.ops.mesh.select_all(action='SELECT')

obj = bpy.context.edit_object
me = obj.data
bm = bmesh.from_edit_mesh(me)

bpy.ops.mesh.region_to_loop()

boundary_loop = [e for e in bm.edges if e.select]

uv_layer = bm.loops.layers.uv.active


for e in boundary_loop:

    svgstring += '<path class="seam" d="M '
    uv1 = e.link_loops[0][uv_layer].uv
    svgstring += str(uv1.x*100)
    svgstring += ','
    svgstring += str(uv1.y*100)
    svgstring += ' '

    uv2 = e.link_loops[0].link_loop_next[uv_layer].uv

    svgstring += str(uv2.x*100)
    svgstring += ','
    svgstring += str(uv2.y*100)
    svgstring += ' '
    svgstring += '"/>\n'

bpy.ops.mesh.select_mode(type="VERT")

boundary_vertices = [v for v in bm.verts if v.select]

for v in boundary_vertices:
    has_wire = False
    for w in v.link_edges:
        if w.is_wire and w.seam:
            has_wire = True
            wire = w
    if has_wire:
        #get desired direction
        wire_dir = mathutils.Vector((0,0));
        for l in v.link_edges:
            if (len(l.link_loops) > 0 and len(l.link_faces) == 1):
                this_dir = l.link_loops[0][uv_layer].uv - l.link_loops[0].link_loop_next[uv_layer].uv
                if (l.link_loops[0].vert == v):
                    wire_dir -= this_dir
                else:
                    wire_dir -= this_dir

        wire_dir.normalize()
        wire_dir.y *= -1;
        wire_dir.xy = wire_dir.yx
        wire_dir *= 2;

        sew_color = mathutils.Color((1,0,0))
        color_hash = (hash(wire))
        color_hash /= 100000000.0
        color_hash *= 1345235.23523
        color_hash %= 1.0
        sew_color.hsv = color_hash, 1, 1
        sew_color_hex = "#%.2x%.2x%.2x" % (int(sew_color.r * 255), int(sew_color.g * 255), int(sew_color.b * 255))

        svgstring += '<path class="sewinguide" stroke="' + sew_color_hex + '" d="M '
        uv1 = v.link_loops[0][uv_layer].uv.copy();
        svgstring += str(uv1.x*100)
        svgstring += ','
        svgstring += str(uv1.y*100)
        svgstring += ' '

        svgstring += str(uv1.x*100 - wire_dir.x)
        svgstring += ','
        svgstring += str(uv1.y*100 - wire_dir.y)
        svgstring += ' '
        svgstring += '"/>\n'

svgstring += '\n</g></svg>'
bpy.context.window_manager.clipboard = svgstring
Wow that is great update, this feature is very useful, I’m looking a similar option to unwrap mesh directly in the view port with the same scale of objects. your code maybe can make this?
Yes, if I understand correctly, this plugin does basically that already.
Feel free to download it from the post above and let me know if it does what you want.