Hello everyone, the skin mod is finally in the trunk! Nicholas Bishop put in a lot of work into this and I would like to thank you very much Nicholas for working on this and listening to the input of us users, it’s very much appreciated. You also deserve a big hand for putting up with everyone else’s complaints (especially mine hehe).
I uploaded a tutorial on youtube so you should be able to set up your own models and rigs pretty quickly (PS It is my first tutorial so any constructive criticism would be appreciated);
You can also download the basic setup here (I still recommend watching the tutorial though if you are new to the skin mod):
There are two students who developed the BMesh modeling system as final project and make it open source, would be good to contact them to embed it into blender with the supervision of Nicholas Bishop . http://justinardini.com/ and the Github link to the code https://github.com/evanw/cs224final
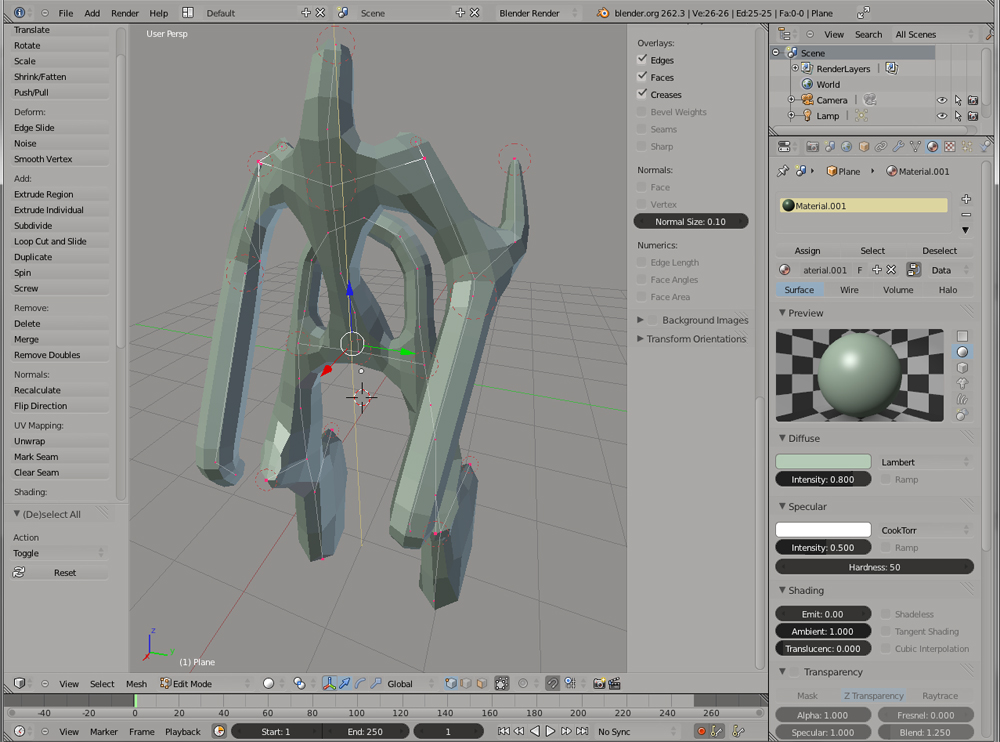
The main change you are seeing between the two versions relates to vertices used by three or more edges. Such vertices are where the real trickiness of generating the skin comes in, because it has to find some “nice” way to connect all the limbs. As you have probably noticed, under some placements of vertices around such vertices, the skin can become disconnected. The correct fix should be to never generate a disconnected skin; a way should be found to solve the real problem. In lieu of a real fix though, the discontinuities can often be resolved by the user manually shifting neighboring vertices around a bit. This leads to the difference you are seeing between the two versions: the newer code is generating fewer in-between frames between these special vertices and their children, thus making it easier for the user to manipulate neighboring vertices to remove discontinuities.
That explanation is probably not very clear, but in general the solution for the user is simple: just add more vertices along the edges in the problem areas you noted in your image.
Agree that this is not ideal, still pondering ways to improve the skin generation.
Also, you noted that generating a rig is glitchy. Can you be more specific and provide examples so I can fix this?
Thankyou for your reply.
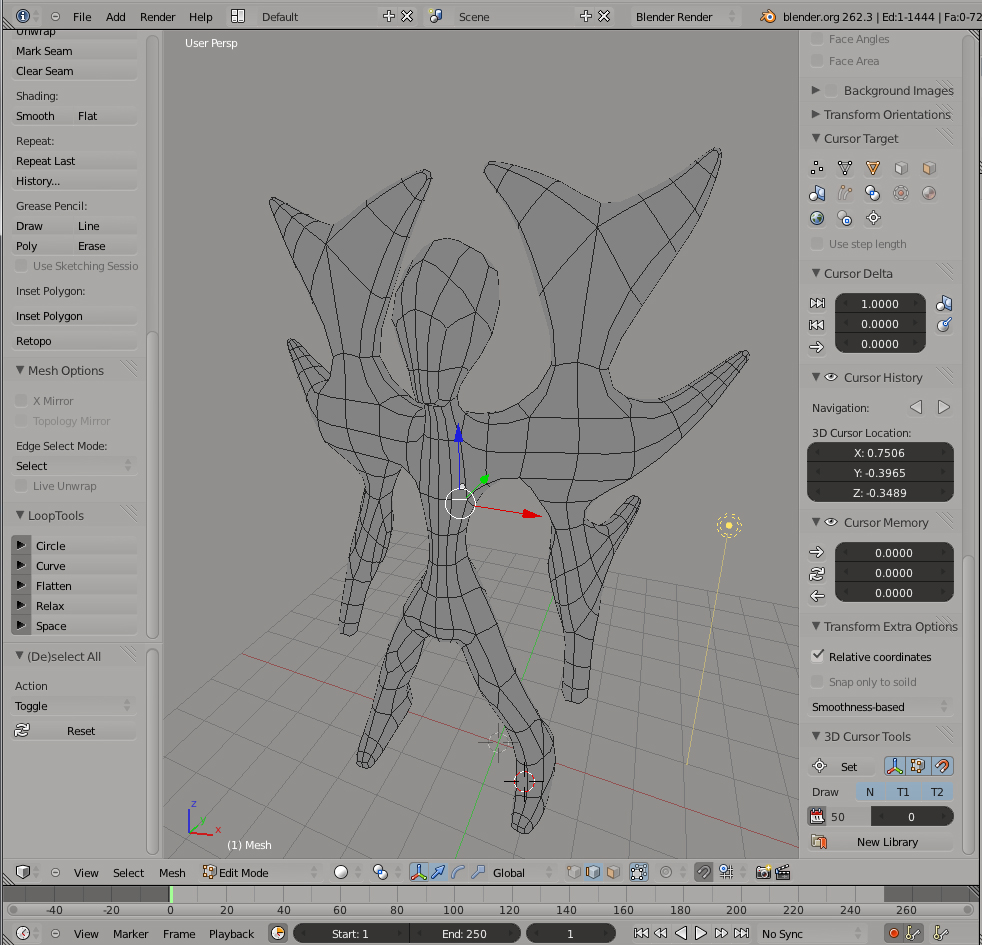
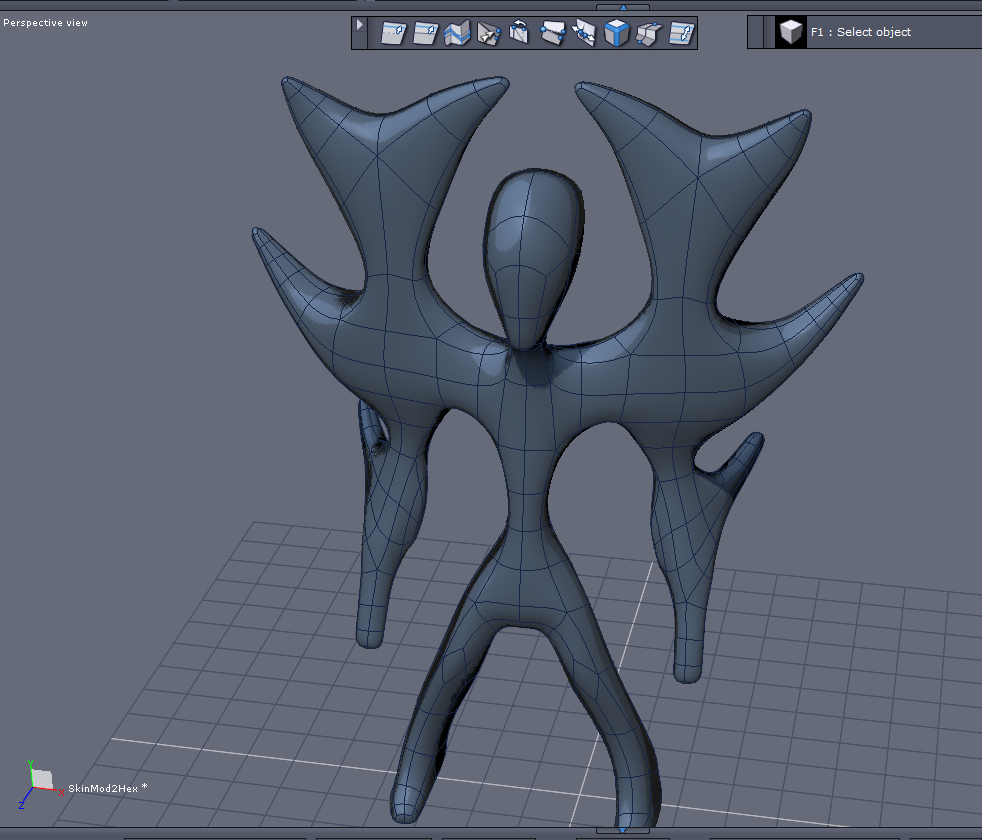
Yeah the new method seems to work better with creating a thick cobra flap rather than a leg, also I forgot to mention that I did add more vertices and even though the “flaps” reduced in size, it didn’t help much in generating a nice base mesh as that ugly flap was still there. In general that is a problem I have with the new version, I could easily extrude arms and legs in a few seconds (without vertices problems) in the 2.56 version, whereas this new version does not allow me to do that and generates these unwanted flaps.
I noticed even in your example video, the little fingers and toes merge and form a “flap” together, the stretching in the new version is definitely not ideal, this is not a good thing for rigs, base modelling or sculpting, if you take a look at the images I provided it’s pretty clear even with its problems that even the 2.56 version is more suited for animation and sculpting if that is what you are going for.
As for the rigging issue I mentioned, the example I posted above, when I rigged it, the direction of the bones on one leg was in the wrong direction, there were also little “floating” bones which that had no purpose and messed things up more than it did help them. Also am I incorrect in assuming that generating a rig would also automatically generate weight groups? Because I am not sure if it did that (i’ll have to check), it certainly didn’t autorig. When I auto-rigged the model myself it did not pose as nicely as it could and some points (namely the “tail”) did not affect the mesh at all. I will provide an image as soon as I can.
Once again I thank you very much for listening, I hope you are not offended and don’t take this as mere whining, I just see the skin mod as having the potential of being a very powerful tool in Blender, it already helped me a lot in my works, it allows me to quickly draw out concepts in 3d that I had in a 2d drawing to see how it would work (I like having a base to work on), it speeds up my workflow by quite a bit as well and appreciate that this tool is being made in the first place.
I’m going to play around with adding some more controls to help with the flaps issue… might be enough to have a toggle or a ‘tightness’ slider. Will post again if that experiment is successful.
Regarding rigs, the direction of bones will depend on what vertex has been marked as root. For a humanoid model, marking something in the torso as root should ensure the bones go in the correct direction. If not, let me know as that’s a bug. Also, generating the armature should also generate vertex groups, but it doesn’t automatically add an armature modifier. I’ll probably add that in, but for now you’ll want to manually add the armature modifier and make sure that it’s deforming by vertex group rather than envelope.
My opinion in short:
The 2.56 way the skin modifier worked is way more pleasant and intuitive, but it was not possible to do such things as fingered hands.
Would it be possible to make it so, that it worked the way it worked before, but also give the user the ability to mark edges the user wants to make a flap out of.
As discussed, the flaps around branch nodes are now optional (and off by default.) For cases where you do want them, select the vertex and click “Mark Loose”.
Also, Dinokaizer, I missed your note about little floating bones before. That’s probably caused by having too many root nodes marked. (Root nodes are the ones with a red dotted outline.) Can be fixed by selecting a single vertex and clicking “Mark Root”.
 (PS It is my first tutorial so any constructive criticism would be appreciated);