Hi guys, I’m needing some help with a skirt that I am trying to model. I have a mesh human, and I need to get the waistline for the skirt to follow the contours of my human. I don’t know if there is some sort of vertex joining I can do?
I now have another issue though. I have a cylinder that has no top or bottom faces. It is long enough to cover everything it needs to cover, but when I add the shrinkwrap modifier, it becomes shorter and doesn’t really cover everything it needs to. Is there any suggestions on how to make it longer, other than making the cylinder longer. Also is there a way to apply the modifier only to a vertex group? Lastly, is there a way to only partially add the modifier just make it slightly conform? Thank you so much, blenderallday!
I though you did use a vertex group for the waistband, but perhaps you didn’t, and made a tight fitting mini skirt. Yes, you can use the shrinkwrap on a vertex group, right there in the middle (See image)
Shrinkwrap can be finicky, and you need to understand that it will be shrinkwrapping (or snapping) those verts to the nearest surface point. you need to make sure that the verts on your object are closer to the points you want them shrinkwrapped to than any other points are. For instance you want your cylinder to snap to the neck of your character, but it’s snapping to the shoulder. You can turn off the shrinkwrap visibility (the eyeball) and move your shirt verts closer to the neck, and then turn it back on and see if it’s where you want.
As for partially conforming you have a couple options.
Adjust the offset. The offset parameter tells the modifer how far off the surface of the object to put the shrinkwrapped verts.
You can also apply the shrinkwrap as a shape key. Try this on a duplicate, better yet, save a new blend first. Get your shrinkwrap good and tight. Click ‘apply as shape key’ at the top. It appears to go back to it’s original state. Go to object data (the triangle) and scroll down to shape keys. There are 2 . The basis shapekey is the original state of your mesh. The second one, the shrinkwrap key isthe one to adjust. Click on it, and change the value to .5, then 1, then 0. You can see that you have total control over the strength of it by changing the value from 0 to 1.
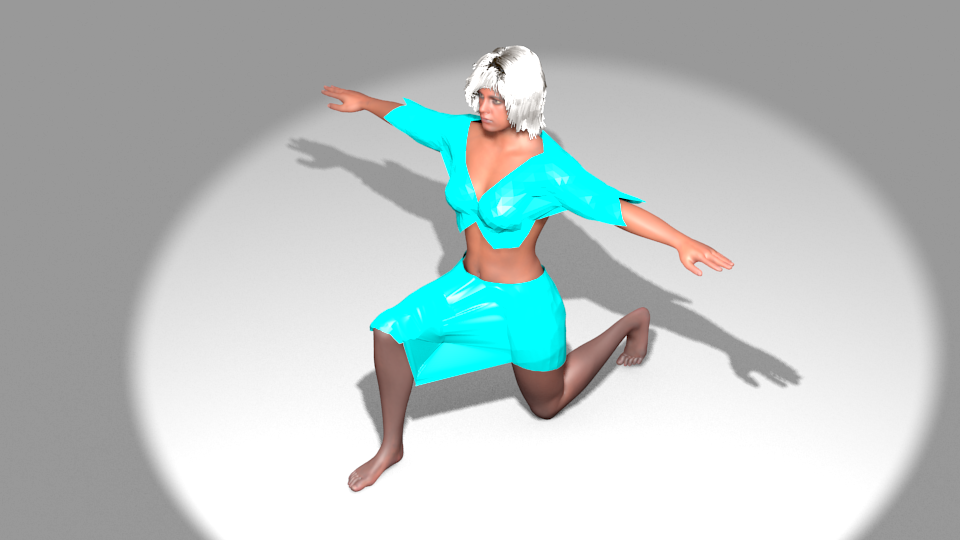
Thank you blenderallday! Here’s some of what you’ve taught me put into action. It doesn’t look very legitimate on the other side, my computer isn’t powerful enough for me to want to fine tune the scene yet, besides the side facing the carema is the one to worry about. This doesn’t have cloth physics, as I said my computer isn’t powerful enough for me to change frames and it calculate the physics and that many faces.
Very nice! The shirt especially is great, the angled cutoffs and pinched center are excellent touches.
Ultimately you will probably need a cloth sim. As the armature deforms the human, the shrinkwrap will do crazy things. I am guessing you are using a cpu, and have limited RAM. I would buy some more RAM, but also don’t forget to give blender permission to allocate most of your RAM. This slows down other apps significantly and really you should work with only blender open. Find out how much RAM you have and give blender 50-80% of it. I Have 8 MBs and I configure blender to use 5. File -> User Prefs -> System. All the way at the bottom: Memory Cache Limit. You should see a perfomance jump. Good luck!
A quick addition to info about the vertex groups used for modifiers – you can adjust how much each modifier affects a mesh by adjusting the vertex weight in the group. For example, to limit how much the Shrinkwrap modifier affects certain parts of a mesh, reduce the vertex weight for those areas. You can do this with Weight Painting and/or another vertex-weight tool.
Cloth Pinning works a bit differently but the idea is the same – a vertex weight of zero in the Cloth Pinning vertex group means that vertex is entirely under the control of the Cloth sim (if used). A vertex weight of 1.0 is not affected by the Cloth sim at all. You can use this to adjust what influences act on your garment – Cloth sim, Shrinkwrap and Armature influences can all act at the same time, you’re not limited to one or the other. Even Shape Keys can be tossed into the mix.
Even a fairly limited comp can do Cloth physics if you set things up right and have some patience. First off, you don’t need an excessively high density mesh – use only enough subdivisions (which determines the loop and vertex count) to have the cloth mesh deform like the kind of cloth you’re using. Leather is stiff and doesn’t need fine detail so it can be a fairly loose mesh. Silk needs a much finer mesh because it has so many fine wrinkles. By running the sim on a mesh of optimum density you can avoid the huge overhead of physics calculations on an excessively dense mesh. After the physics bake you can add a Subsurf modifier to smooth the cloth into better shape. In my experience, a Cloth sim run on a lean, sparse mesh looks better than that run on a highly dense mesh, because the folds are more general and the sim doesn’t get bogged down in detail. It’s also a way to reduce the calculation overhead that Cloth Collision demands.
That is an excellent point. Both on the weight paint and the “less is more” on certain cloth sim. For things like flags, skirts,etc… you definitely want a relatively low poly mesh for the cloth sim. You can add a subsurf after the cloth sim in the stack to smooth it.
And even a modest system should be able to handle it. Post a screen shot of the wireframe of the just the skirt for better feedback.
I’m sorry, but unfortunately I can’t open the file again. Blender keeps crashing when I try to open the file.
I added cloth for my two cloth pieces, and tried to bake them, but it took too long, and never even got to 1 so I closed it, and now It won’t open.
Thanks though, If I get it back up and running I’ll put a picture here.(I might recreate it with as close to the same stuff as possible, but keeping what you guys have taught me in mind.)
If you have any more tips, hints, or improvements; please tell me.
Ok, now I’m redoing the model, but the cloth physics make it go away from the body.
The body is set to collision, and the skirt to silk.
Has anyone else ever had these problems?
Select the human in object mode, Ctrl-A choose ‘scale’ (Apply the scale.)
Do the same for each piece of clothing.
Try running the sim again.
And it’s always a good idea to save lots of versions of your blends, especially when starting out, or trying new things. It is easy to get things good and screwed up.
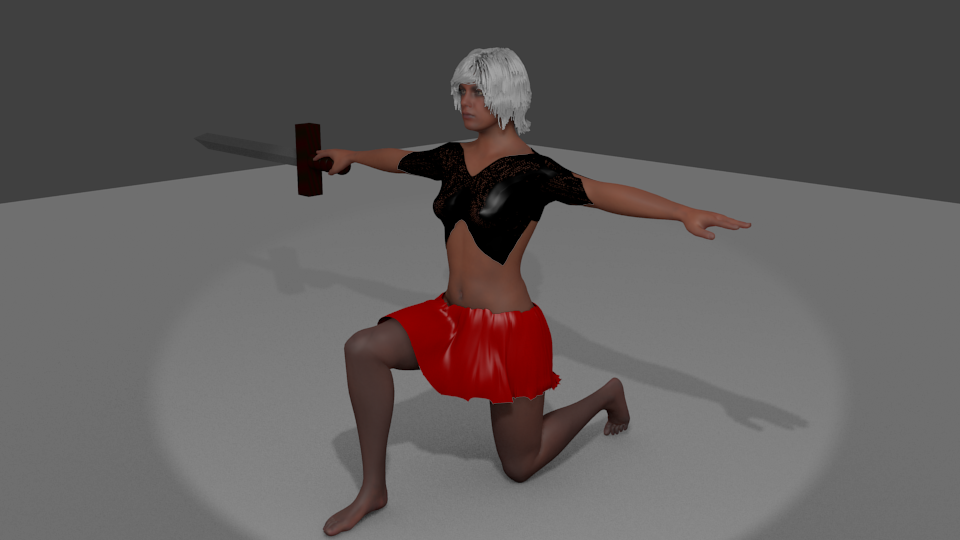
It’s definitely getting there, and excellent work so far!
But there seems to be a few issues. I think there may be something going on with the topology of the clothes and possibly with the order of your stack modifiers. There’s some serious stretching between the breast/armpit area of the shirt, and some odd creasing on the skirt. Having only a screenshot to look at can be tough. If you want to dropbox, or pasteall the blend I would be happy to look at it.
But really solid progress, keep it up!
Posting wireframes of the cloth objects can help us troubleshoot topology issues. I agree that there seems to be some odd things going on in that department.
That’s looking a lot better. But again, posting wireframes can help a lot in trying to troubleshoot, since the Cloth sim is highly dependent on topology.
Improvement for sure. I am getting a feeling that you are doing something weird in your stack, like mixing shrinkwrap with a cloth sim. Do us a favor and post wireframes of just the clothes (a screenshot of the clothing in edit mode) also post a screenshot of your modifiers on your skirt. Looking good though, that’s the best one yet.
That’s not weird, that’s advanced Blender technique But, it has to be done very carefully and with a good understanding of the principles or it can indeed come out looking weird.