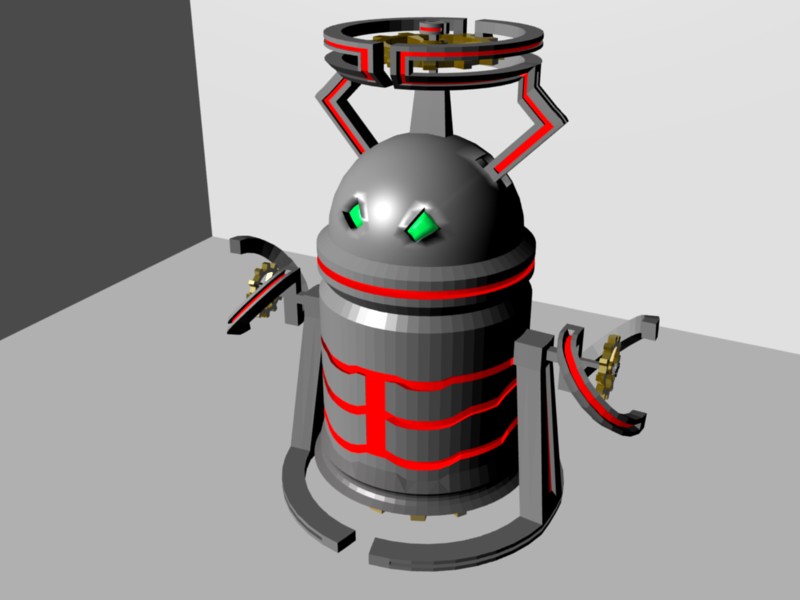
Hi ,this is my first post in this forum.I am on modelling final project part from “noob to pro” tutorial now. I decided to create a robot ,but there are some poblem in this bot ,as you can see i ve problem with bot body that not smooth ,i dont smoth the body in order to keep the sharpness of robot red stripes.
While you have the object selected, go ahead and switch to edit button (F9) and in the lower left hand corner you will see two buttons (set smooth) (set solid) : I’ll let you take it from there
EDIT: oh sorry…forgot to say - I love the look of the robot. Looks like a remake of the Dolex from Doctor who…one of my personal FAVORITE series.
thanks for your reply, actually i get inspired this robot from star wars robot (R-29?? or what i forgot the name :eyebrowlift2:)
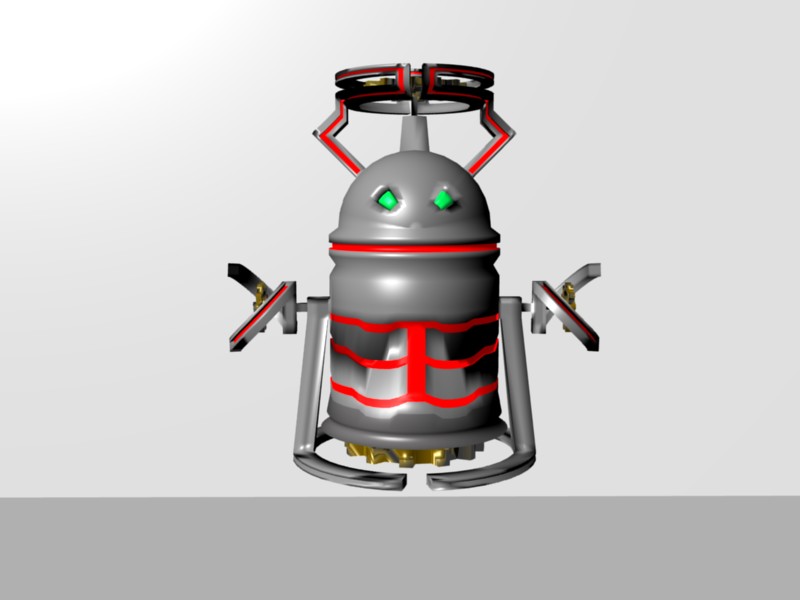
oh yeah ,ive smoothed the head already (just like in my first picture),there isnt any problem with the head ,the problem is from neck to the body , like the picture below , it lose its sharpness in the stripe and neck edge
(i forgot to say if my english isn`t good ,so sorry for the some wrong words :eyebrowlift2:)
I’d look up some tutorials on subsurfing…Its done wonders for my models but with robots, sharp edges are sometimes what you expect. In the edit button area (F9) click ADD MODIFIER and select subsurf. You should see two numbers, one on top and one on the bottom. The top one edits the subsurf to look like what you see in the current model you are editing. turning this up will slow your computer down depending on your system. The other one is the result of what happens when you render the picture (F12). I normally keep that one about 4–5 cause depending on your computer again, it could crash blender. (Thank goodness I can run at 6 with my new specs )
When editing with subsure you’ll notice everything indents to a sphere a lot. To adjust that, while in editing mode select the face option and when you select a face, hit SHIFT + E and move the mouse to adjust the curve of the subsurf.
Have fun playing around with that!
Heres an example of what I’m talking about : http://www.youtube.com/watch?v=bDJ76_chDDo
That should be shift+e. Personally I never got good results from that method. Adding another loop near the edge works better.
In this case there’s a third option I think would work well. Add an Edge Spit modifier, and see to that it’s above the Subsurf modifier. In the Edge Split modifier, unselect From Edge Angle.
Now, in your model, select an edge you want to be sharp and press ctrl+e and choose ‘Mark as sharp’ in the menu.
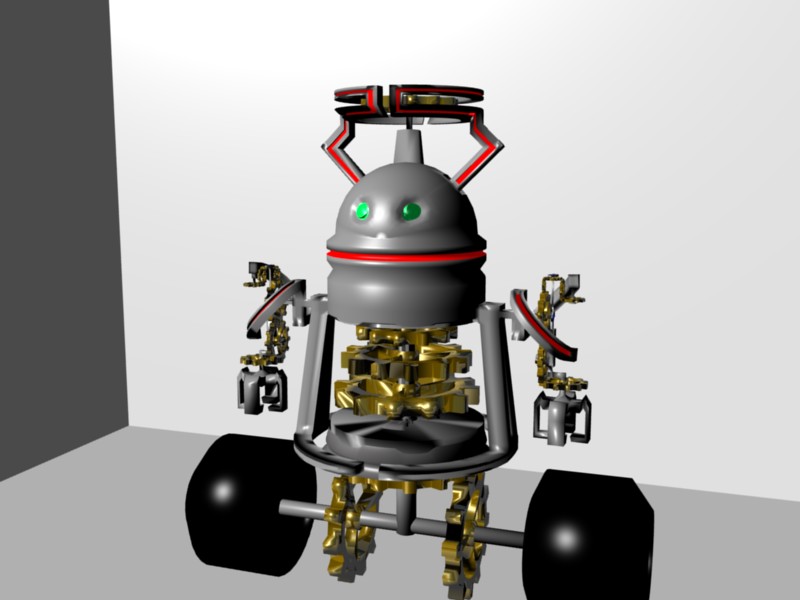
thanks for all reply , well the subsurf trick didnt work ,Ive try it, the new mesh will give same mesh result as before if you creased it a lot. Im not yet try the edge split trick (i read it after i change the body ,sorry:D) I decided to tear the body (its the main obstacle and i think it`s not really good looking) and change it with gear ,and i gave it arms and wheel too (if you give attention to the gear which control wheel ,you will know if this thing cannot move forward or backward :p).
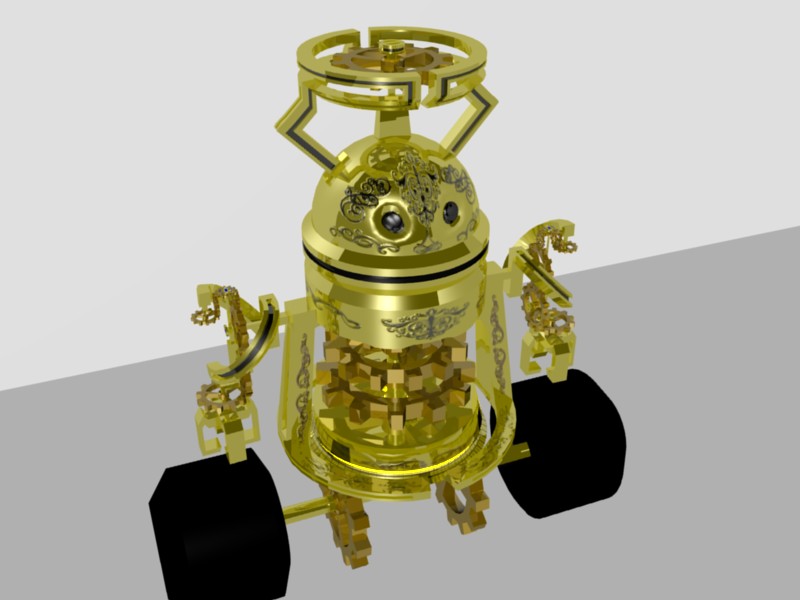
Finish with the body after changing the wheel , but the wheel still look square ,i think it`s because mirrot effect ,and do anyone have an idea why background color look pale??