OLD NEWS
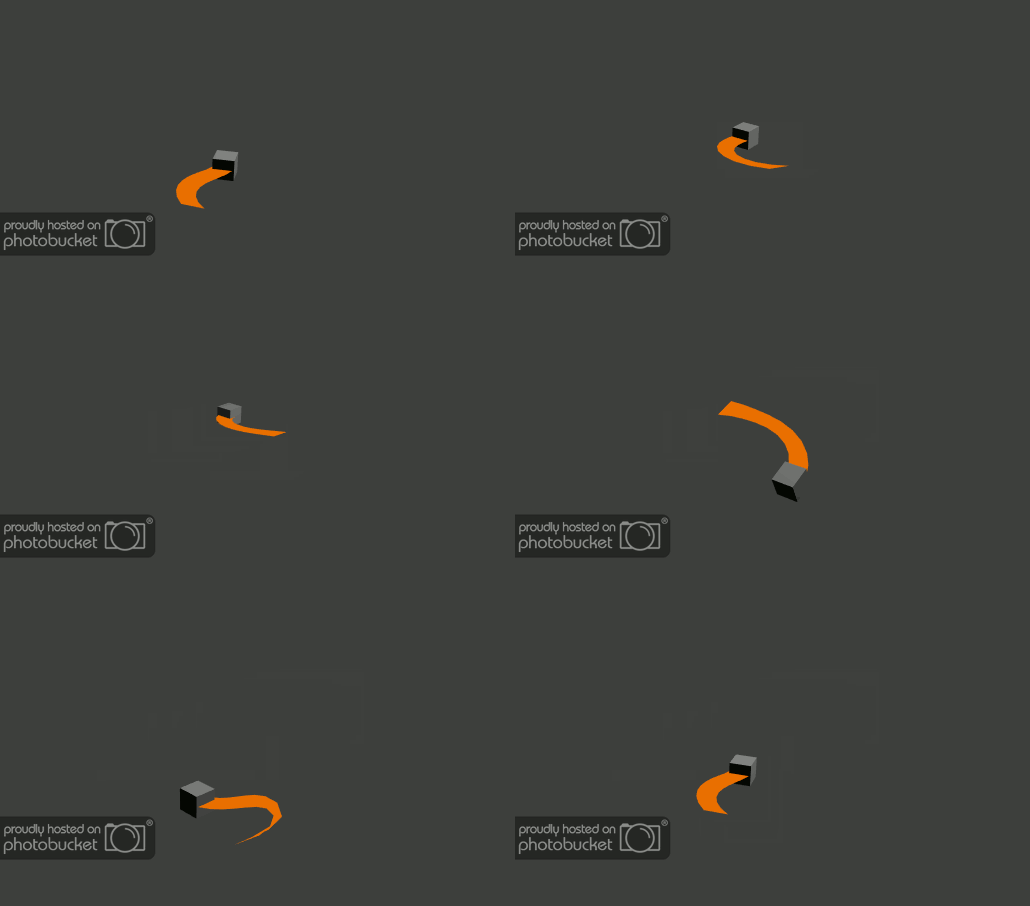
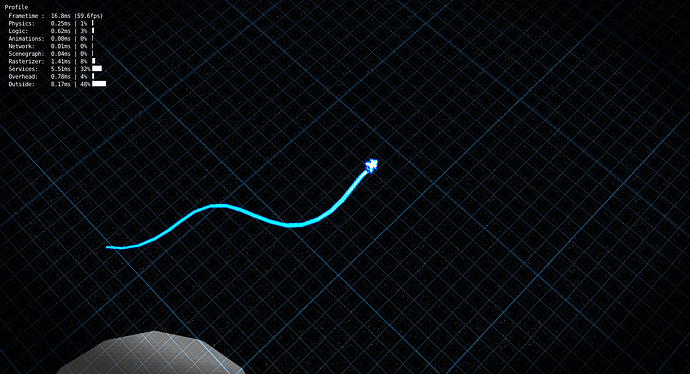
Motion blur is something that’s built into the BGE, but that doesn’t work on all cards (I believe ATI is to blame for their cards not having accumulation buffers). I made my own version of motion blur years ago, and here’s another version.
This one just uses one plane and one of two materials, as opposed to my old method of several hand-created planes with unique materials. This version is most probably more inefficient than the built-in version, though. Still, it should work on basically all computers and graphics card types.
You should just have to
-
Create a camera in your game scene
for the motion blur to use.
-
Append the motion blur scene into your game blend file.
-
Use a logic brick to add the motion blur scene in-game as an overlay scene.
-
Set the default camera and scene variables in the
“MotionBlur” script, or set the logic.motion_blur_source_scene
and logic.motion_blur_source_camera variables as necessary.
-
Set the BlurPlane’s material in the MotionBlur scene to the
one appropriate for your game’s draw mode (i.e. the STMT one
for Single or Multi-texture, and the GLSL one for GLSL mode).
That should be about all that’s necessary to get it up and running. I’ve included an About text file that explains much more about how to use it.
Check it out on my Google Code page here. You can easily check out all of those modules by using an SVN tool like TortoiseSVN, or you can download it directly by highlighting the blend file in your browser, right-clicking it, and selecting “Save As…”, or something similar.
Anyway, thanks for reading!
-Flatten-
The current newest addition is the Flatten module. The Flatten module allows you to copy the meshes of several objects over to a single one. This is done because the BGE draws a single batch much faster than it draws several. As you can observe in the picture below, 729 objects renders much, much faster when you Flatten everything together, as opposed to the right, where every object is individually drawn. Now, the test isn’t completely correct, as the destination object (where the source objects are flattened to) should be destroyed if you choose not to flatten things, but it’s just a quick-and-dirty example.
Now, there are some downsides to this - the flattened objects are all part of a single mesh, so they all have to share materials, and they’re all ‘stuck together’. However, the advantage is still pretty good, I think. I made this for a little voxel / Minecraft-like test awhile back, and I revisited it just recently to add some functionality.
Now, you can both flatten, as well as remove flattened polygons.
You can also now progressively flatten objects into a single mesh through repeated Flatten() function calls. This is particularly useful as you can spawn an object, alter its vertex info (UV, position, vertex colors) and then flatten it into the destination mesh, and repeat, almost like stamping. Come to think of it, you probably could use the same mesh multiple times.
Usually, spawned objects share meshes internally, so altering vertex info would change every mesh of every similar object in the game scene. However, the flattening process can grab the vertex data before you move on to altering the next object, so the edited mesh data is still valid. You can see the result in the picture above.
Unflattening isn’t that intuitive, but it is not too hard to use. Currently, it works something like this:
-
You make the destination mesh with enough faces to cover all of the source objects you plan to spawn.
-
You flatten the source objects into the destination object.
-
When you flatten the sources, the Flatten function returns a list of lists, consisting of vertex indices. Each vertex index list corresponds to the object in the same position in the source lists (at least, it SHOULD, hah).
-
You later call the Unflatten() function and pass in the destination object and the vertex list to unflatten (remove) them.
It would probably be nicer to pass in the object name for the vertices, rather than a list. If people find this useful, maybe I’ll add that later.
An example for the Flatten module is available on the Google Code page.
I made an input module that allows you to set up key bindings easily. For example, rather than checking logic.keyboard.events and logic.joystick for input, you can set up a new binding name, and then poll for that name. Here’s a quick example.
device = CInputDevice()

     device.Add('jump', KEYPRESSED, events.ZKEY, 'keyboard') # Add a  keybinding named "jump", reacting to a key being pressed (not held  down), that correlates to the Z Key, and add it to the keyboard group  (unnecessary last step)

    device.Poll('keyboard') # Run Poll() only ONCE per CInputDevice per game frame.

    print (device.bindings['jump'])
It’s also on the GC page, though there’s no example for it. Use an SVN tool like TortoiseSVN to check everything out. The link to the GC page is at the top of this post, by the way.
- ALSO ON SOLARLUNE-GAME (The Google Code page) -
- 2D Sprites
- SFL (Screen Filter Library)
- JoyProfile (Joystick Profiles for input indices (i.e. what index the horizontal axis is on the left stick of a 360 controller))
- TPWindow (Three-Piece Windows; used to allow the developer to make windows of arbitrary size, but have them stretch accordingly to fit the size necessary dynamically)
- X-Emitter / X-Particle as they were when I uploaded them (so I don’t know if they work or not)
- BGHelper - Massive BGE helper library; probably not useful to anyone but me, haha
- RLG - Random Level Generation


