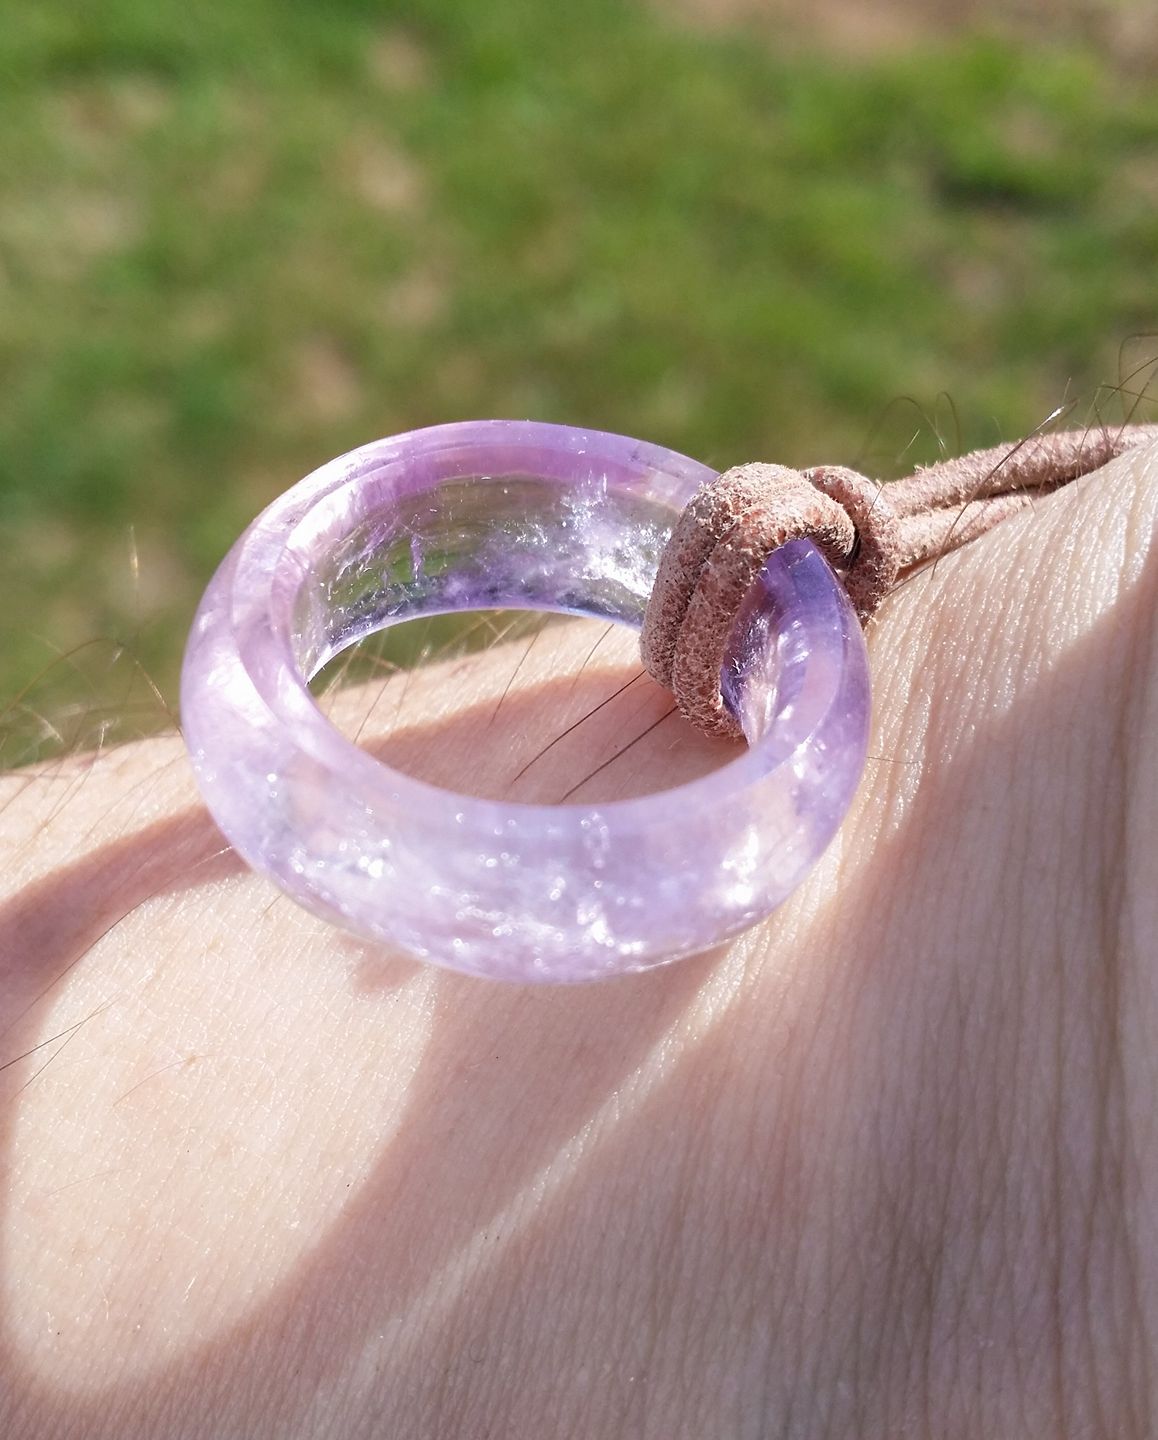
Hand carved over WEEKS of spare time after work from a block of Amethyst I had, lying around.
9 Likes
Waaaooo, very nice
and tiny 
1 Like
Yeah - made for an ex: an Aquarius so the birthstone is Amethyst, of course.
Took so long - grinding with a dremel and diamond bits.
Fine waste of time in the end, but at least I got a pic 
![]()
nice pic!
i was wondering nature and size of tools to craft this.
You said dremel and diamond bits, i just learnt roughly what are diamond bits (yay!).
How much time did you spent ‘grinding’ roughly ?
1 Like
I know the feeling I still have a Dimond Engagement Ring waste of money for me.
2 Likes
I couldn’t even say: I was working full-time so had just weekends really and a few hours each night after work, but probably around 100 hours if I roughly stuck all those sessions together.
Always having to work it over a bowl of water too: the diamond bits get SUPER hot SUPER fast, so you’ve got to keep them and the stone wet to cool them - by dipping every few seconds.
100 dedicated hours, a breeze ![]()
Looks really easy and convenient.
Results stills look impressive.
Oh, incidentally: the polishing took the longest: starting at 600grit, polishing every surface, then repeating with another 4 or 5 grades ending with 50,000grit jewelers polishing compound to get it mirror-perfect-smooth. ![]()
it’s impressive seriously.
And meanwhile we are pushing pixels with our mouses.
1 Like
I have NO idea how to do that - I installed Blender for the first time a few days ago…
Like I said - in some thread: I dabbled in 3DS Max a few years ago until I got at least familiar with it’s basic interface and even created plans for a solid timber lizard enclosure - complete with a space above the bluetongues living area for storing, lizardy supplies - then build it from the 3DS model.
Turned out perfectly - every length modelled to real-world dimensions and all the measurements I’d made for components of the design translated flawlessly to the real-world build.
But that was a few yeas ago, and Blender isn’t 3DSMax ![]()
I need to watch some tutorials bad: this business of ‘nodes’ is like some kinda alien technology to me.
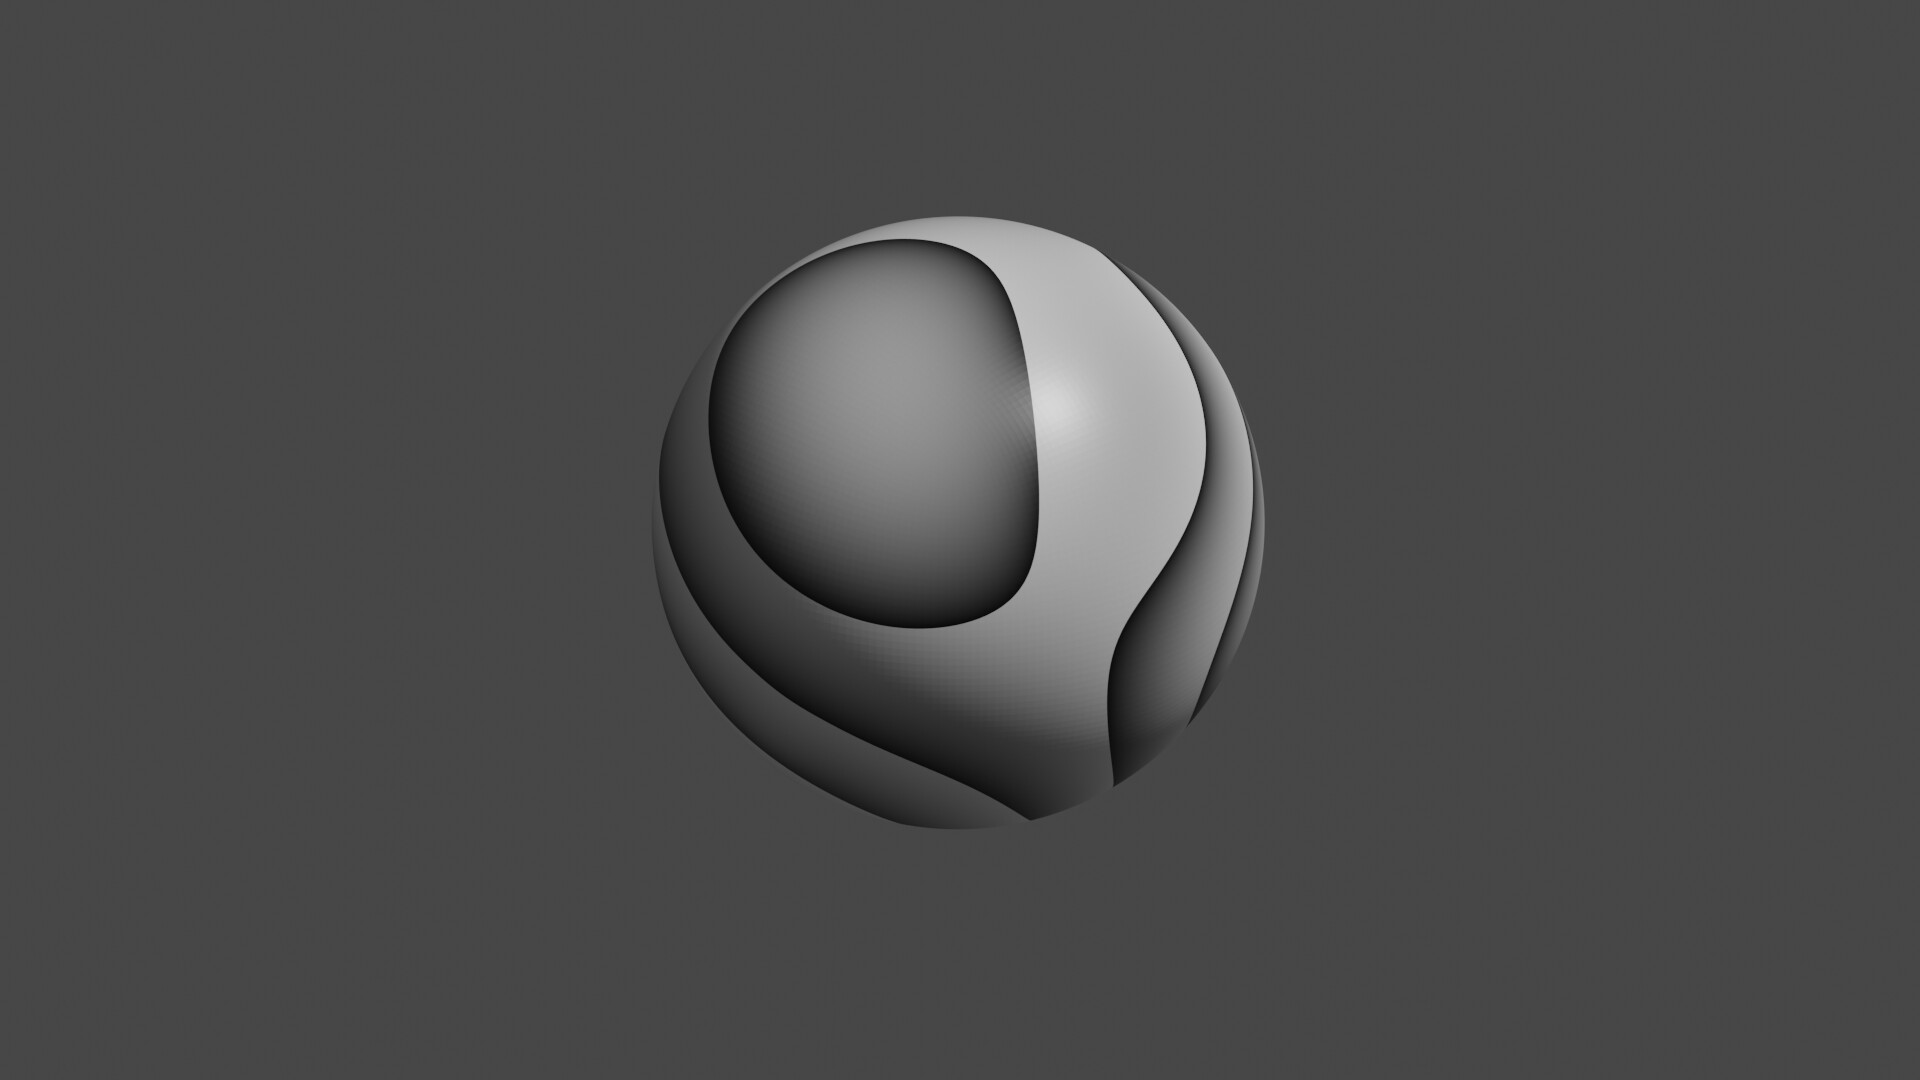
Couldn’t even make a simple SPHERE hairy!
But I’ve also gotta draw an eye, create a cute blowfly character in Illustrator, wash some clothes for next week, tidy up a bit and find something I feel like eating.
ha yeah the nodes frightened me too at first (you’re talking about shader editor i bet).
Since the Principled BSDF shader has been introduced things are way easier and enough for a bunch of things. (forget the red node, it will always be there)

At first you will set a Base color, and modify Metallic and Roughness only.
Eventually you will plug another node into this, let say an image texture that replace the Base Color, that means you put the node ‘Image texture’ to the left of the whole thing.

You can also replace the image texture by a procedural texture ![]()
let say a wave texture, why not afterall ?

Ok i cheated, the Blue ColorRamp in the middle is for filtering the result of the wave texture and made the color of it ranging from dark blue to lightblue.
Otherwise the Wave texture would have been black & white.
Should read node setup from left to right.
You want a wavy texture on your mesh, no problem with have that,
it’s B&W ? ok i filter it with a gradient mouahhaah (thanks BlenderArtists)
and… and it’s done.
Object has a wavy blueish texture.
If your beginning, an advice will be to learn shortcuts and way of Blender to use them. It’s really efficient and comfortable.
Mostly you use the same shortcuts in every editors, area.
You got a lot of things at your fingers disposal.
A survey kit for a start may be to know those ones by heart :
Shift + A : Add objects, cameras, curves, nodes, ect, ect ,ect
F3 search things in Blender
HOME to get back to the origin of your scene
dot key “.” to get back to your selection
A select everything
Alt A Deselect everything
You just can’t live without TAB key ofc.
You will probably also use :
g to move (grab)
r for rotation
s for scale
but soon instead of typing g and move your mouse you will type
g z -2 ENTER
→ move on Z axis -2 meters
Ha damn, i can’t let 3D cursor aside
Shift S will be your friend to put 3D cursor somewhere, or put something to 3D cursor
and using transformation from 3D cursor Origin
rather than selection.
And, a very last for finishing, the key w wich is worth trying anywhere
and then… well good luck with all that ![]()
(Did just read about 3DSMax xp)
Edit: And look at embedded addons ! like looptools
1 Like
Thank you! 
I’ll try that out on a default sphere in a bit: I started downloading random free textures for fur, stone, metal etcetera last night - though I know none are high enough resolution to be a-grade files to start a texture library with, they’ll do to mess around with.
you will need to place them,
Texture Coordinates node > mapping node > img node > Principled BSDF node
But i just check https://polyhaven.com/textures
and it seems that you can download hires and directly the blend file with the nodes already done. (crazy)
1 Like
I want to do them from scratch myself though, so I get to know how they work faster - even if I’m not capable of complex material stacks - or whatever they’re called - right away/
1 Like
BAM: the wave one worked instantly; the fur texture - that just rendered as a darkened surface of blank, but I’ll play with it.
Yah still the Dragon Skin texture says ‘Nope’ - and though I can see it on the surface, I cannot get any kind of bumpmap-effect going on.
Also, unhappily, Blender crashes after hitting the render button - not all the time though, just when I am randomly trying things but being a complete newb with the software I have no idea whether it’s crashed because I’ve given it orders to do something that’s just not computing or whether it’s a bug/glitch/hardware/whatever issue.
Like, if only there was a way to do it with a pocket-knive ![]()
That IS your first published Blender pic ever ? wuuhuuuu !
Blender let us stress it until the whole thing crash, have to practice a bit to know where lies dark areas to be cautious.
It’s usually caused by asking too much ressources.
Were you able to recover the last session at reopening Blender (link on splashscreen)?
For bumpmap there is the PrincipledBSDF normal slot, i do not use it much.
And the displacement slot on red node Material ouptut.
For that one use setup similar to texture ones but put a Math node before the material output.
Shift A / Converter / Math
Change it to Multiply

(Blue node is Math node, switched afterward to Multiply)
Use more Math node to mix different texture, substract, and funny names
Also look into the Material tab for this
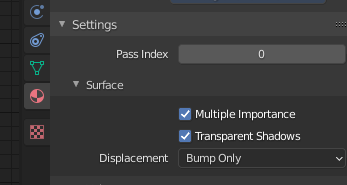
Displacement Combolist can/have to be changed, 3 options.
An’ if ur brave enouf
put a displace modifier onto your object (prepare to crash if you use too much subdivision). Will actually deform mesh based on texture.
Edit : for placing texture you will need
Texture coordinate nodes > mapping node > img node …
Edit2: For normal slot on Principled BSDF, put a bump node before.
1 Like
bows ![]()
It does crash an awful lot: only on rendering of course, but not knowing yet how the node system actually functions it always just looks like a random crash to me - even when I’m matching colors in the node connections, which I figure should be alright.
I will figure it out though, eventually ![]()
It’s simple AF of course, and more an expression of determination than technical prowess: Amethyst is only a notch or two behind Diamond in material hardness - the effort required to impose your will on a solid chunk of gemstone is, yeah you get it ![]()
Ha yeah it’s hard to see tough corners when experimenting.
What renderer are you using ?
A few features works differently in Cycles, displacement especially. For some like microdisplacements you need to change Cycles render to experimental mode (That makes things fun too).
Don’t know it if’s obvious but you can iterate on saving files quickly,
after you hitted Ctrl + Shift + S
Hit “+” to increment file number.
Try shift and control for your tastes.