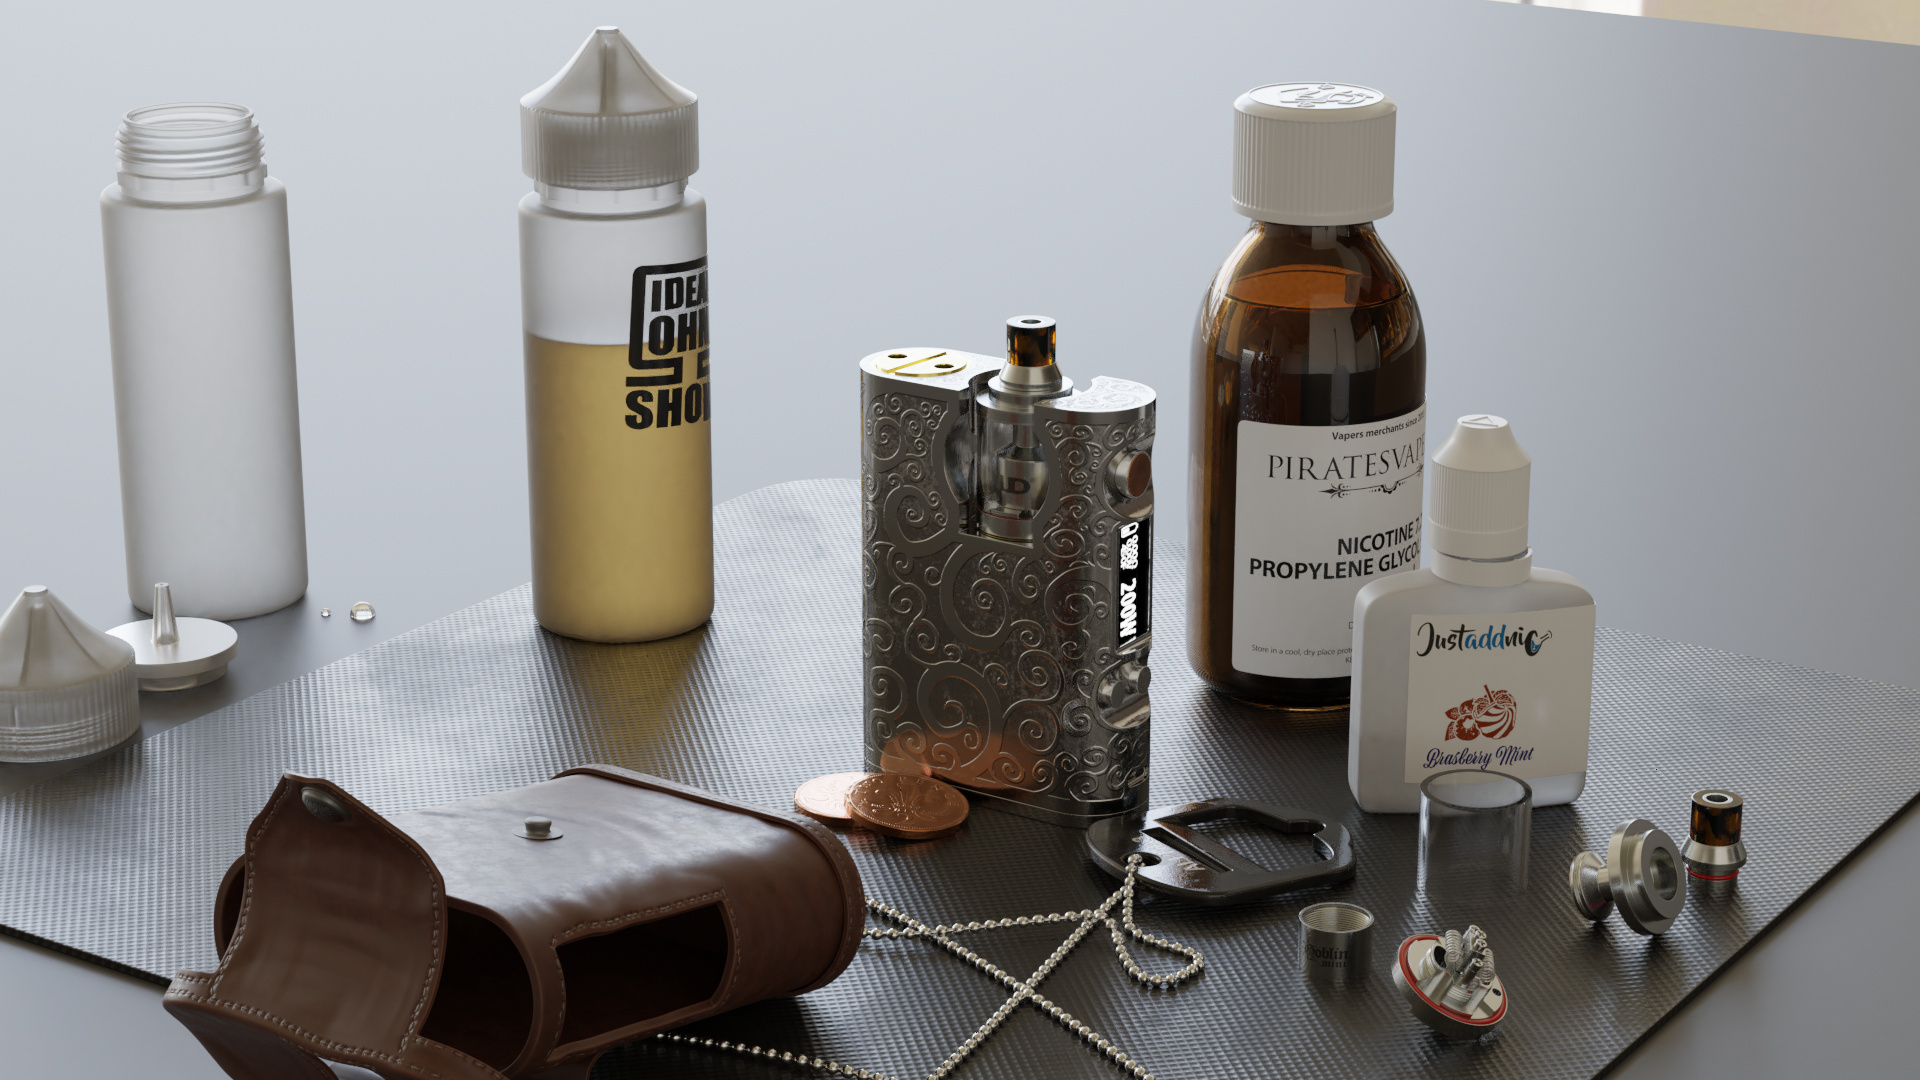
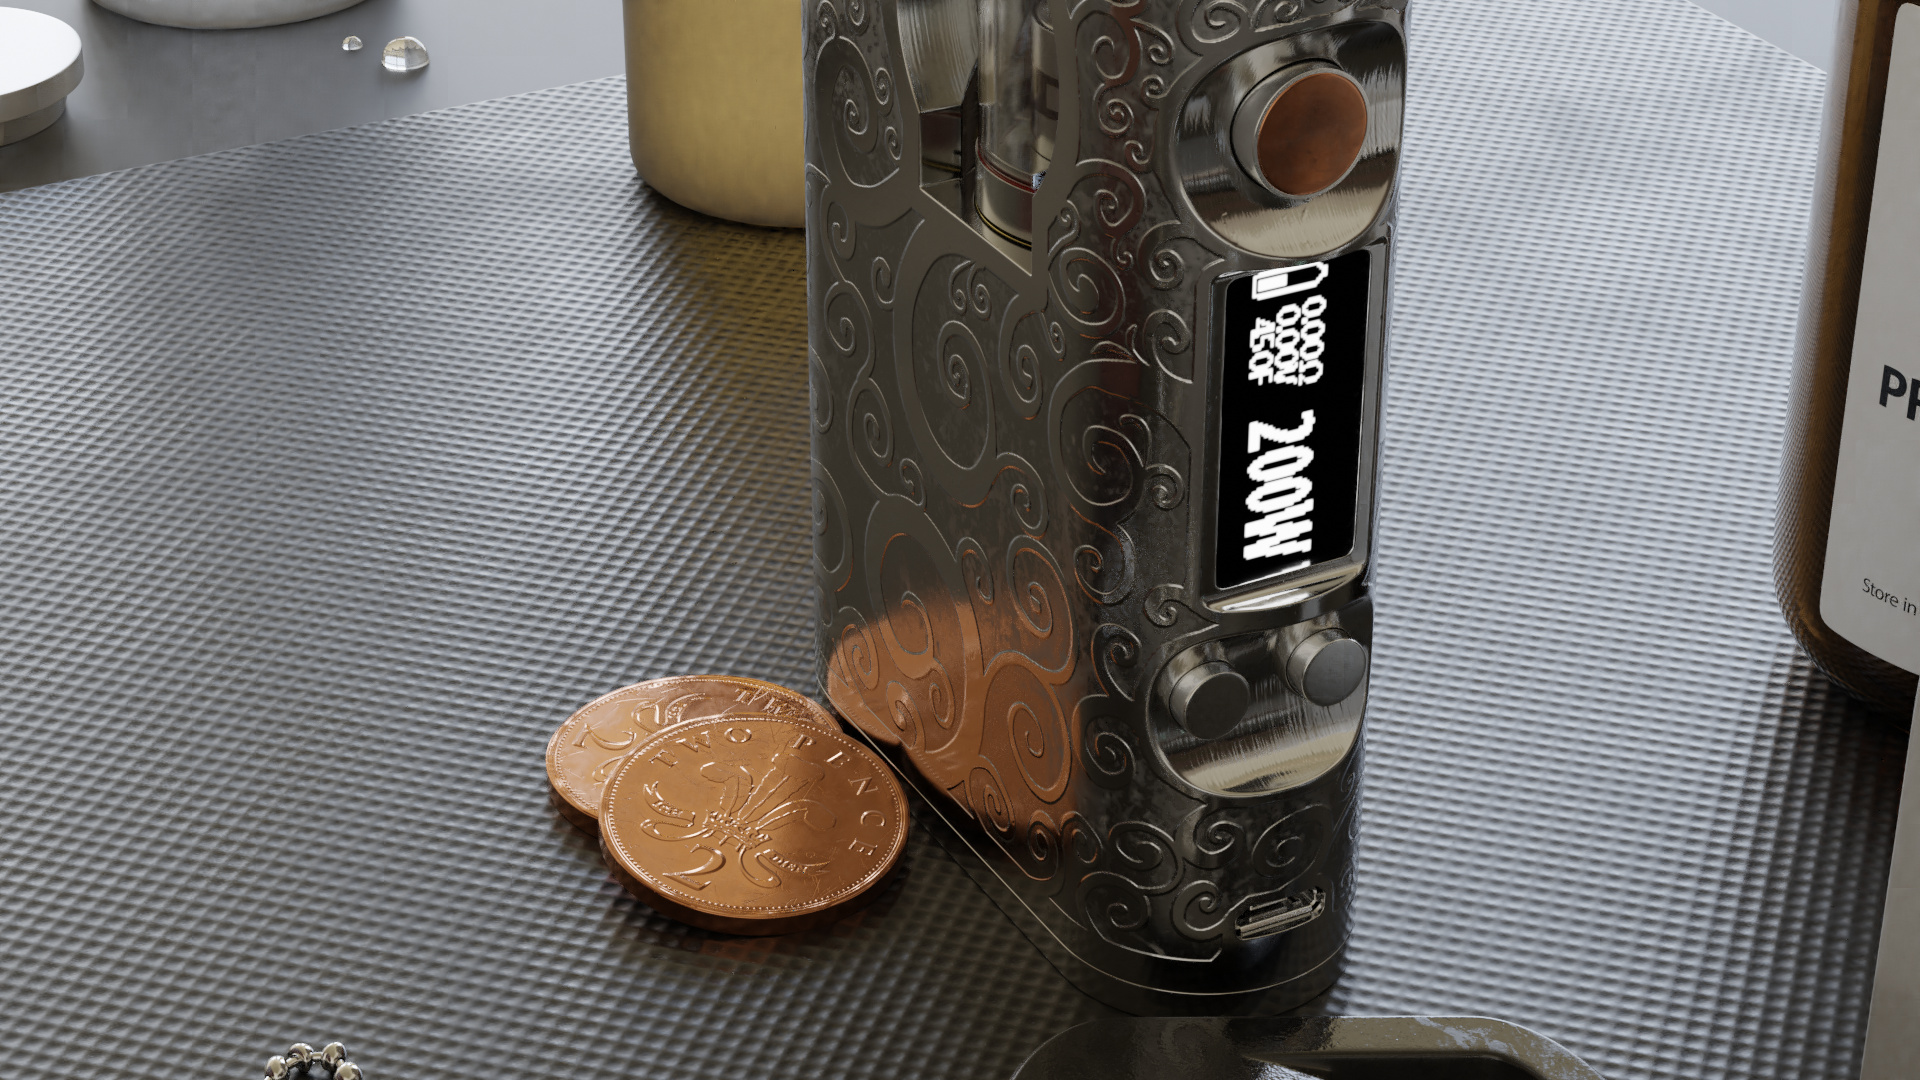
I’m calling this done. It’s a mixture of objects I have in in real life and some imagined bits and bobs. I’m happy overall with the materials, but the ones I see most room for improvement in are the semi-translucent plastics in some of the bottles. I just can’t get them looking exactly right.
16 Likes
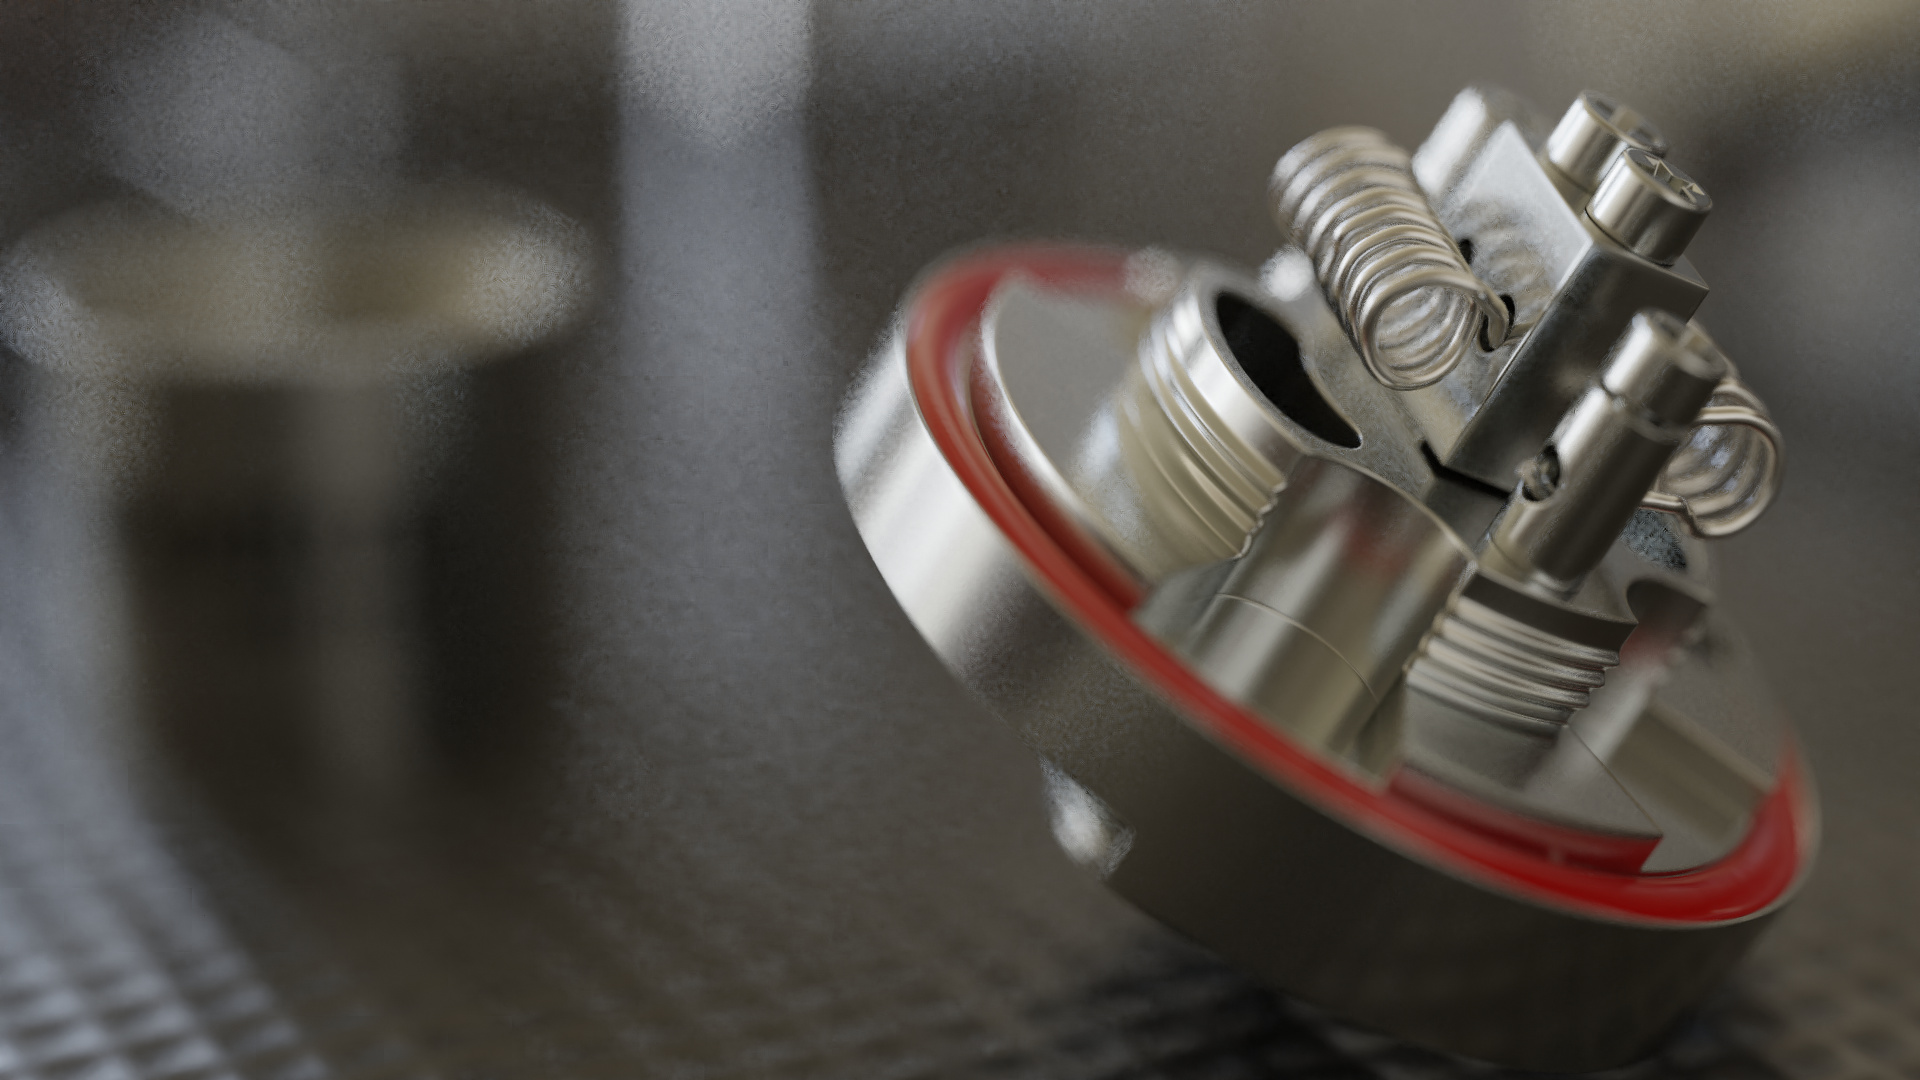
Nice work. Should have used Clapton coils, though.
1 Like
Clapton coils in a Goblin Mini would be a bit on the ‘tight’ side 
Insanely clean! 
1 Like
awesome work  did you use any addons for this? can you show us your plastic node setup?
1 Like
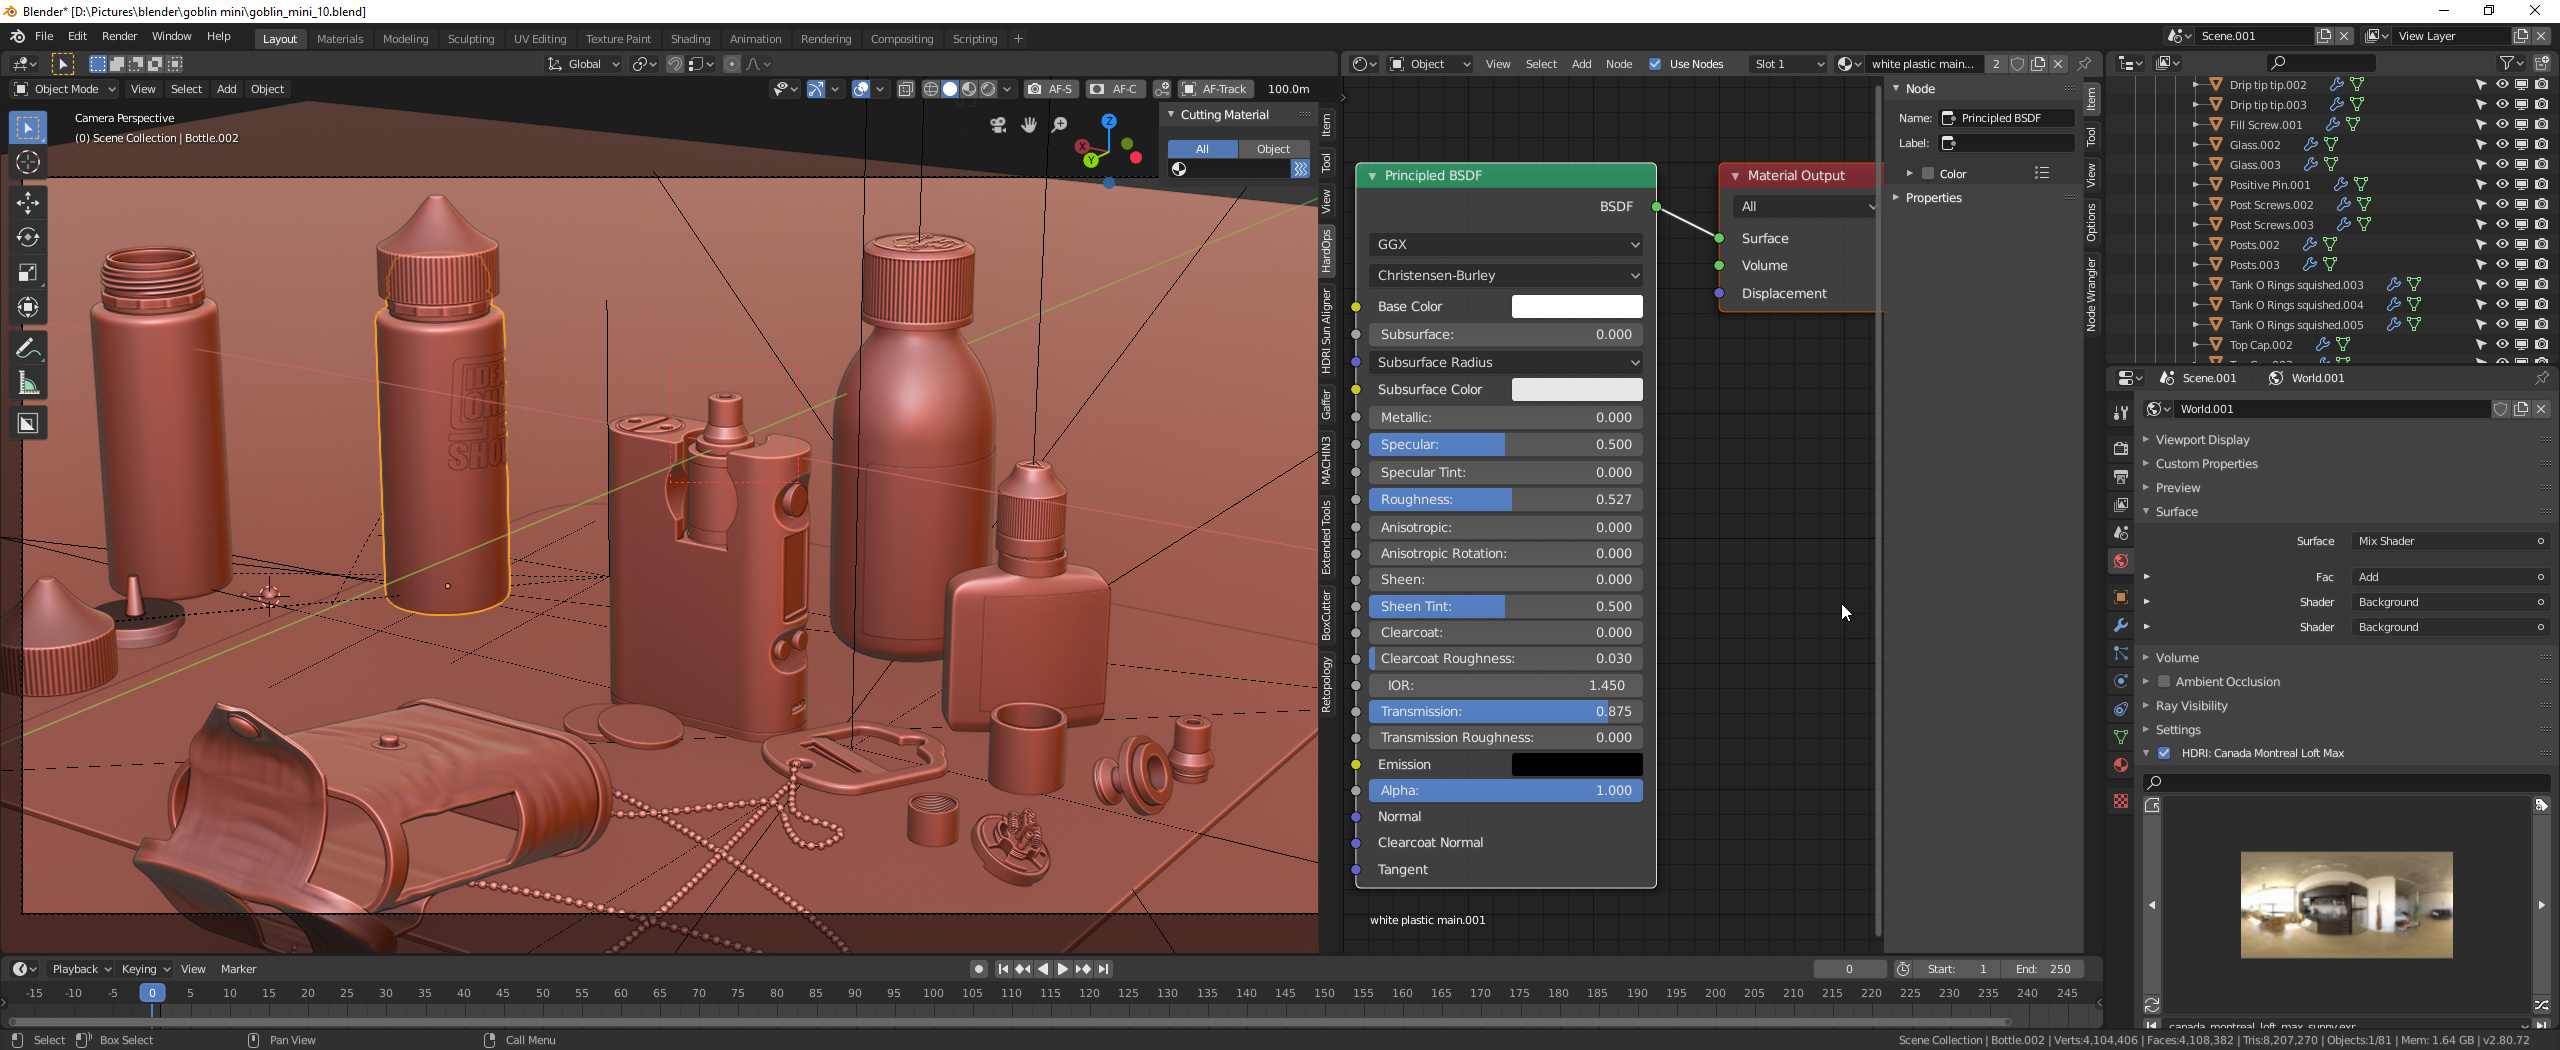
I tend to initiate Booleans using HardOps, but didn’t use any of the rest of the addon’s functionality for this one as I was going down the usual subdivision surface workflow route. Boolean clean-up was 100% manual (I’ve just discovered MeshMACHINE has some useful tools for that though. Another underused addon I own. The remainder of the addons I used in this are: Lighting Gaffer (makes setting up, changing and fiddling with HDRIs easier, Photographer, UVPackmaster 2 and Substance Painter Live Link.
There’s not much of a node setup involved for the plastics. Principled shader is pretty much all. Looking at the real plastic bottle in front of me: It’s surface is fairly smooth. It looks fairly translucent when held up to light, yet appears far more opaque otherwise. I wonder if I should lower Roughness to get the correct shine on it and control the cloudiness of it with something like transmission rough.
1 Like
Awesome work, to the top! ![]()
Maybe tone down the light absorption of the plastic and then give it a low strength sheen with some fresnel and a glossy node.
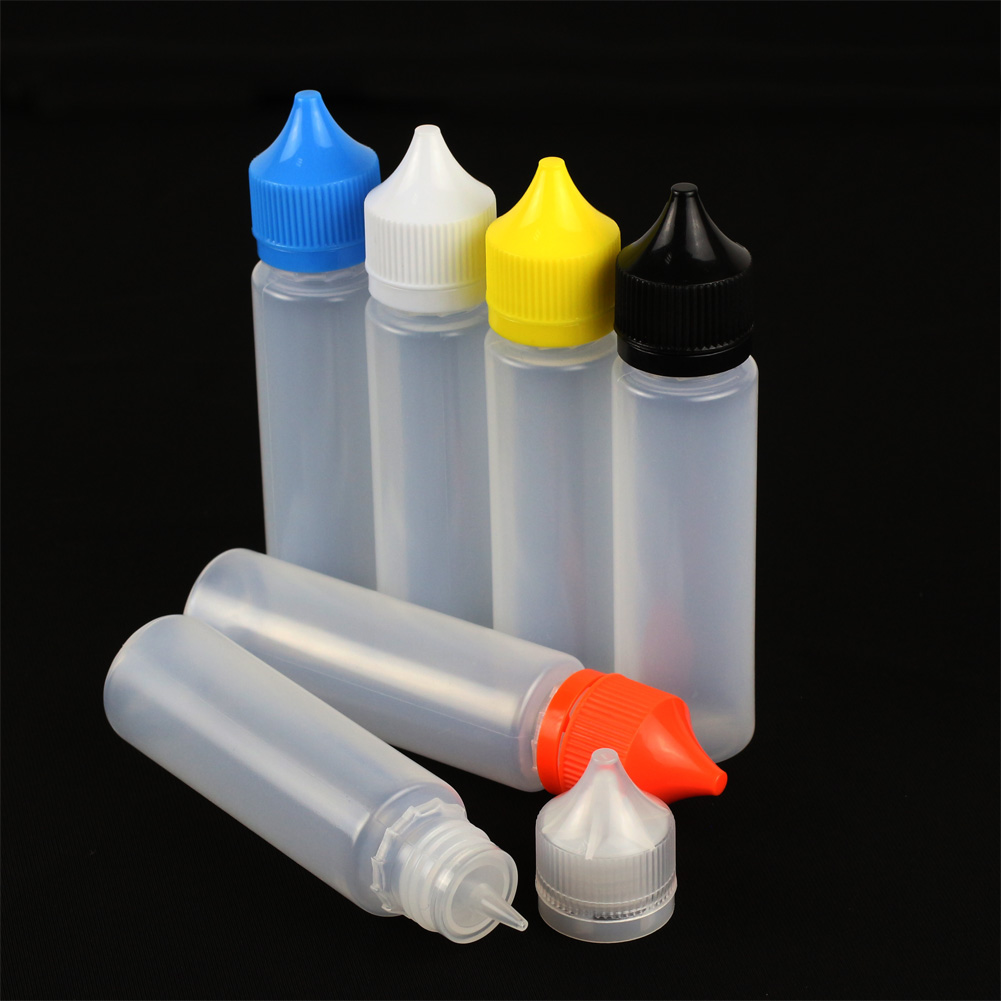
These look more or less the same as your bottle.
2 Likes
and the engraving of the vape its a normal map? how did u made it?
It’s simulating aluminium etched with ferric chloride. This is something I’ve done in the past in real life and I was able to get a very similar looking result. The workflow was pleasingly similar though less messy.
I created a base, un-etched, polished yet with with subtle flaws and scratches base layer in Substance Painter. I then created the etched layer, which as well as a lower height was rougher and had the kind of pitted surface the ferric chloride tends to leave and added a black mask to that. Then it was just a case of painting onto my mask - done with tablet in the same way I used to draw stuff to put through my vinyl cutter as resists for the etch in real life.
I’d set it up to be able to be used as a displacement map, but found the normal map was all that was really needed. The etching doesn’t need to be deep at all to be effective. If it was deep enough in Blender to justify a displacement then it would be deep enough in real life for me to start worrying the etchant was going to eat under the resist.
[edit] Just realised I have this kind of backwards. First I created the etched layer. Then I created the un-etched layer with a black mask. Then I painted in the un-etched pattern, which corresponds to me painting resist patterns for real life.
1 Like
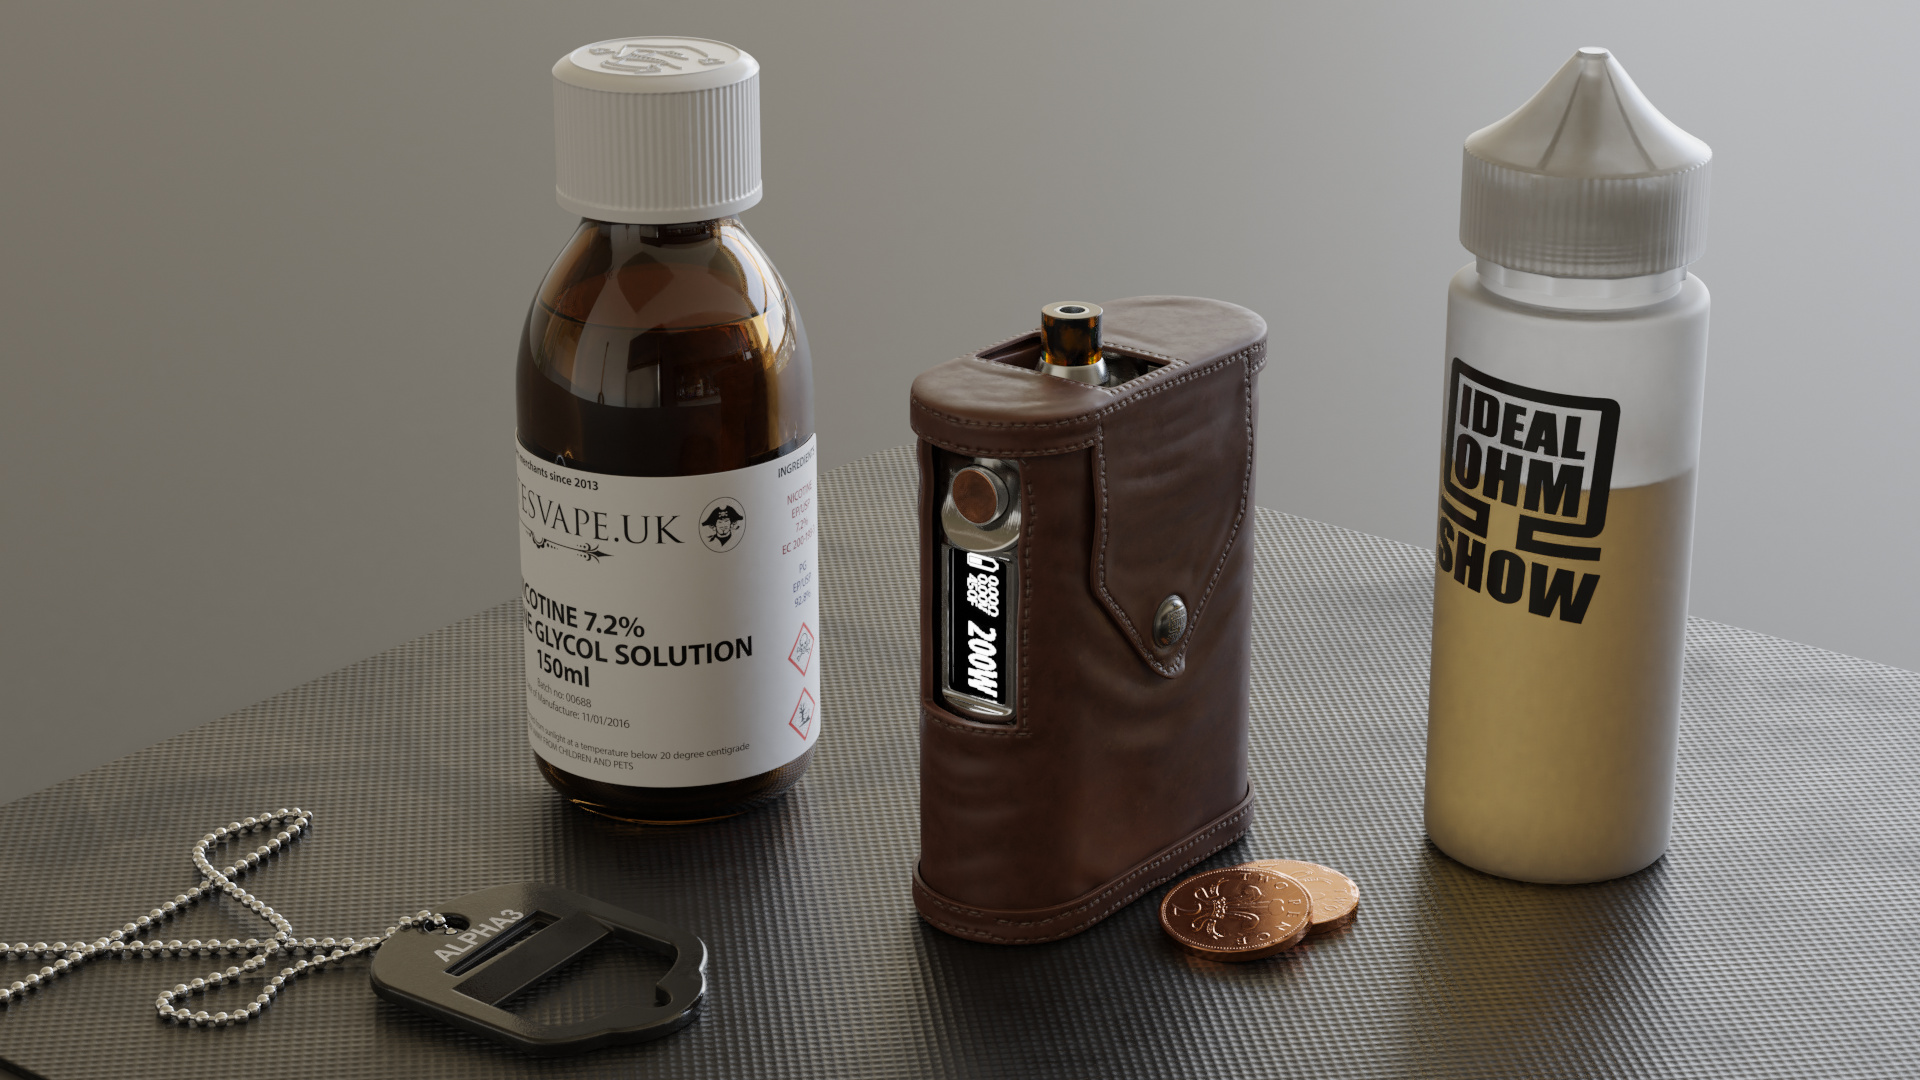
Had a quick play around with the plastic bottle and hit on something that looks better to me. These four images are identical apart from me rotating the HDRI 90 degrees each time. The bottle looks reasonably close to the one I have in front of me in side and back lighting. The fourth image in the sequence looks the worst, but the frontal lighting isn’t something I’d be prone to using.
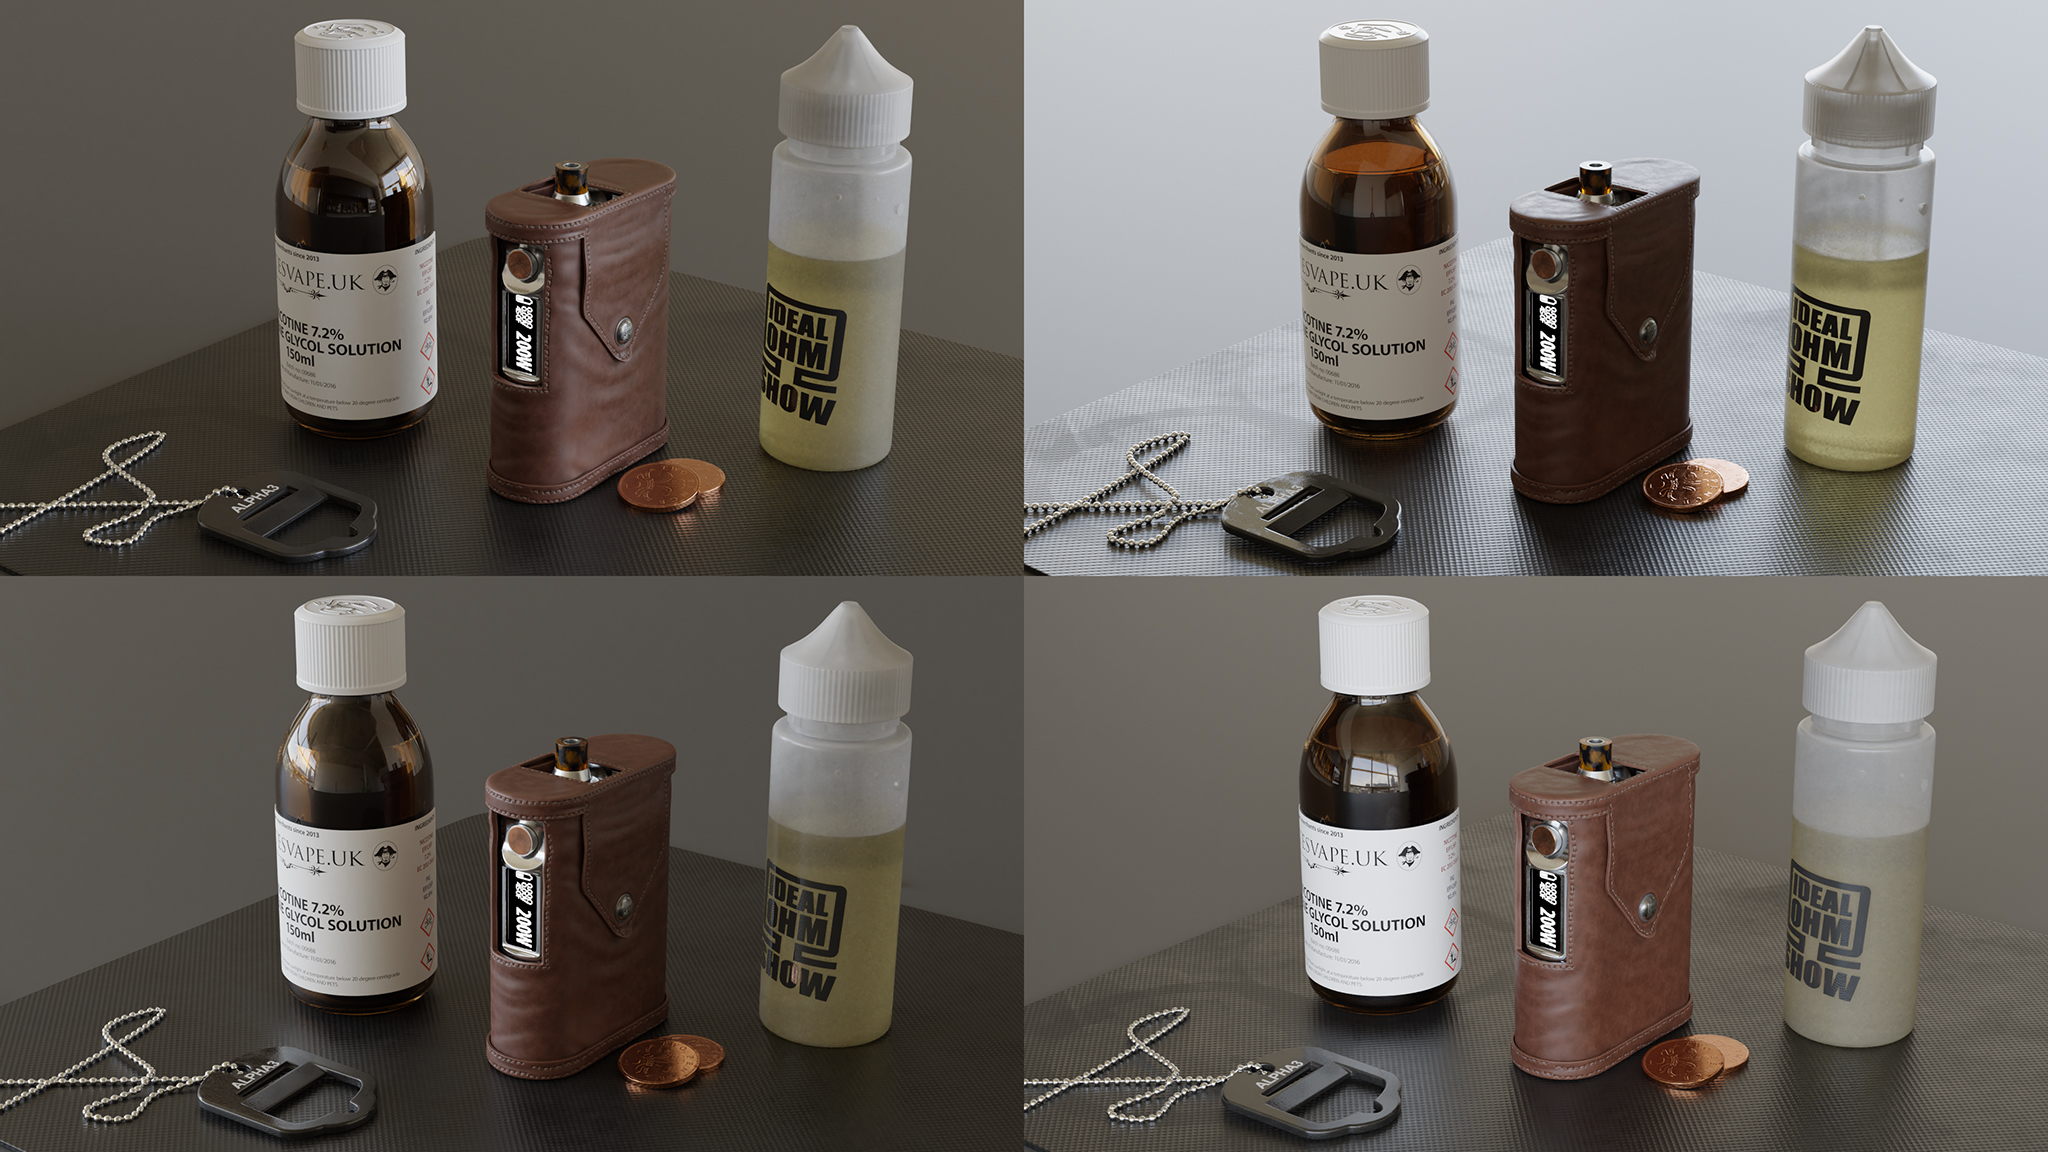
I lowered the roughness, raised the transmission and mixed in a translucent shader (at 0.25) and a bit of volume scattering.
1 Like
so the detail its hand painted nice
1 Like
I featured you on BlenderNation, have a great weekend ![]()
1 Like