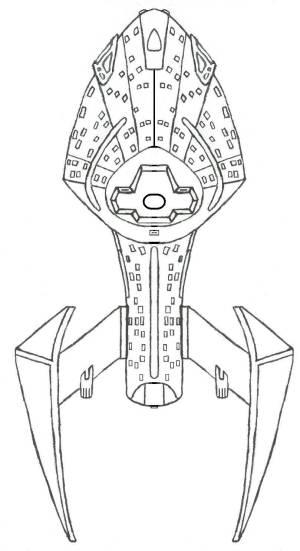
Hi, I’m a little new to blender and I want to do a Star Trek-like spaceship. I have questions as how to go about it. I have drawn it in a few angles and am now trying to do in 3D. Also: how do you make the differents parts? Do you make all of them different meshes or somehting? About the engines, how do you make them glow? Need help plz.


First, in the program that you used to make the blueprints, make sure that
- the three blueprints are at the exact same scale (e.g., if the top view show the distance from the nose to the tail is 324 pixels, the side view should also show the same distance as 324 pixels)
- the three blueprints are square (they are the same number of pixels in both width and height)
- the three blueprints are the same size (all three blueprints are the same number of pixels wide, and high)
- in each blueprint the center of the ship must be in the geometric center of the blueprint.
The way I do it is to divide the 3D window into three parts. The left half of the 3D area is window 1, the right half is split horizontally into window 2 and window 3. The manual will show you how to split windows.
Hover the cursor over window 1, and hit NUM7. The lower left corner should say “y-x”. Hover over window 2 and hit NUM1, then over window 3 and NUM3.
Window 1 will be the top view, window 2 will be front view, and window 3 will be side view.
Now on window 1’s lower edge hit the View button and select Background Image. A dialog will appear. Click Use Background Image button. Next to “image”, click the folder button. Find your top view blueprint and hit Select Image. Change the Size value until the image covers the desired number of Blender Units. Write down the value of Size, as you will need it for the other blueprints. Click the X box in the blackground dialog.
You should now have the blueprint in the background of window 1. It will only be visible when you hit the NUM7 button, if you rotate the view it will temporarily vanish.
Now repeat with window 2 and 3 with the front and side blueprints. You must set each to the same Size value as window 1.
Now as you add cubes, planes and vertices to your model, you can position them by looking at the blueprints. When they line up in all three windows you know they are in the proper place.
[/list]
…I do not have a program for making blueprints. Thos pics are the ones I made a while ago.
You’ll do good. I can see it. Here’s a cool place to download a few Star Trek Blend files. You can learn from them…
Thanks, I’ll go check.
I’m sorry, I ment a painting program, like Gimp or Windows Paint.
Hey spin, the site you gave me only had some Babylon 5 meshes… Happily I found some Star Trek meshes elsewhere.
Hey, been a while since I replied. Well I’ll show you where I’m at. I know it’s not much but I’m going slowly but surely. ^^ Any help would be appreciated.
Attachments
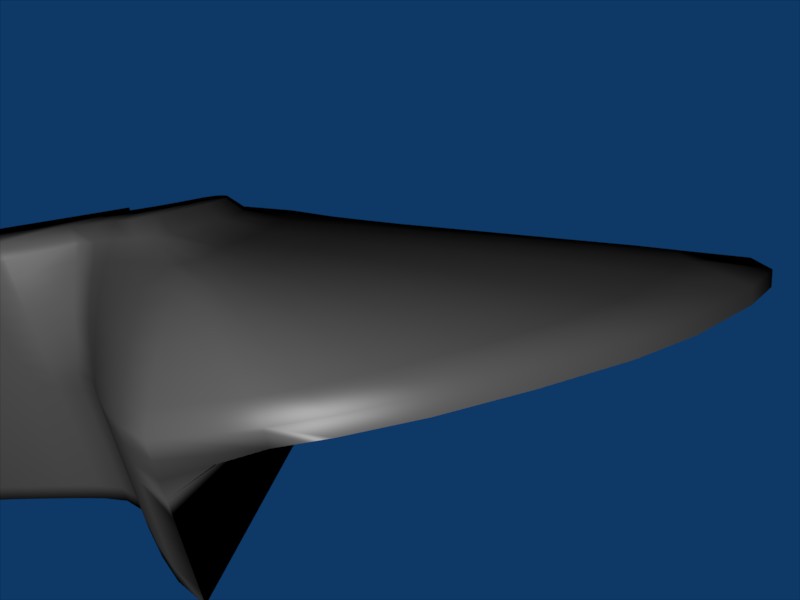
You definitely captured the Star Trek style for the saucer section. The warp nacelles are ok, but a little too pointed IMO. All the ships in Star Trek have rounder or at least more bevelled nacelles. Right now they look too much like horns, which would still look cool if that was the front of the ship, but for a star trek one, they should probably be a little rounder.
…What nacelles? I haven’t put them yet. ^^’ Thx for the saucer comment though. I’m now working on the back. I’m gonna tackle the lower decks afterwards. ^^
I meant the nacelles in your blueprint ;).
Oops, sorry. My bad, I forgot I had put the blueprint there. ^^’ The nacelles on the blueprint do look a little different from the usual Star Trek ship. I have made modifications on some other blueprint that I’ve got somewhere amognst all of my papers. They have change somewhat, but I am not really looking to do those roundish nacelles. The ship would be in the timeline of Star Trek, somewhat 40 years after VOY, therefore I decided to make some changes to the usual design to show that the culture has changed as well. I do appreciate your comment though and will look into it.
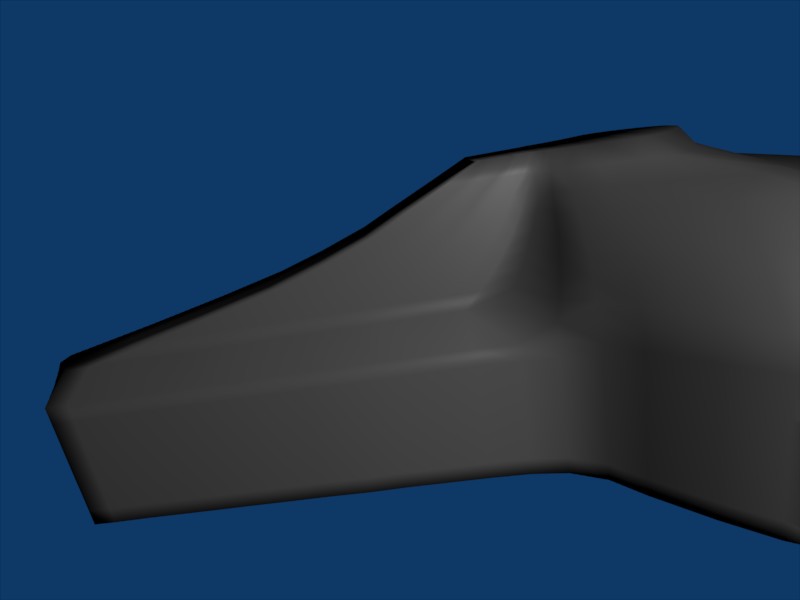
Hey I noticed a problem while I was making the auxiliary deflector. I makes weird shapes and uneven curves. Does anyone know why?
Attachments


What it looks like to me maybe that some of the faces have reversed normals. Activate to view normals in edit mode to see which ones they are and reverse them with ctrl-n. Or just select all faces and hit ctrl-n
Looking good. Keep at it.