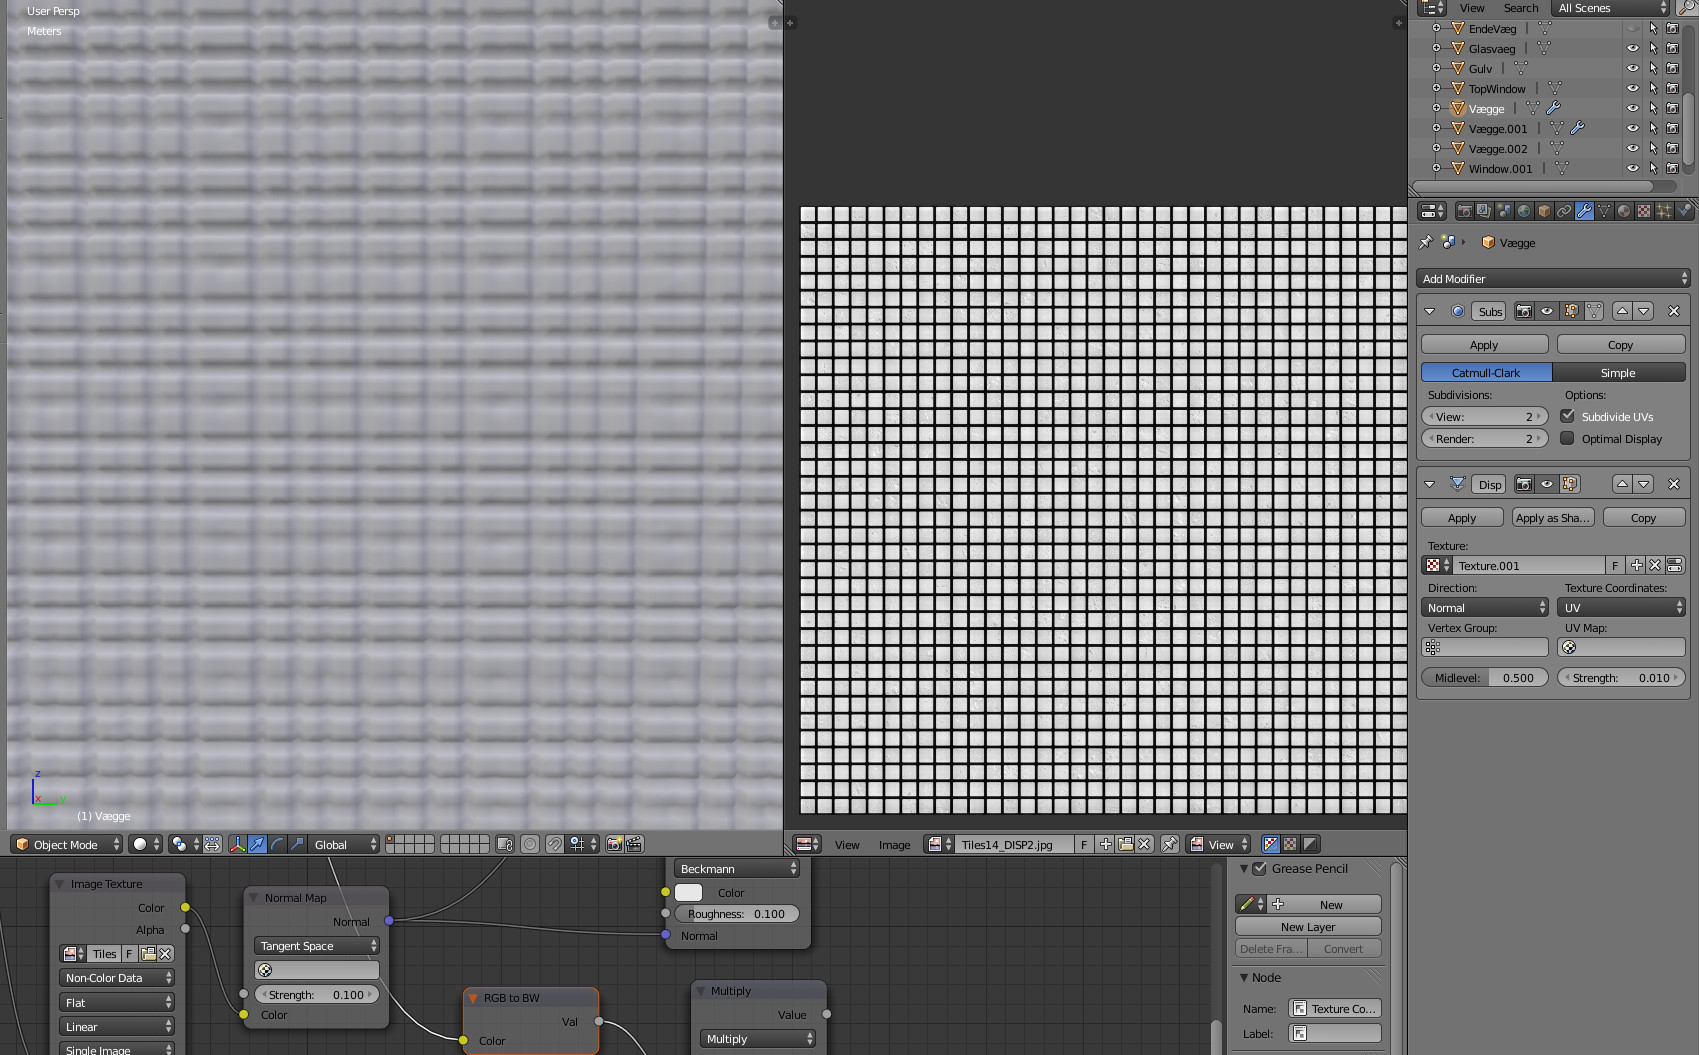
Pretty simple question here:
Why does a displacement map as the one shown in the UV editor, show up in such a strange/deform pattern when applied to a mesh, as shown in the 3D view?
I’m using square faces in the mesh (It’s just a plane), and it’s pretty dense as well. I’ve tried upping the sub-surf even more, but with the same result. I’ve UV unwrapped the mesh in different ways as well, but it’s still the same. Scale and rotation is applied as well.
Try going into edit mode and highlighting all the vertices to see how they overlay on the image on the right.Also could you please supply the .blend file?,remember to pack all external files into the blend file before saving and uploading.
As Eppo said, the density (frequency) of your mesh is too close to the density (frequency) of your displacement map. Ideally the mesh frequency should be a perfect multiple and/or much higher.
Spot on eppo and DruBan! I had to increase the sub-surf even more, and now it looks fine, thanks a bunch guys
Too bad I’m left with a 700k vert wall, to get it working :no:
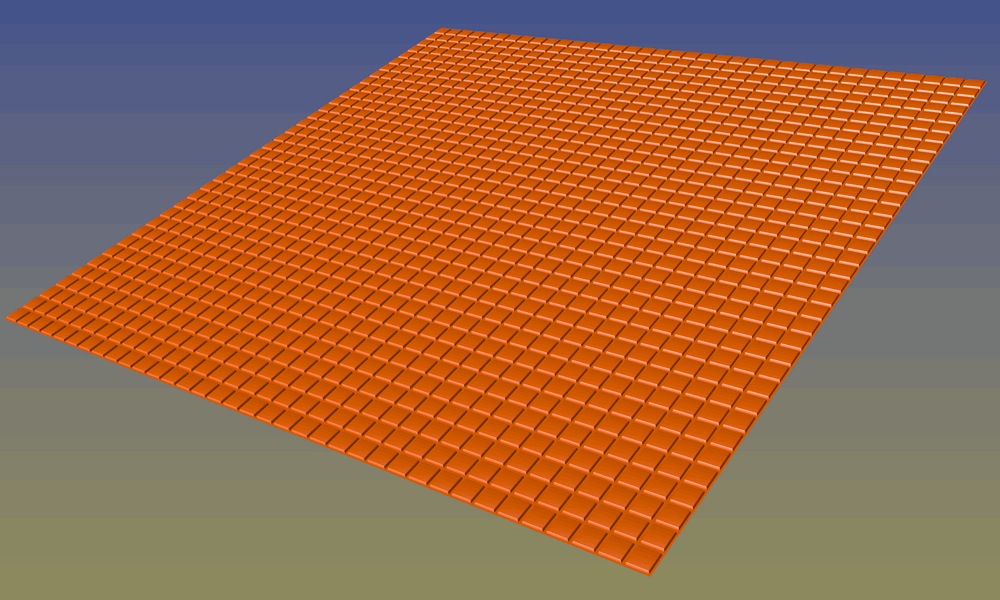
Much better to select all faces, extrude individual, then scale. Or even select all faces, inset all, and extrude. Bevel and subsurf after on either way. Probably be under 10K. (35358)