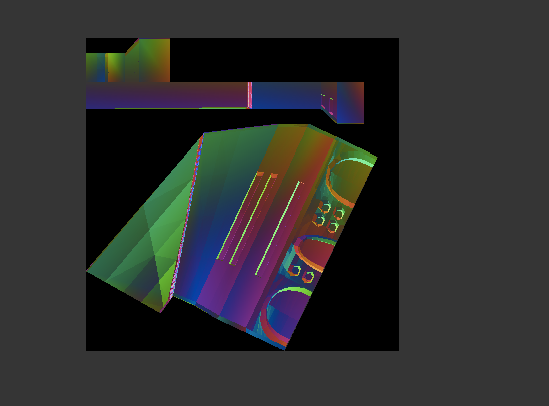
The first object/normal map was fine, I just can’t figure out why this second object is producing such a strange result. Any ideas what I’ve done?
=======
Part two: If I want to make just a model to export to Unity with a color map, a normal map, and specular, what is the best method? Nodes? Or the texture/material editor?
The stuff I’ve found so far links to old GUI stuff and I’m totally new to Blender, so I’m looking for tutorials/help that use the newest GUI.
Check and make sure that the normals are consistent with both models, tab into edit mode and select all, press CTRL-N. Do this with both models and you shouldn’t have a problem anymore. If there is still a problem then check the UV Map and make sure that none of the faces in the unwrap overlap one another, this will cause artifacts. If you are attempting to create a mirrored UV, make duplicates of the meshes and delete half, then bake.
Part two: If I want to make just a model to export to Unity with a color map, a normal map, and specular, what is the best method? Nodes? Or the texture/material editor?
You can’t use any blender’s nodes/materials in unity, but you can bake your blender materials to texture and then import it in unity.