Hey there. I am trying to teach myself how to do hard surface modeling. I can do some basic stuff already, but I wanted to step up my game a bit.
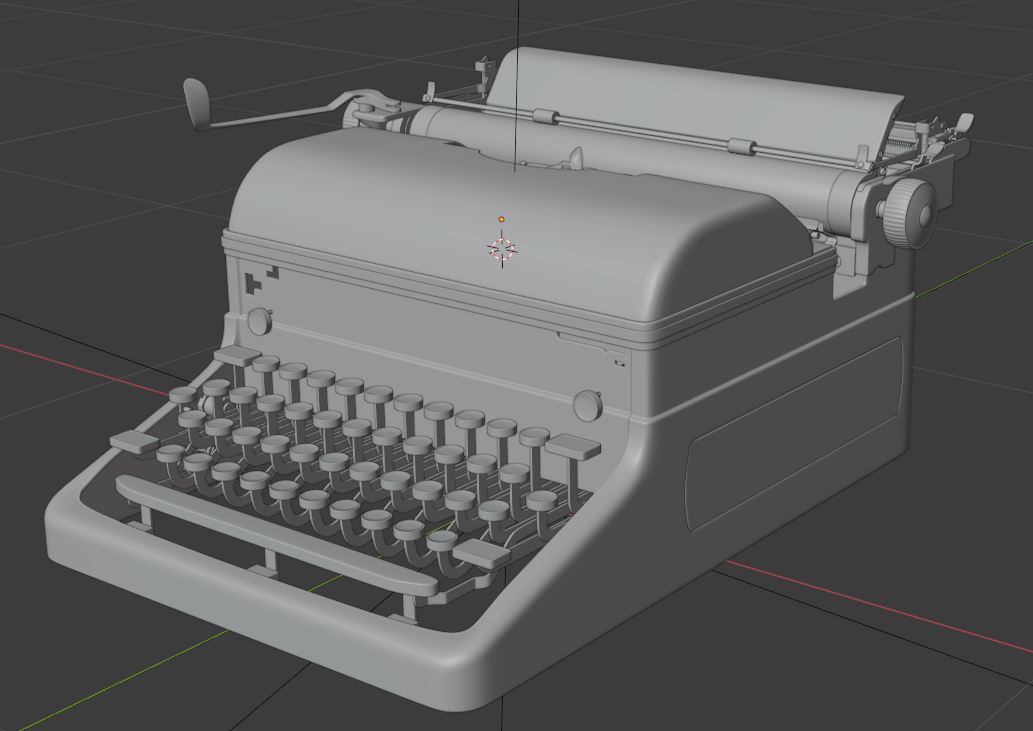
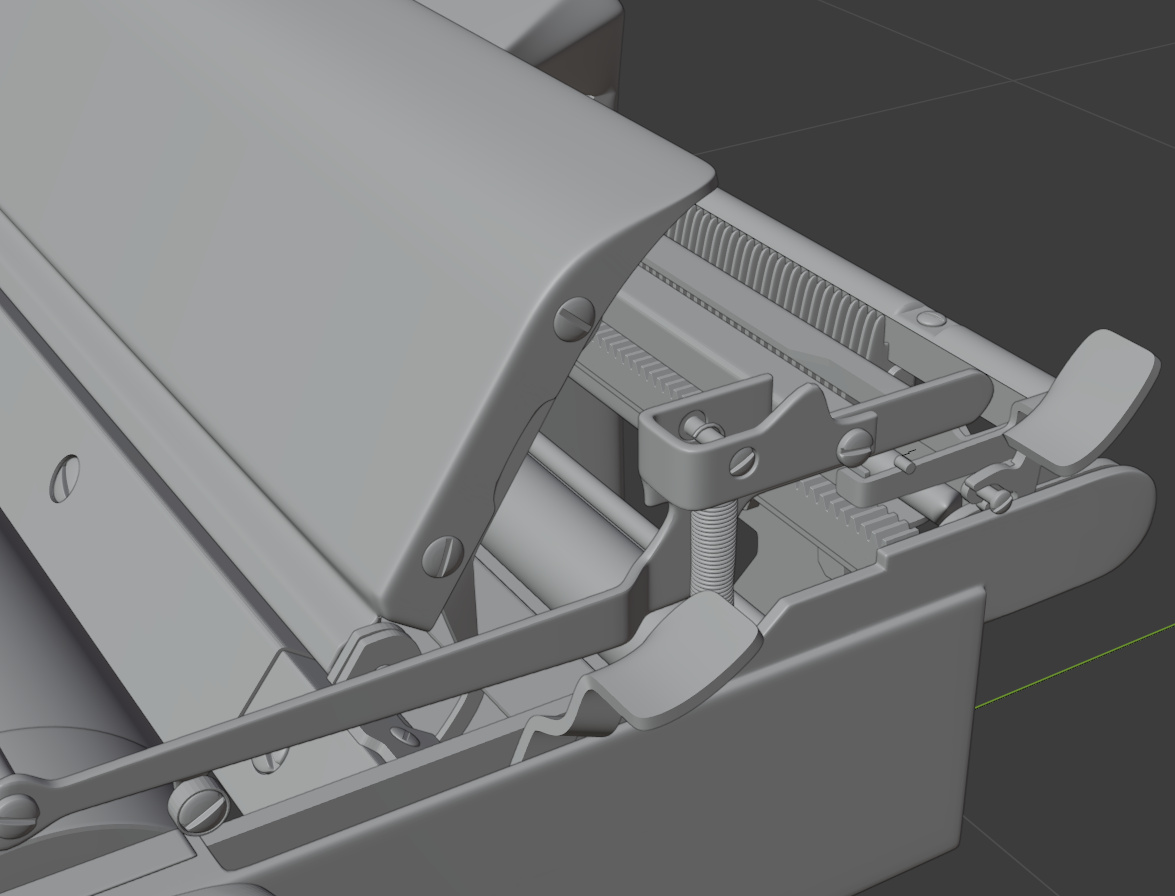
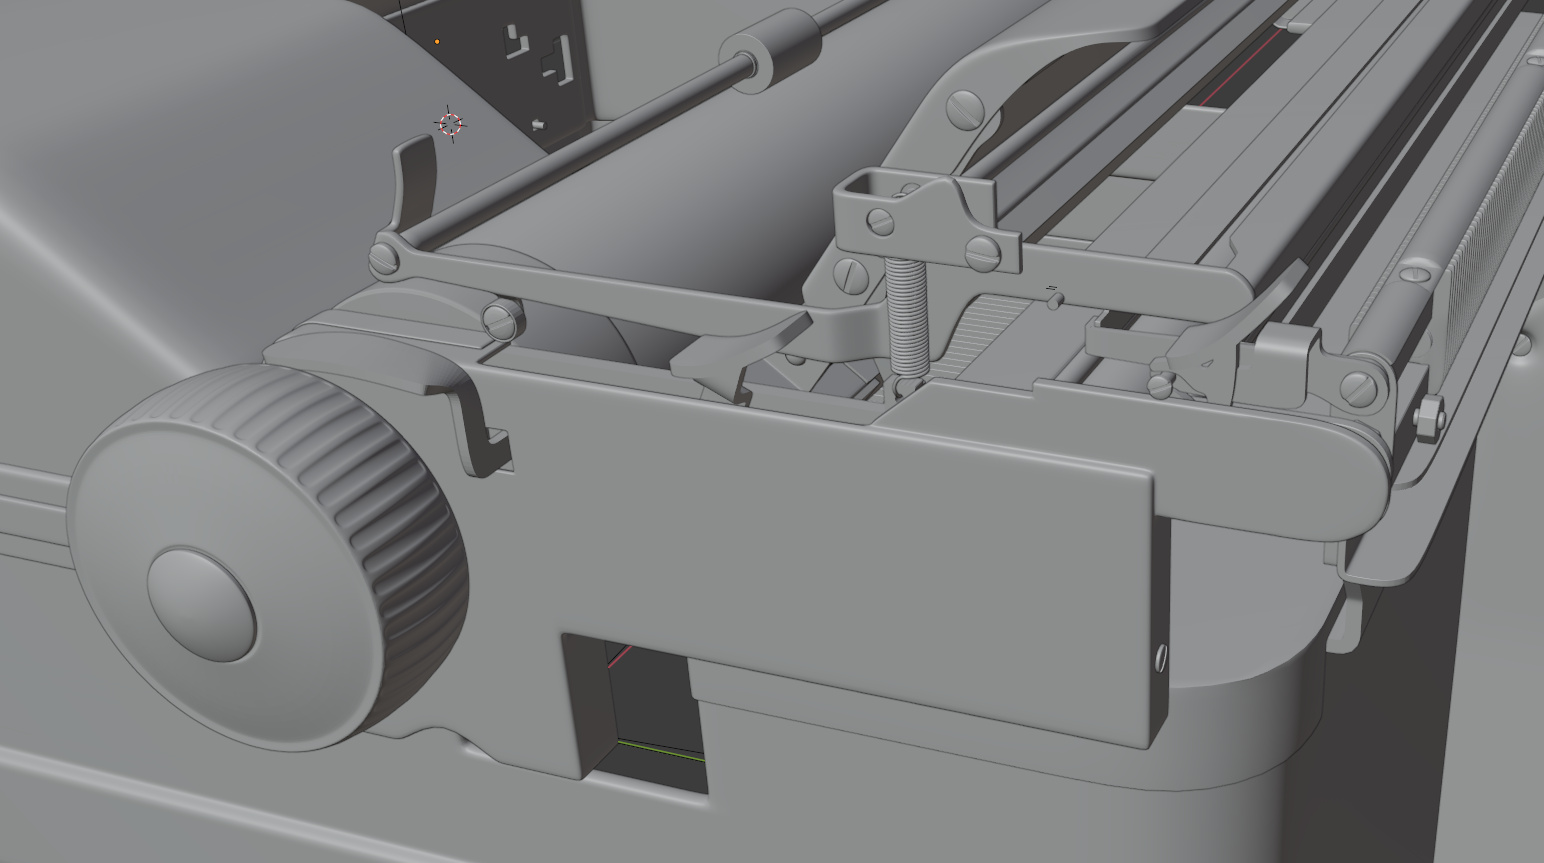
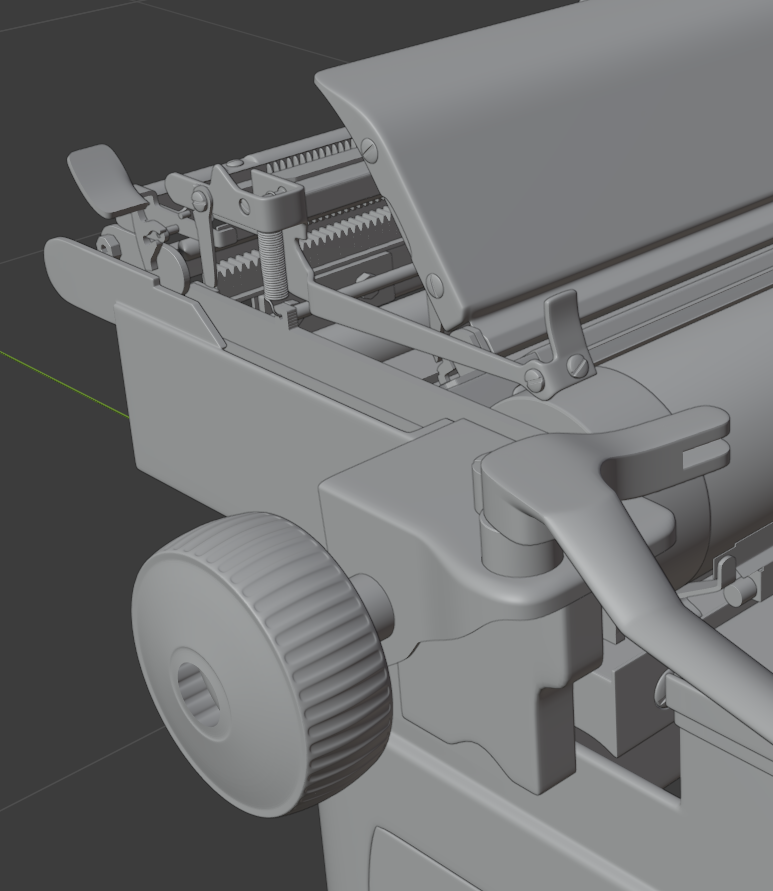
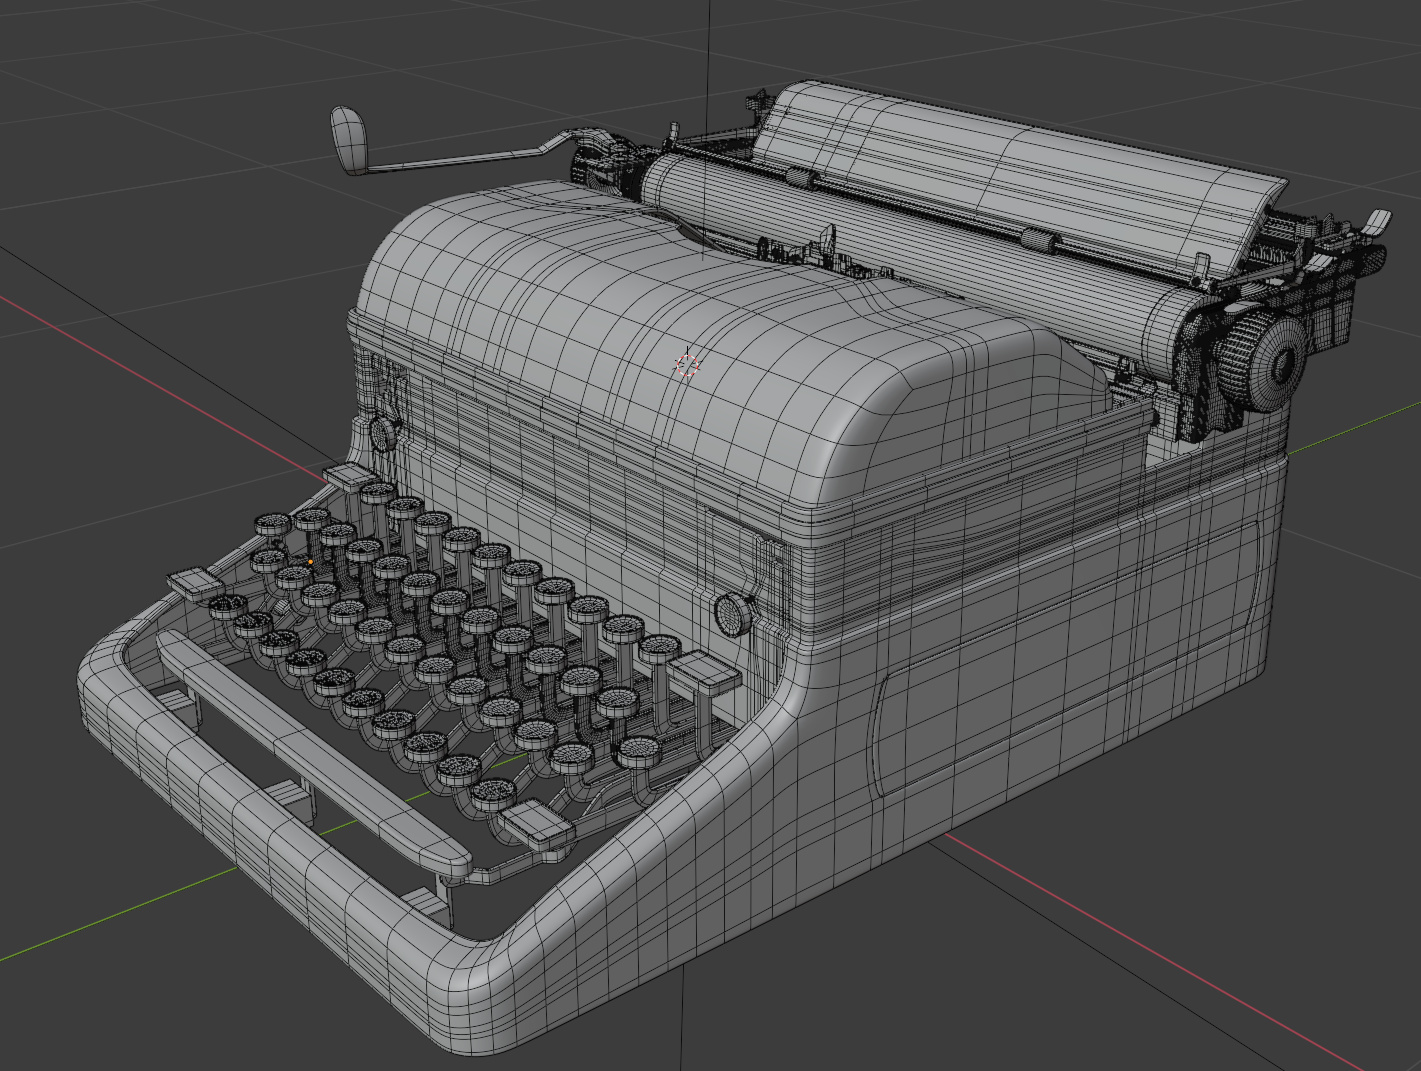
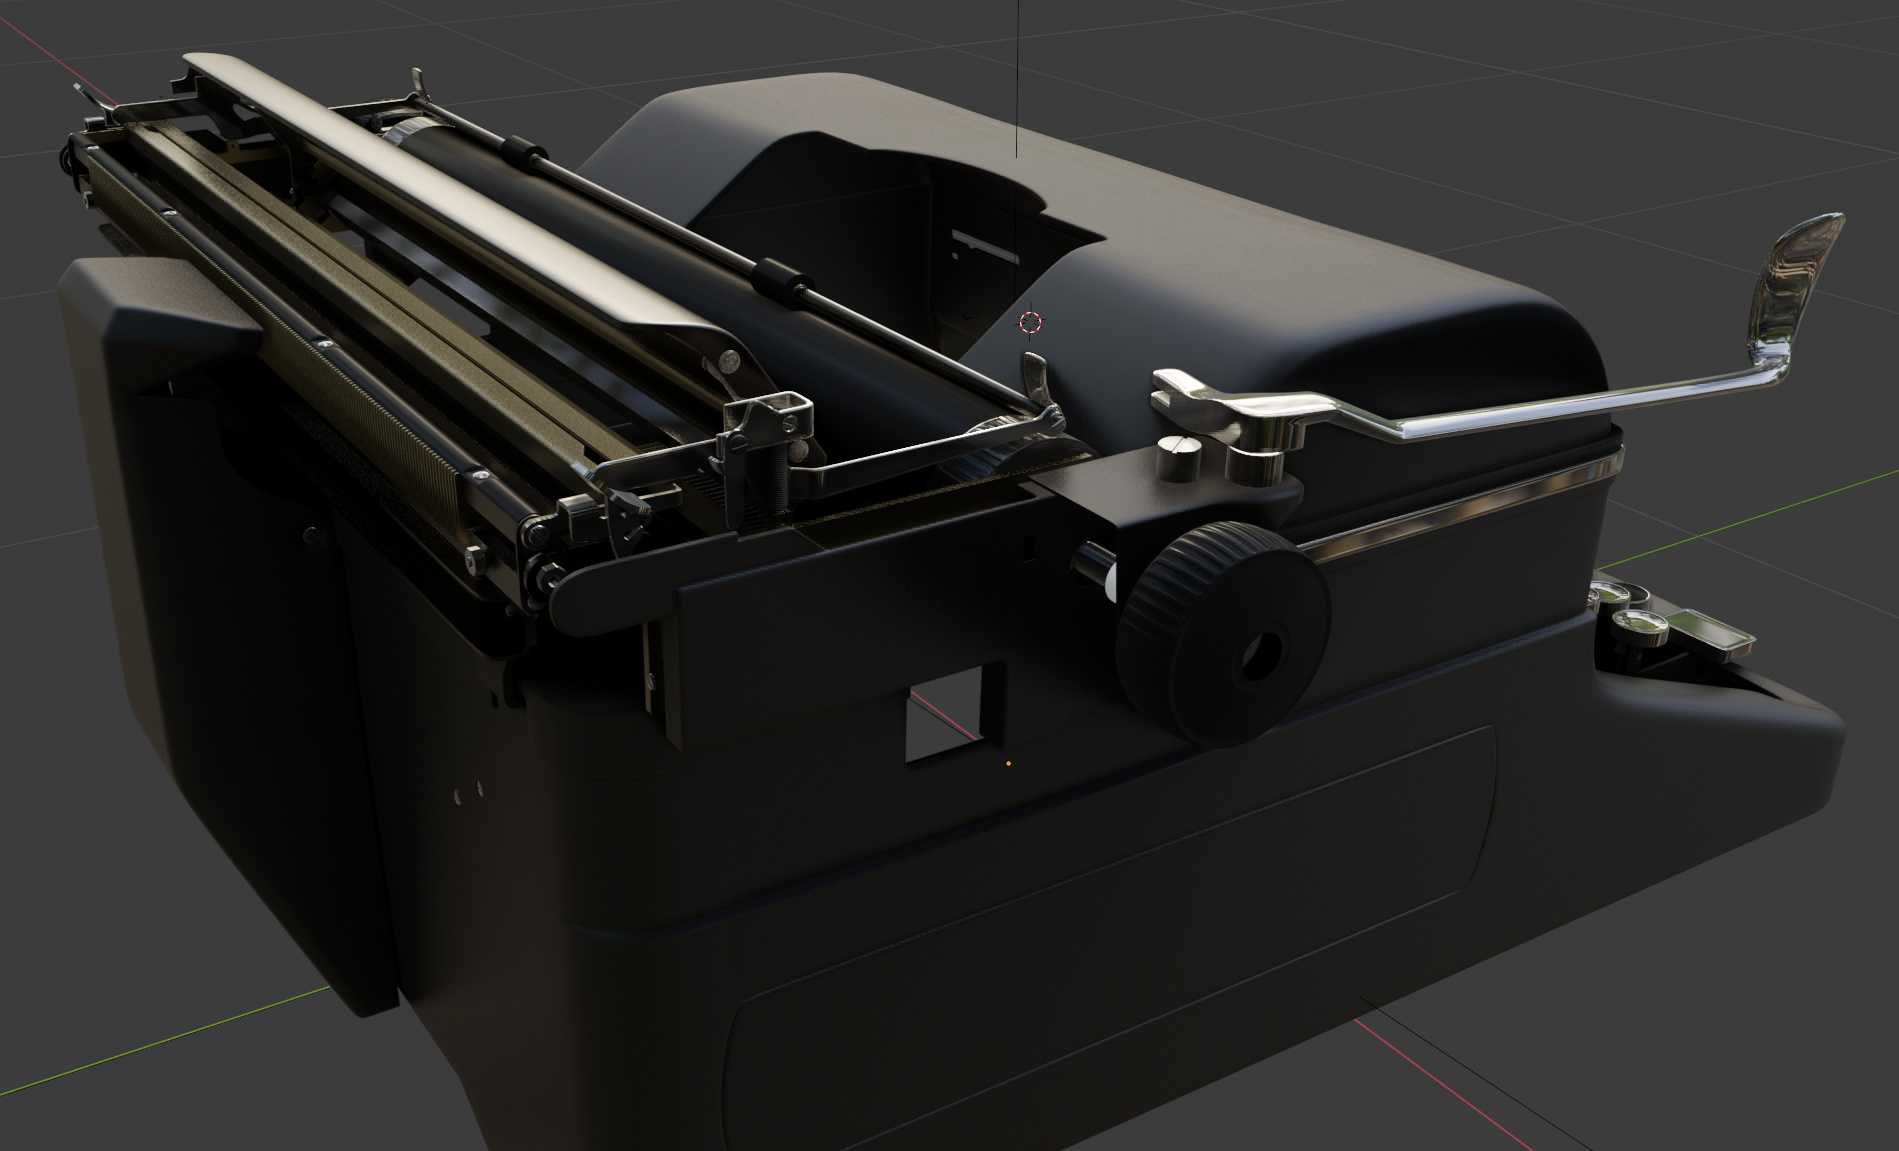
What follows is a typewriter that I have been modeling during my spare time over the past two weeks. It is still very much a work in progress. For one thing it is WAY too heavy. But I am not going to worry about that right now (nor the fact that my topology could be better - it is nearly all quads but the distribution could be a lot more even).
My intent is that this not only be a learning experience for me, but that the model itself be highly detailed. I have to say, so far, I am fairly pleased with the progress.
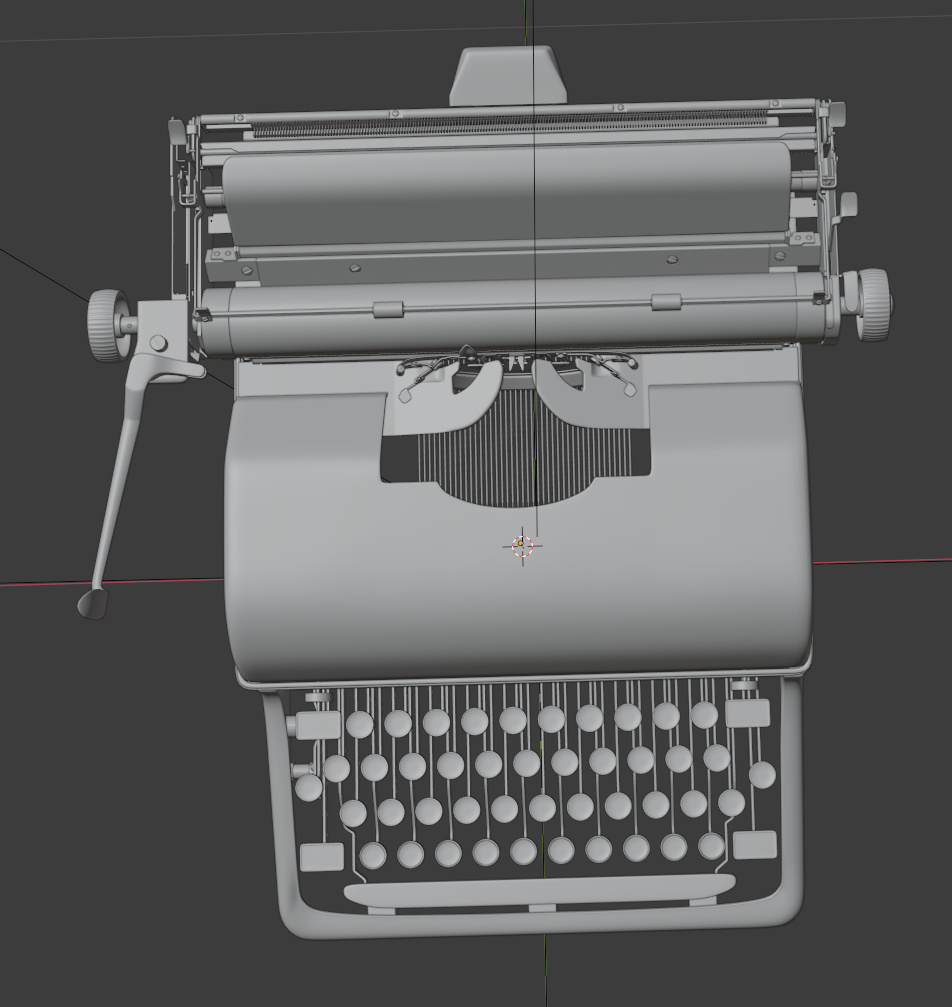
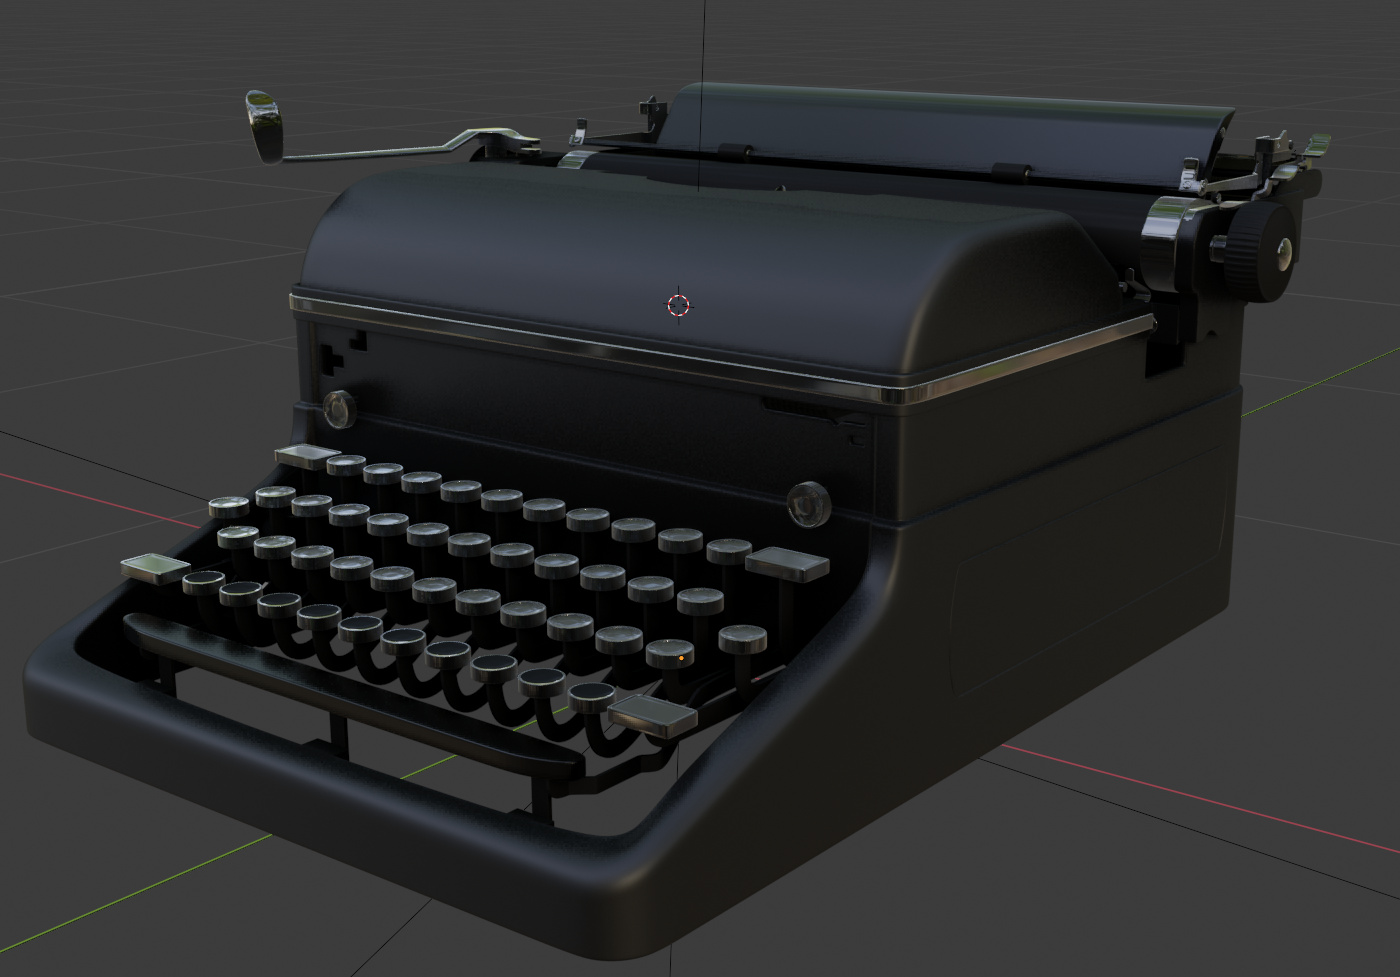
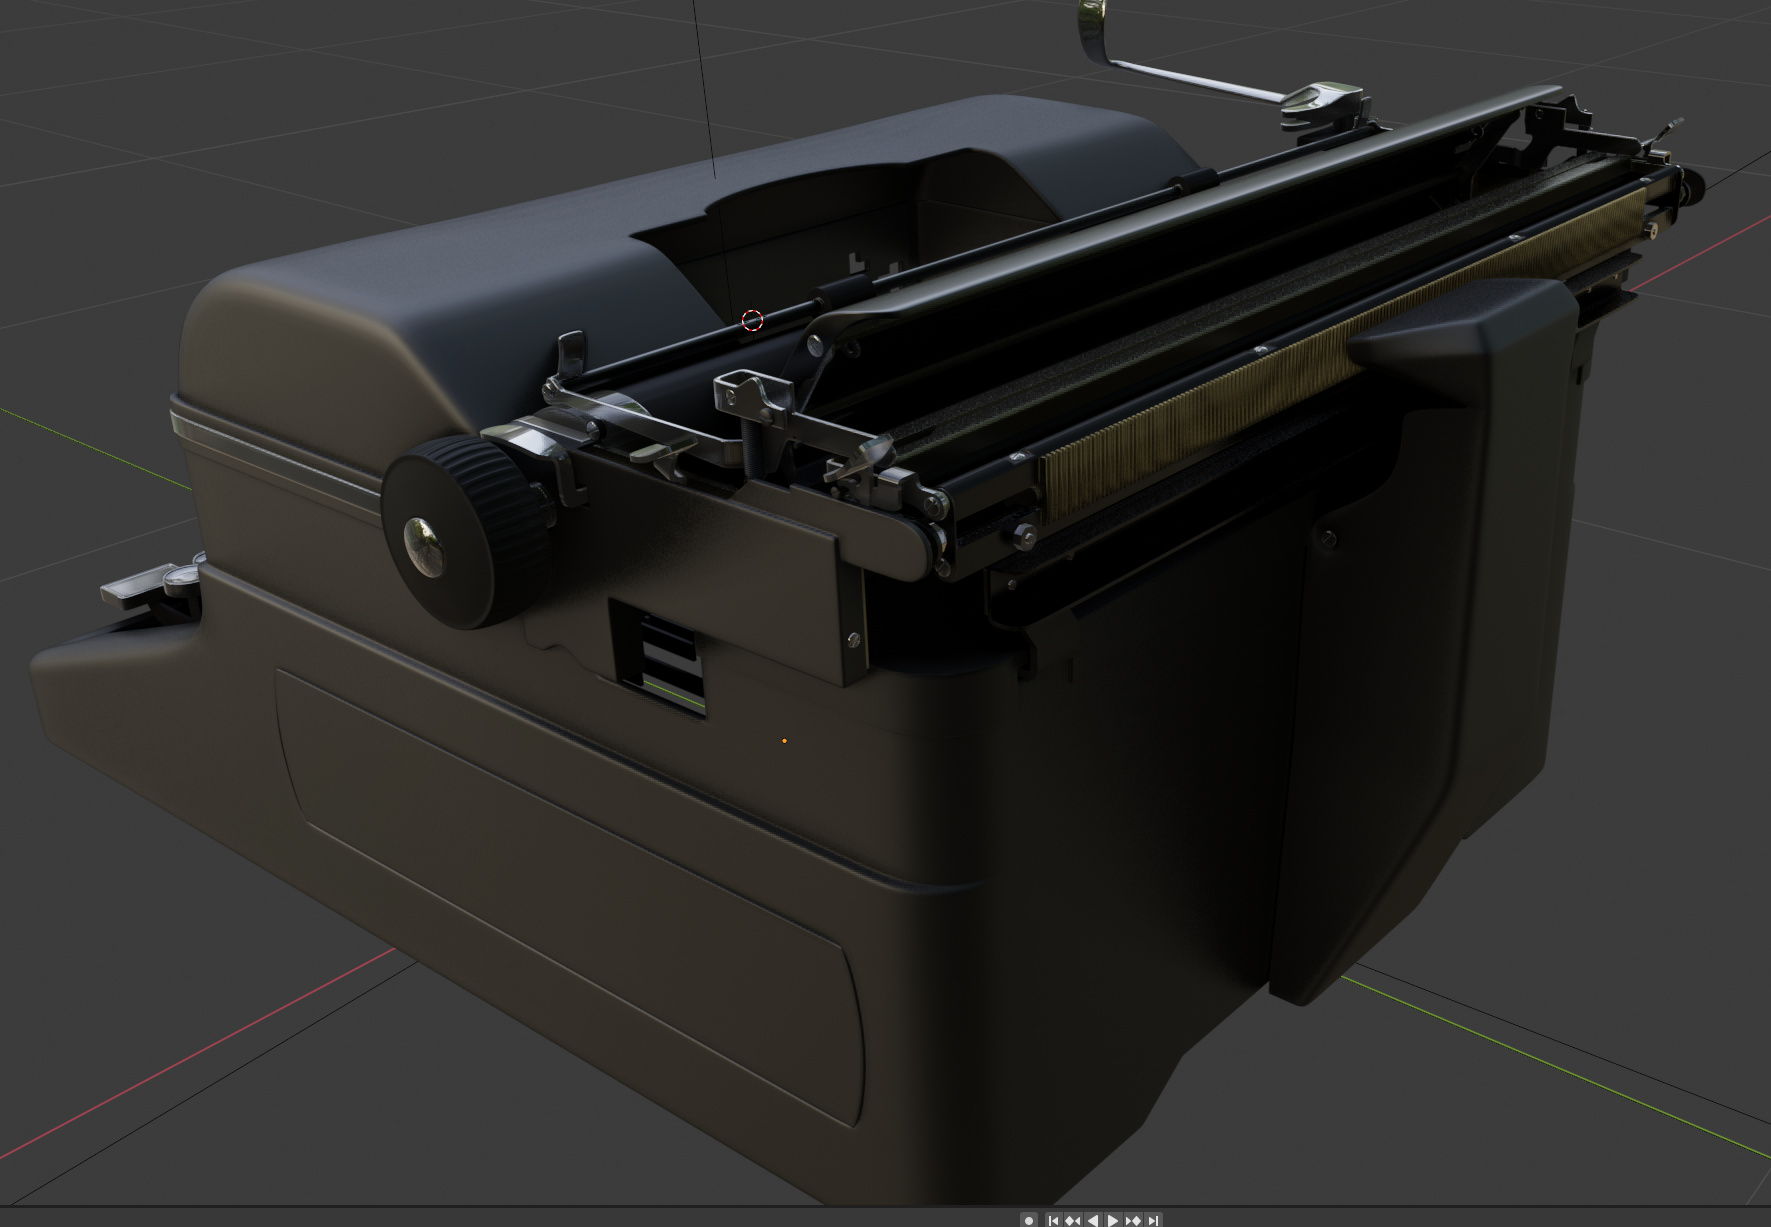
Here it is with just some generic textures thrown on. Nothing even close to the final textures I hope to be creating, but enough to show a separation between objects.
I actually have this typewriter sitting right next to me. I tried to actually take reference photos but I am not set up to do that so it was a lot of just looking at it closely and some measuring.
I am currently modeling some swiss chalet’s for work and unfortunately don;t have the extra mental bandwidth to continue the typewriter just yet. Hopefully in the next month or so…
I think it looks great. You say it’s “heavy” but given the amount of detail I personally think you are doing a pretty good job at keeping the mesh clean.
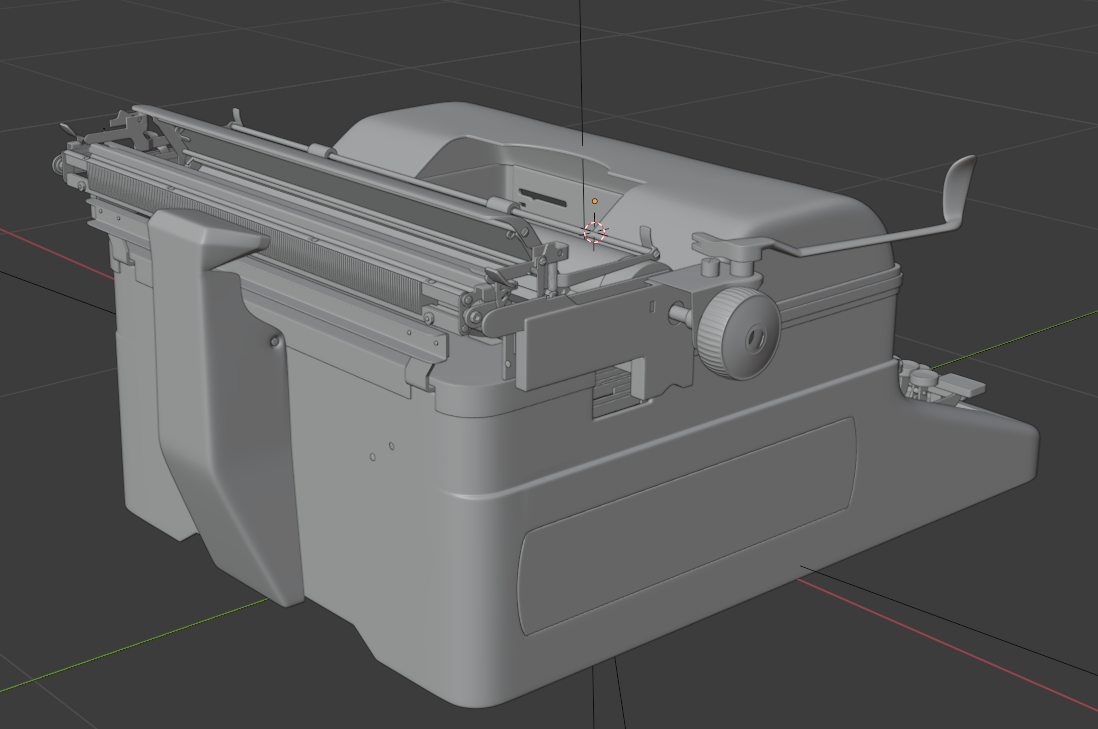
The model is starting to bog down a bit (can’t remember how many faces it has at the moment, but with all of the sub-d’s turned on it is well into the many millions… ha!
I will spend a little time (hopefully) simplifying it a bit. But I am also really wanting it to hold up to close scrutiny so I am not sure how to manage that level of detail without a lot of polygons.
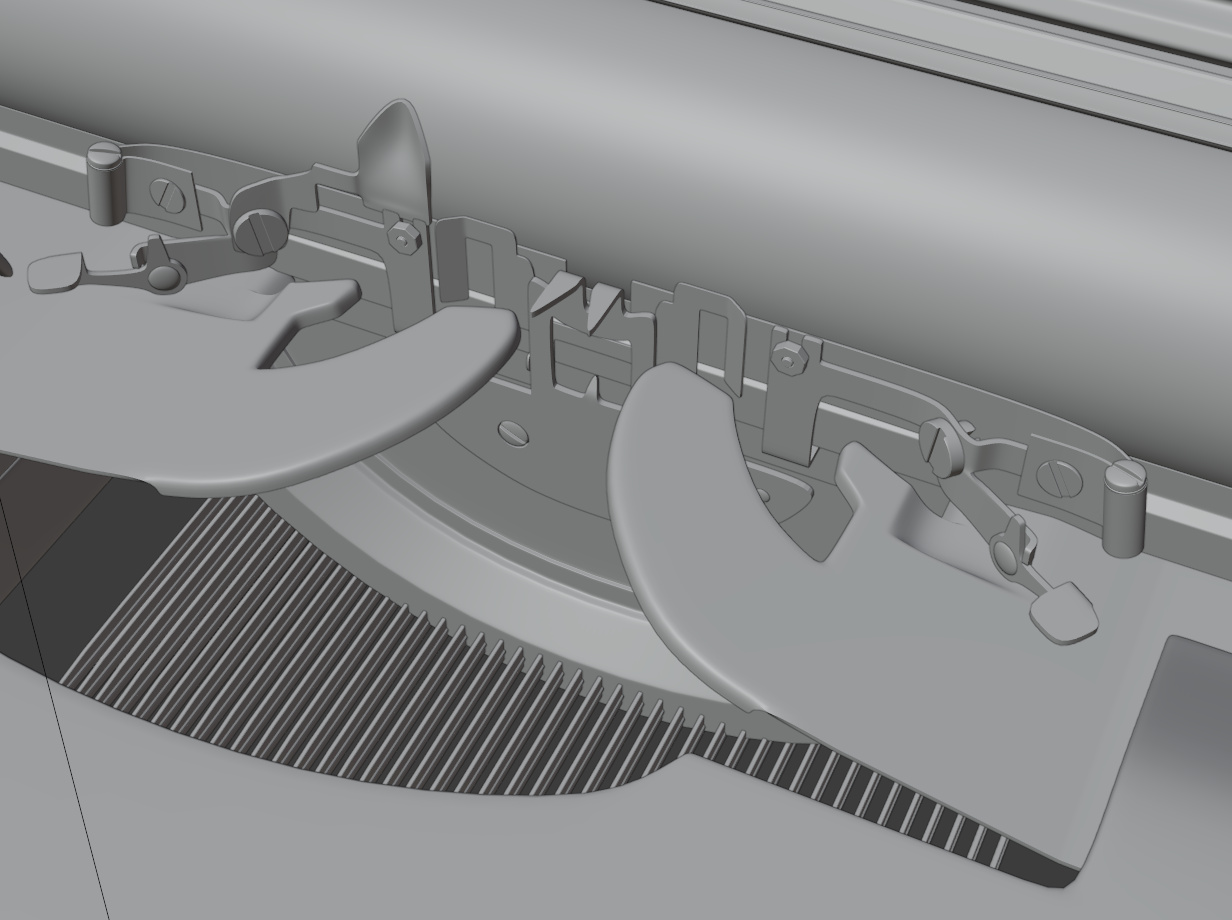
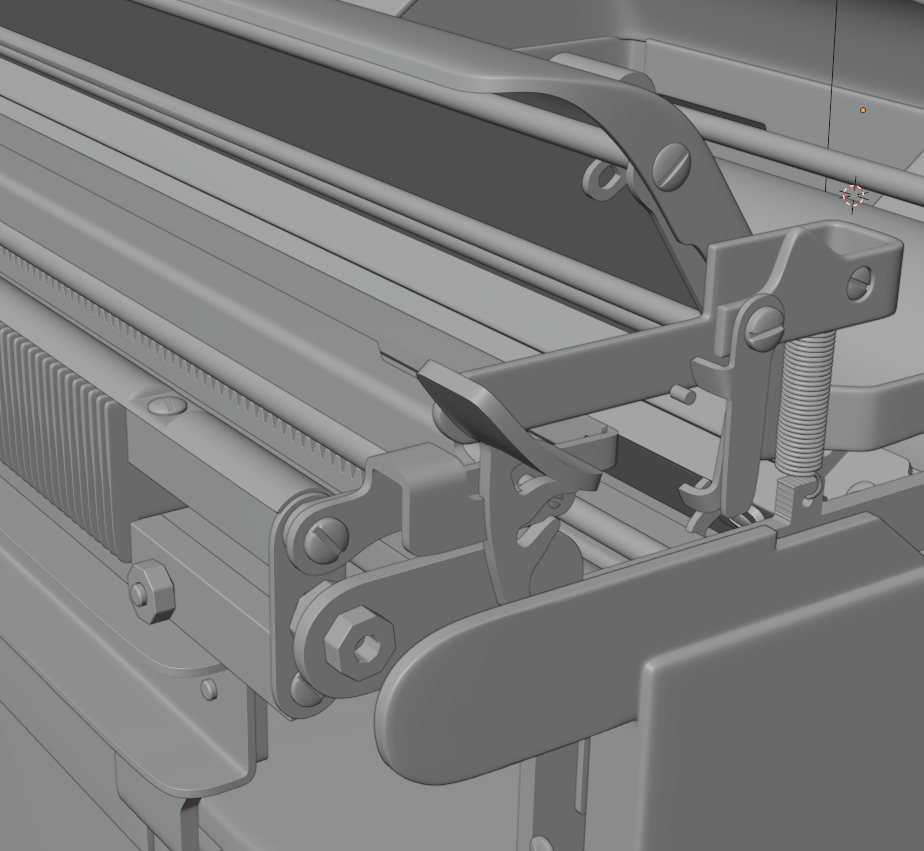
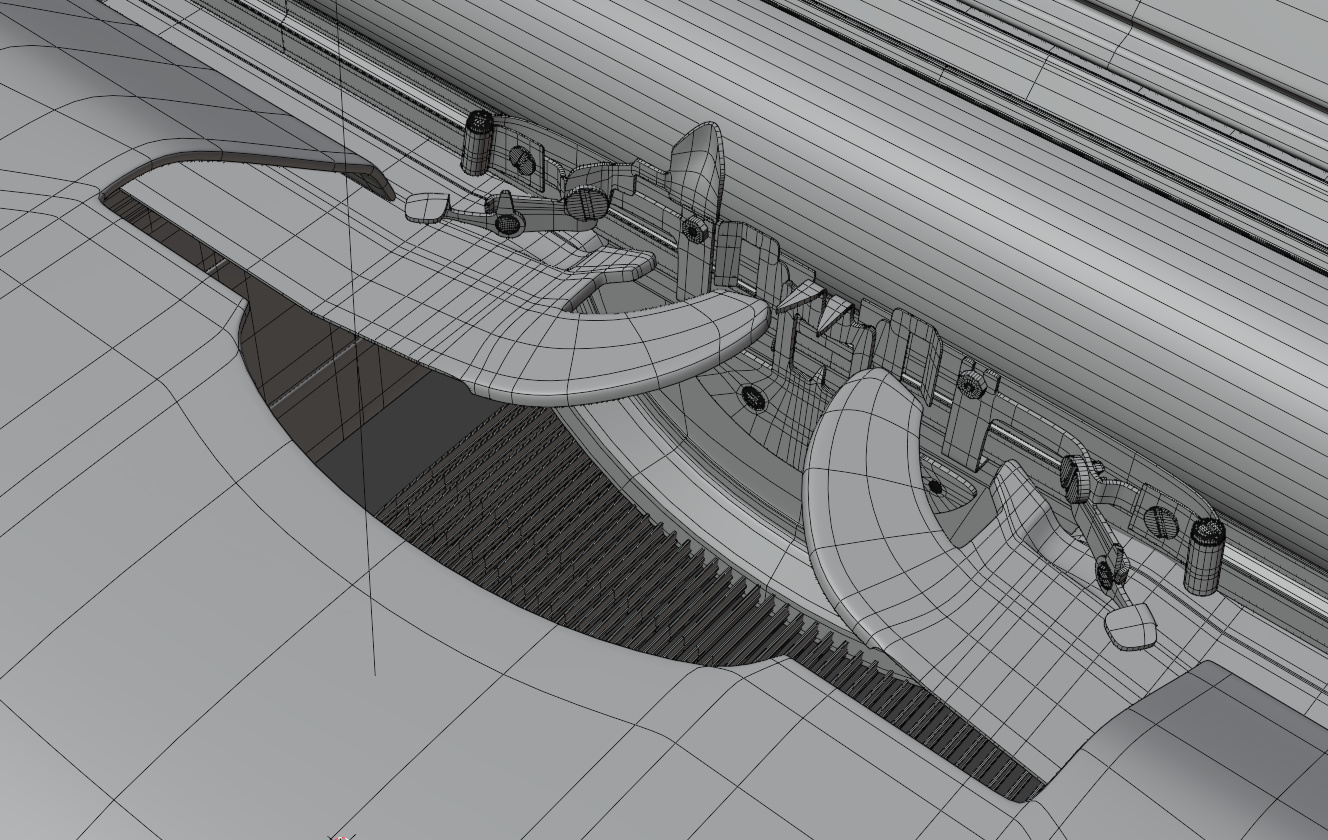
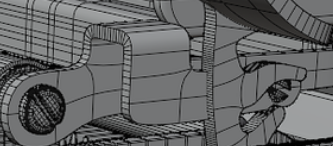
A good thing to learn/practice is to let the subdivision modifiers do the work, and control them with a minimum of edges. That way you can turn the detail level up or down depending on how far your camera is from the object. One thing to realize in terms of “bogging down” is also that Blender might not be showing you all the polys that are actually present. For example, shapes like these:
ALL of those edges around the outside will form polygons within the faces even though you can’t see them right now. Those definitely could be reduced quite a lot.
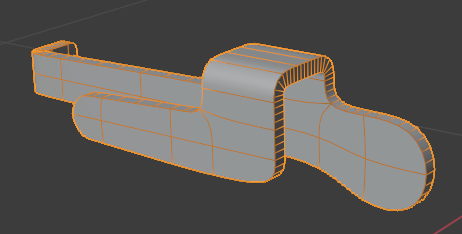
It didn’t occur to me that there would be “invisible” faces until you mentioned it. But now that you have, it makes perfect sense. (I am keeping everything quads as much as possible and the fact that there are non quads in the wireframe view should have been a tip off … or at least I think so).
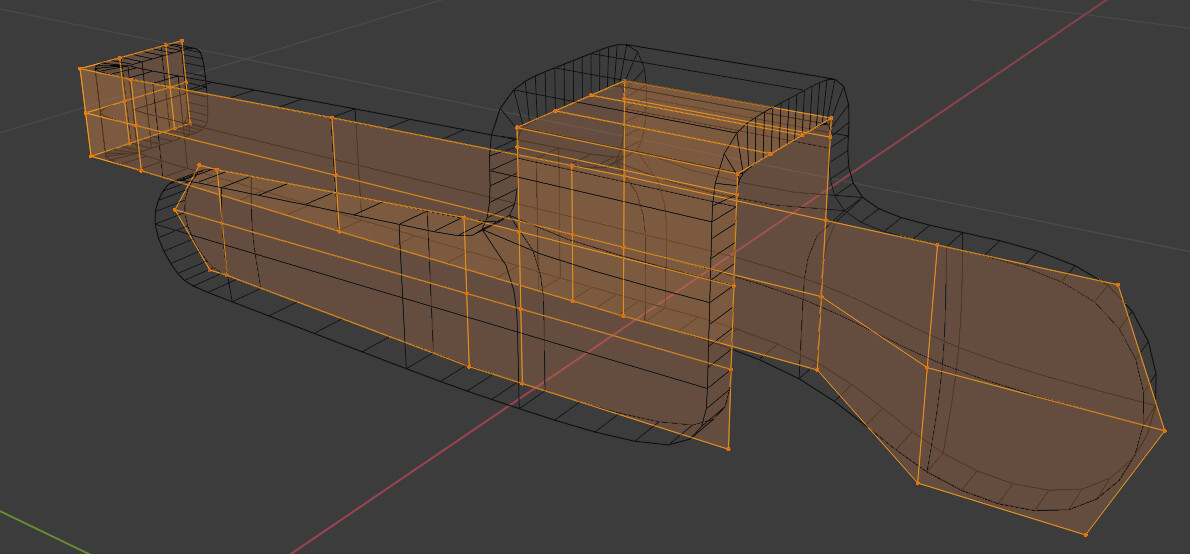
Here is the raw geometry of the piece I think you are looking at. Does this part seem to be following your suggestion of having the minimum number of edges? The one thing it seems to fail at is having roughly even distances between spans.