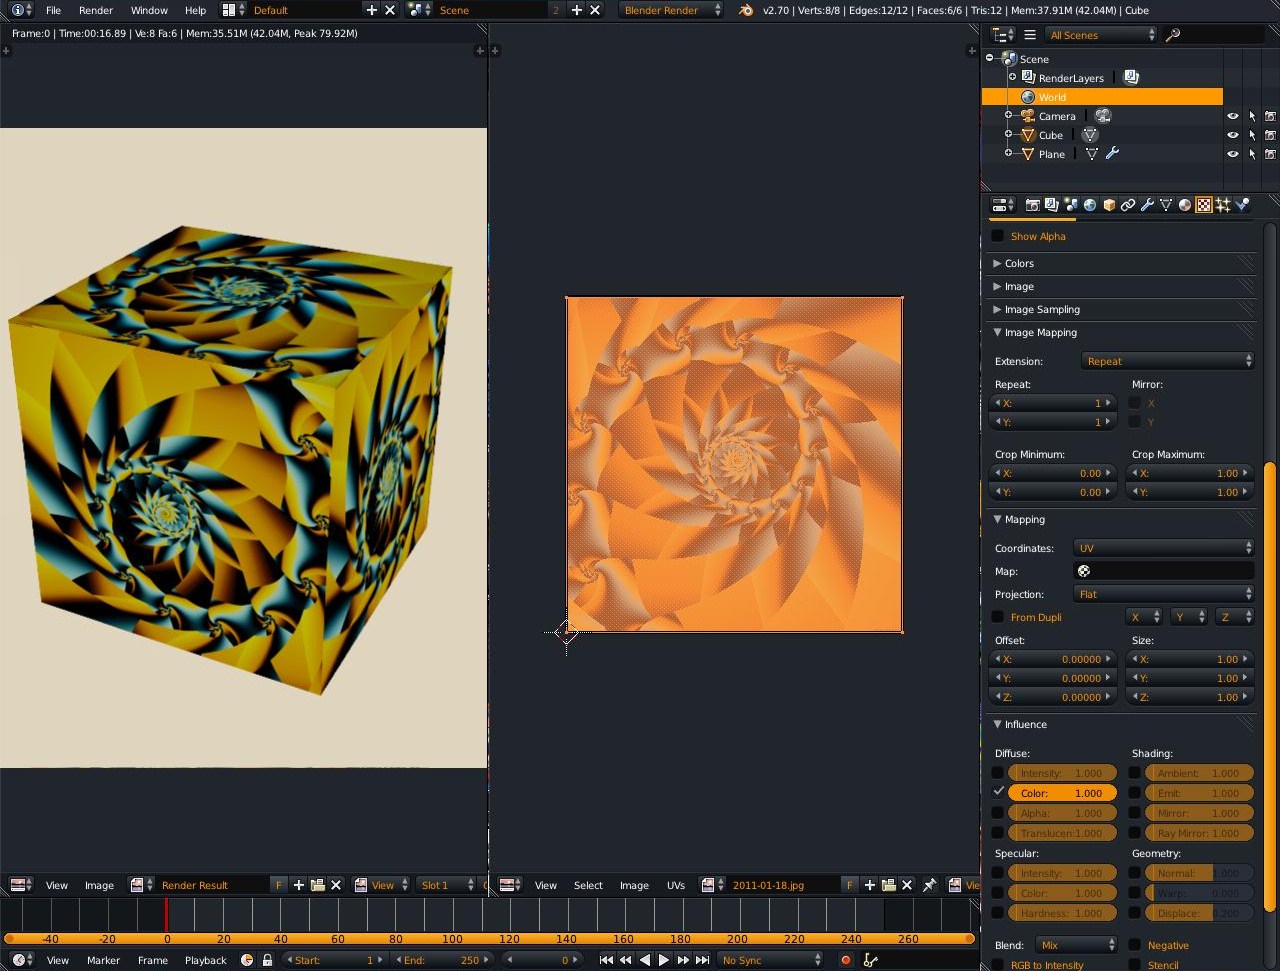
I’m simply trying to apply the same image to each side of a cube.
I am using UV unwrap->cube projection to do this, but am getting weird results. Although all looks good in the editor window in ‘texture’ viewport shading mode, when I go to render (or in ‘rendered’ viewport shading mode) the edges of the top are ‘smeared’ down the sides of the cube (although the top looks fine).
If I select the stretched face and look at it’s UV mapping in the image editor, it appears to be OK, ie: it’s mapped to a square area the size of the image (although not actually ‘on’ the image - it’s to the left, but so are the top face UVs. Texture repeat is on).
Are you by any chance using a very small texture? If you don’t have the right Filter on it, it could cause the image to become blurry or appear “smeared down”. In any case, do you have a blend file of the problem occurring that you could share?
Just select the whole cube in Edit Mode and hit U > Unwrap, with no marked seams. It will stack all the sides and map everything perfectly. Make sure the Mapping Coordinates are set to “UV” too.