Figure studies inspired by the Ama divers of Japan.
“Sunrise Harvest” revised below
“The Pearl Hunter” - Detail

“The Pearl Hunter” - Full render
Figure studies inspired by the Ama divers of Japan.
“Sunrise Harvest” revised below
“The Pearl Hunter” - Detail
“The Pearl Hunter” - Full render
daym, can you put that on sketchfab?
top row material
Beautiful and strong picture, i like it very much !
Keep it up and thank for nice sharing 
Thanks for the kind comments, folks, much appreciated.
@garbagegiraffe: I don’t think Sketchfab, cool as it seems, could handle either the Cycles shaders or the Blender hair system properly. Instead, I made a fly-by of the model in Open GL rendering plus a little Compositor magic:
Direct link to video in case your browser blocks it (mine does): https://vimeo.com/173358227
I’m also considering an animated short on the subject, though the environmental requirements seem pretty daunting.
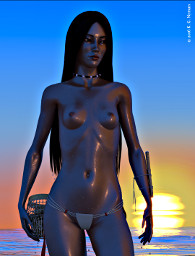
The Pearl Hunter: Sunrise Harvest
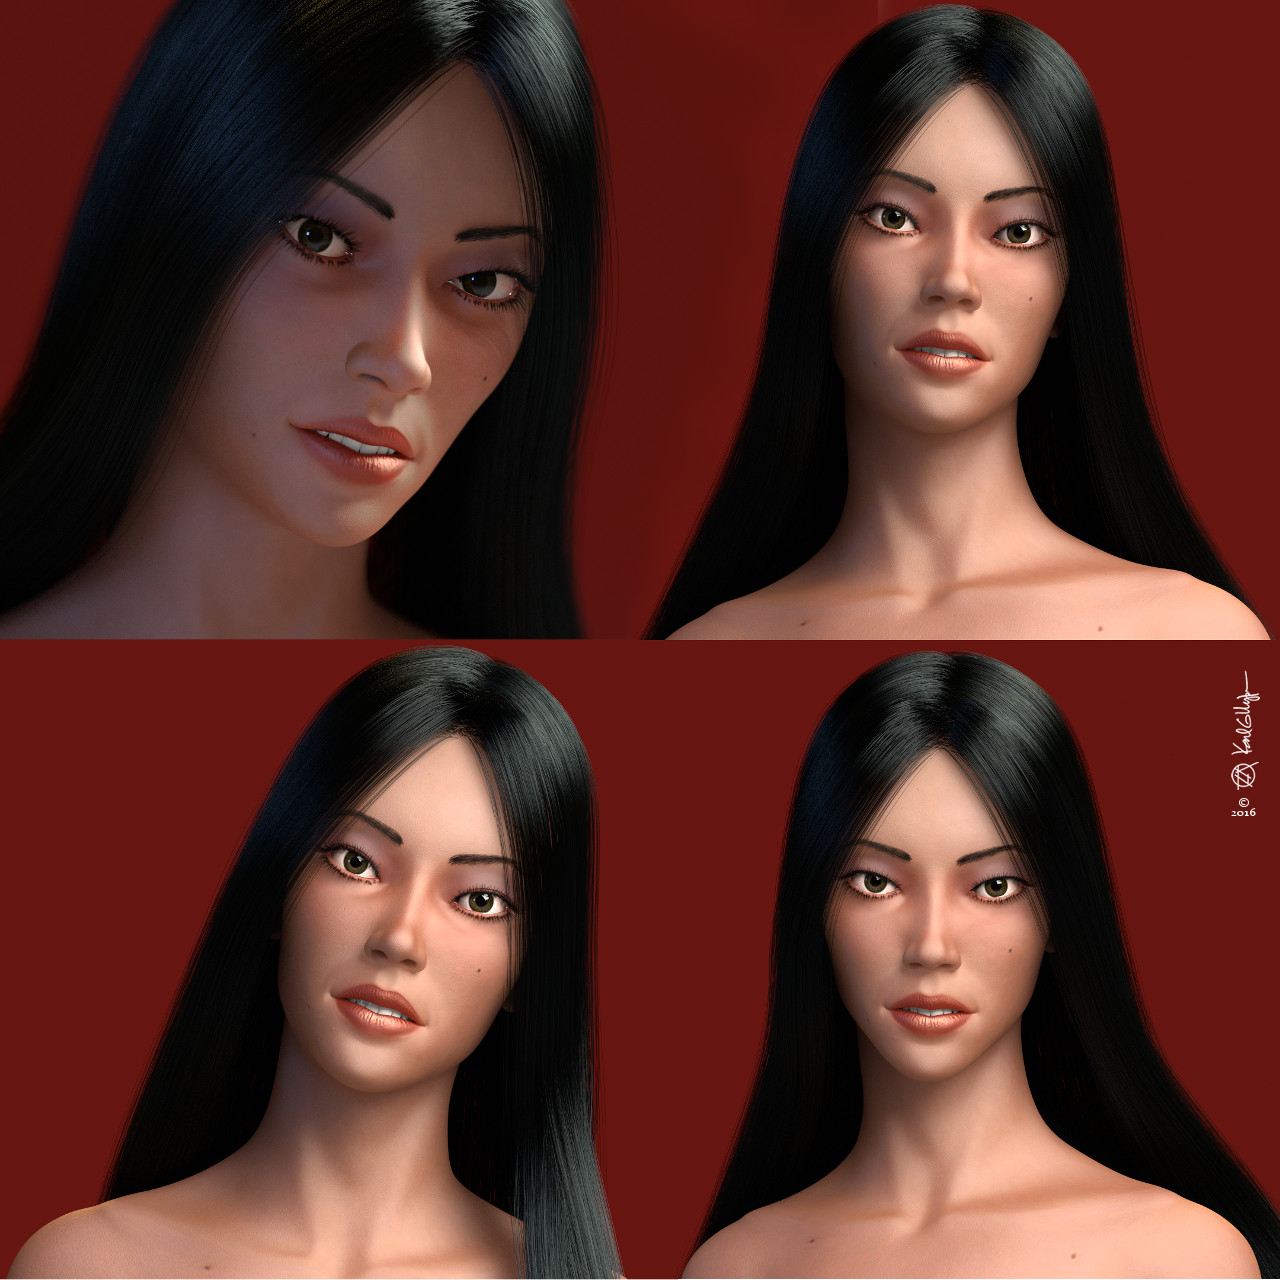
Exploring different lighting, skin shading FX, etc., using the same figure as the subject. Maybe more to come later – like da Vinci, I never feel projects are truly finished, just eventually abandoned.
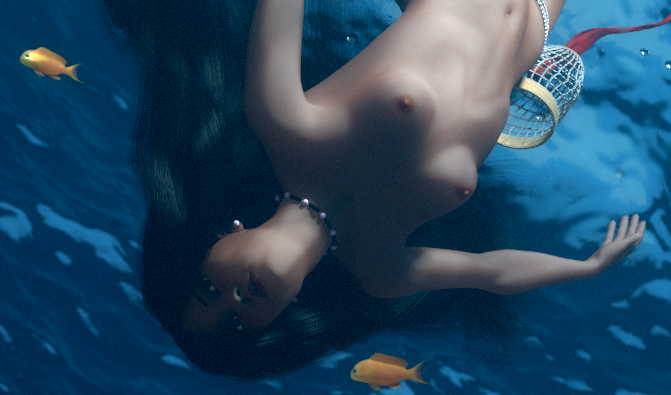
Very graceful figure; excellent job on the face. I love the underwater image. The skin material on the sunset picture isn’t quite right, but the colors and the shot are excellent. Good job.
Thanks, lhumungus, comments are appreciated. “The skin material on the sunset picture isn’t quite right …” – I agree 100%. I spent the majority of my time for that image testing and tweaking a “wet skin” look for Cycles, never really nailed it. Having set it aside and looking back with less strained eyes (heh) I see a few other things to try, may revisit it in near future.
BTW, since you liked the face, here’s some portrait shots for you:
I had time while rendering another project file to revamp the wet skin shader for the Sunrise Harvest image, with much better results I think:
I rendered this image at twice size due to significant noise issues, but this new shader seemed to tame that a lot. Here’s a full-size detail from the rendering after some Despeckle work in Gimp:
The specular component of wet skin is a lot more complex than I originally anticipated, requiring significant changes to the basic shader values for Glossy & SSS factors, but in the end, it was worth it. Most importantly, the changes were all done within the framework of the fundamental skin shader tree I developed for my Universal Figures project.
sorry to say it but i don´t like it. the upper section of the body doesn´t look natural. if you can see the thorax, you normaly see all rips. the breasts look somehow out of place. if you keep them this size, they should be less centred. the lighting is also strange. you got the sun in the background and you got a lot of highlights on her skin but the rocks around her are not affected or nearly not affected.
Regarding the shaders, I think the wetness is too uniform. There should be areas which are immediately dry after she’s out of the water because of the surface tension.