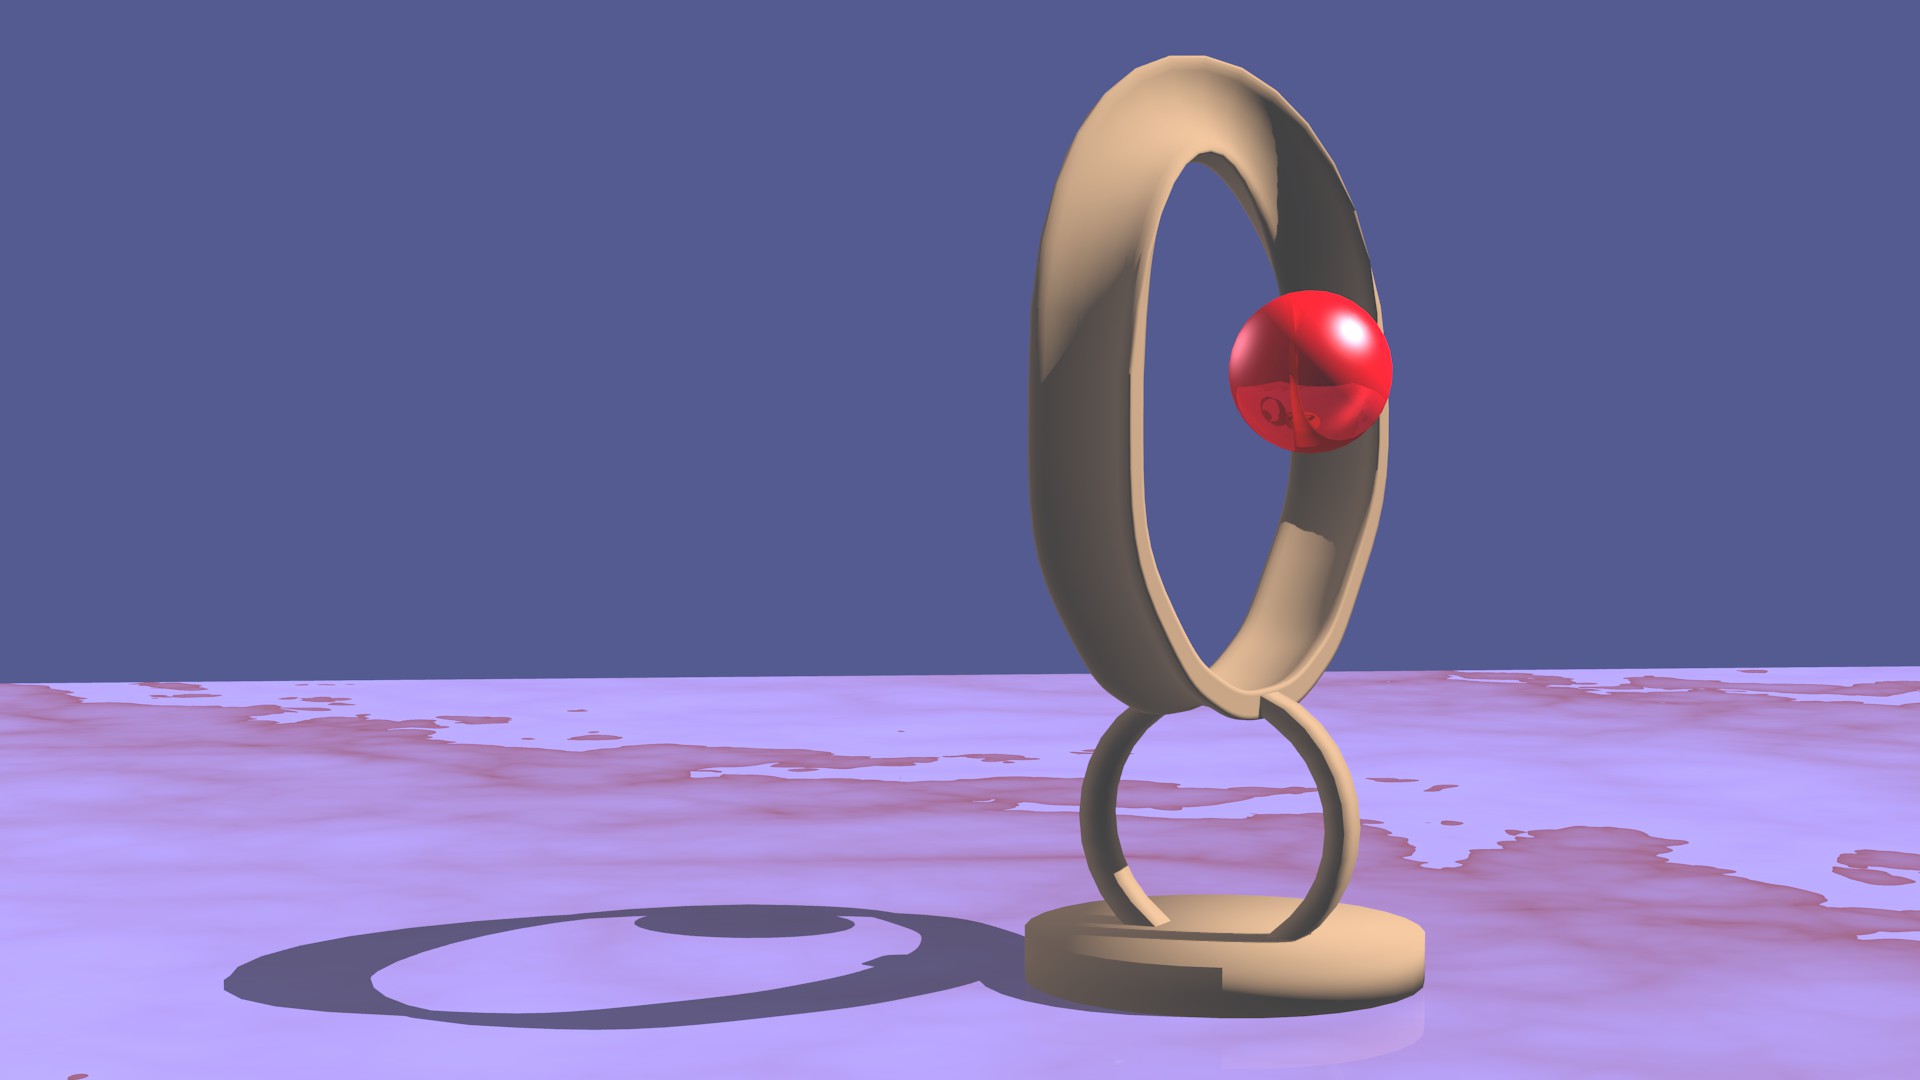
I am working on what I hope will be a short tour of the Temple of the Tenth Muse (there being no classical Muse associated with computer art). Part of the temple will be a ball (or balls) traversing a complex path. To do this I needed to make a ball traversing a Moebius Strip. The animation below was my first successful effort to not only do such animation, but to rotate it on a base and to move the camera around while doing so. Done in BI and with only a blank sky. I still have to figure out how to make all the curves smoother. I actually like how the ball reacts to the tighter bends, but it’s not totally the look I’m going for.
Also this was done with Windows Movie Maker to get a reasonable sized film and to put the music in. I couldn’t figure out how to get Blender to export the file with the music.
Comments on how to twist a curve with some uniformity would be appreciated. Any other comments will be happily read as well. And don’t bother pulling punches with the noob; I need criticism to learn.
I note I have a decent number of views, but no comments. Perhaps my request was too general. So here are a couple of more detailed:
I note that my export to YouTube lacks the fine detail that I see in other peoiples exports. Knowing that I can’t get full detail, what are the best settings to use before uploading to the YouTube?
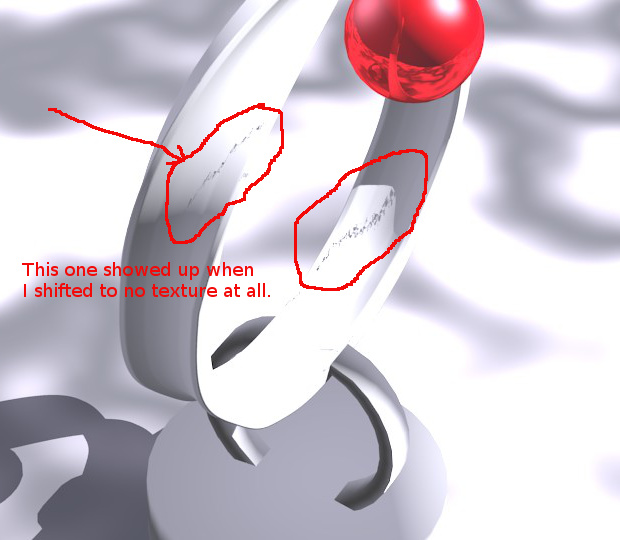
Second, while looking at it myself, I noted a flaw in the texture in certain places, and I’m not sure what’s causing it. See the pictures below. The mesh is quite fine (generated from a curve and a bevel and un-modified since that generation, and this doesn’t look like the usual case of creases.
That should be due to overlapping faces, (or concave n-gon with overlapping triangles on internal subdivision), look for long/rotated edges at those places, also try and look at the topology with a subsurf modifier applied, it can help to detect issues.
Not quite sure how one would “look at the topology with a subsurf modifier applied”. However, in looking at the mesh I did see that the curve that I had generated the shape from had left a lot of doubled up nodes. I did a remove doubles and got a lot of open faces. Filling them in with a simple “F” command took forever with the whole item selected.
Filling the faces is taking some work, but I suspect that your comment was correct. Thanks.
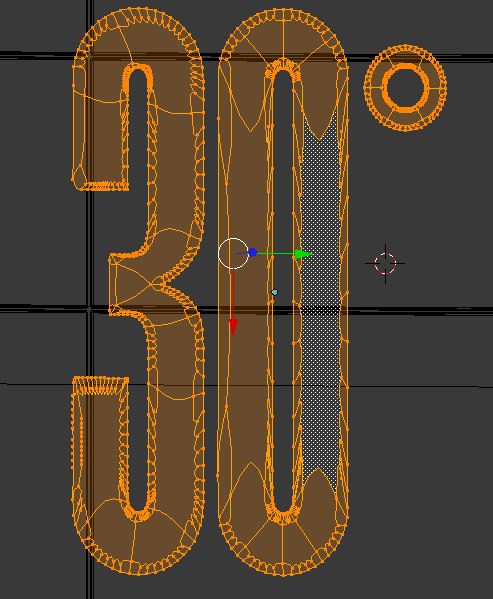
I rather suspect that in my case I should simply use a lower set of values for the rendering of my curve and the bevel modifier. My curve had well over 50000 vertices when it got meshed.
I just discovered that if you have the addon Add Mesh: Extra Objects activated (it’s in trunk), there is a Twisted torus mesh, that is just a Moebius torus.
You can make its section squared (minor segments = 4), then deleting all polygons but one closed stripe, you can extrude it again, or add a Solidify modifier to get the desired Moebius strip.
I’m not sure what you meant by points here, unless you mean control points for the Bezier curve. I needed more than four because of what I was doing with it.
I was opening it up, twisting it 180 degrees to make the Moebius pattern, moving the loose ends close to each other, then doubling it, twisting the whole doubled curve by 180 deg. and joining it again so that I could make the ball follow the Moebius pattern correctly. However, by duplicating the animation curve, removing the second loop of it and then forming the mesh out of that, I got a clean mesh that surfaces well, as you can see from the picture. I used U=8 for the curve and U=3 for the bevel. (Where is the V?) I can see that the curve isn’t quite smooth near the top where you can see the polygonal outline, but the funky spots are all gone and it has only 4300 verts instead of the over 50,000 verts of the former model.
With ‘V’ I was indeed meaning U for the Bevel, sorry.
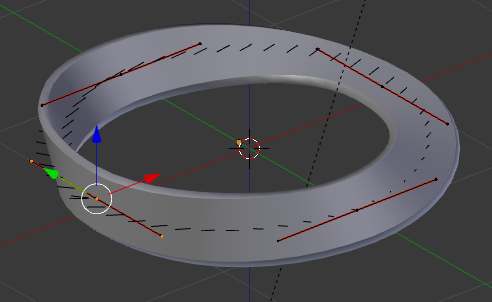
What I notice is the curve has not a regular shape, apart from the polygonal edges; that’s why I suggested to use the less control points as possible.
Here I used 5:
Yes, I was aware of the problem with the irregular shape. I was using more control points because I was having immense difficulty duplicating a handle to get that fifth control point. I think I just have to practice. :yes: Your strip came out the way that I wanted mine to look (with a different bevel shape of course). In the end, I will be creating a much more complex shape, but that’s for later.