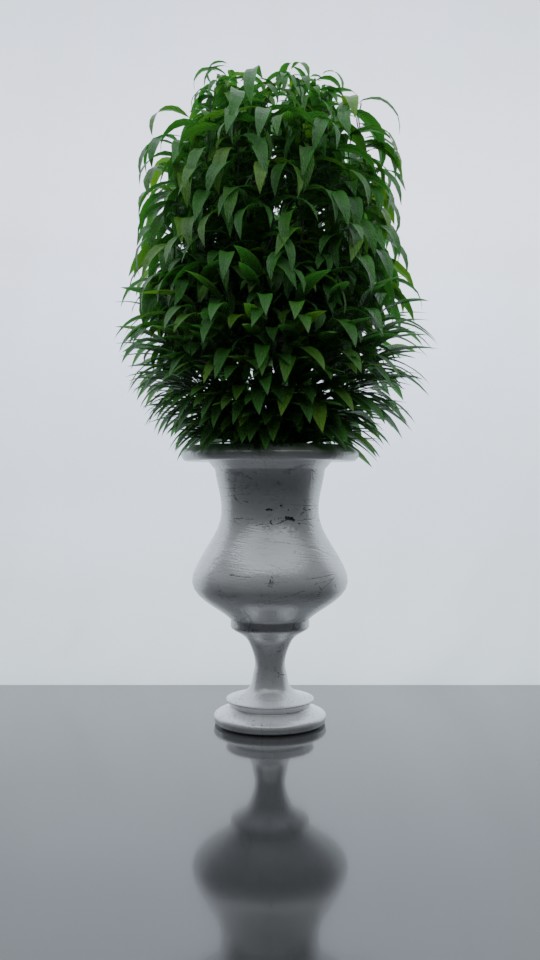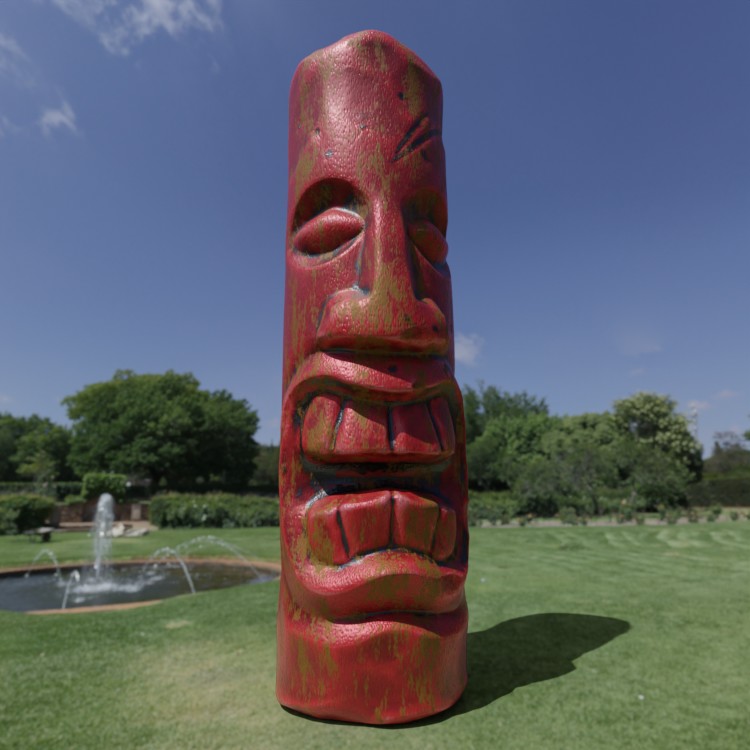
tiki statue.blend (2.9 MB)
Hey, I see some nice stuff here. Keep 'em coming!
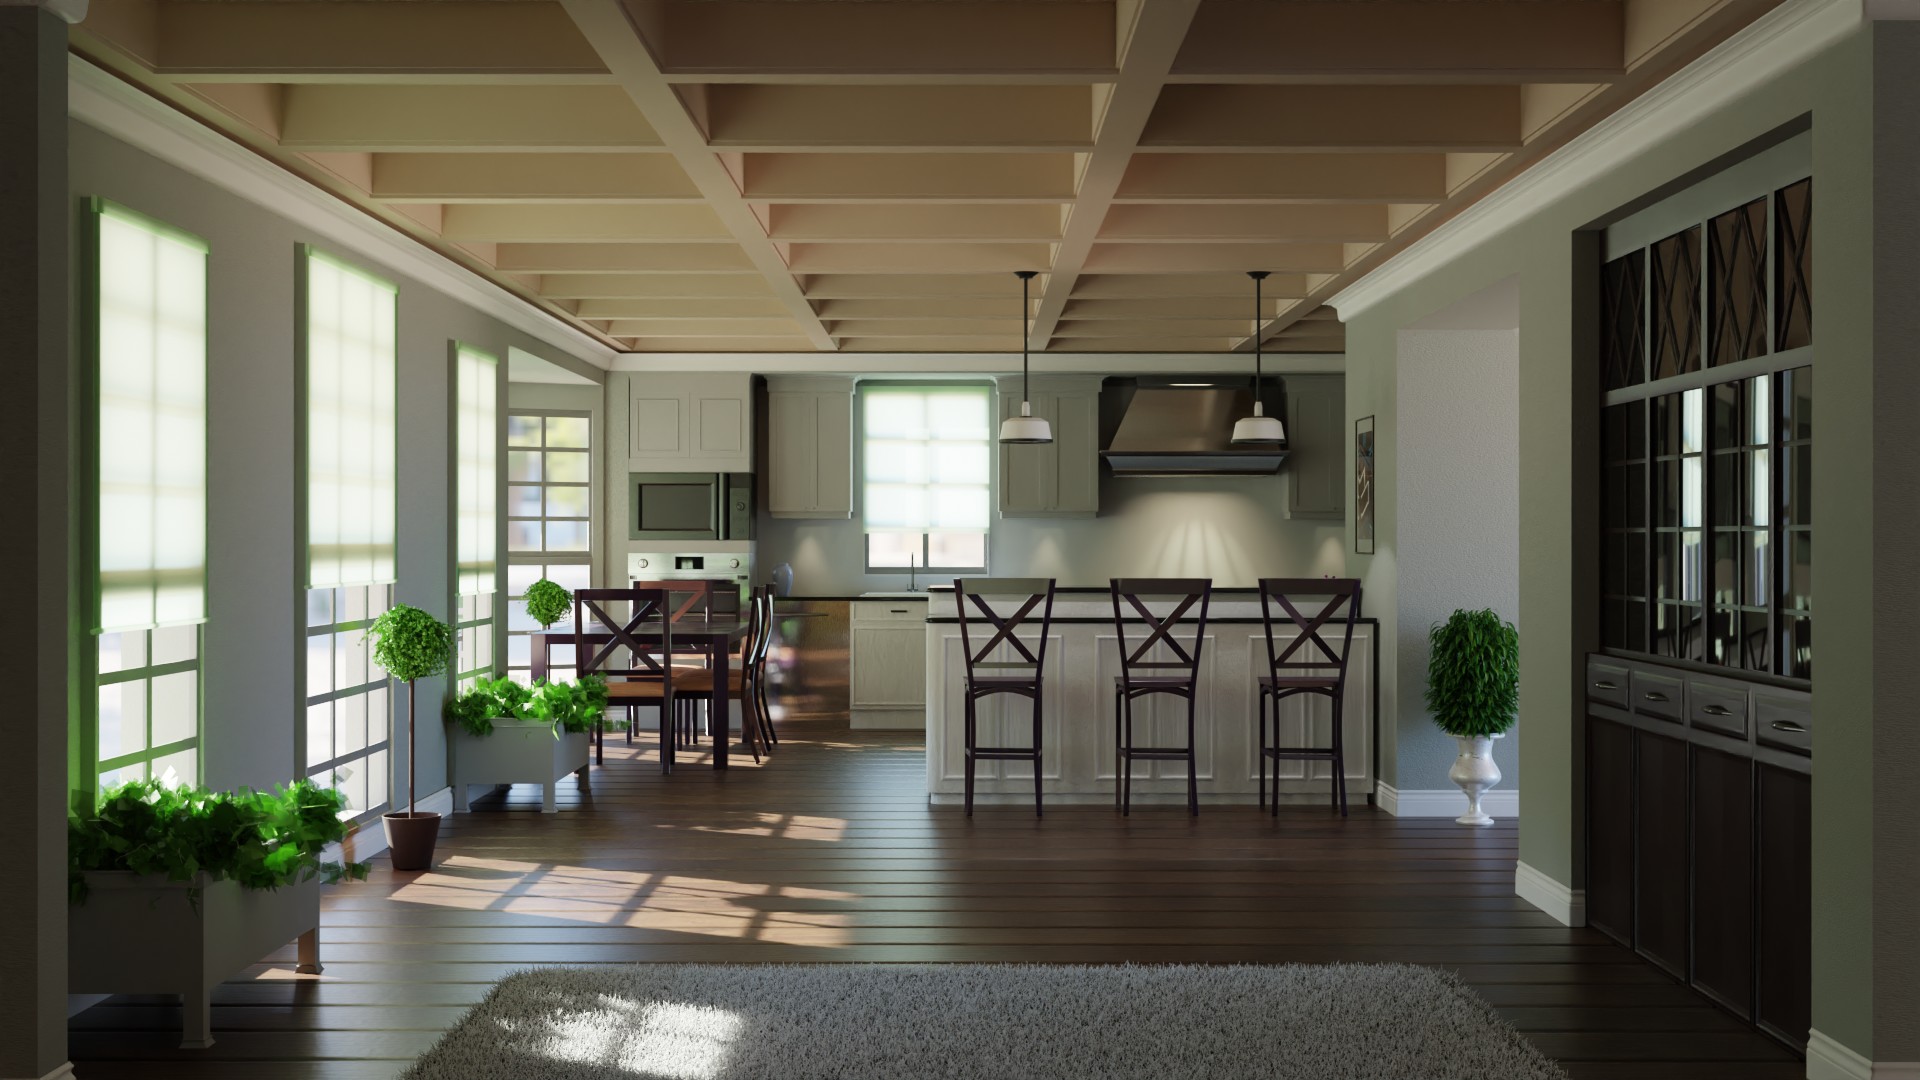
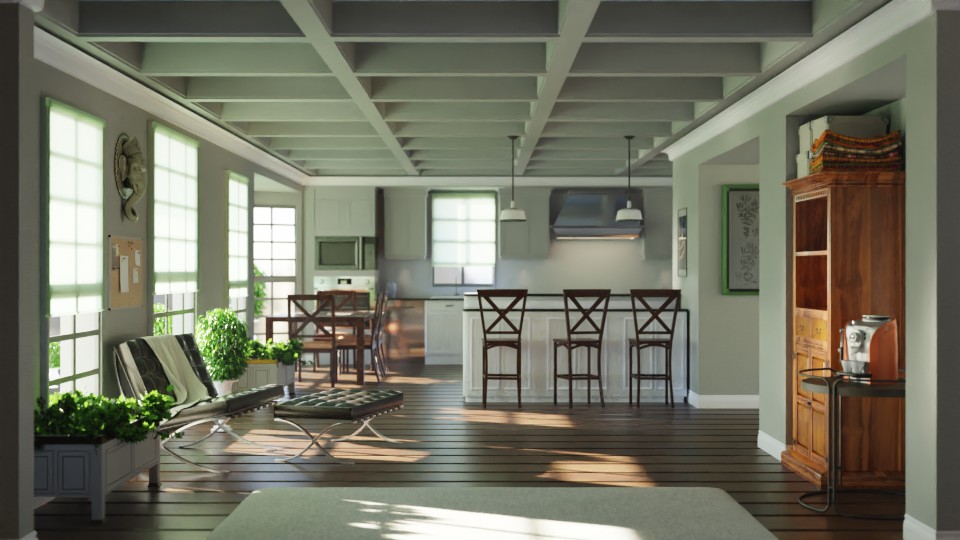
The progression is amazing on your Julie’s Kitchen! And the design über cool!
Great stuff. Really love that interior. Super fun. feels like a miniature and is super cool! 
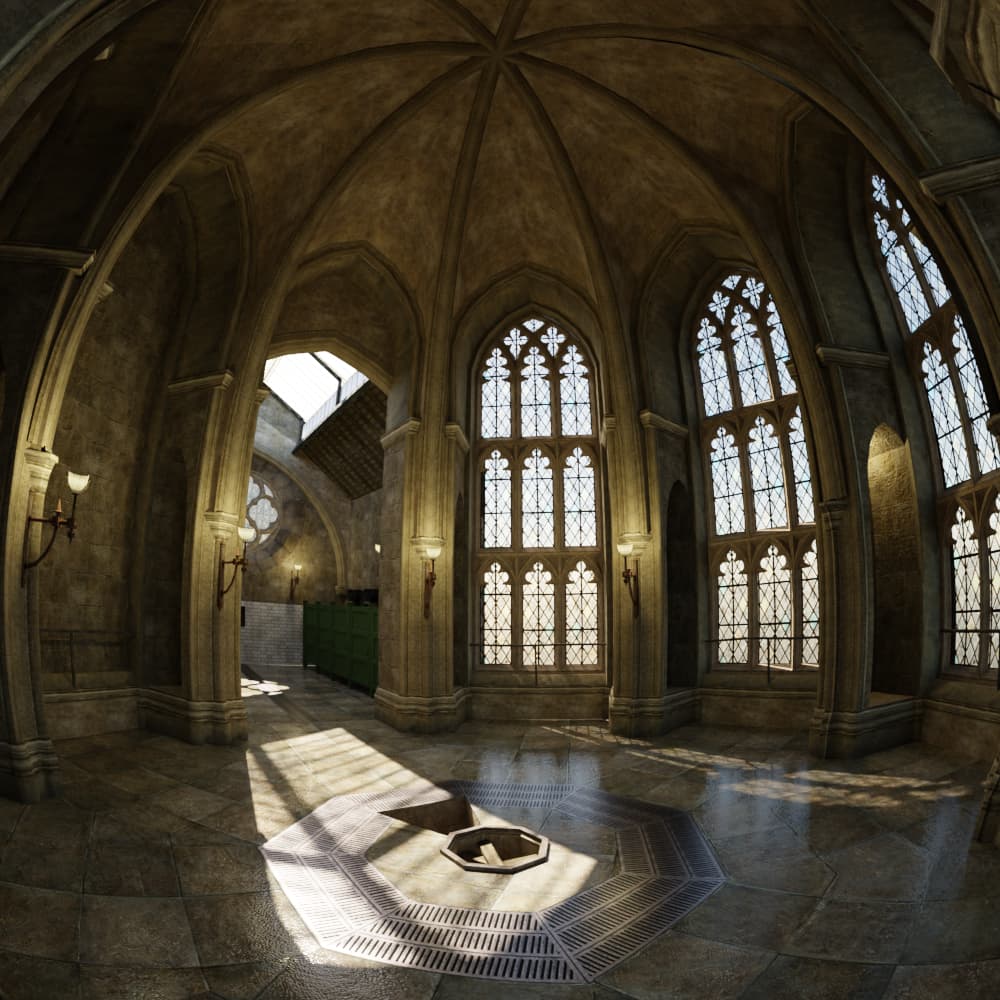
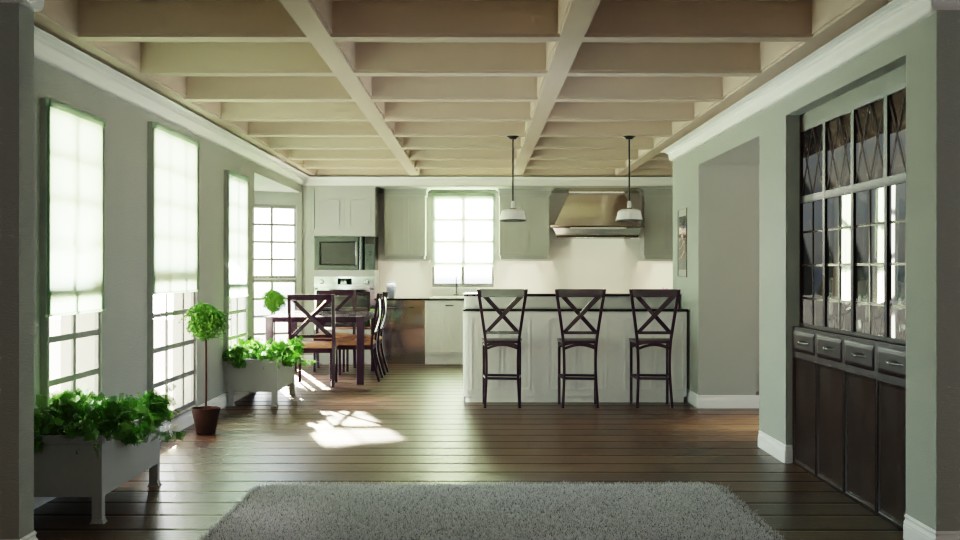
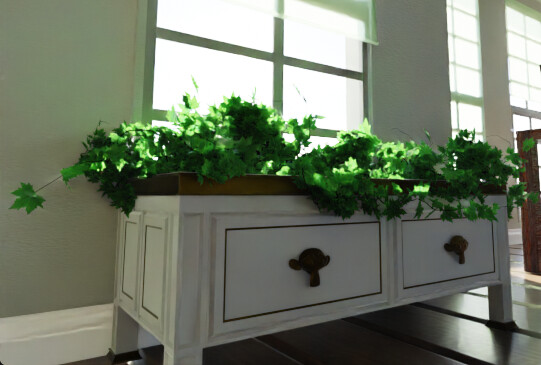
Playing with this scene again trying to control lighting, light color, and reduce noise.
lots of direct and indirect clamping, none of the spotlights outside of the windows, hdri world strength 500, exposure -1
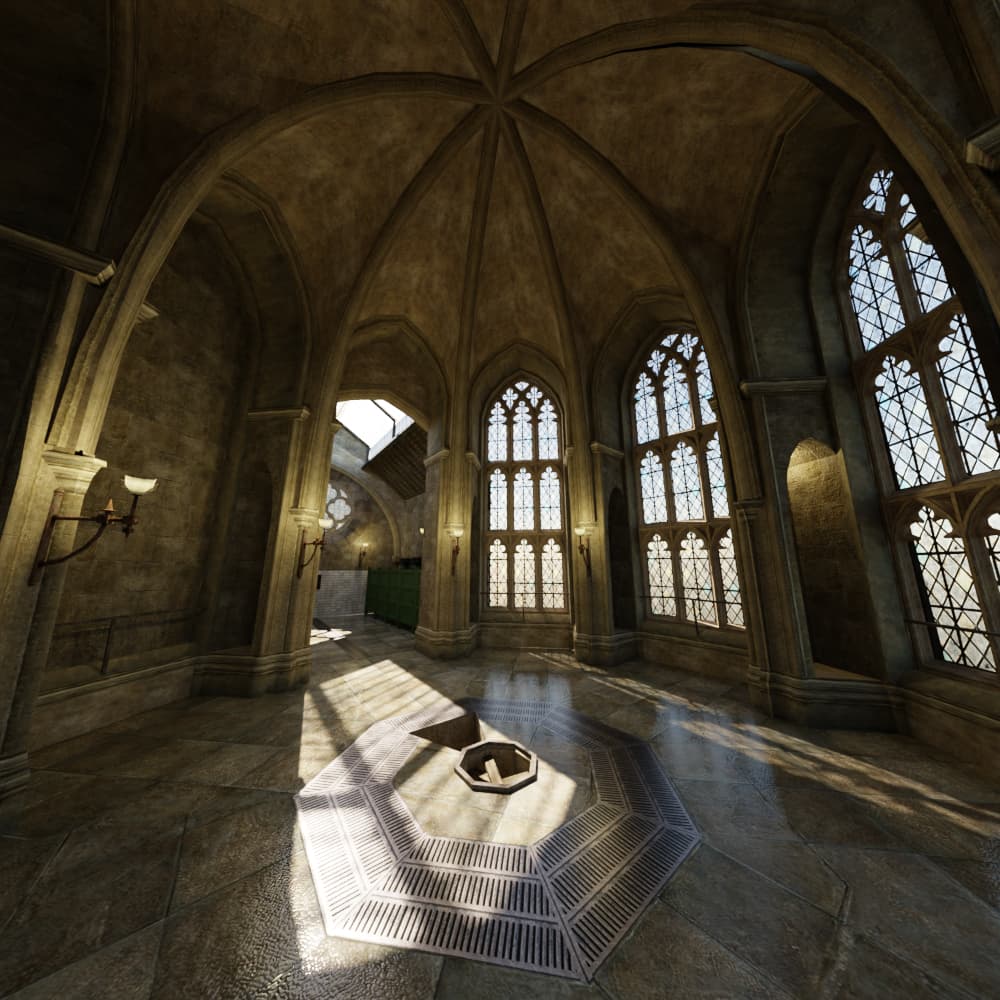
living_room_06 CUSTOM reduced 2.blend
while rendering, at 3000 samples it was much less noisy than later versions.
Spotlights outside the window are active.
Rear Room HDRI ambient light CYLINDER is active.
1080p at 50%
Exposure -4
world strength 500
hdri simons_town_rocks_1k.hdr
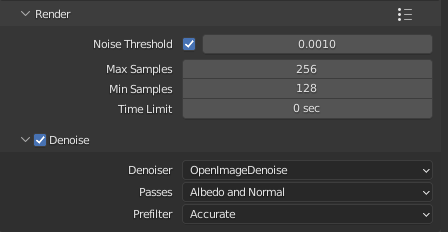
Noise Threshold 0.01
Max Samples 8000
Min Samples 0
Light Threshold 0.01
Max Bounces: 128 everything
Clamping Direct Light: 0
Clamping Indirect Light: 100
Render Time with denoising: 30m26s
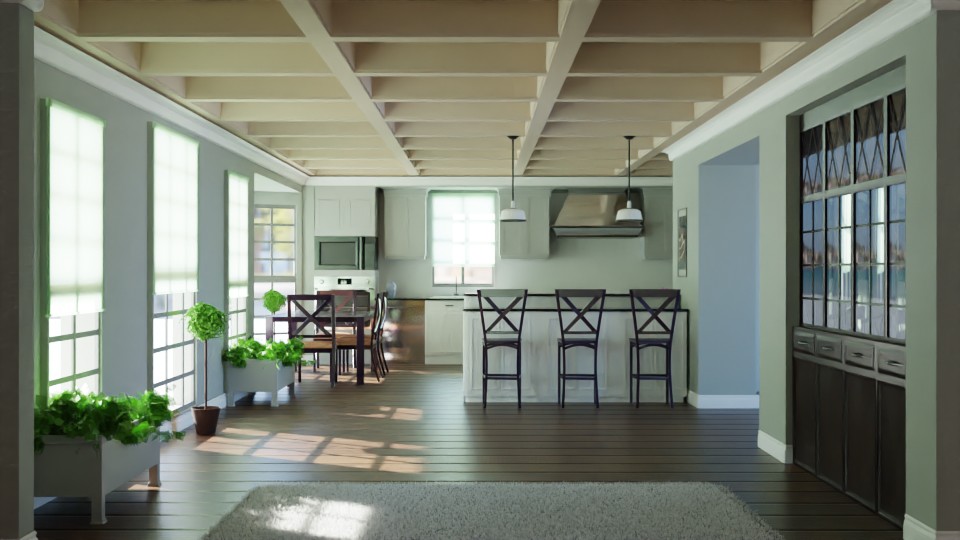
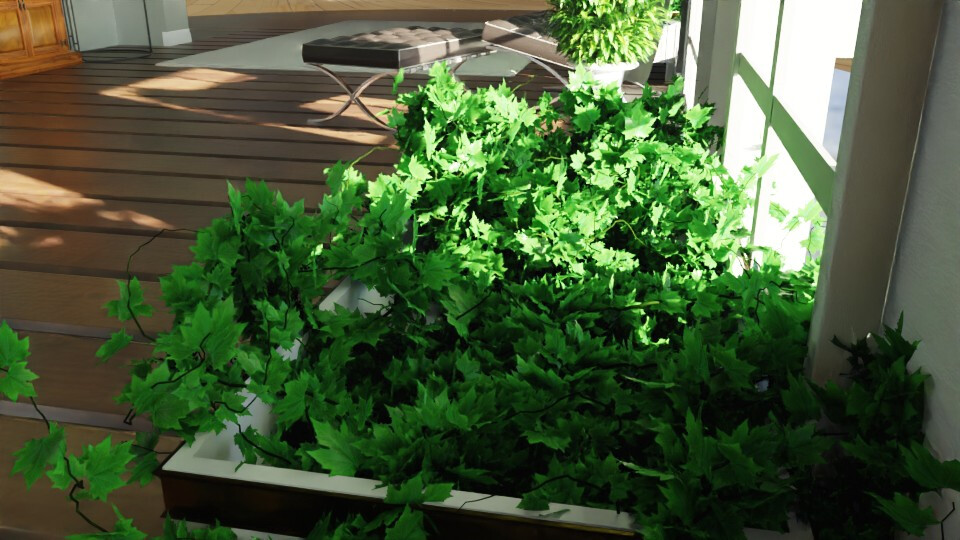
^ living_room_06 CUSTOM reduced 3.blend
The previous file almost didn’t need denoising but the noisy image of this file is super noisy.
Spotlights outside the window are active.
Rear Room HDRI ambient light CYLINDER is active.
Portals are active.
1080p at 50%
Exposure: -5
World Strength: 500
Noise Threshold: 0.01
Max Samples: 6000
Min Samples: 100
Light Threshold 0.01
Max Bounces: 4 - 8 8 8 8 - 8
Clamping Direct Light: 0
Clamping Indirect Light: 0
Render Time with denoising: 41m37s
living_room_07 is based on living_room_06 CUSTOM reduced 2.blend
because it renders better looking and faster than the other one.
Outdoor lights OFF
Exposure changed from -4 to zero
World strengh reduced from 500 to 15.
Kitchen lights off because they’re too strong for this exposure level.
Rear Room hdri strength reduced to 0.9
Reducing the strength of the HDRI makes it warmer and warmer. I don’t like it.
Changed the HDRI to spiaggia_di_mondello_2k.hdr
Noise Threshold: 0.01
Max samples reduced from 8000 to 4000.
Min Samples 90
Render Time 37 minutes.
There are still several details that are not a clean as in “living_room_06 CUSTOM reduced 2.blend”. I might need to use 8000 samples like in that file.
Disabled the “Ground Plane” outside the windows. I’m hoping direct light from the ground in the HDRI will look better and render faster.
Noise Threshold: 0.01
Max samples: 8000
Min Samples: 0
Clamping Indirect light 100
Render Time: 28m46s
There was light leaking through the floor due to the removal of the large ground plane. Fixed that.
Adjusted kitchen light strength and added 2 spotlights over the bar.
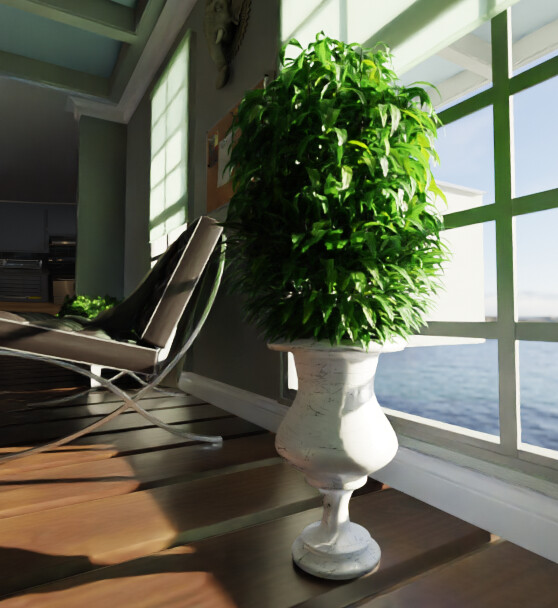
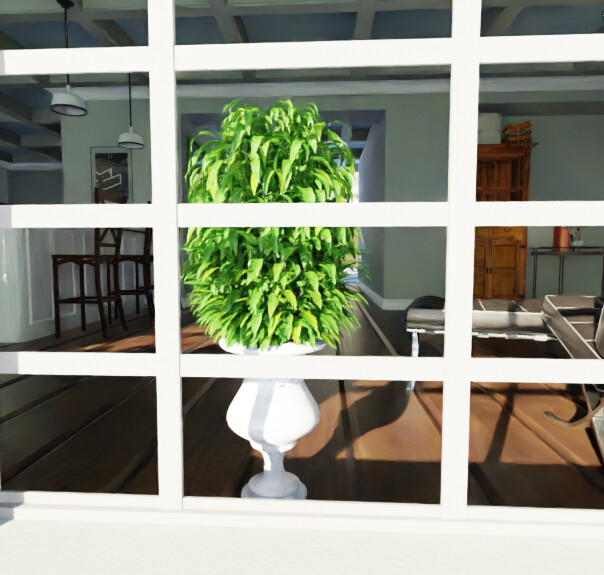
Added another plant in the hallway.
There doesn’t seem to be any difference between Clamping Indirect light 100 vs 10.
Noise Threshold: 0.01
Max samples: 8000
Min Samples: 0
Clamping Indirect light 100
Disabled Caustics
1080p 100%
Render Time: 1h30m
Disabled particle system on carpet.
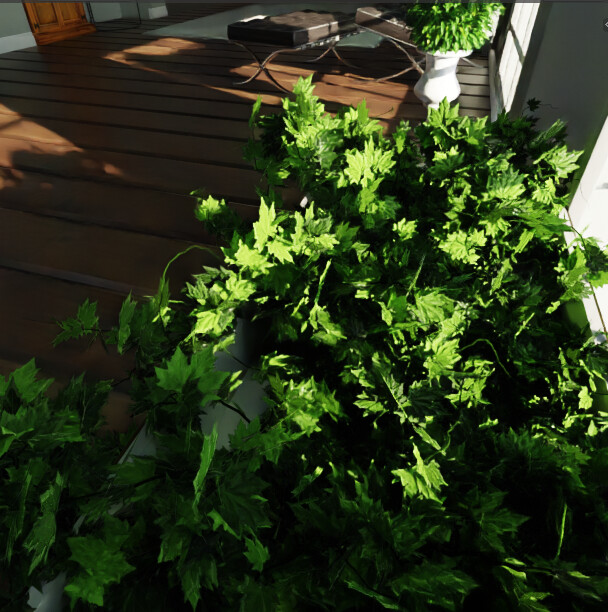
Replaced tall plant with new plant.
Fixed material of plants in boxes.
Added plants outside the windows.
Added geometry behind cabinet and added dishes.
Changed ceiling back to the greenish color.
Tweaked kitchen lights some more.
Render Time: 1h 5min 40sec
Replaced cabinet.
I don’t know why the cabinet is so reflective.
Added some more furniture and filler objects.
Tweaked the main kitchen light more.
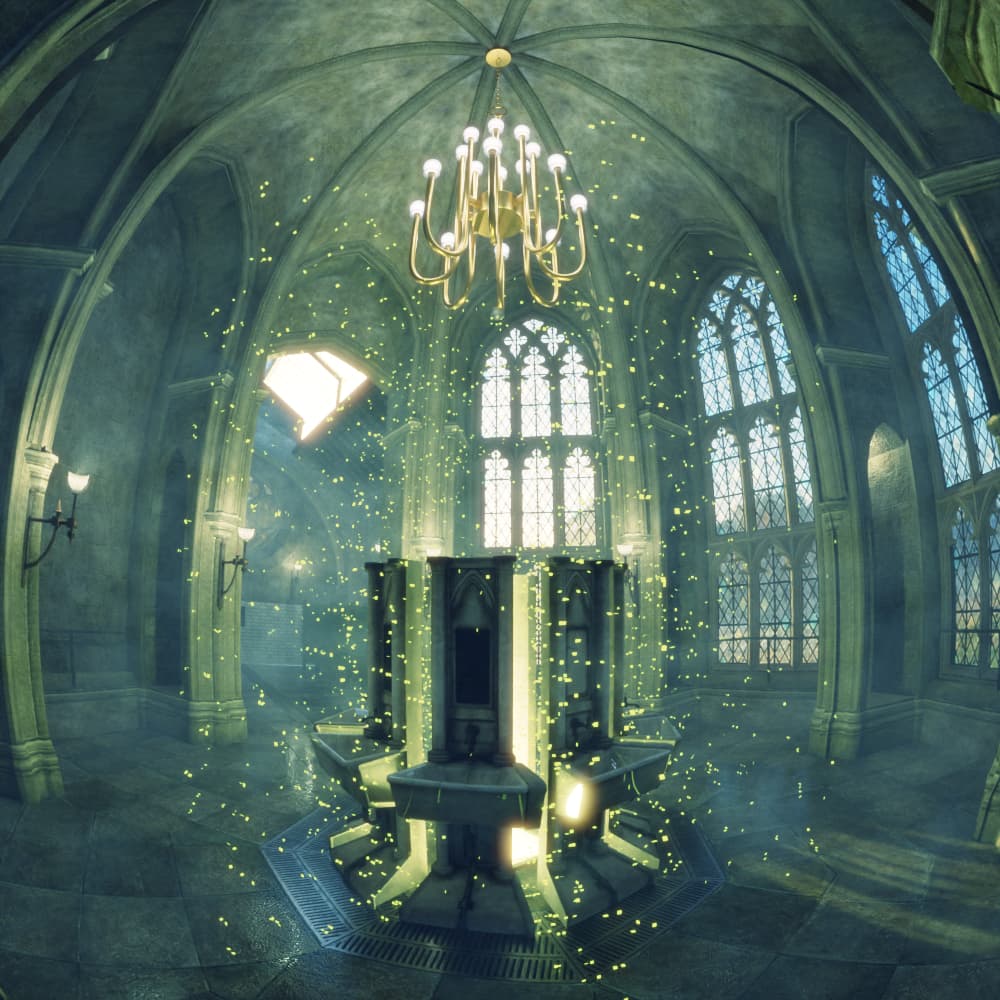
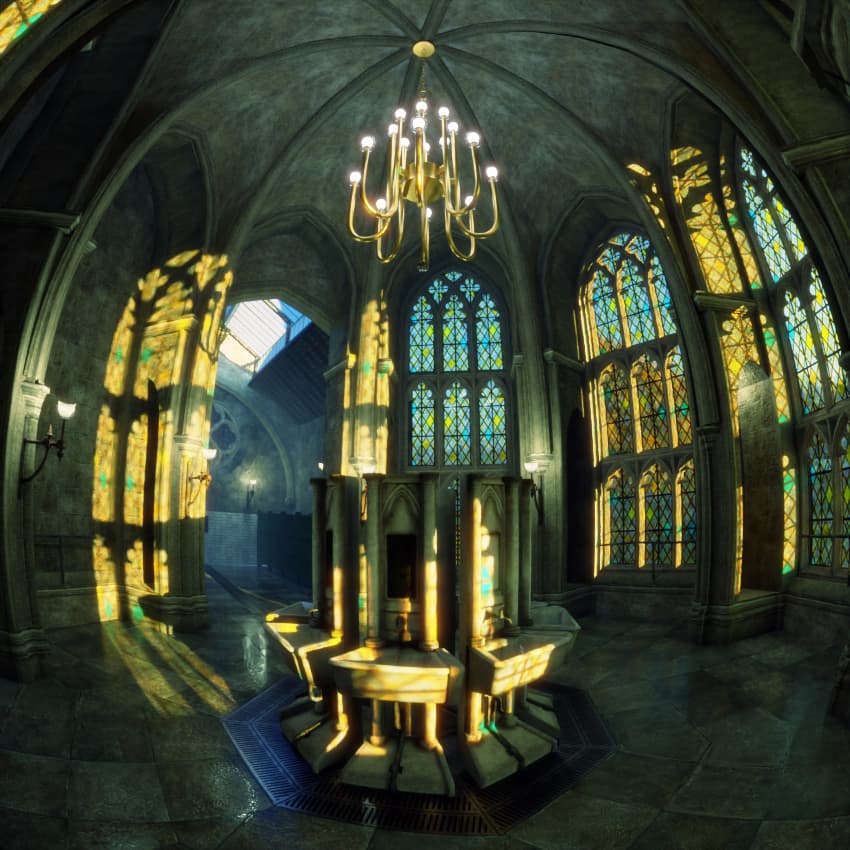
Added Depth of Field
Added volume.
Reduced Max Bounces to [8 - 8 8 8 0 - 8]
Went back to the original HDRI simons town rocks 1k. For a while it was randomly alternating between looking good or horrible in viewport renders.
Max Samples: 8000, Min Samples: 0
Fast GI Approximation
Method: replace
Factor: 9
Distance: 10m
Bounces: 2
1080p 50%
Render Time: 30min 49sec
In a test with 1 or 2 volume bounces combined with Fast GI Approximation the render time was going to be about 2 hours. I have no idea why if FGIA is supposed to save on light bounce calculations.
same as render 5 but at 100% of 1080p
Render Time: 2h 4min 18sec
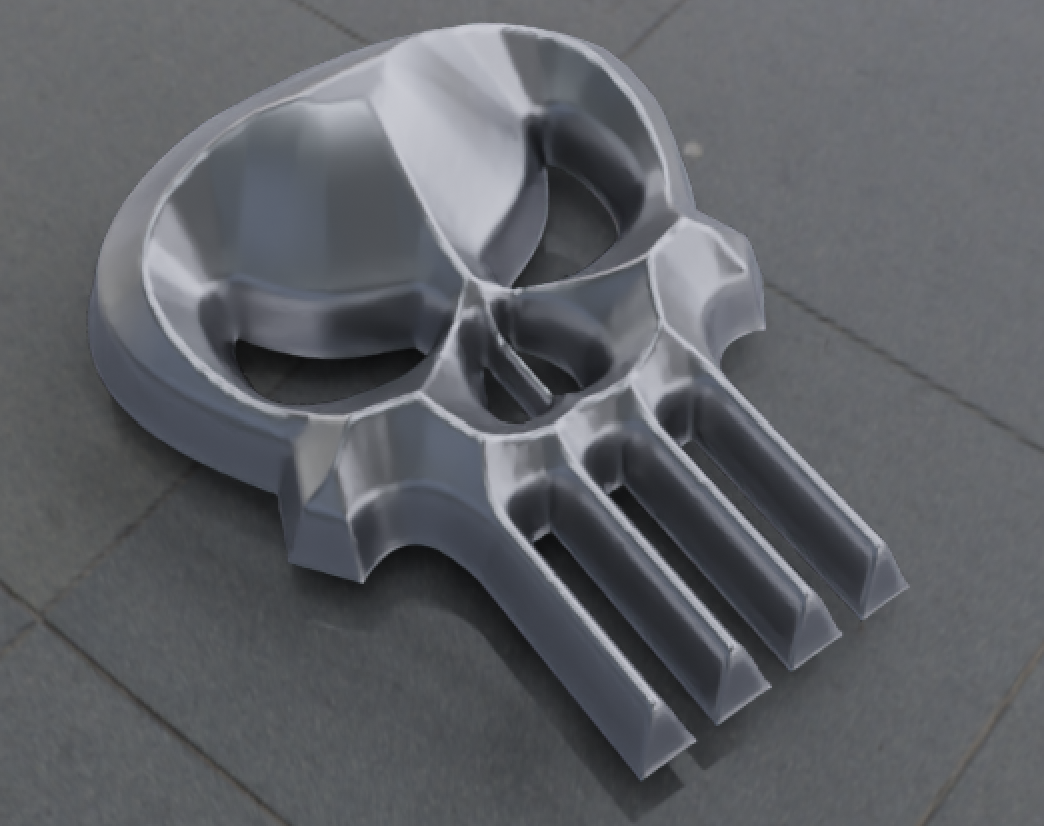
https://www.reddit.com/r/blenderhelp/comments/rlulyk/how_to_smooth_out_mesh_edges/
https://www.reddit.com/r/blenderhelp/comments/rlulyk/how_to_smooth_out_mesh_edges/hpoc146/
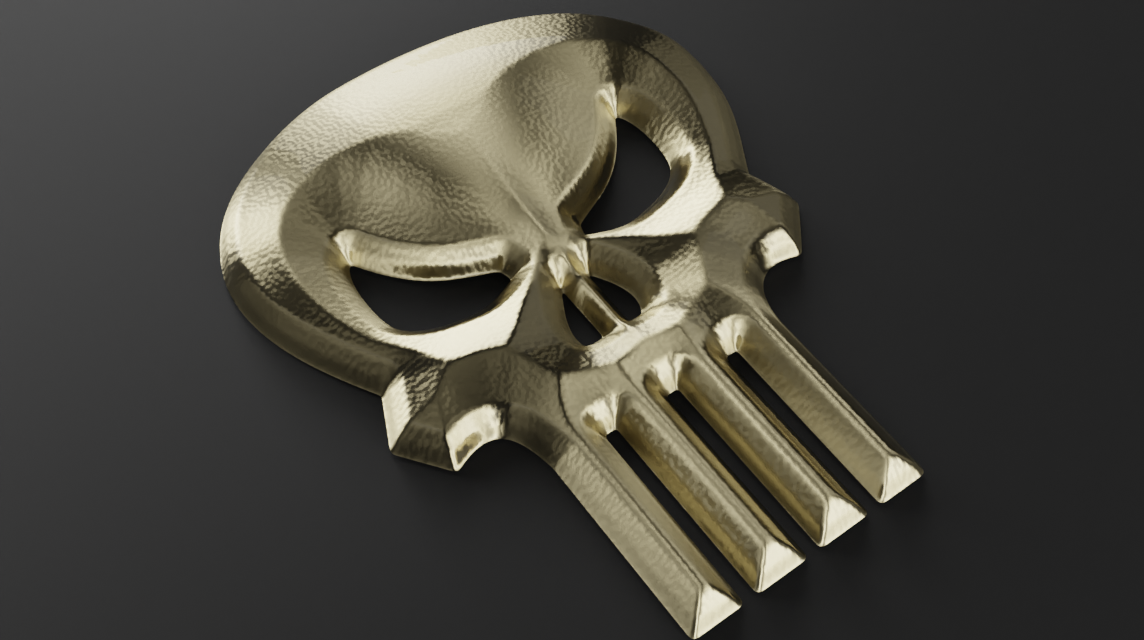
Another approach is to create objects that will cut out the desired bevel shape and boolean subtract them from the logo. You will have to do some manual cleanup afterwards but possibly less work than building the logo from scratch with Subdivs if you don’t already know the quirks of subdivs.
Personally I’d use the Exoside Quad Remesher (non-free addon) to get a good subdiv based starting point with minimal and clean/sane/logical geometry & topology flow and then split it up into 3 or 4 different objects (G, Eyes/Nose/Cheeks, Teeth) so that I can use different bevel modifiers on them with appropriate settings for each area. Then apply all bevel modifiers and manually stitch them back together into 1 object.
ANOTHER option is to use photoshop’s shape burst gradient in the stroke layer style to define a displacement map like this
Do it in 16bit greyscale and blur it slightly. Then use it to displace very dense plane to get a beveled version of that same design. Then clean it up to get ride of the excess (or use any number of tricks with alpha transparency to fake it like this result that uses adaptive subdivision based displacement in the material instead of real geometry displacement:
) and use the exoside quad remesher to get better topology if needed.
And yet another option is to remesh it in sculpt mode and use the scrape brush to manually shave the edges.
And finally there is an option to get rounded bevels at render time in cycles using the bevel node: https://docs.blender.org/manual/en/latest/render/shader_nodes/input/bevel.html