This tutorial shows you how to create a realistic base metal texture from scratch, create normal maps from hand painted height maps, fake ambient occlusion, and a few tips on how to make things like paint, edge detection ect. to download the pdf tutorial go to http://www.pdf-archive.com/2011/05/31/creating-sci-fi-panels-in-photoshop/creating-sci-fi-panels-in-photoshop.pdf
and to download the final psd including all the steps in the tutorial go to:
http://www.mediafire.com/?oulpsxxmpjffgl7
this tutorial is intended for photoshop but can also be applyed to gimp
Attachments
Nice results, but I strongly recommend screen shots, and some screens of your textures applied to geometry, with lights and normal maps. It’s funny - when you make something for the community, you have to inspire them to be interested in it. Human nature.
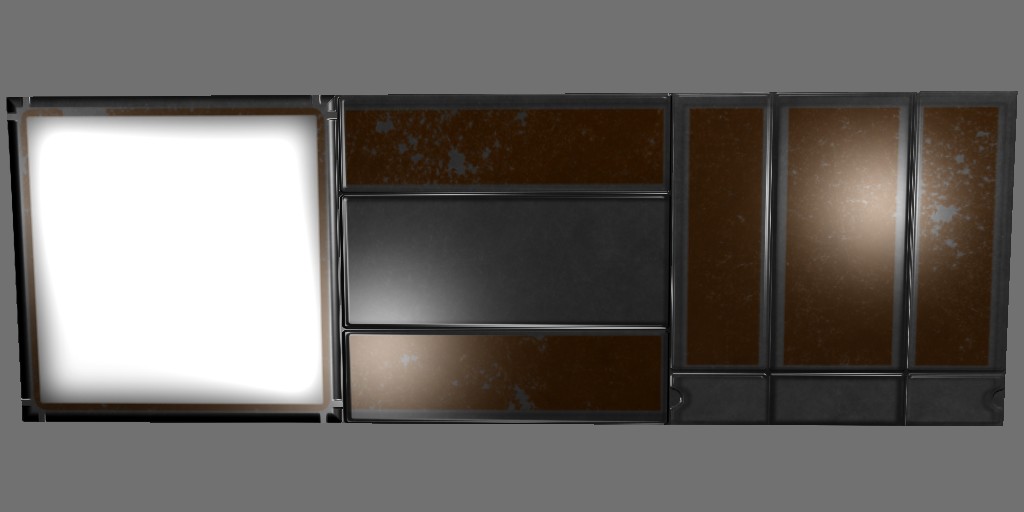
thanks for the recomendation heres some screenshots of the three panals in blender game engine, the scene is an example of this method for the walls floors and lights within udk
Attachments
I recommend a detail normal map in addition to the big geometry normal maps - the panels have peeling paint etc, but the light paints them as flat surfaces.
yea i didnt bother adding any images other than diffuse and normals to the blender scene but in the udk scene has alot of images e.g. the material for the panal below has diffuse, normal, detail normal , an image for distorting the reflection, specular, reflection, gloss and a reflection mask image. abit heavy lol but i was just playing around with the material editor.
Attachments
Yes, that’s what I mean. Bake your normal maps down to 1 to reduce the amount of maps - big geometry, detail, scratches etc - adjust settings - bake - 1 normal map that looks the same as all combined. Fun!