I’m trying to revive an old project of mine involving imported game files, but there are some very frustrating visual artifacts that have crept in between 2.49 and 2.56. I’ve tried tweaking everything I can think of, but it still remains a mess. I think I’ve narrowed the cause of the error down to the specteam texture channel, but have no idea beyond that of what’s wrong with it or how to go about fixing it.
I’m assuming this is an actual render (as opposed to a screenshot from the BGE), correct? Did the green texture in your 2.49 file have emit values? And were you using radiosity?
The material has an emit value, but it is controlled by a separate texture and has no effect on the artifacts when it’s turned off.
I was under the impression Blender no longer had radiosity? If you mean indirect lighting or ambient occlusion, then yes, but disabling either has no effect as well.
I have isolated the error to come from the “teamcolor.004” texture, specifically either the diffuse color or the mirror color makes the green channel contain a lot of negative values, which makes it so… artefactly.
I was curious why this happened in 2.5 and not in 2.49, so I disabled color management, and as I suspected, the artifacts were gone. Converting the texture to a linear format seems to f*** it up a lot, strange…
Sure, especially since I found the source of your problem. You must enable “premultiply” in the image settings, this is a golden rule when working with alpha mapped textures, see screenshot below:
I overlooked it the first time around because I actually enabled premultiply, but without any change. Then it occurred to me that the image was packed within the blend file, and I supposedly only have readonly permissions to it, unpacking before checking premultiply made all the difference.
Thank you so much! You have no idea how long I’ve been tweaking this trying to get rid of the artifacts. (funnily enough, I think I -did- try checking premultiply at one point, then turned it back off when I didn’t see any change. Thanks again for the tip about packed textures and letting me know that premultiply was the solution)
If you don’t mind me asking, just what does the premultiply setting actually do?
Take this with a grain of salt since I’m no coder: But basically premultiply will multiply the colors of the texture with what I presume is the alpha channel before blending it to the background. For example, if you have a 100 % green texture with a 10 % alpha, it multiplies them so that the green color is changed to 10 % green, and that gives more smoother blending.
However, on the other hand straight alpha blending will not touch the colors of the texture, and go ahead to blend a 100 % green color with an alpha of 10 %, which will result in aliasing-looking artifacts within the texture since the colors of the in-between areas between 100 % alpha (fully opaque) to 0 % alpha (fully transparent) is not smoothed.
Your texture had mostly partially transparent pixels, and combined with the gamma correction of Blender 2.5’s made a before slight error to be so pronounced. Since most textures with alpha is used to add colors, it’s a nice habit to check the premultiply button whenever you work with textures that have an alpha channel. The cases where you’d want to preserve the original transparent color (such as when adding a alpha mapped glow effect) are so rare in texturing that you don’t have to worry about them. Those issues usually don’t arise until you sit in the compositor with three or four render layers that you need to combine…
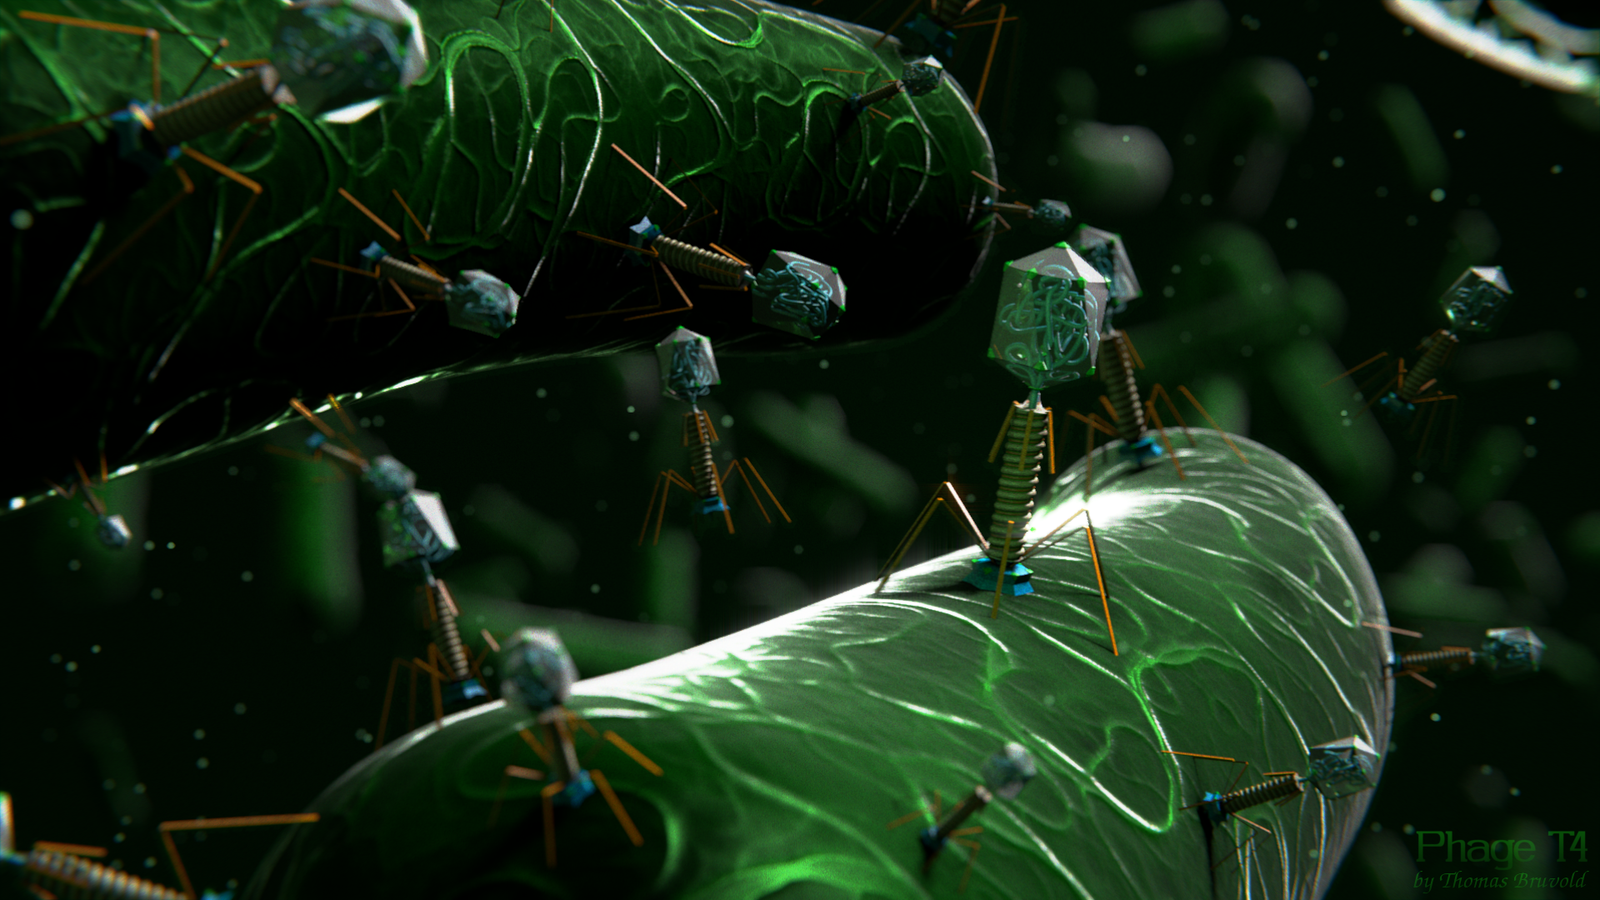
I’ve had a lot of pain with alpha mapped render layers, for instance in my Phage T4 render, the viruses themselves had a defocus node applied on their own render layer. This also blurred the alpha channel, and when I tried to blend it back with premultiply, their thin feet were almost gone, so I had to use a semi-method of straight alpha and premultiply to find a balance between blobby alpha transition and visibility of the feet. The results weren’t perfect but for the style of render the artifacts were almost unnoticeable, and that was good enough for me.
To summarize, it’s probably a good idea to always use the premultiply option when working with alpha-mapped textures.


