You may look into dynamic paint. This can affect the distortion. Of course you have to animate a rolling. Maybe look for tutorials: skidmarks/footprints in mud …
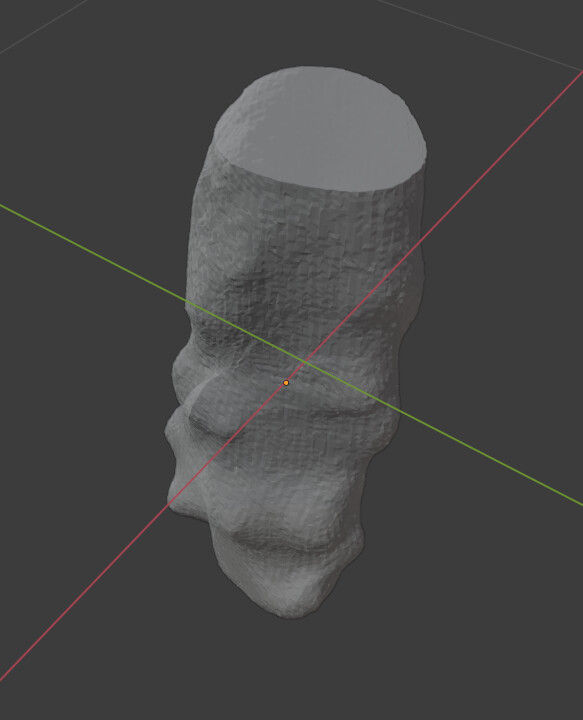
I think I know how to do this. Basically, you want to make the trunk a displacement map that you can apply to a plane or other flat surface, right? So we need to know where the trunk is shallow/deep from the perspective of the center of the tree.
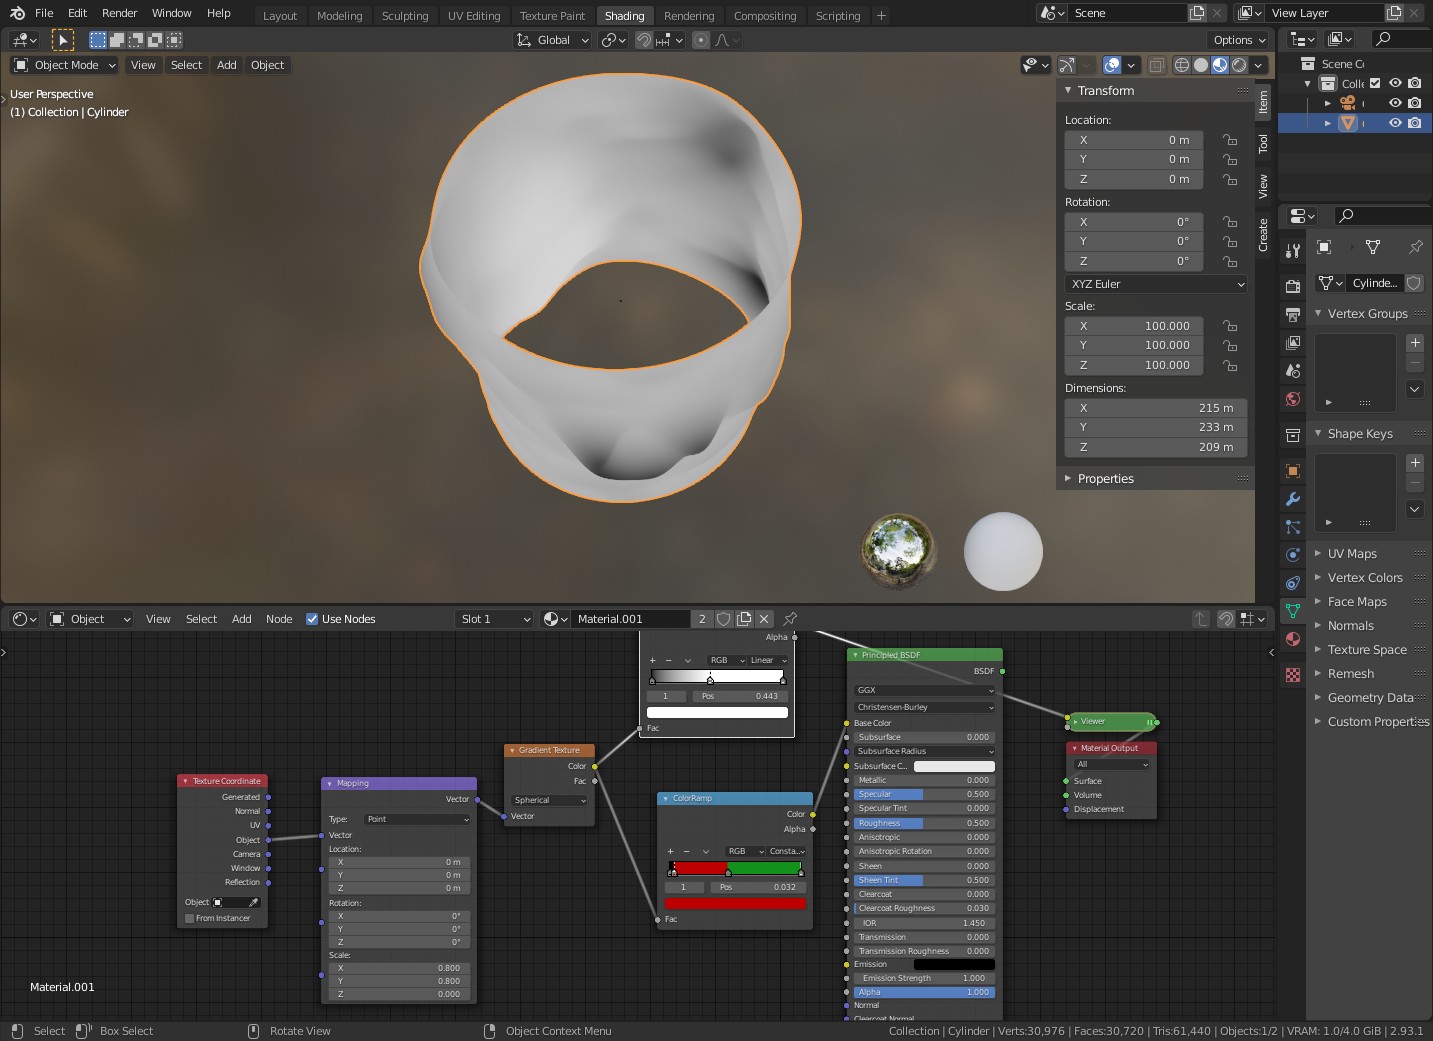
use a texture with a radial gradient on the trunk. I’m using loud colors so that I can see exactly where the detail starts and stops. I think it’s easier to map from “object” in texture coordinate node. The thing you have to fiddle with is the scale at the bottom of the mapping node, what worked for me was XYZ .8,.8,0; the Z is 0 to give a cylindrical texture not a spherical one. Mess with the color ramp until you just have dots at the high and low points
scale the log by 100 so you are easily inside it. Flipping the normals might be important? I didn’t bother.
change the output image ratio to roughly the width and height of the trunk (not especially important unless you need undistorted prints). move the camera to origin and remove rotation with shift-G and shift-R. change the camera to type “panoramic” and panorama type “equirectangular”. the camera should be rotated on X by 90, and change the latitude min and max to -45 and 45 (or that’s what worked for me). this camera is only available in cycles
I went ahead and applied it to a subdivided plane you can see in the step 4 picture, it seems to have worked? There are probably ways to refine this, maybe get better detail using .exr output or something, but I don’t know enough about that. Hope this helps.
For the purpose I am using this for, this was sufficiently accurate. To increase accuracy, you have to increase the subdivisions of the surface that is being imprinted. Obviously the more subs the slower and hungrier the process - which has its limits.
If I wanted a more accurate result I think @smws approach may be better.