Hi Blender Artists,
I´m a newbie with blender and in this forum as well. I have following issues and need your help.
I´m an industrial designer mainly working with SolidWorks. But I also attach importance to high
quality visualisations of my projects, when showing them to my customers. So I decide to work
with third party visualisation software such as blender and octane render. I use blender mainly
for UV mapping and creating soft bodies (such as realistic looking upholstery etc). With an external
converter (a plug-in installed in the UI of SolidWorks) I´m able to export the SolidWorks files into OBJ.
This works fine and the file quality seems very high. But I have one issue with UV mapping in
blender. Just see the attached image - here you see a sample of an UV mapped mesh (imported OBJ file),
being split in lots of different surfaces, without setting and marking seams before. I unwrapped it with the
standard unwrap mode (NOT with smart UV project or others!). I want to have the UV map basically in one
single piece and regulate the sections with the blender seams. Is there any simple trick to merge all
vertices, edges and faces together except doing it one by one? Do you have any idea why it is -
could that be caused by the exporting tool from SolidWorks to OBJ or is this a typical issue when
importing OBJ files into blender in general?
You will see than it is split up into many disconnected meshes (that match the UVs)
If you select all the vertices and remove doubles (W / Remove Doubles) it will merge all these together as well as removing hundreds of duplicate vertices.
Check your obj export and import settings to stop this happening
It´s me again,
after Richard Marklew gave me some useful tips - I still have some trouble with UV mapping.
“Remove Doubles” works well in order to connect all vertices to one mesh for a better UV mapping.
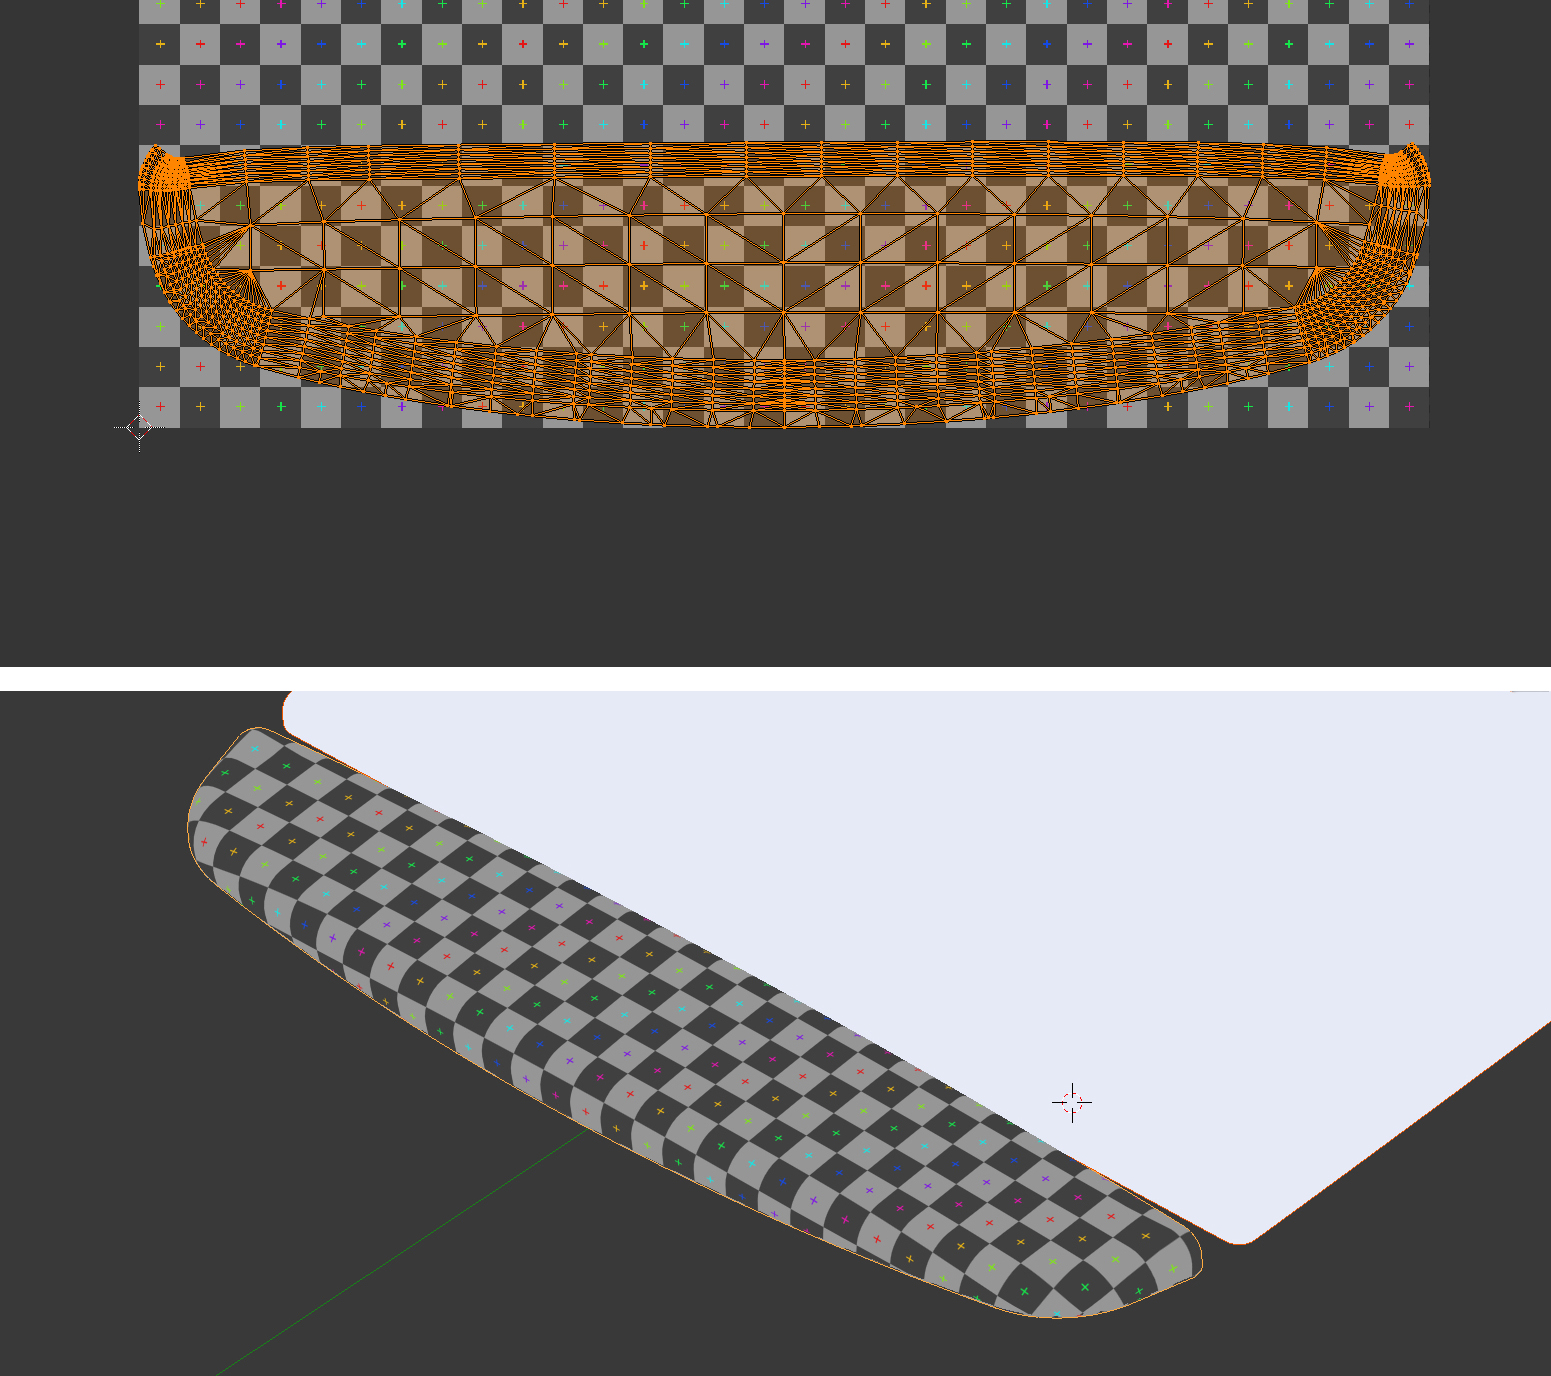
But depending on the geometry I sometimes have this strange artefacs in the meshes, looking
kind of crinkly around the surface edges after removing doubles (see the images and blend file below).
Are there any ways to avoid this? I tried the “Subdivision Surface” modifier, but without the wished
success.
Richard, you wrote I should check my settings. What exact settings have to be adjusted?
Maybe this problem comes from the object converter - but unfortunately there I have
tried all possible settings in this plugin bun without success as well.
Hi, I have the same issue.
Have you managed to find the solution? (btw. I am also industrial designer working in Solid and Fusion - wanting to get better rendering results in Blender)
While I haven’t looked at the file, the exports presumably are using doubled verts to preserve perfectly sharp normals at the edge.
After removing doubles, I would recommend using “clear custom normals” in properties/object data/geometry data (maybe-- maybe not, depends on what the exports are like), enable Autosmooth in object data/normals at 180 degrees, and then, in edit mode, mark the edges that were doubled as sharp by selecting and using ctrl e->mark sharp.
(To select these more easily, I’d use select non manifold and assign to vertex group before removing doubles.)