Hi forum.
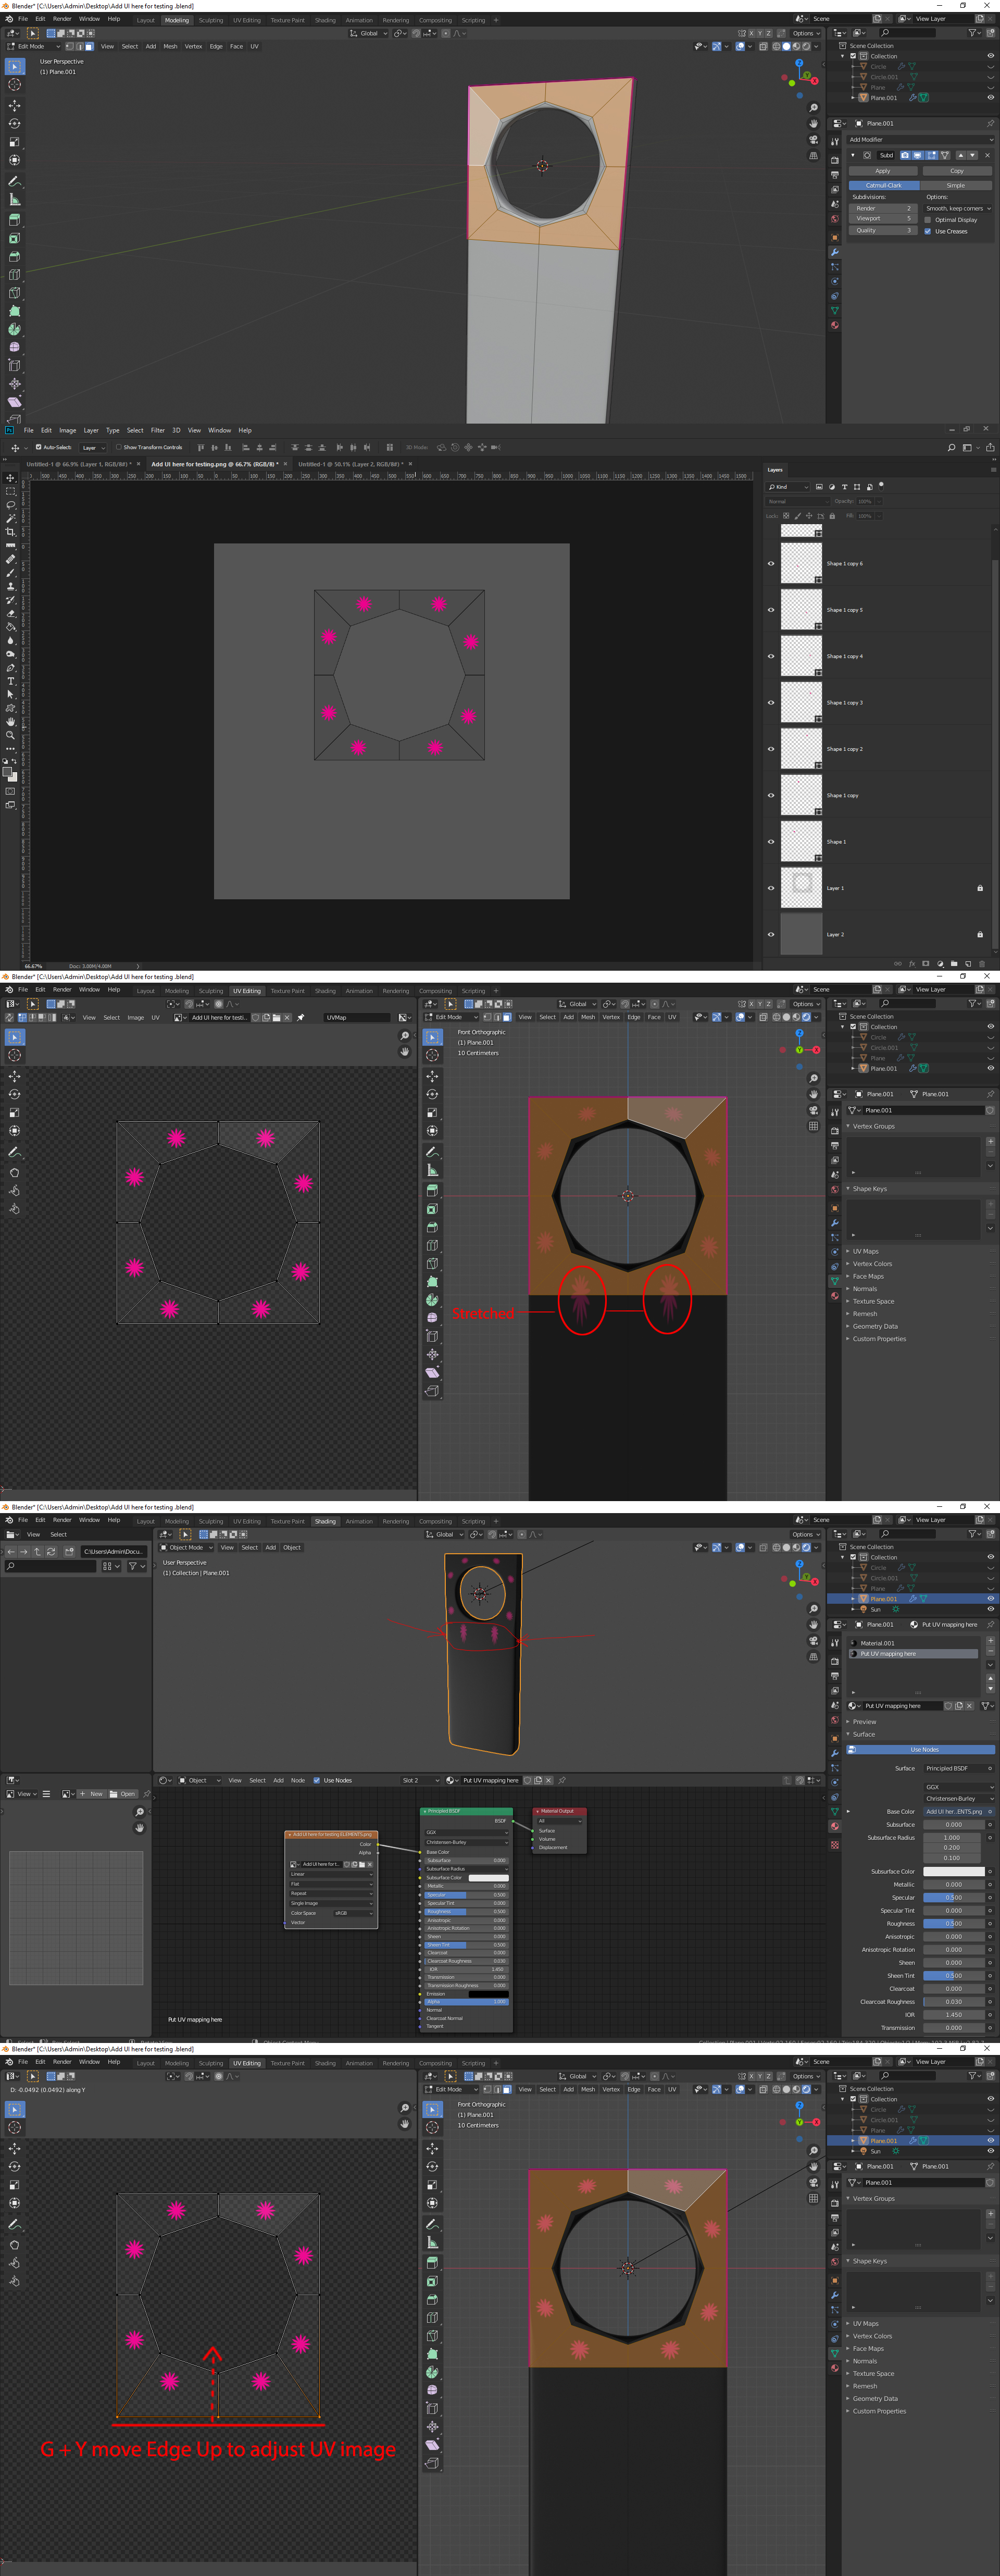
I have Projected from View my UV mesh, I exported into PS added some UI elements and then imported the PNG file into Blender. Now once the UI elements are adjusted onto my mesh, the 2 bottom elements are stretched but the rest seem correct. Why is this happening? In order for the Image to adjust correctly I had to manually move the Bottom Edge in Y axis direction so it would look correct. What am I doing wrong? Can I upload the file for someone to have a look if I had made some mistake?
Thank you.
the problem you have is that you are uv mapping with the surf sub modifier enabled…apply the modifier first if you dont want stretching problems (maybe a duplicate of your object just in case you need it again the surf sub cage mesh)… other way to fix it but with keeping the surf sub modifier, its to add more topology to that area (adding edge loops) it will reduce stretching…as well texturing like that is not really gonna help because it will stretch anyways when the modifier is enabled…if you disable it is not helpful either…
Thanks for your reply.
So the best solution would be, once I’m certain about the model I want I apply the the modifier and then do the UV mapping, to avoid distortion of the images. I never thought that having the modifier applied it would cause a problem.
Thank you.
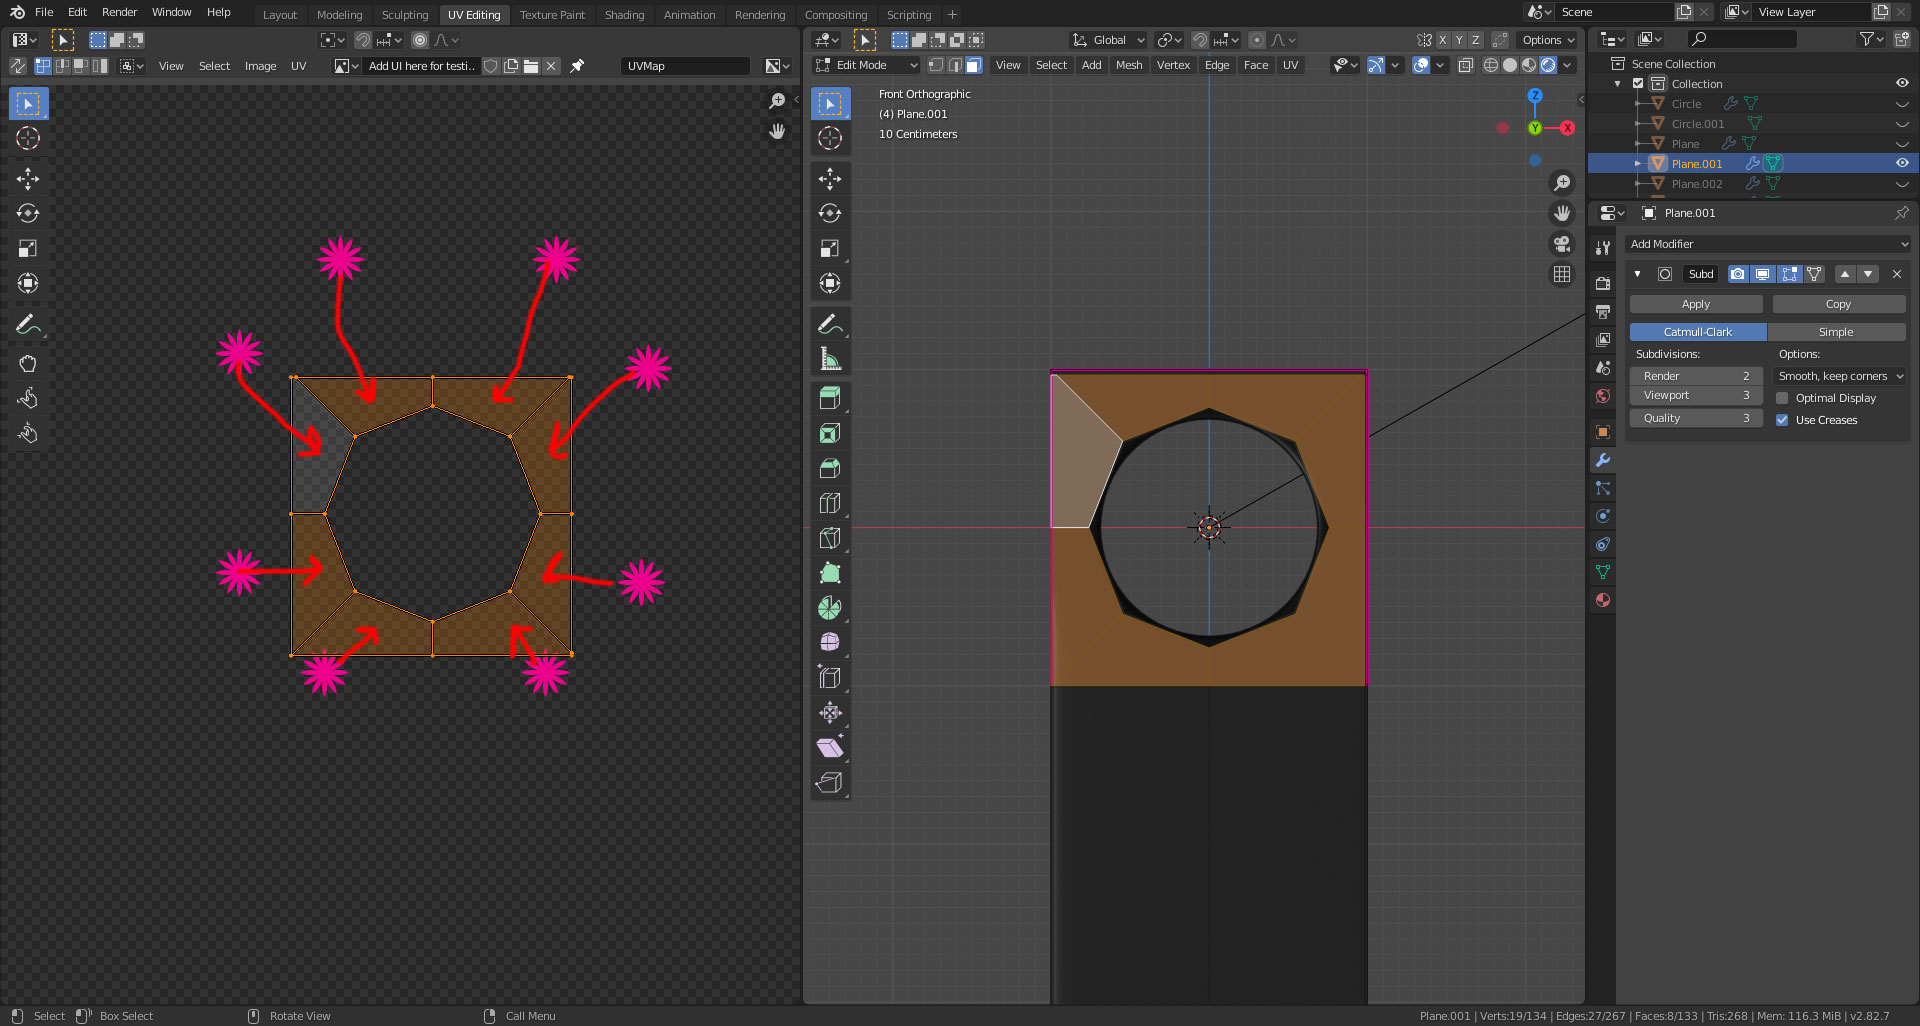
Also one other thing I’d like to mention is, once I do the 2nd time project from view, and I try to add the Image, it’s not within the bounds of my UV map. It seems there’s a size mismatch. What am I doing wrong? Is there anywhere in Blender just like in Photoshop/Illustrator which indicates what % your’re zooming into your screen?
Thank you.