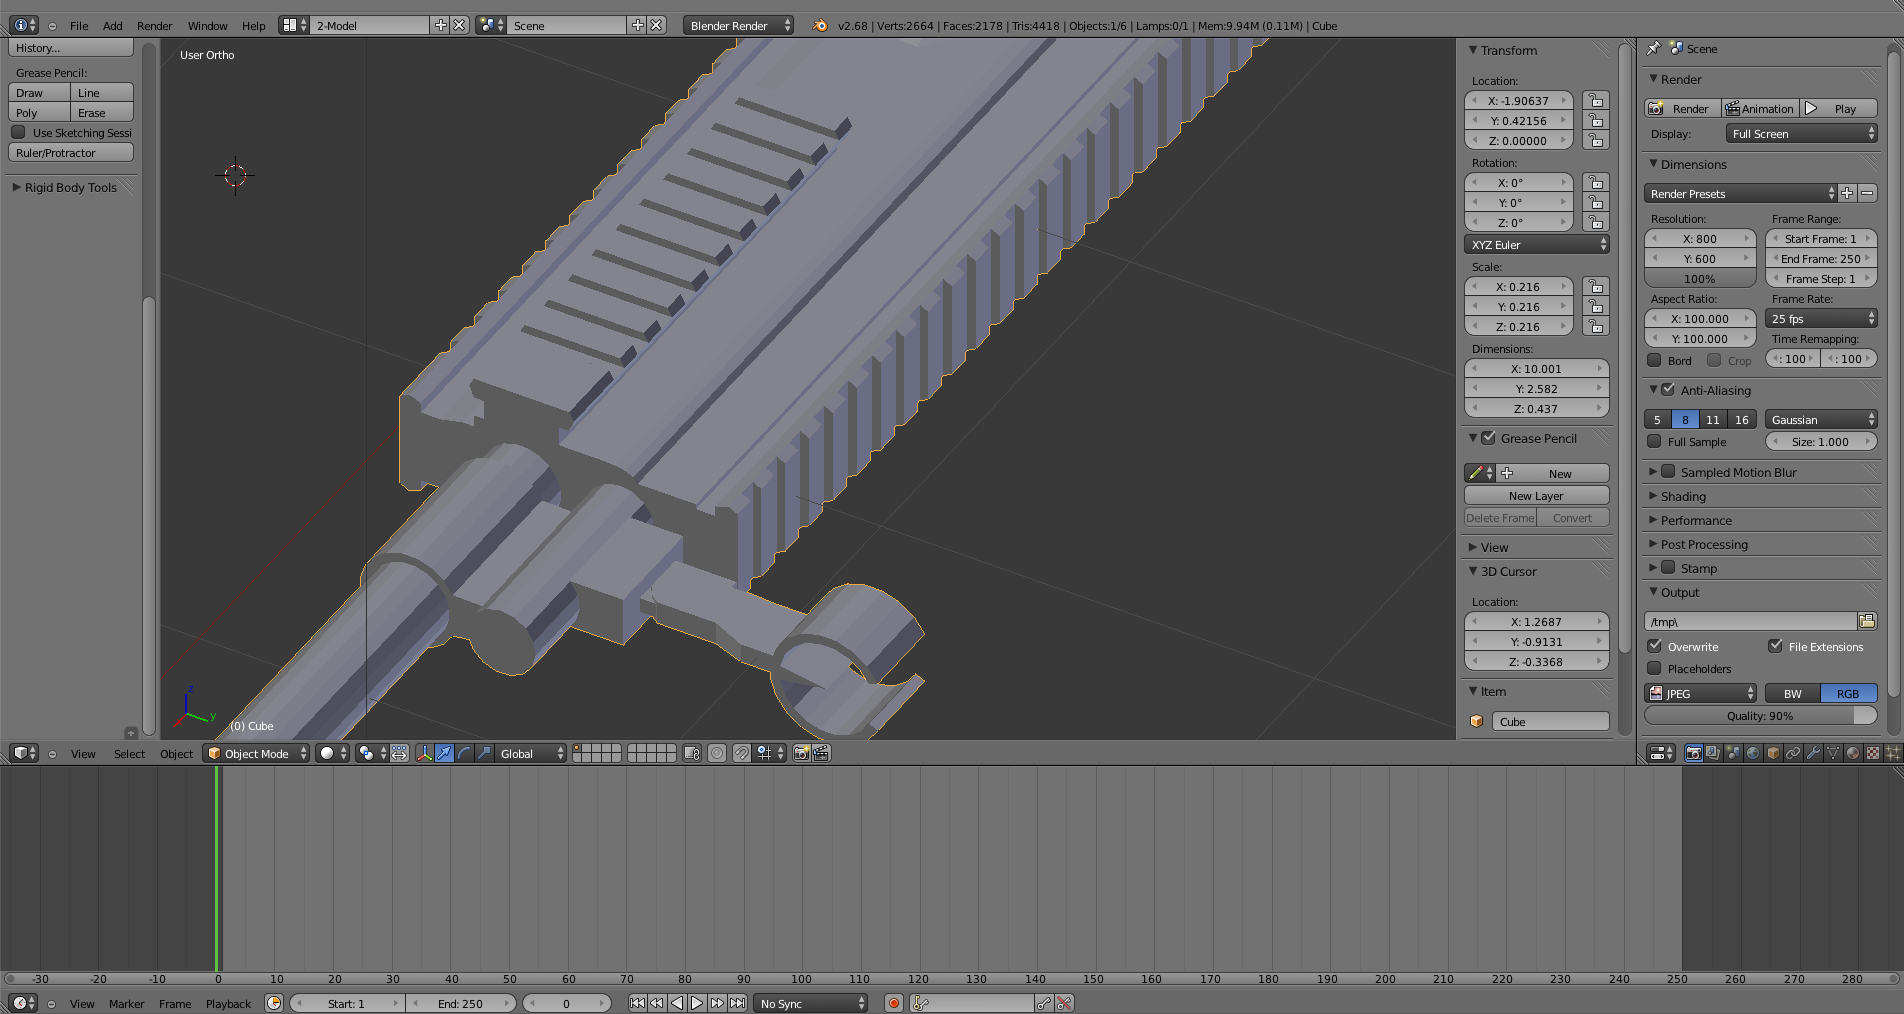
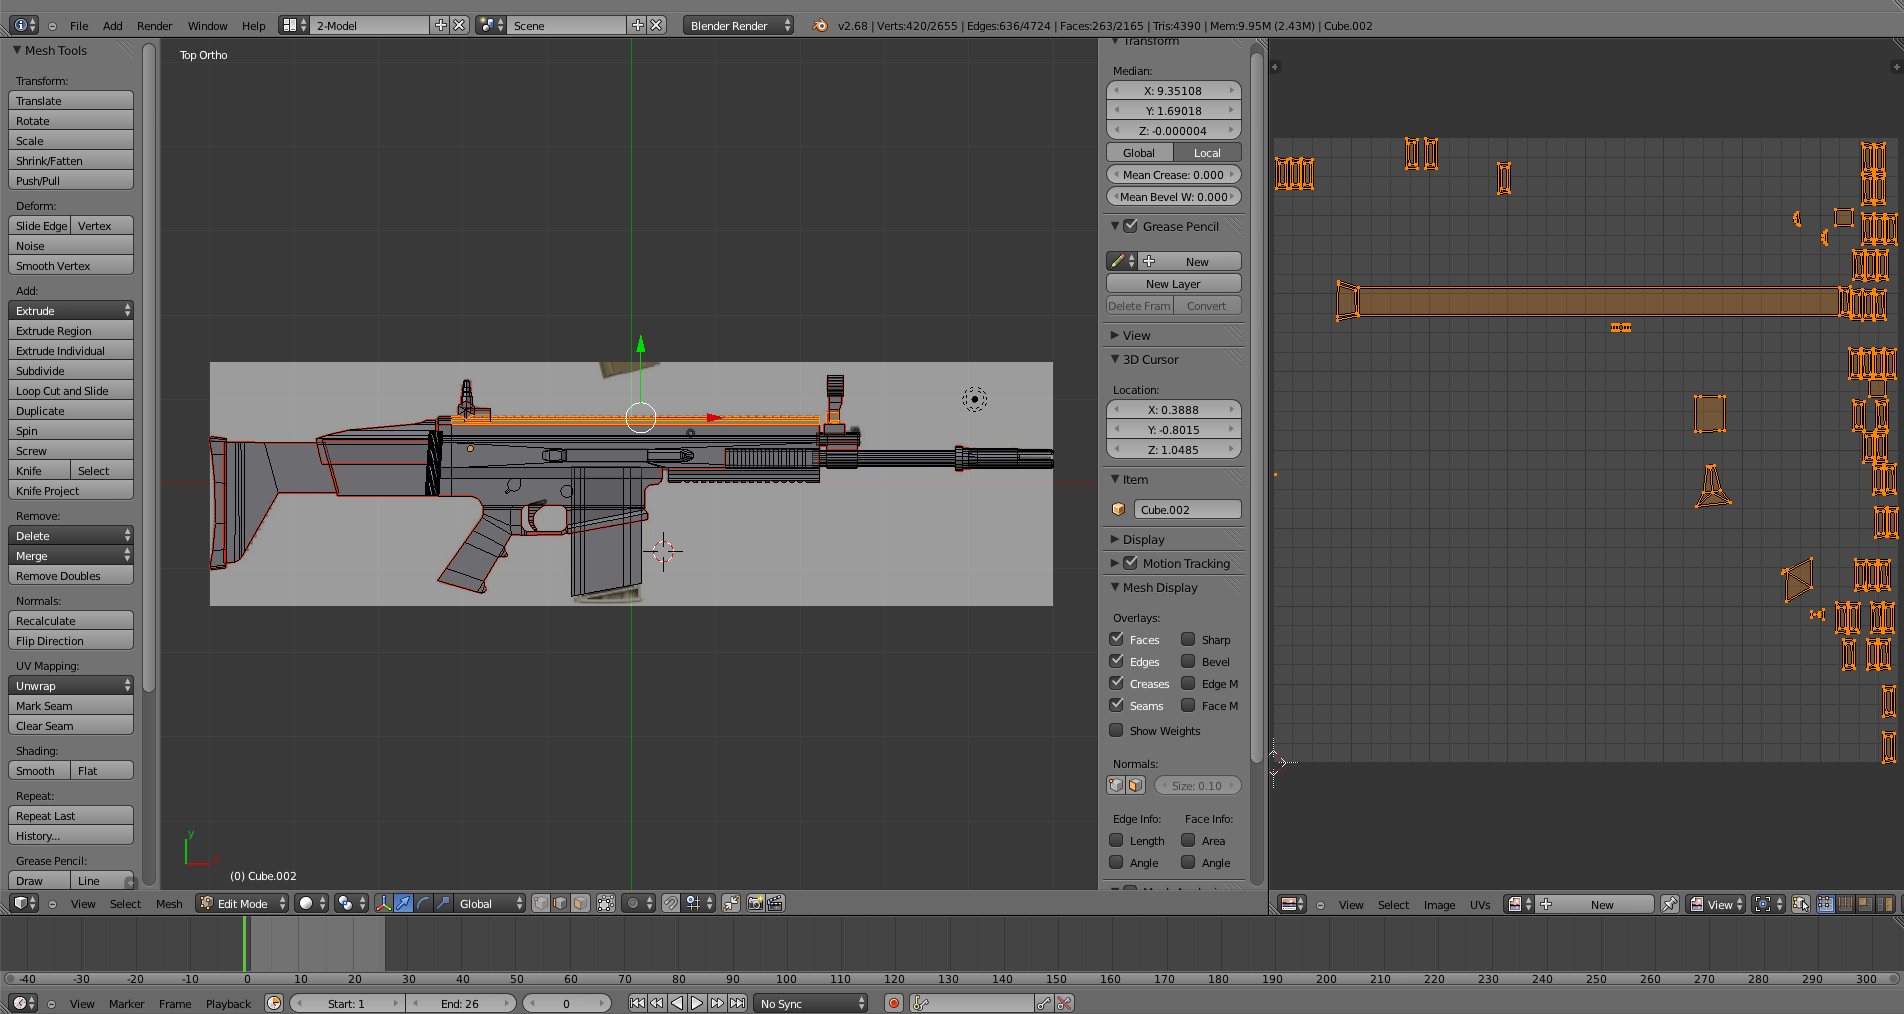
So I’ve made a model of a MK17 rifle, and I want to start texturing it. Unfortunately I’m running into a lot of problems with the unwrap. Marking the seams is turning out to be really complicated but there’s an even bigger problem.
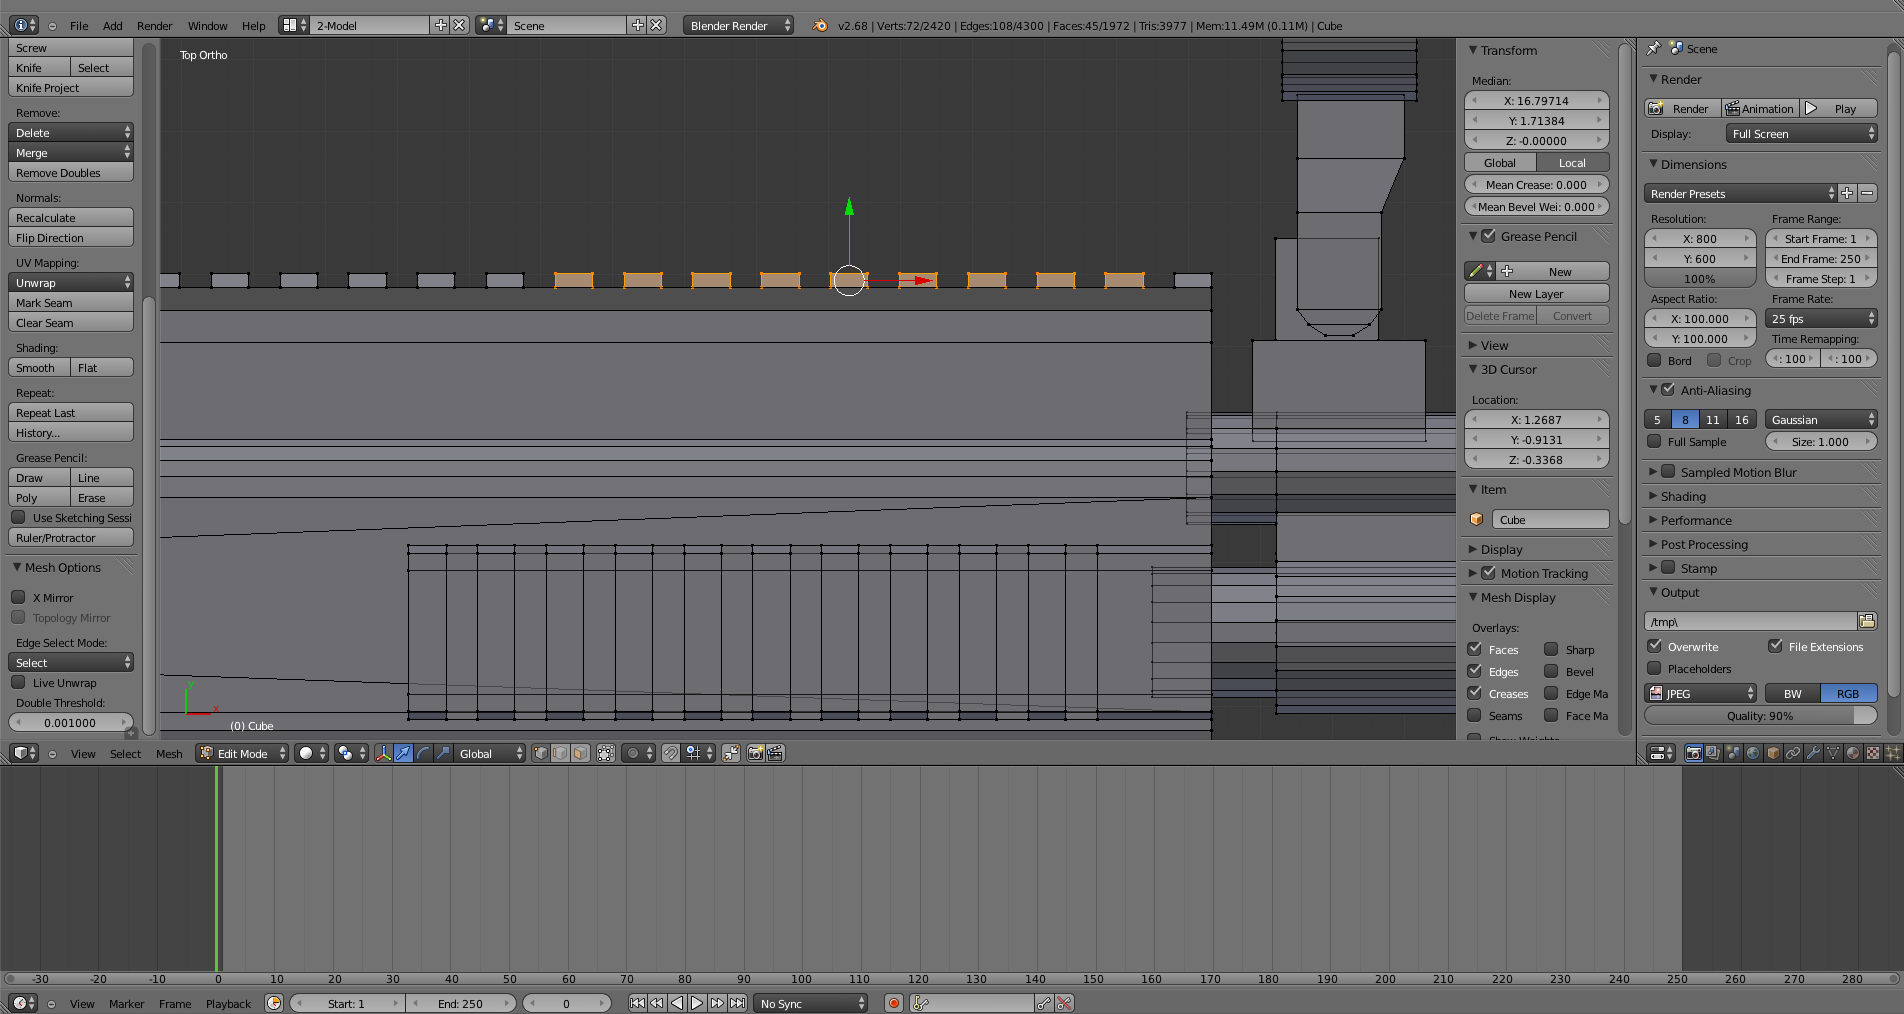
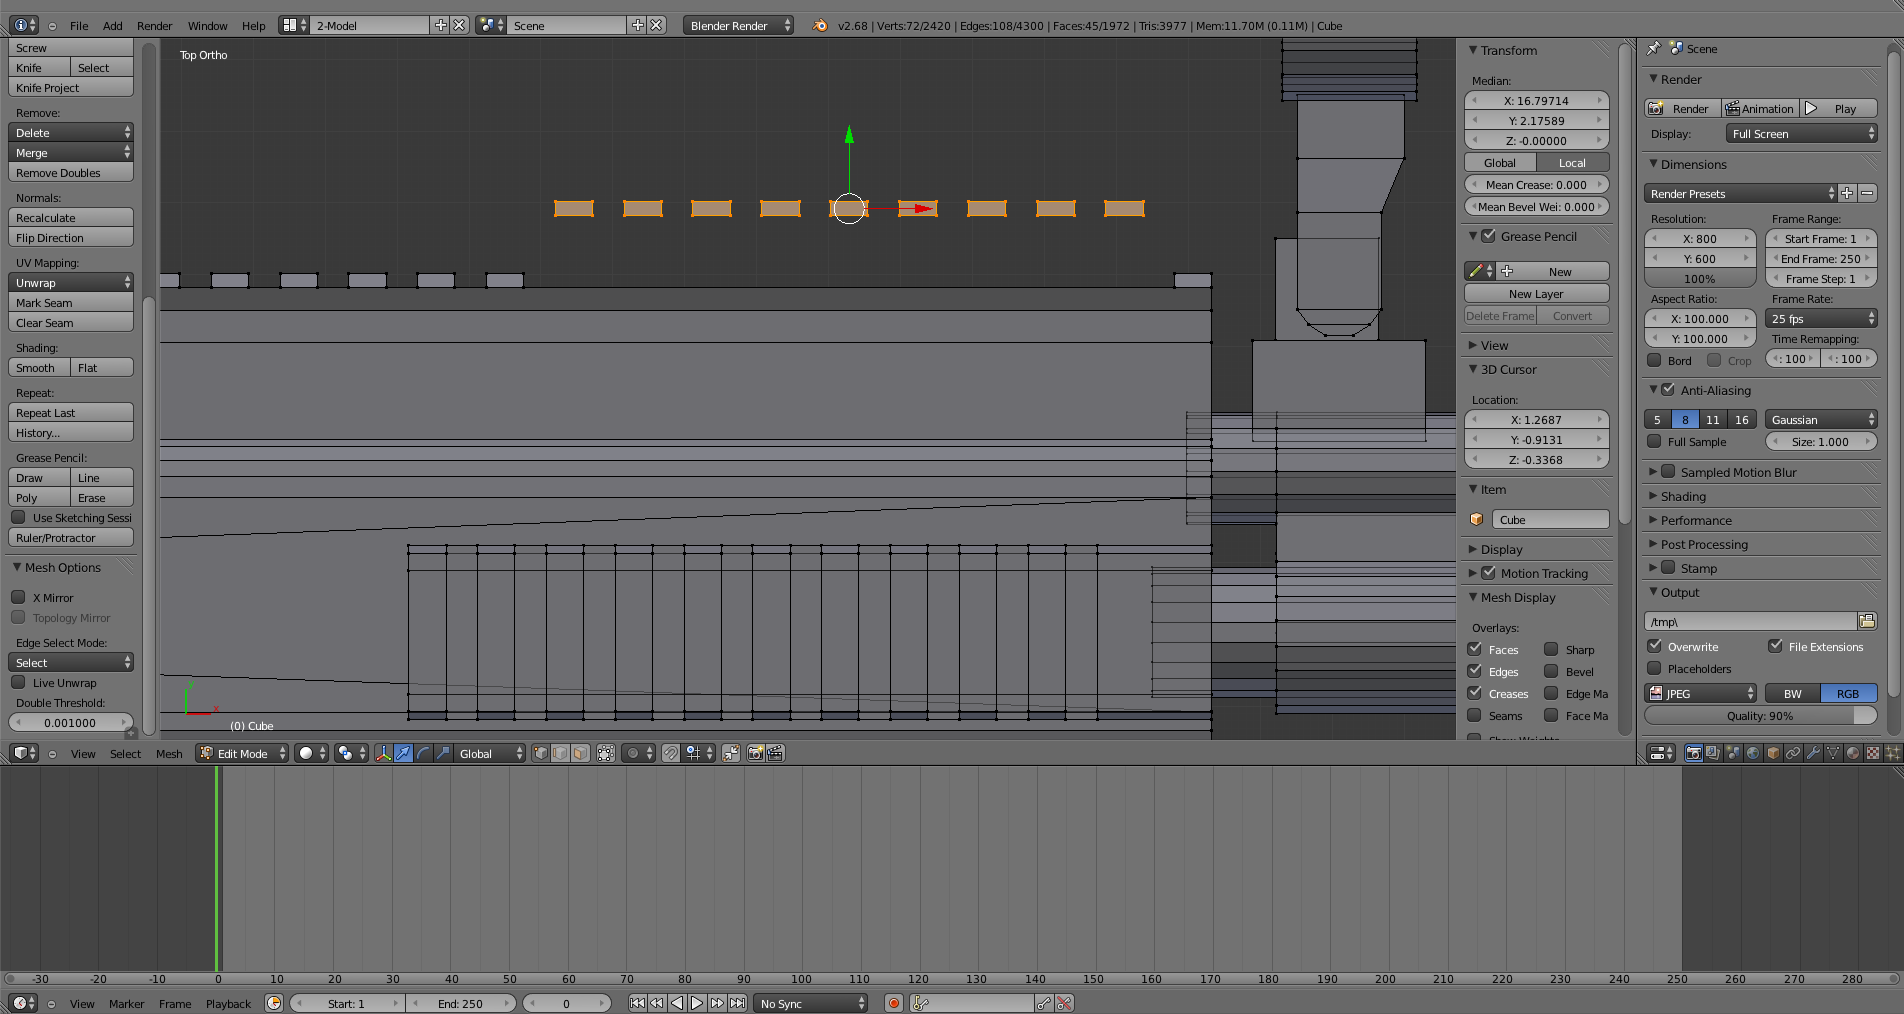
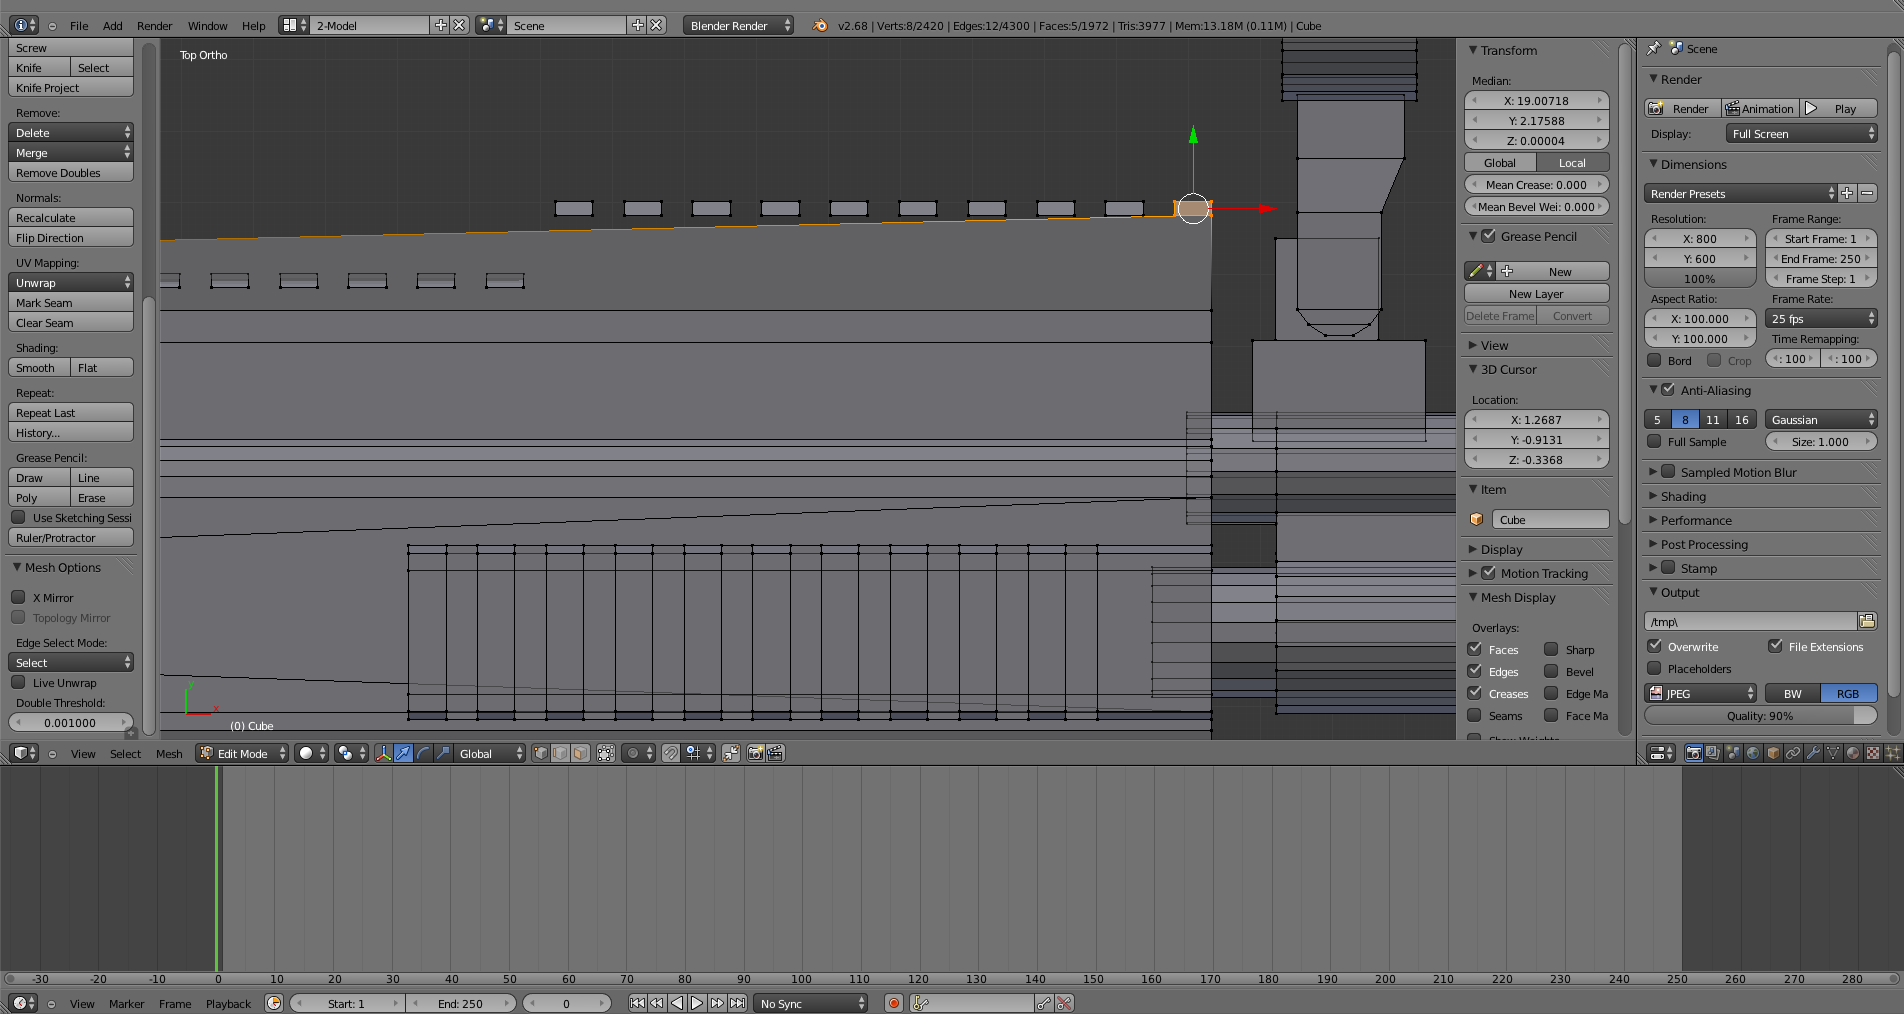
The model includes picatinny rails. Which have a huge amount of individual block running down their length. The way I made them I extruded the first two blocks on each rail from the face of the rail’s base. Then duplicated the original blocks all the way down its length.
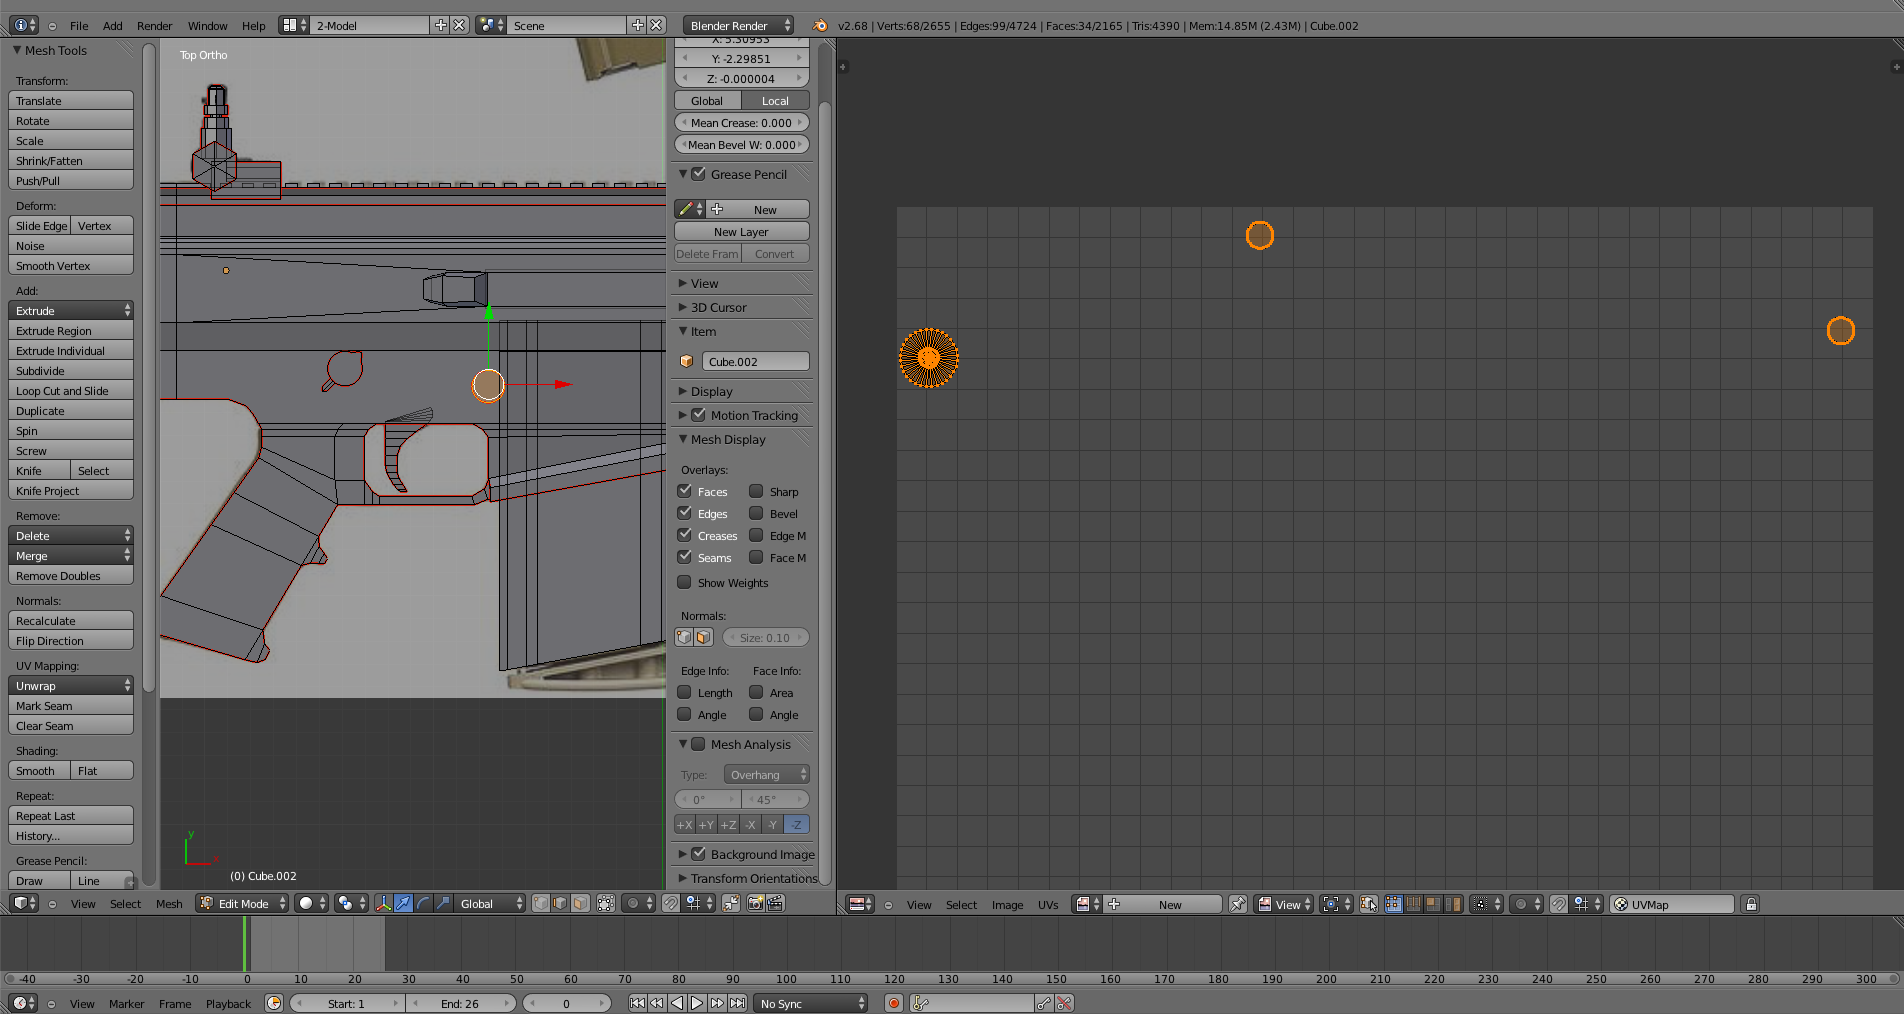
The problem with it is that because of the way I did that most of the blocks are not actually part of the same cube as the rail base so it doesn’t unwrap logically and the blocks for any given rail show up all over the UV map instead of in a logical succession.
As you can see when the model us unwrapped and the entire rail is selected because most of the blocks are not attached to the rail base they’re scattered all over the map instead of arranged with the base. This is a problem because the bottom rail needs to be painted black and all others tan. So That’s not going to be easy with all of the parts completely mixed up.
Might be a stupid question, but have you tried “Unwrap from view” when viewing from top? I think that having the rail blocks separate from the rail base is the right way to go. Unwrap the rails first, then the rail base and place that beside the rails on the map.
Don’t know if that answers your question…
I can’t say what would cause the cylinder unwrap snafu, looks really weird.
A better way would probably be to remove all of the rails except the first one, unwrap that as you like, and then duplicate the mesh as many times as you want. All rail blocks would then have the same UV coordinates I think. But then you couldn’t paint them individually (scratches and such).
It would be easier if all blocks belonged to the same object though…
You know that saying, “There’s no such thing as a stupid question”? I hope it’s true, because if not I’ve probably already asked all of the stupid ones haha! In any case I have not tried unwrap from view! I’ll try that one out!
The rail is a very tiny detail and you are giving it lot of precious texture space. I suggest unwrapping only 1 piece , adjust it for proper scale (On uv map, in consistent with other textures). Transfer its UV Layout to other rails pieces. This way you’ll save space.
Transfer UV Layout can be Selected from Objects Menu >> Make Links
Huh, that sounds interesting. I’ll try to figure out how to do it. But I still need to get at least one rail to unwrap logically so I can paint it in the first place?
Best way would be to create seams on the one block and unwrap it. Links can only be made between individual meshes, not between faces within the same mesh I think… You know what I mean?
You can separate vertices from the mesh into its own mesh by selecting them and press P (in edit mode of course).
When you have the blocks in its own mesh you can use the Array modifier to duplicate them, but maybe you already knew that
Blurgh. Unfortunately I haven’t been able to work on this at all in a month. I’m just really distracted right now looking for a job and dealing with other issues. So I haven’t had a chance to try out the last couple of suggestions but hopefully I’ll be doing that soon.
But before I do, it’s occurred to me that with the individual rail blocks this might actually be way too high poly for the game to run. Especially with my lame video card.
I was recently checking out Modern Warfare’s model of the MK17 just to see the difference and in first person it looks exactly like the rail blocks are detailed in the model its self, but if you drop the weapon and look at it from any other angle the rails are very clearly flat with shadows painted on them and they don’t even look detailed at all.
Is that how baking normals works???
And if I’m going to make a low poly version for the game, should I make it and then bake the normals from this model onto it first, then texture it? Or texture this first, bake the normals to the low polly then apply the texture to the low polly model? What order should I do this in?