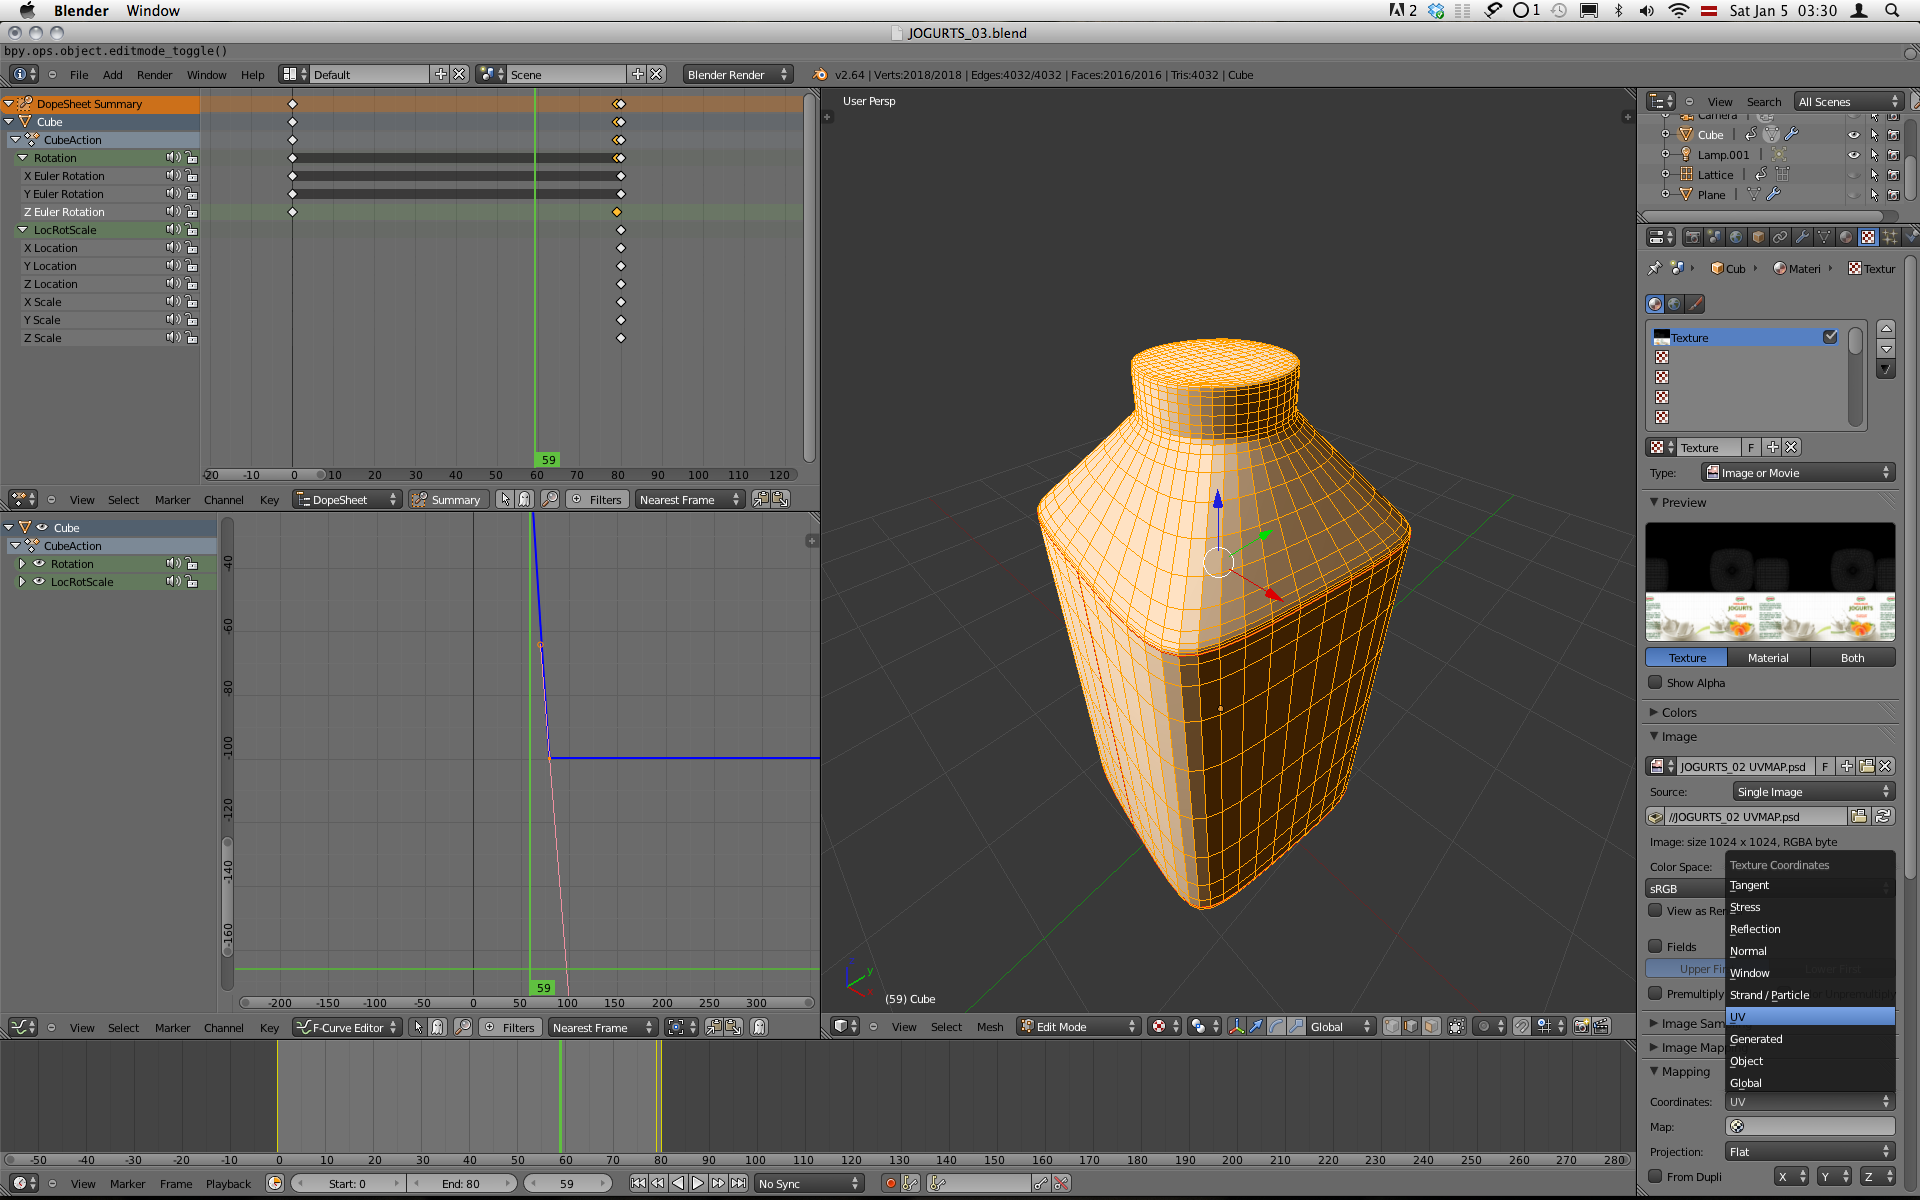
What’s wrong with this? I have created a default cone to test UV unwrapping. Blender seems to have a tendency to distort the spread (I hope this is the correct term) unnecessary. I expect 2 perfect circles and a rectangle.
My goal is to learn 3D for packaging visualisations.
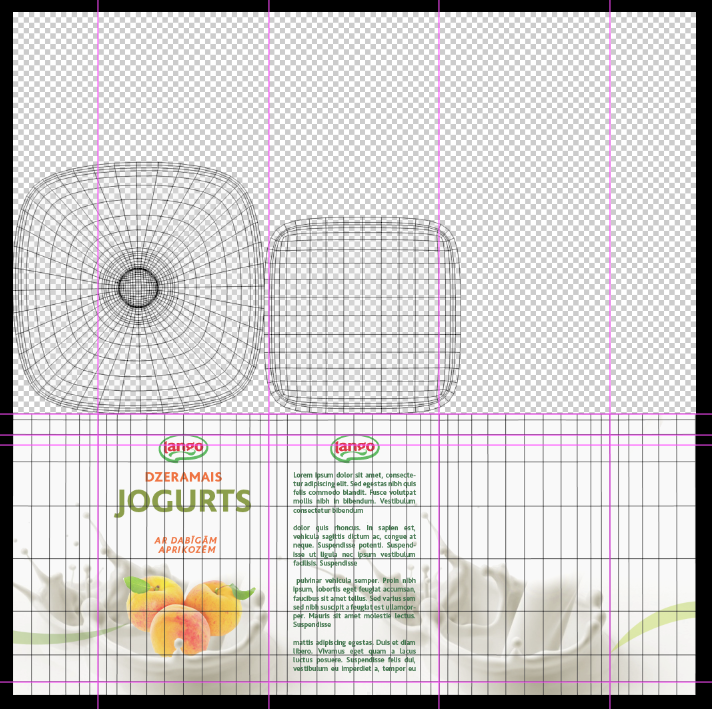
Set the unwrap method to Conformal instead of the default Angle Based (change option in the toolshelf after unwrapping) and you get the unwrap below, just as you want
Or you can pin the “almost” straight vertices in the islands and press “align x, y or auto” then that side will be straight and the rest will align to it.
Some times Conformal doesn’t work as good with more complicated islands.
Can someone give me a clue how to solve this texture issue?
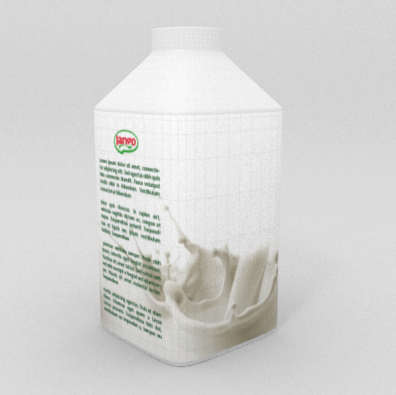
I need a cap for the yogurt bottle and I’d like to simulate the fine vertical lines that helps to get the grip to open the container.
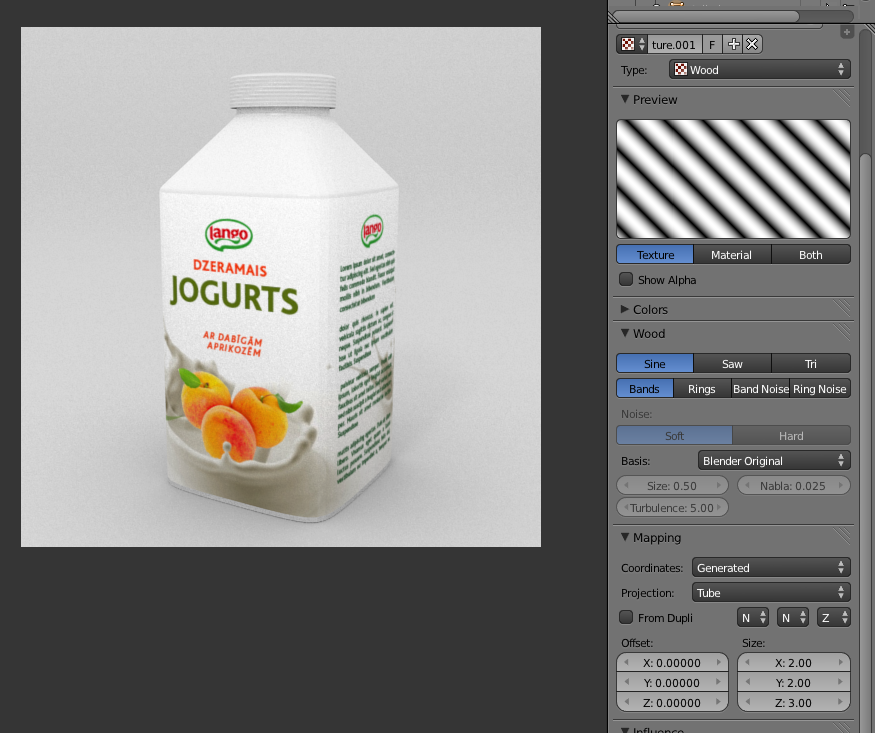
I use default wood texture and it seems to imitate well enough. The problem is the direction of the ‘lines’. I did some experiments with X Y Z and that seems to be the correct direction. If i use Y axis only, the direction of lines is correct, it’s just the stretched in an odd way (image-1) and Projection method: Tube does not help.
I know of no quick and easy way to make generated coordinates go evenly around an axis. There might be some trick you could play with a radial blend texture, but I doubt it’s worth the effort. Since 3D generated textures (such as wood) don’t need to be projected, the ‘Projection’ setting has no effect on them.
Just UV unwrap the sides of the cap using cylindrical projection, and use those UV coordinates for the wood texture, with the mapping X-None-Z (or X-None-None; the Z mapping is irrelevant for UV coordinates). Turn up the X size until the lines are the width you want.