Hi. I’m trying to UV unwrap a model so I can do some texture painting. I’ve done this several times before but for some reason I’m struggling with this particular model.
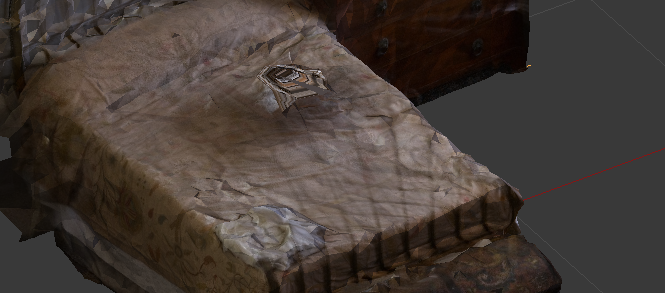
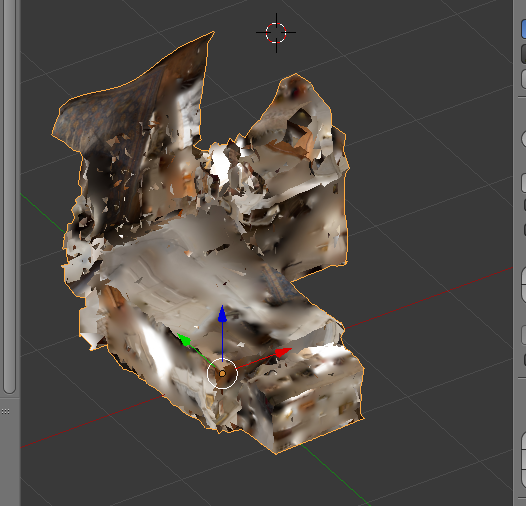
I’d like to fix this area but need to UV unwrap first
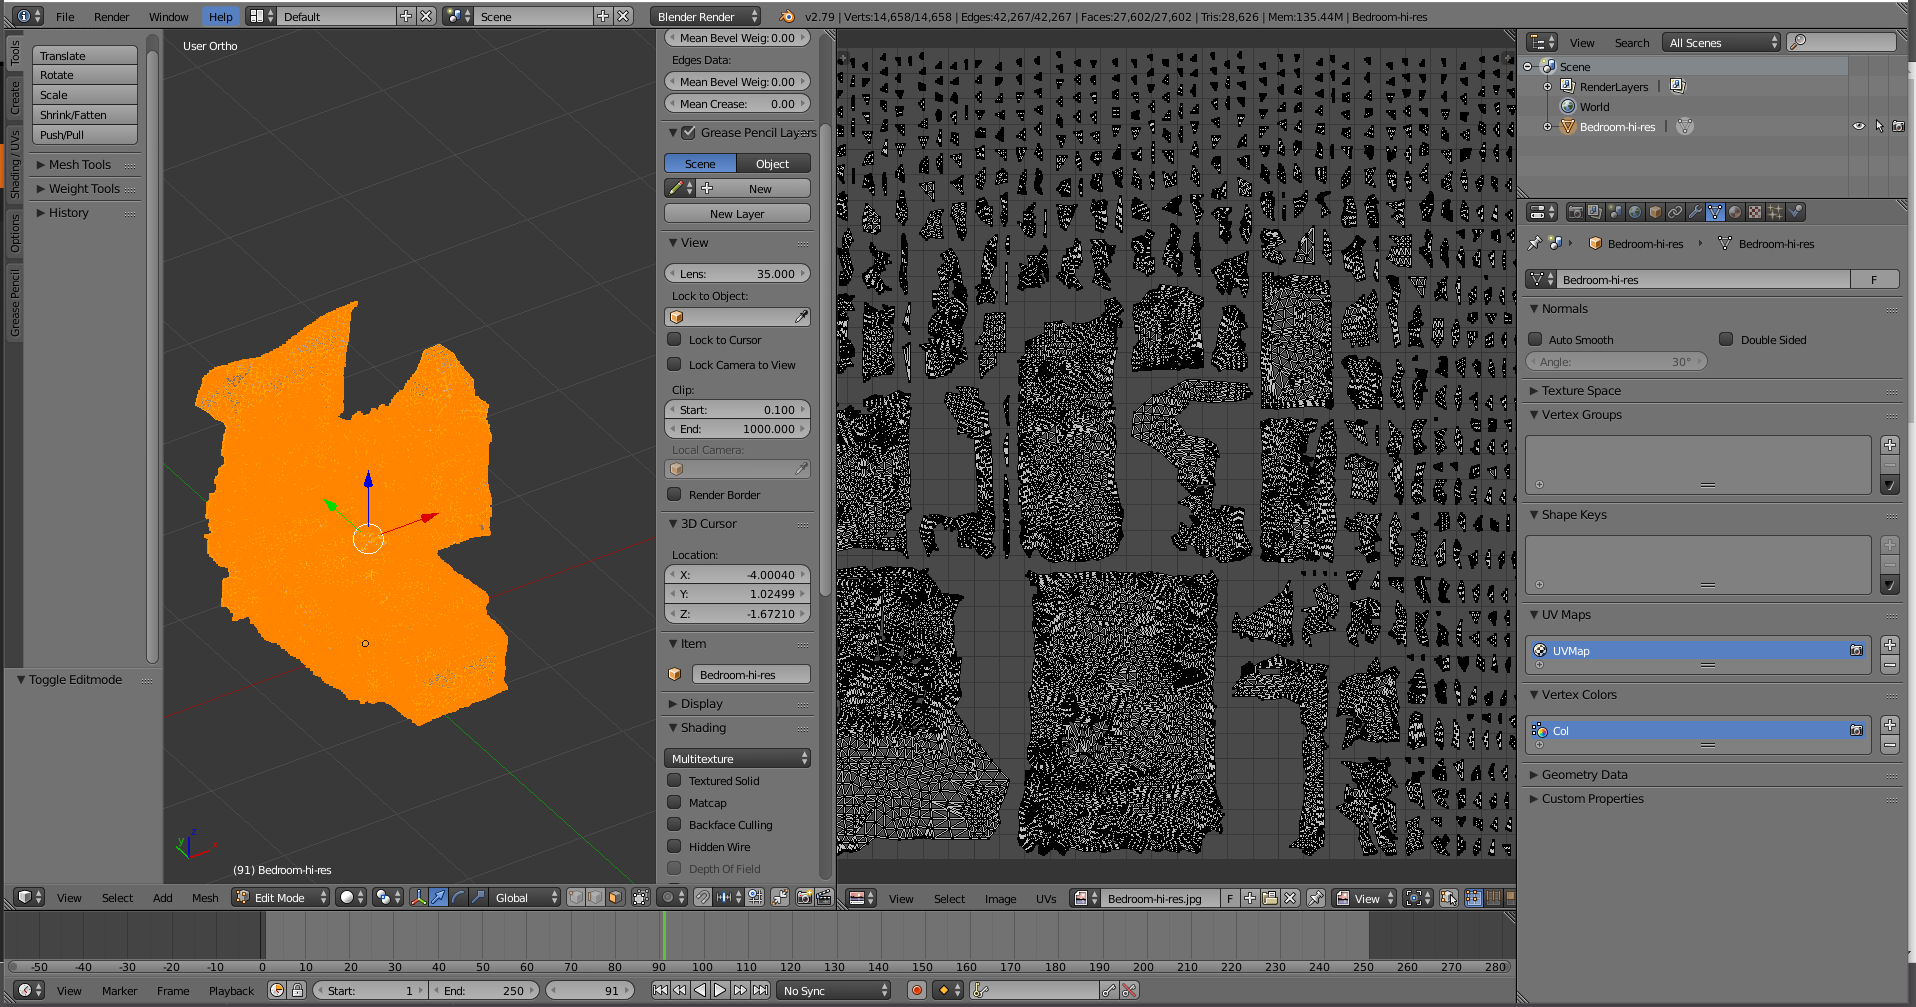
so I select the model in Edit Mode. Create a new image in the UV Editor window and Smart UV project:
If you’re seeing a texture on the object, then it’s already been UV mapped. What’s happening here is that you’re replacing the existing UV mapping with your own, new UV mapping, which changes how the existing texture gets wrapped across the mesh.
Note that, when you talk about fixing that particular area, it kind of looks like a part of the mesh that doesn’t have good UV coordinates. Like they were seamed verts that lost their seam. If this is the case, texture painting isn’t going to help-- every time you try to paint to fix it, your fix will screw up some other part of the mesh. Instead, you’d need to fix the existing UV mapping.
If you want to keep the old texture, and apply something new on top of it, you might consider that you can make a whole new UV map for the model. Check out the data subsection of the properties view, UV maps subsection. Here you can + make a new uv map, select it for use/unwrapping it, and create an additional UV map for your model. Later on, you can bake your new texture to your original uv map if you want (assuming that old uv map isn’t too messed up.)
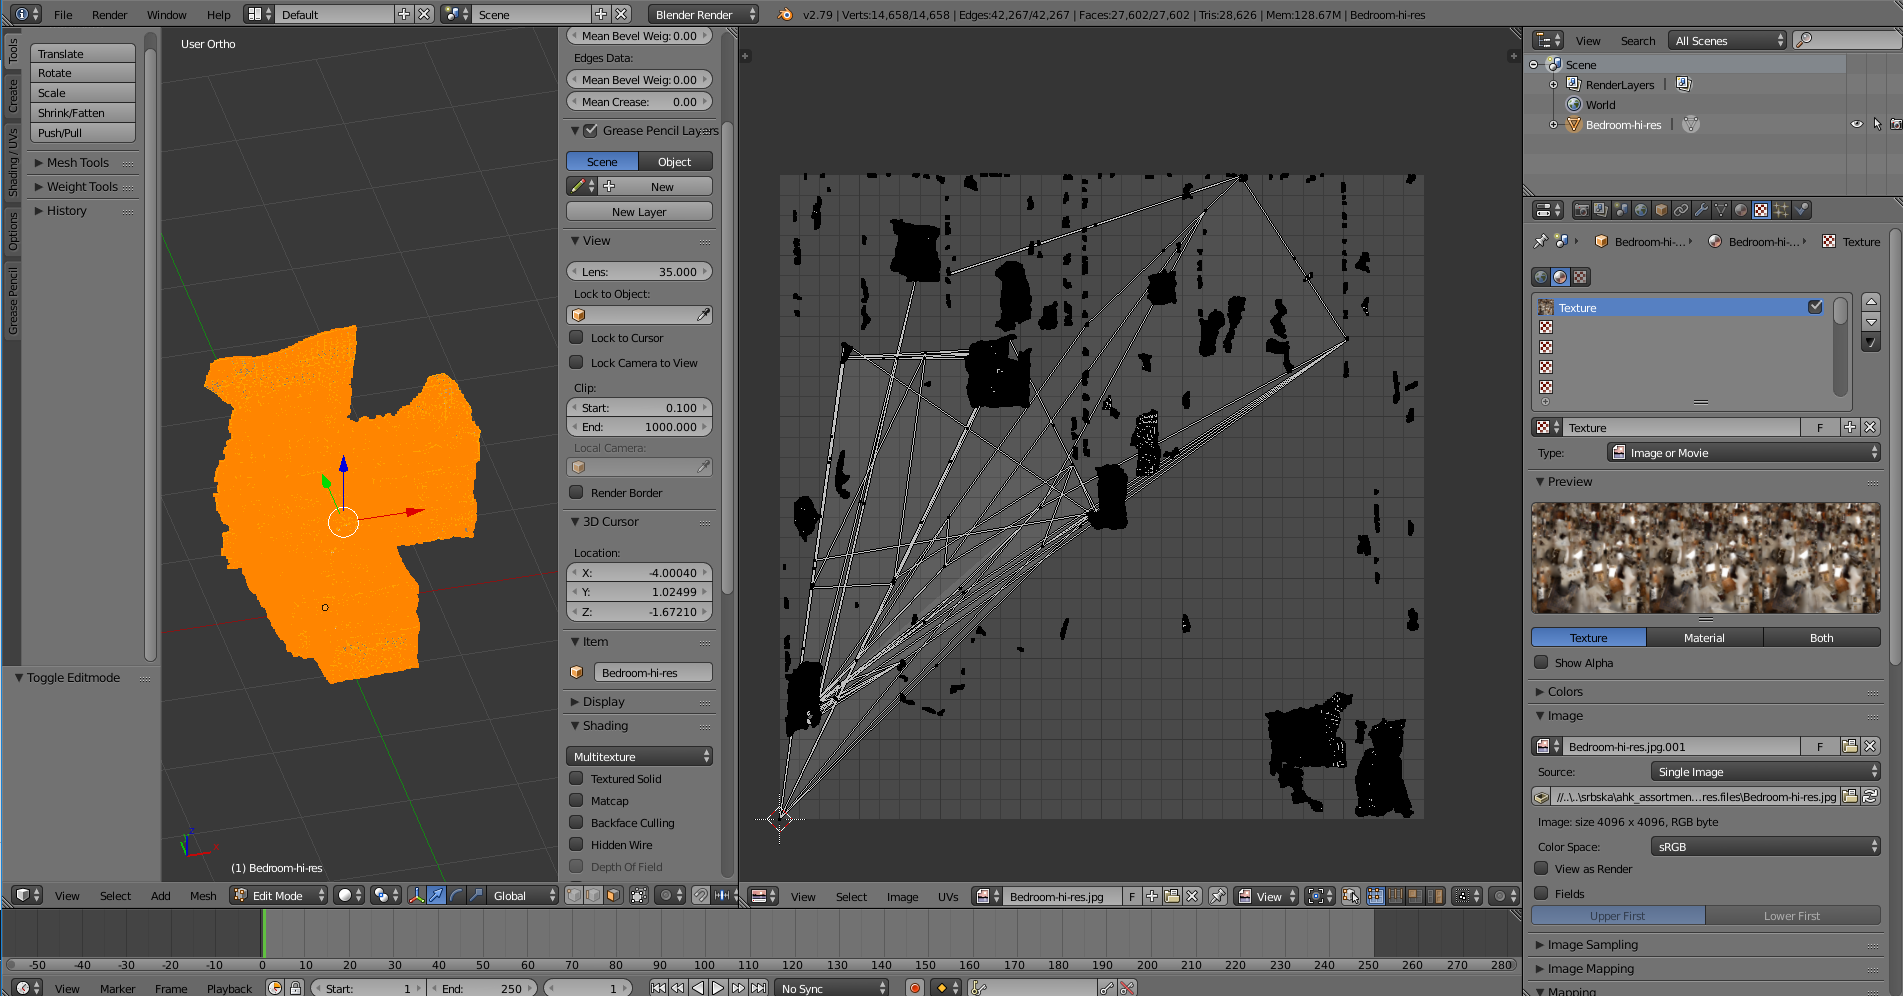
I had hoped that by UV unwrapping I could create a ‘fresh’ UV map rather than fix the old one. Also, this model has been deleted from a larger scene, so the texture.jpg (created from the original scene) is much larger than the space occupied by the mesh (if that makes sense?)
By creating a new UV map I had hoped I could project just the parts of the image texture used by the mesh, giving a much tidier .obj and .jpg file.
If I do need to fix the existing UV map, could you advise me of the best way to do this?
This seems like it’s a result of a photogrammetric reconstruction. If the texture is made from many photos it makes sense to remake it with a tidy mesh and a UV map that uses texture space more efficiently in the photogrammetry software.
Yes I am. The trouble is I don’t really want to go back into the original PhotoScan file and crop. I’d rather fix what I have in Blender. Do you have any idea about best practice for fixing the UV map in the images above?
You do not need to crop in Photoscan. You can export the mesh from PhotoScan using OBJ format for example, then retopologise and UV map parts of it without moving them from their original coordinates in Blender and then import them back(Tools>Import>Import Mesh) for the texture to Photoscan, you would need to generate the texture again using Workflow>Build Texture and choosing Keep uv as the mapping mode in the dialog.
This way you can use the texture memory efficiently by filling it all with information. You can paint directly on the texture on the 3d model as well using Blender without worrying about the UV map.
Baking one inefficient texture to another UV map might loose detail. If you have an object with a UV map you can use PhotoScan to make the texture to the UV map in the first place keeping as much detail as it is possible to get from the photos used for photogrammetry. It’s just a tidier and nicer way. Of course, whatever works for you is OK.