Aright, this UV mapping B.S is pissing me off. Let me illustrate.
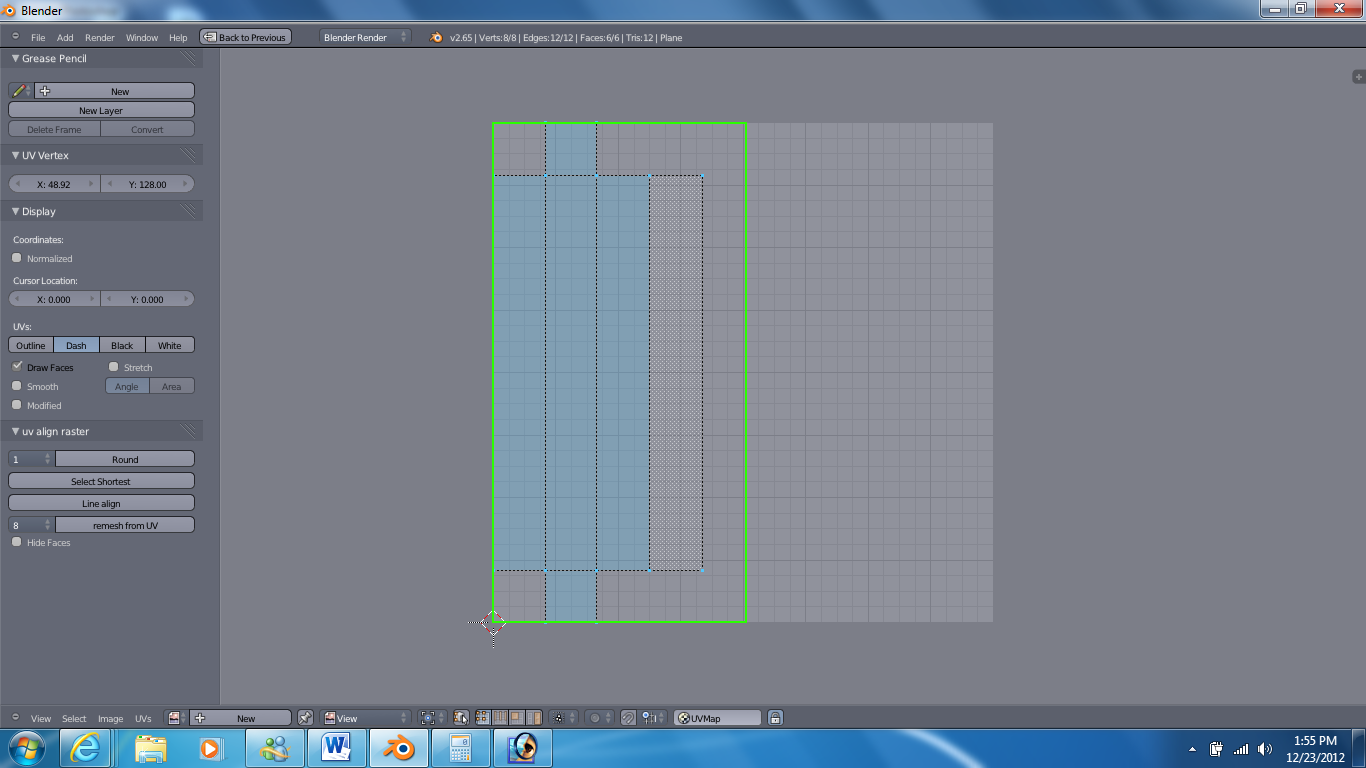
In the image below, I have the UV’s of my mesh, just the way I want them and according to my calculations I will need a texture image of 64x128 pixels, illustrated by the green outline.
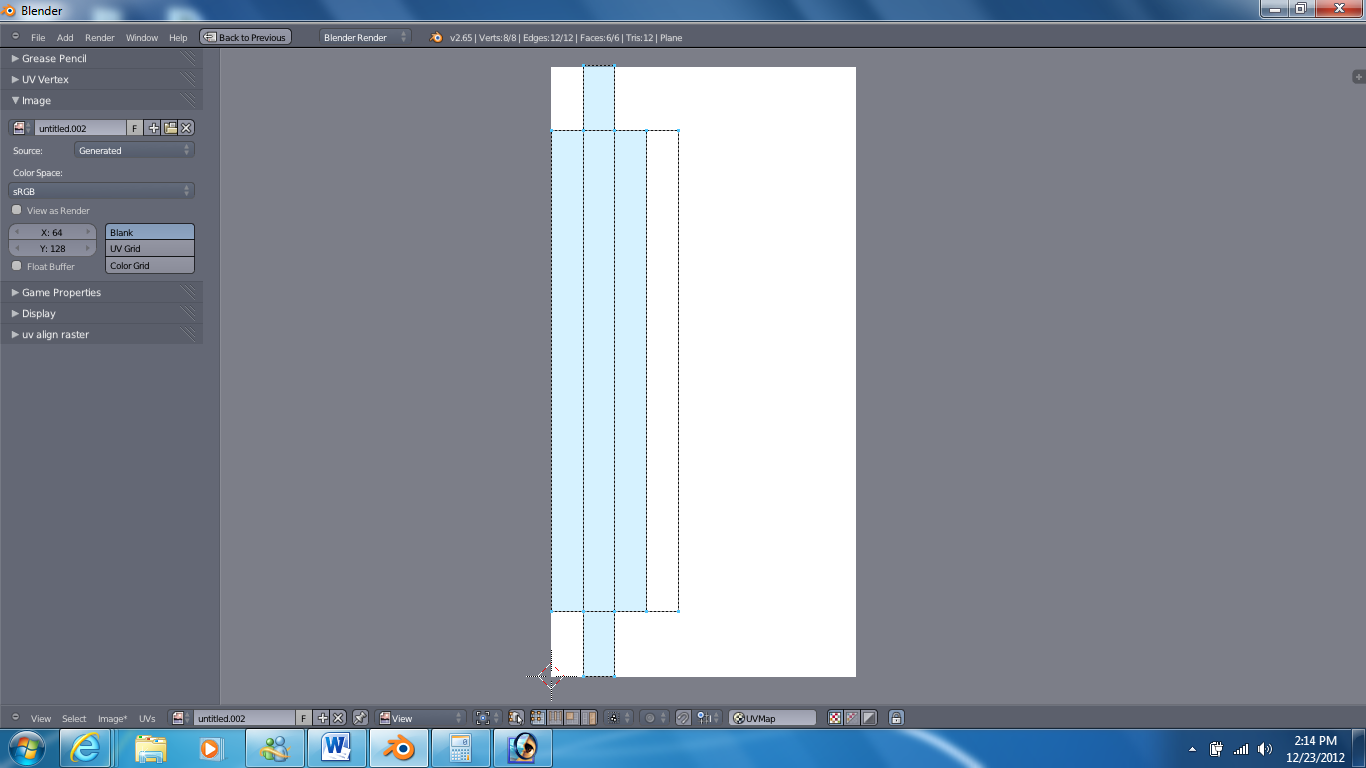
Ok, so I add my image (64x128) and my UV’s decide to go haywire. I’ve looked over every single menue item and I just don’t see anything relevant to stop the UV’s from destorting.
I think the UV “area” must always be square. (I’m still kinda new myself so there may be stuff that I’ve missed) The UV’s always map to a square map, and thus squishing/stretching occurs if the image isn’t square as well.
So make the image width 128 pixels, and the UV’s should appear normal and unsquished. Unused image space on a UV map isn’t all that terrible of a thing, normal image compression (.jpg .png) will make any file size or memory increase pretty small.
Haha, well that sucks… for now Ill just have to continue happily using square textures. Although the game engines I prefer don’t seem to care about size just so as long it’s a power of 2. Well, thanks for the input
skywolfblue.
@ kennfletch, the theme Im using is called hexagon. It should already in the [theme presents] menu. If you don’t have it and can’t find it online I can upload mine if you want? Just let me know.
After changing the image dimension you need to press U -> Unwrap again in the 3D View.
But i agree, that’s not good that Blender deform the UV to follow the new image dimension.