Uyir - Short Film WIP

I love it! :smiley:
The curved back pose now completes him for the age range you were going for perfectly fine!
It certainly is your artistic option, but in my humble opinion he has too big/defined deltoid muscles for a 70 y.o. man :slight_smile:

If you wouldn’t mind, can I ask you a couple of questions?
I really like the face rig, it’s very expressive and looks easily controllable. It is based on bones or blend shapes? Did you based it in some other example or tutorial that you can recomend? I’ll definitely go for animation with my old man, so I need to find the best option (as also try to reduce my render times…)
Thanks! :slight_smile:

Thanks a lot minoribus and manelmeirinhos :slight_smile:

@manelmeirinhos,
I used shape keys to define his facial expressions and then used bones to drive those shapes.

I highly recommend this tutorial: http://cgcookie.com/blender/cgc-courses/creating-an-advanced-face-rig/
Surprisingly, this is the only tutorial I could find related to creating a vast amount of facial expressions. It’s slightly old but still very relevant. I think this tutorial series will help a lot with your own character!

Haven’t done too much over the last few days…took a bit of a breather…

Today, I spent some time defining the 10-11 year old daughter. I took the old man mesh, renamed everything to the daughter and started pushing and pulling vertices as well as sculpting. Since I’ve already defined all the shape keys, I needed to make sure I made all the changes under the ‘Basis’ shape key in order for the changes to reflect across all the shape keys.

Here is what I have so far:


One of the most difficult challenges was the eyes. I just can’t seem to get it right. Female eyes are far more confusing than male eyes :confused: After nudging and tweaking for hours, I could only get the above result. I also introduced some asymmetry from the old man mesh, which is probably why it might seem the eyes are slightly looking elsewhere. Also, I’m not sure if she seems sort of alien-like. But then again, that’s how the old man started, she might look much different after adding hair and dress.

I’m not worrying too much about the body since she’ll be wearing a dress. I might address the arms and a bit of the legs though.

How is this so far?

It was a good idea to transform the old man’s mesh into the daughter’s mesh. This way you could preserve the family likeness. But is she the old man’s daughter or is she his grandchild?

Hair would change the appearance of course. But one thing that I’d really recommend is to give her smaller ears. Huge ears are a sign of age. The chin is perhaps a bit too pointy at the moment, although at this age the face would follow he schema of childlike characteristics. Big eyes, small chin.

Now I’m saying all that and I’m quite sure that you knew all that already :wink:

Wow, you did a hell lot of progress since Theevan. Really.

BTW: Someone here in the thread mentioned it takes 4hrs to render one(!) frame. What exactly is it that takes so long? Noise? There might be other ways then just increasing the amount of samples to reduce noise…
Honestly I always check that I keep my rendertimes <15 minutes per frame on my machine. That’s still just 4 frames per hour… and still worth a shot at a renderfarm. Just sayin’ :slight_smile:

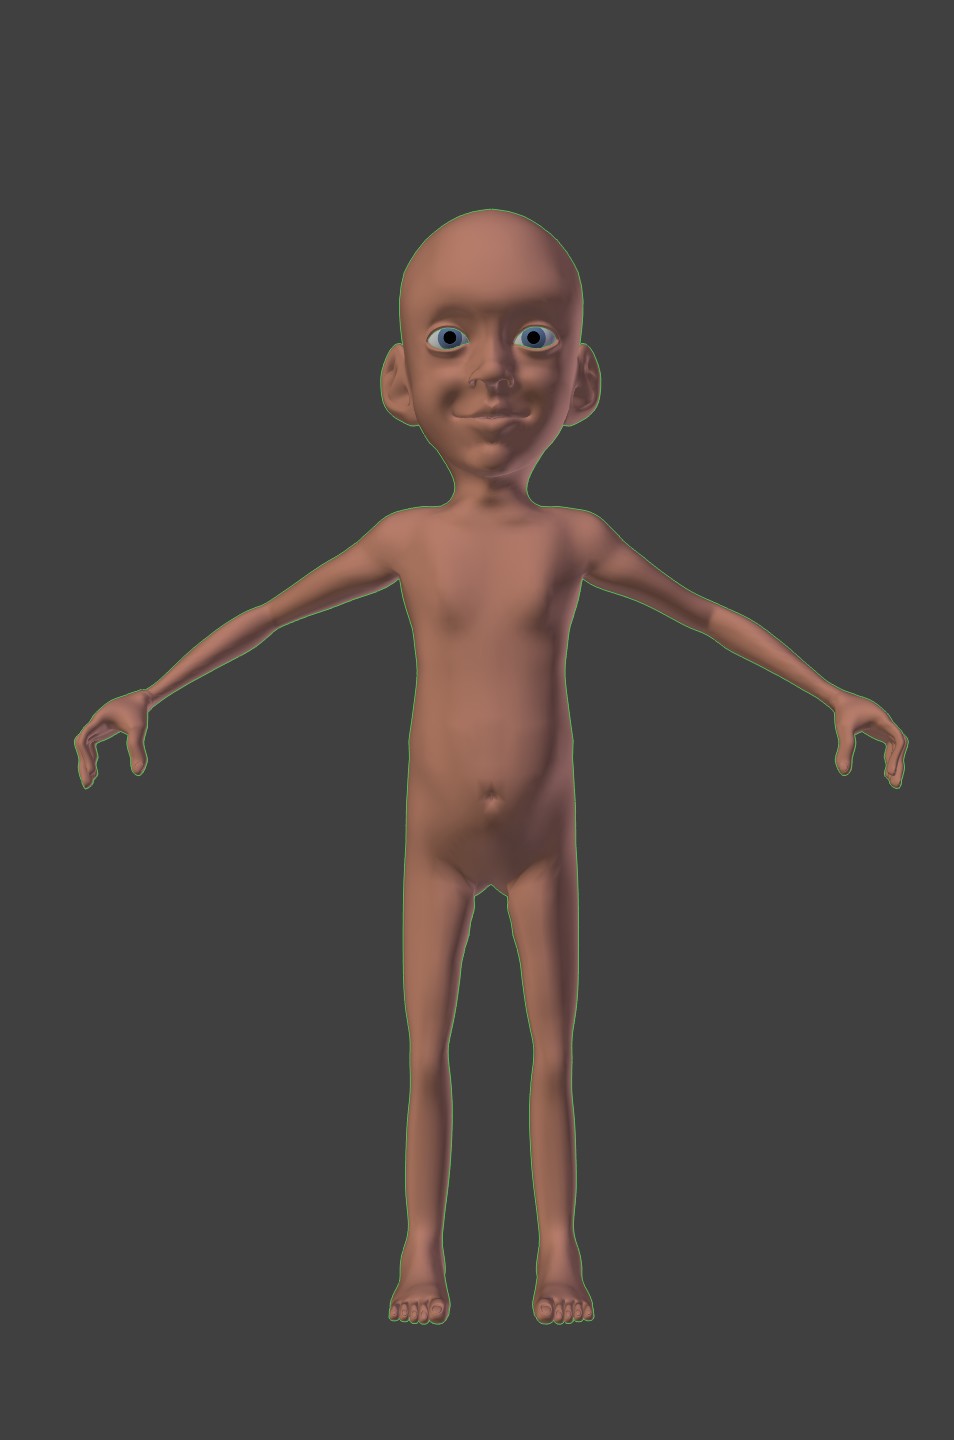
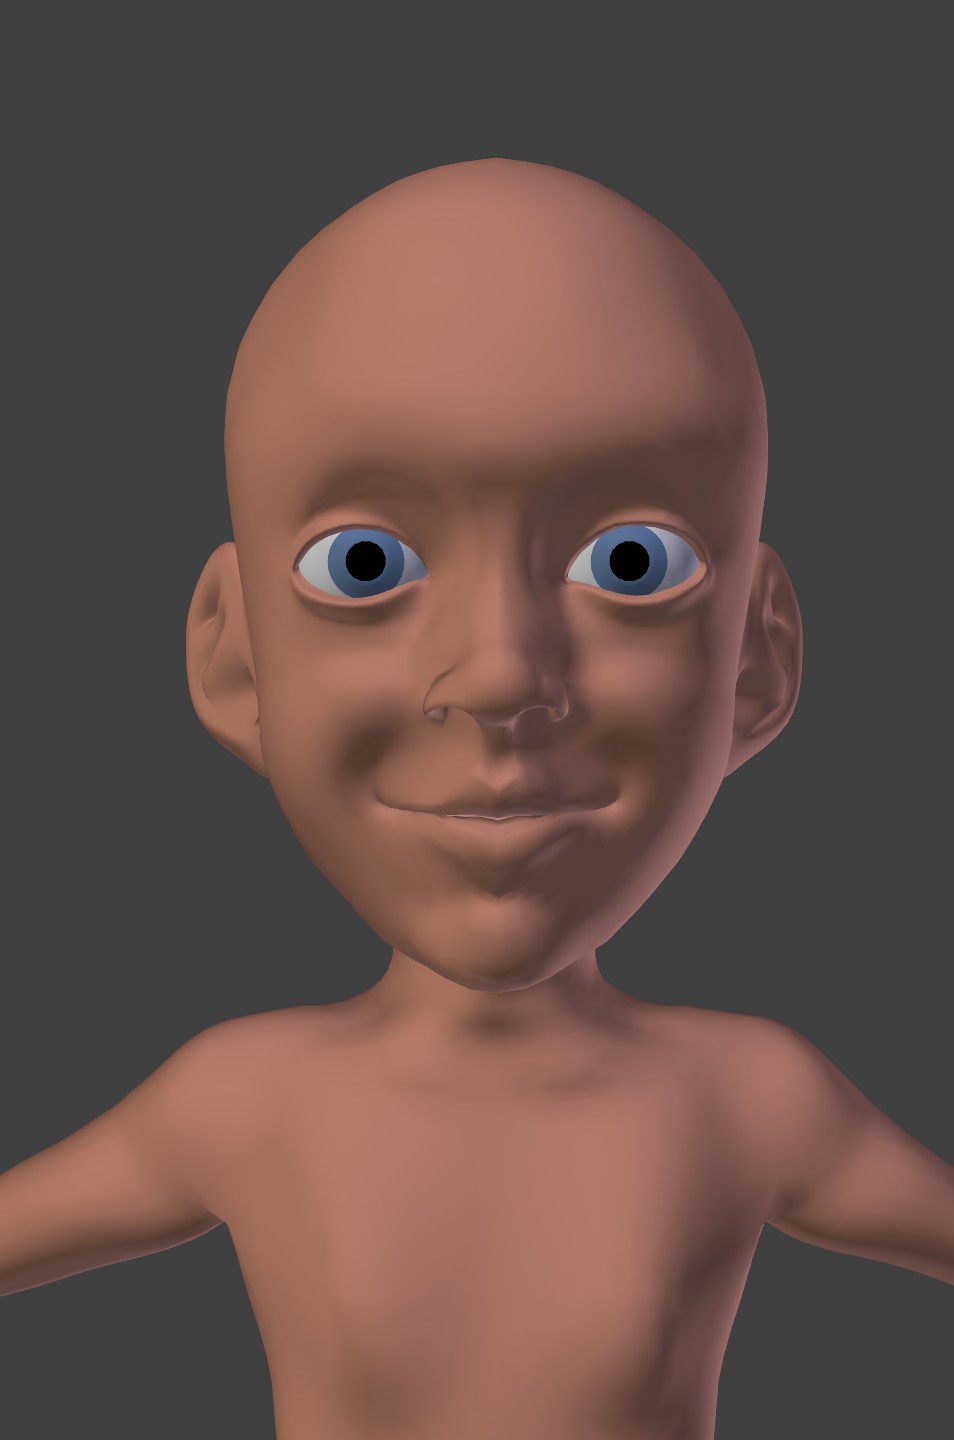
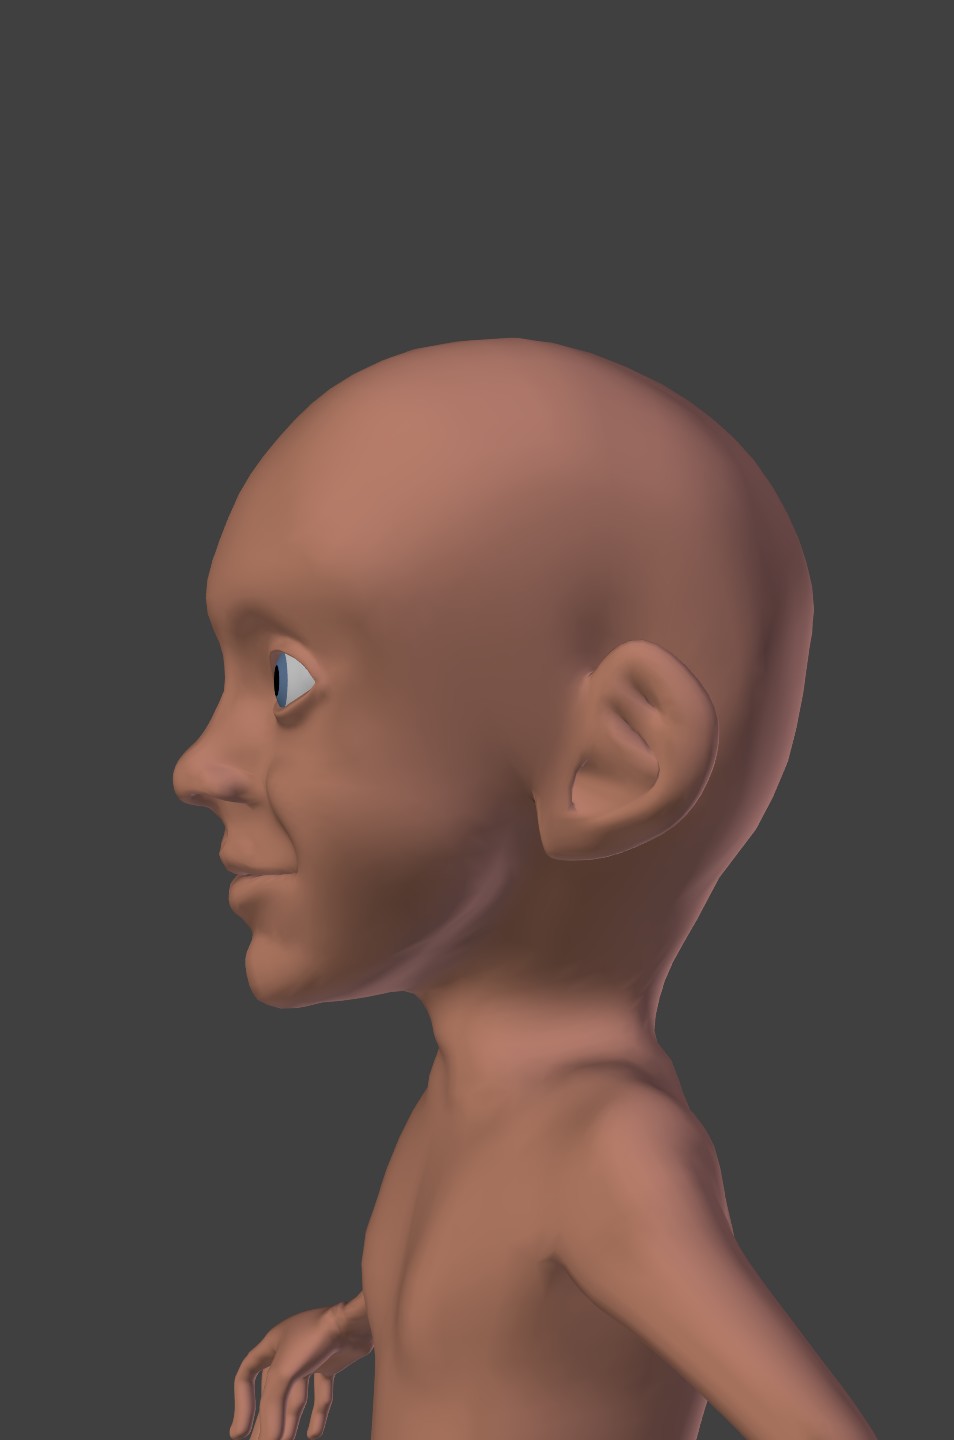
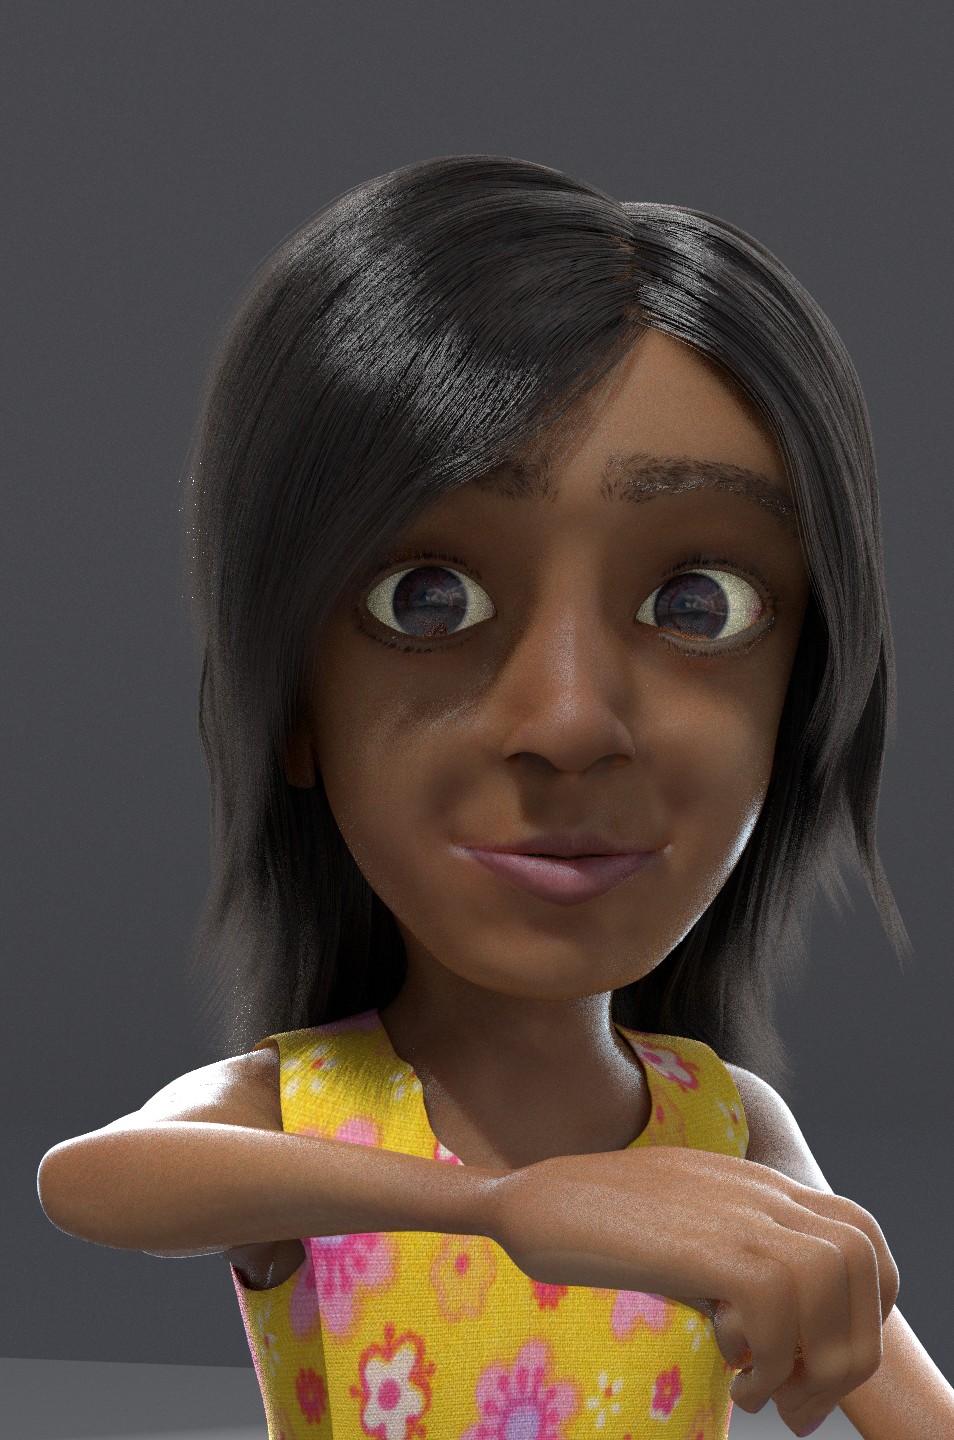
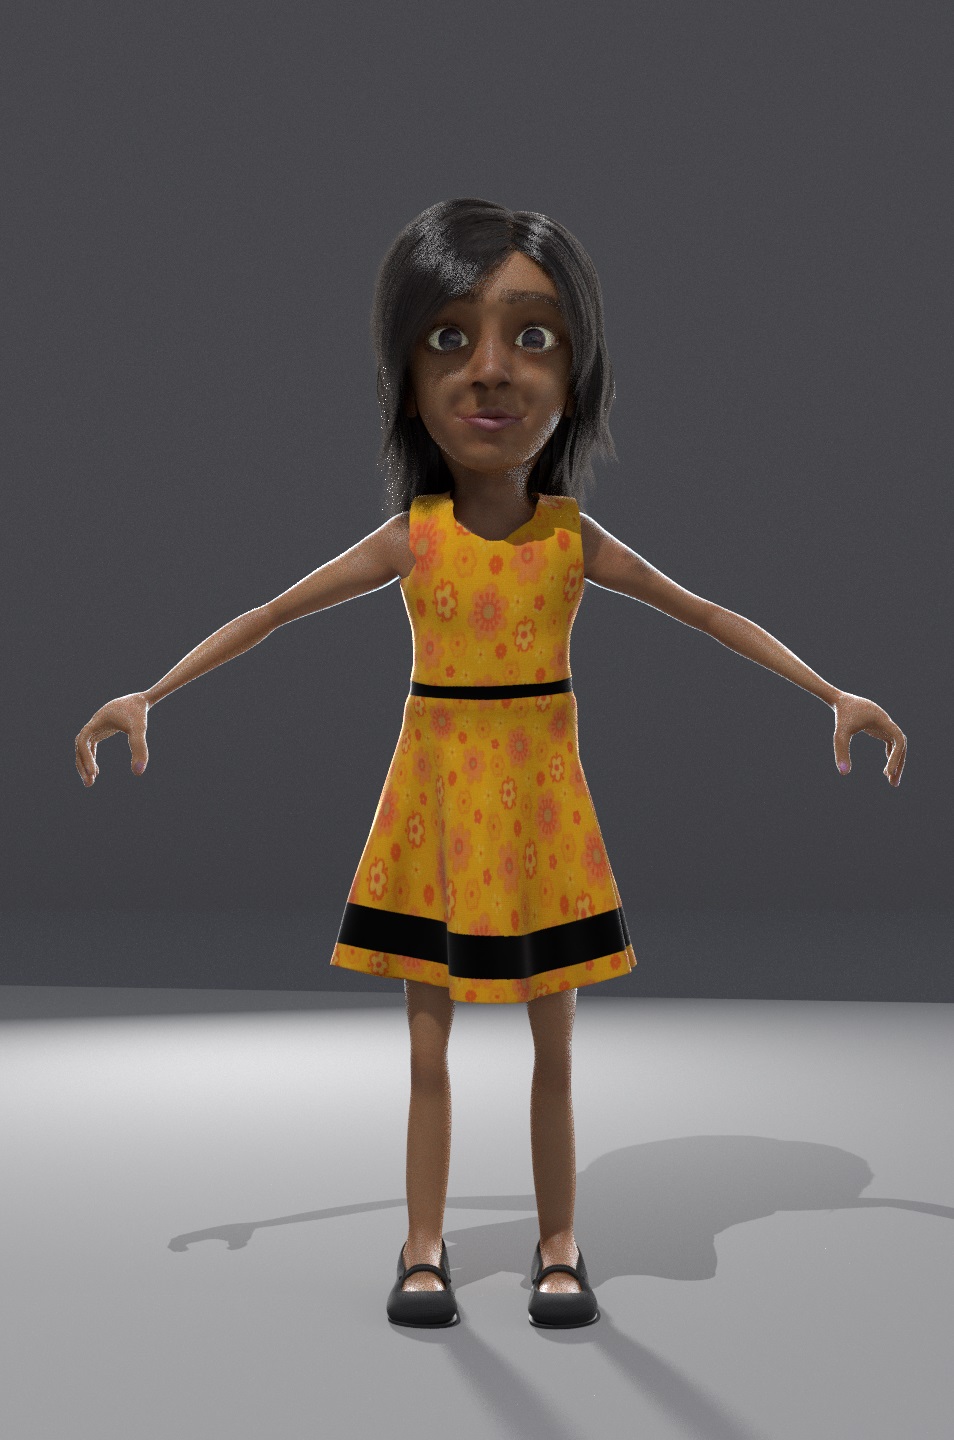
@minoribus, thanks for the great suggestions! :slight_smile: I’ve updated the model now and gave her a smaller chin and smaller ears. I’m actually not too familiar with the proportions of children (was surprised to find out that most children don’t have a sharp defined nose like adults) Also, she’s in fact the granddaughter, I keep saying daughter for some reason haha.

@kyomotion, Awesome, thanks a lot! :slight_smile: Whoa, I’m not getting anywhere near 4 hrs/frame, otherwise I would have given up by now, lol. I’m getting about 15mins/frame which is similar to yours. I’m guessing that most of the rendertime is spent on the SSS setup that I’m using for the skin. That, combined with the shader I’m using for the hair, beard and eyebrows. The longest time, however, is spent on the eyes. The eyes still continue to render well after everything else is complete and I’m guessing it’s because I’ve combined glossy, transparency, SSS, a very tiny amount of volumetrics and bump all within the eye.

Update:
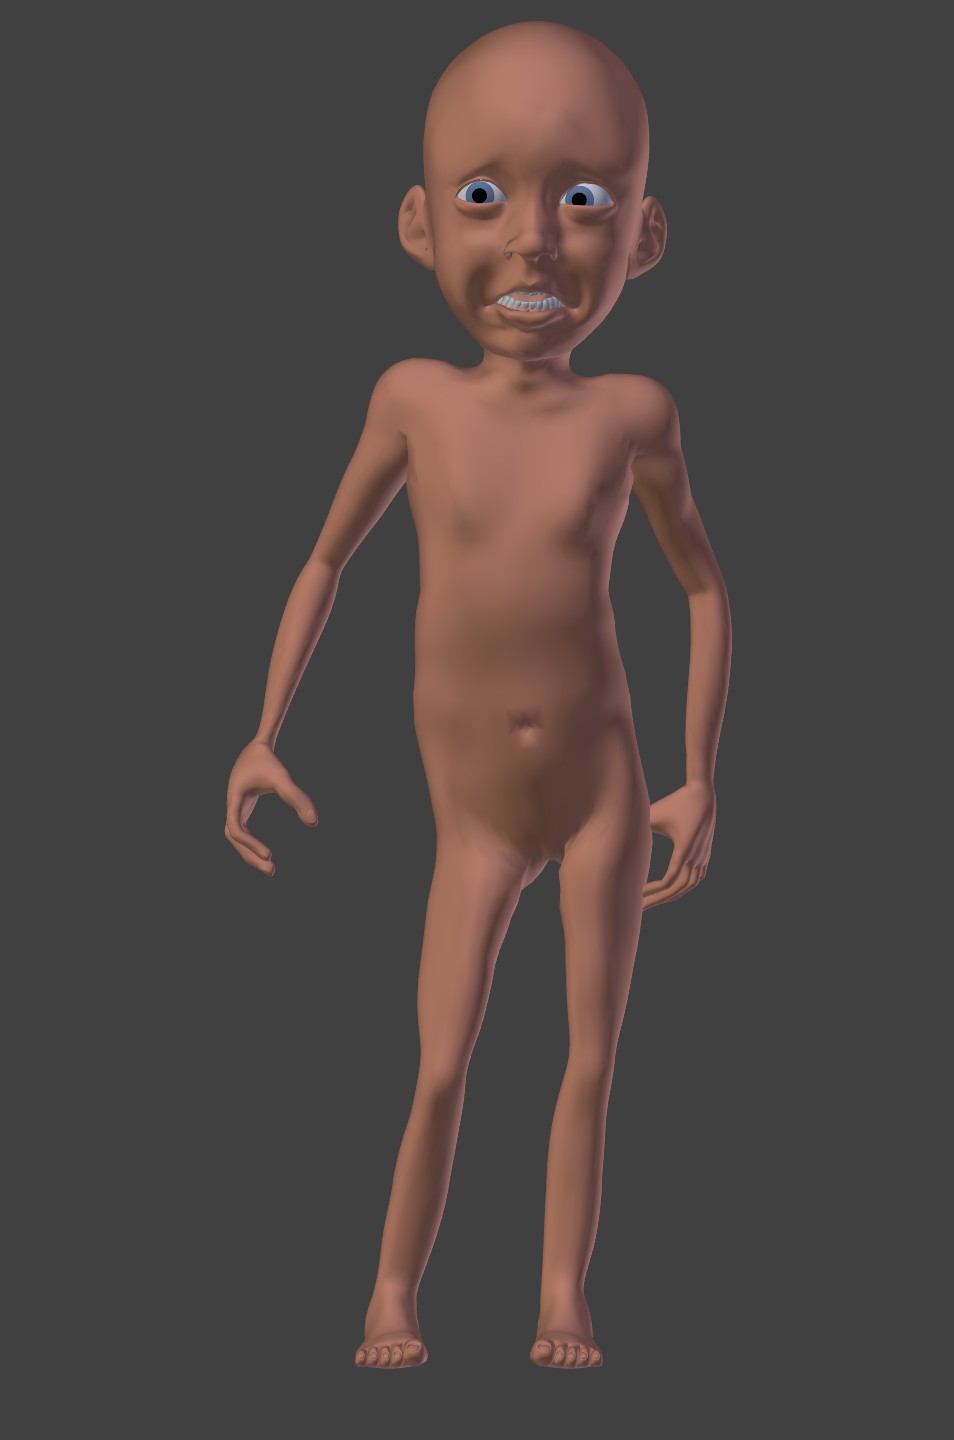
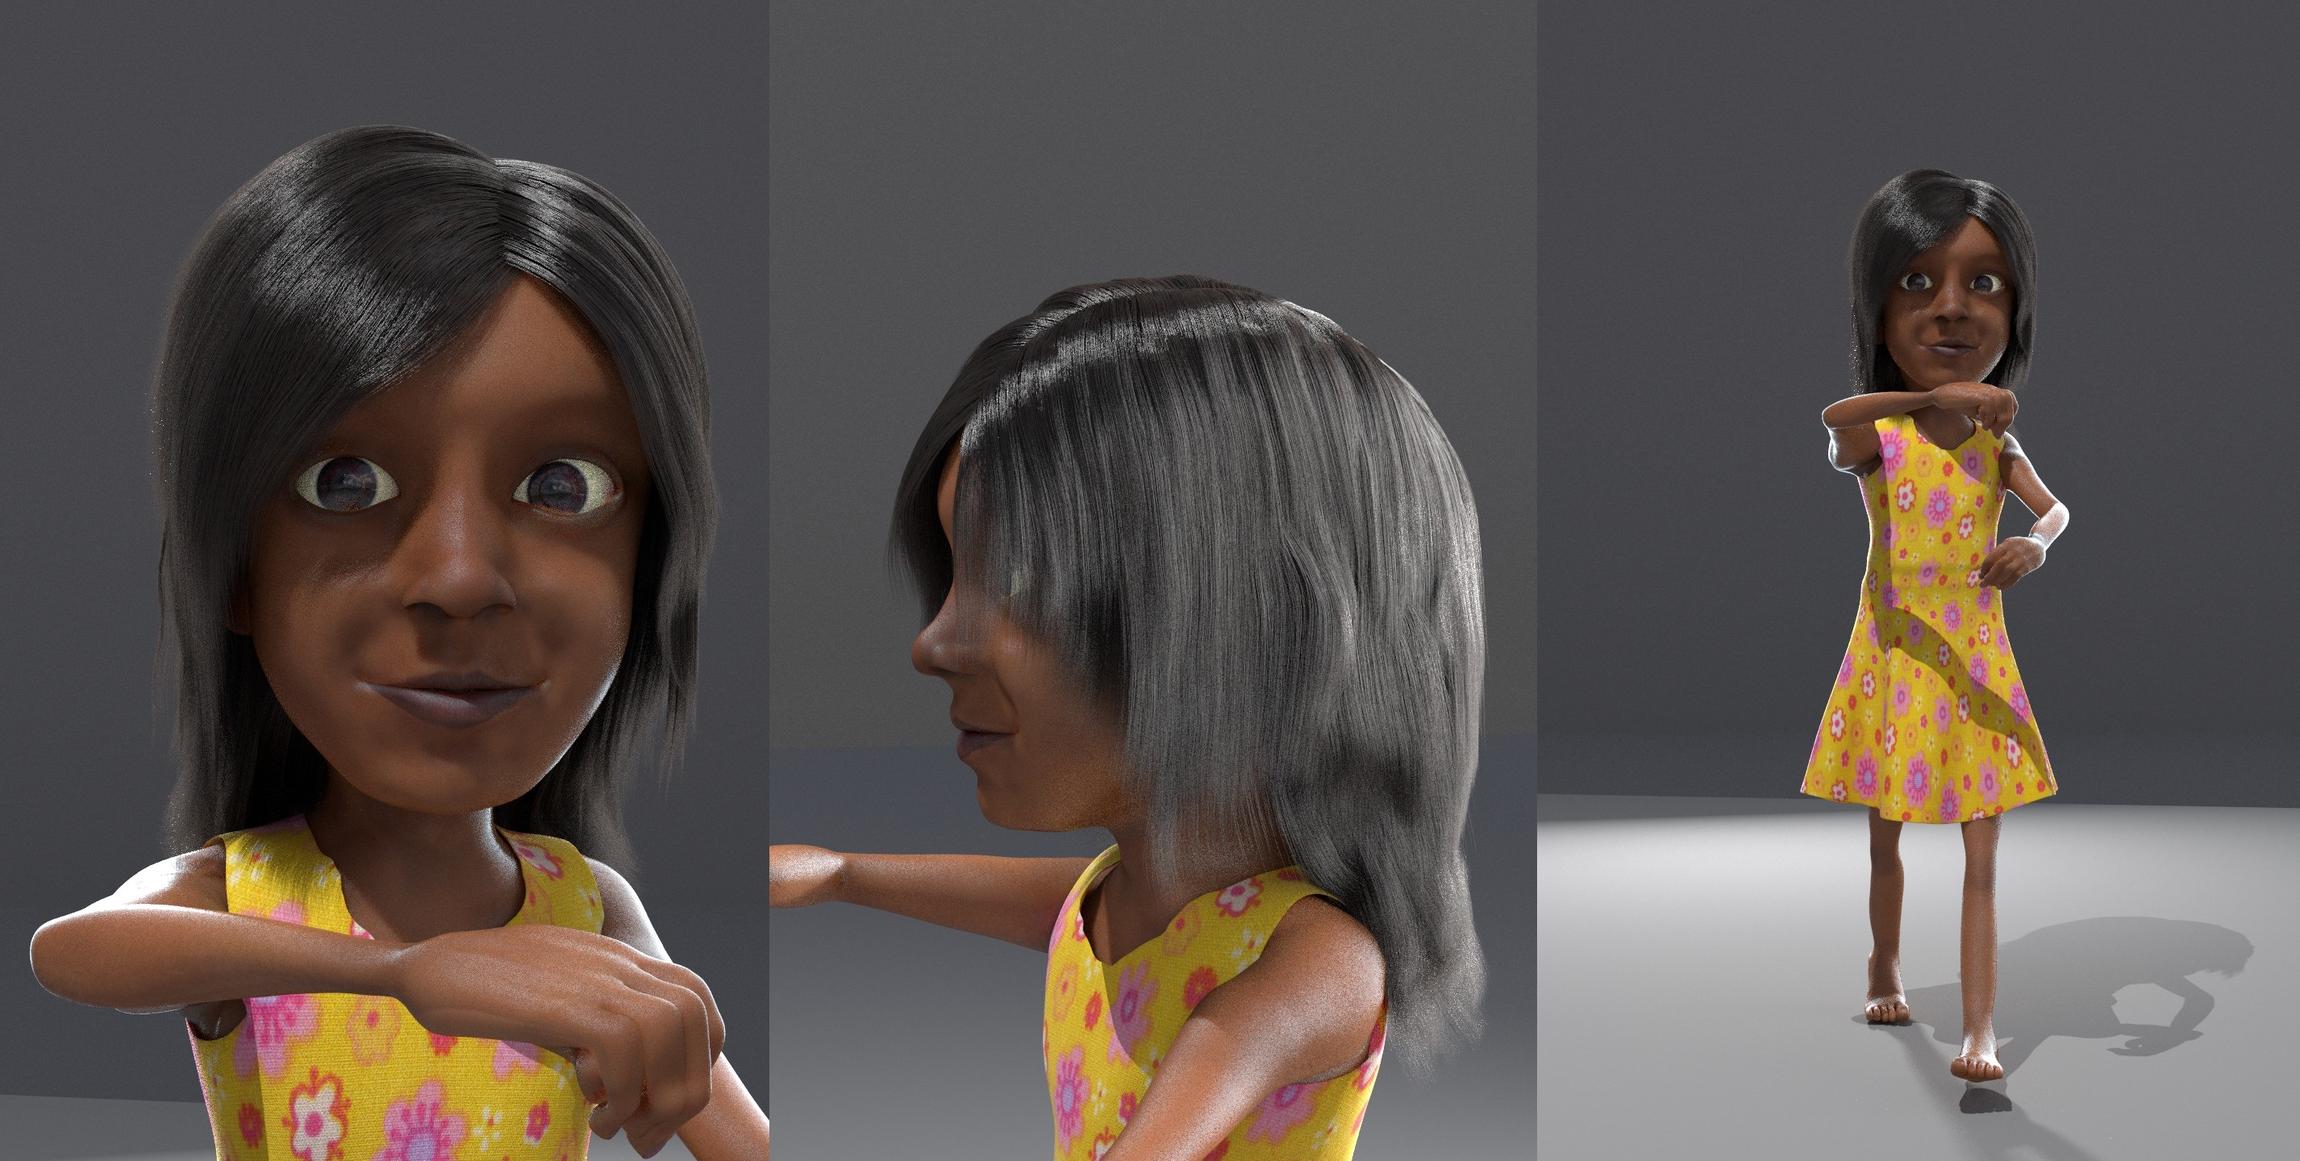
I’ve now fixed up her proportions a little bit better and rigged her. The rigging stage was a breeze since I’ve done all the hard work for the old man. It’s important here to go back to the human metarig and re-adjust proportions and generate a new Rigify rig. Then you need to go back to your modified mesh (this case the granddaughter), and in the modifiers panel, change the armature object from the old rig, to the newly generated rig. This way, you don’t have to do the whole parenting and automatic weighting thing. The weights have already been defined in the vertex groups. Massive time-saver and neat little trick that I learned from David Ward’s Tim series.

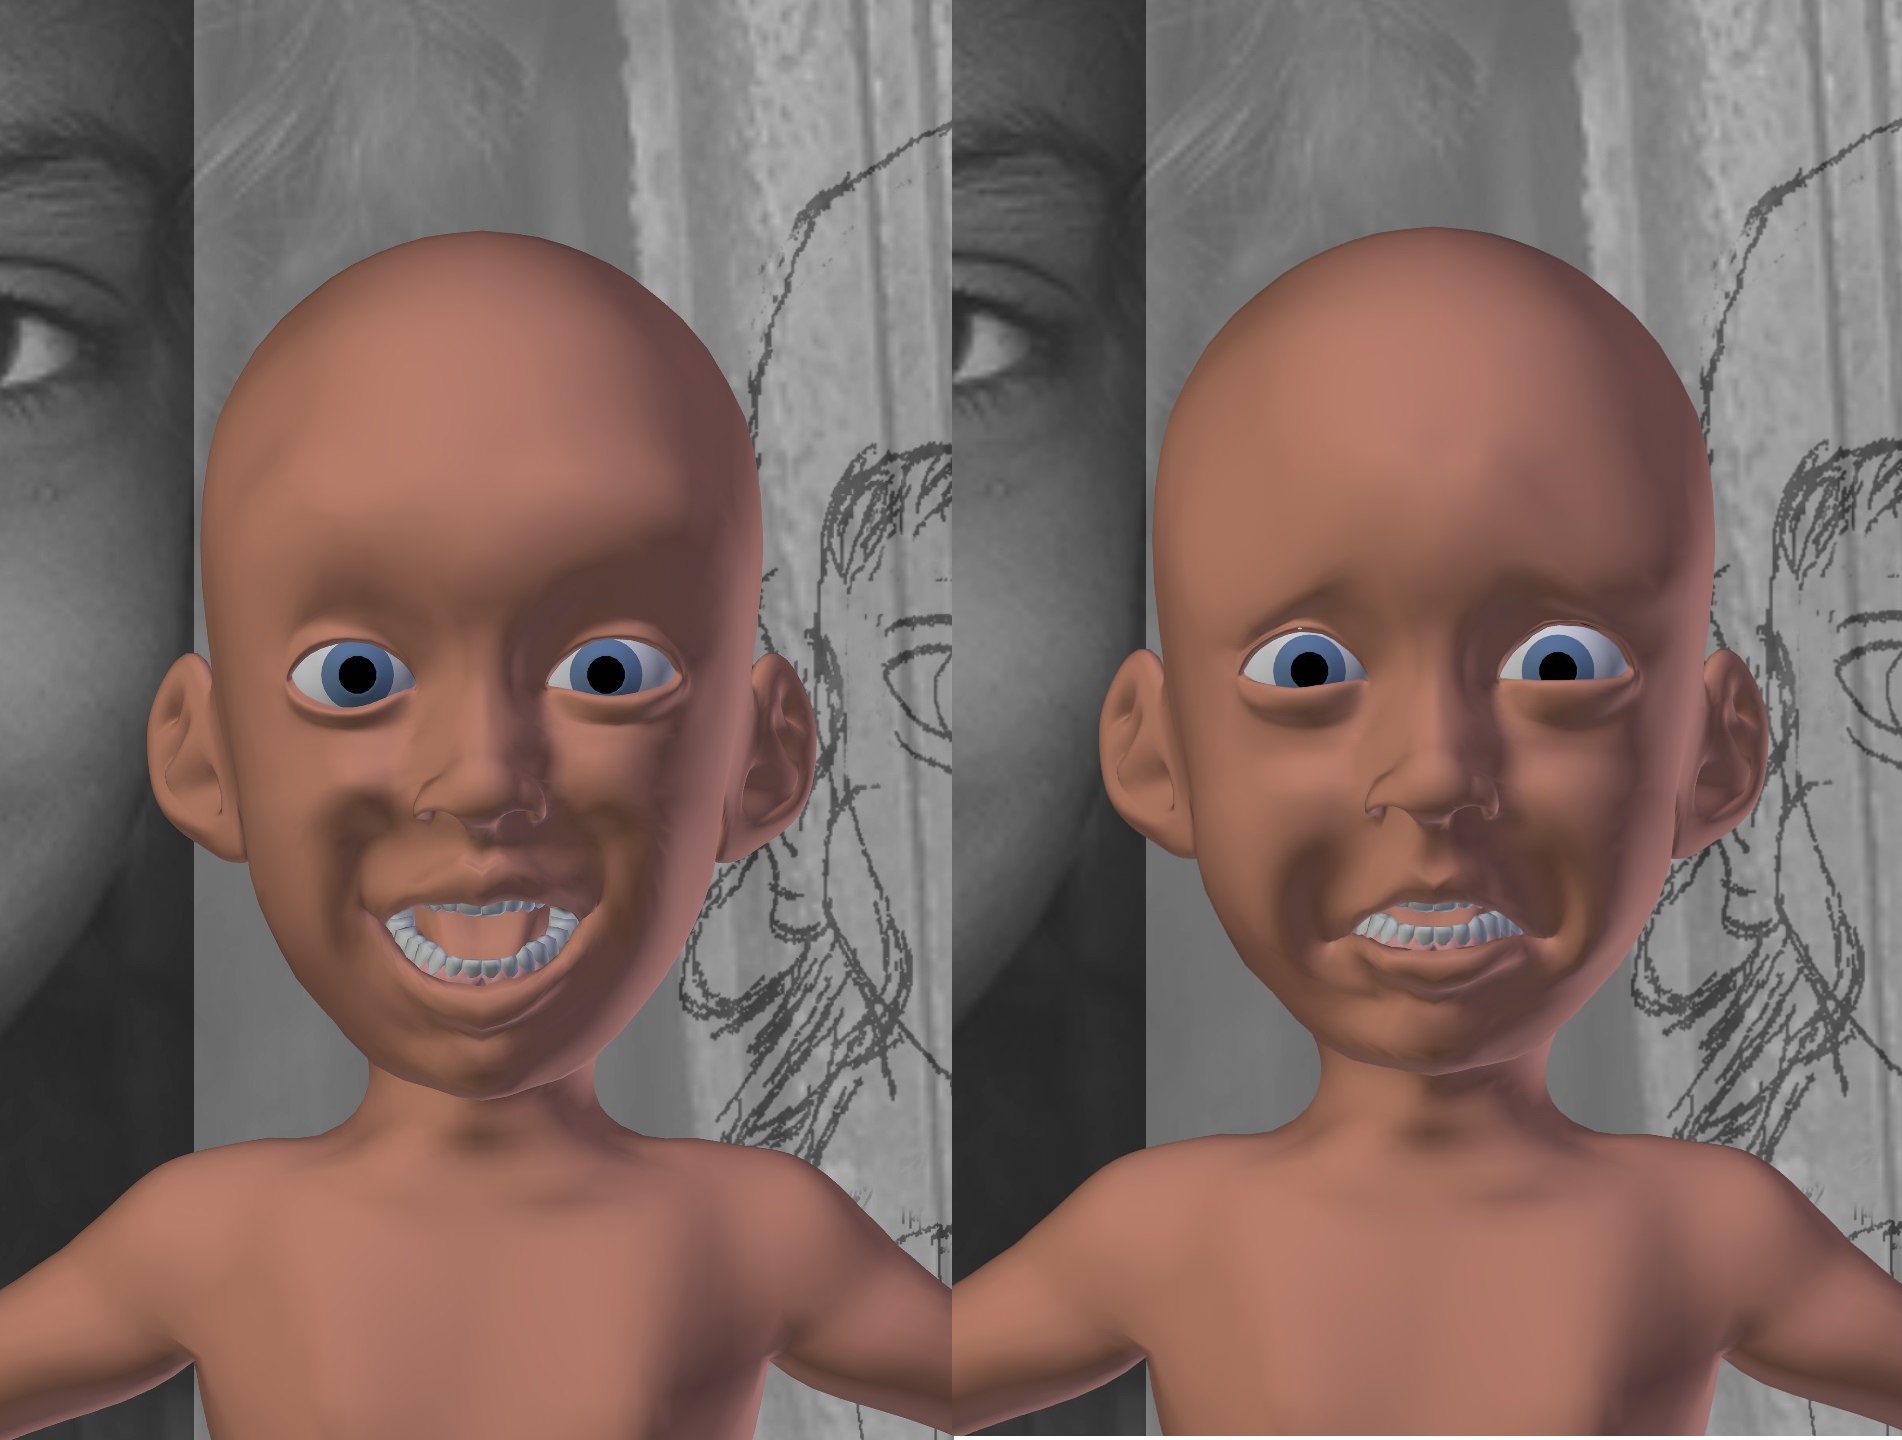
Here is some expressions tests:


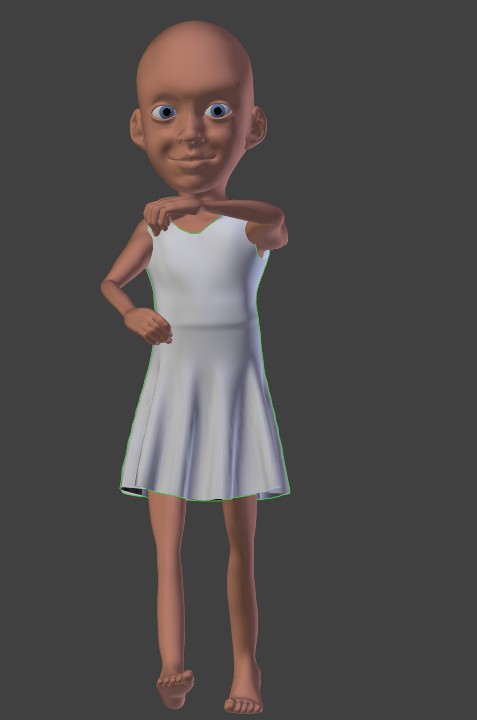
And here is her posing:


Here is a deform test I made for her:

Again, not too concerned about the blocky animation, just testing to see whether she deforms well.

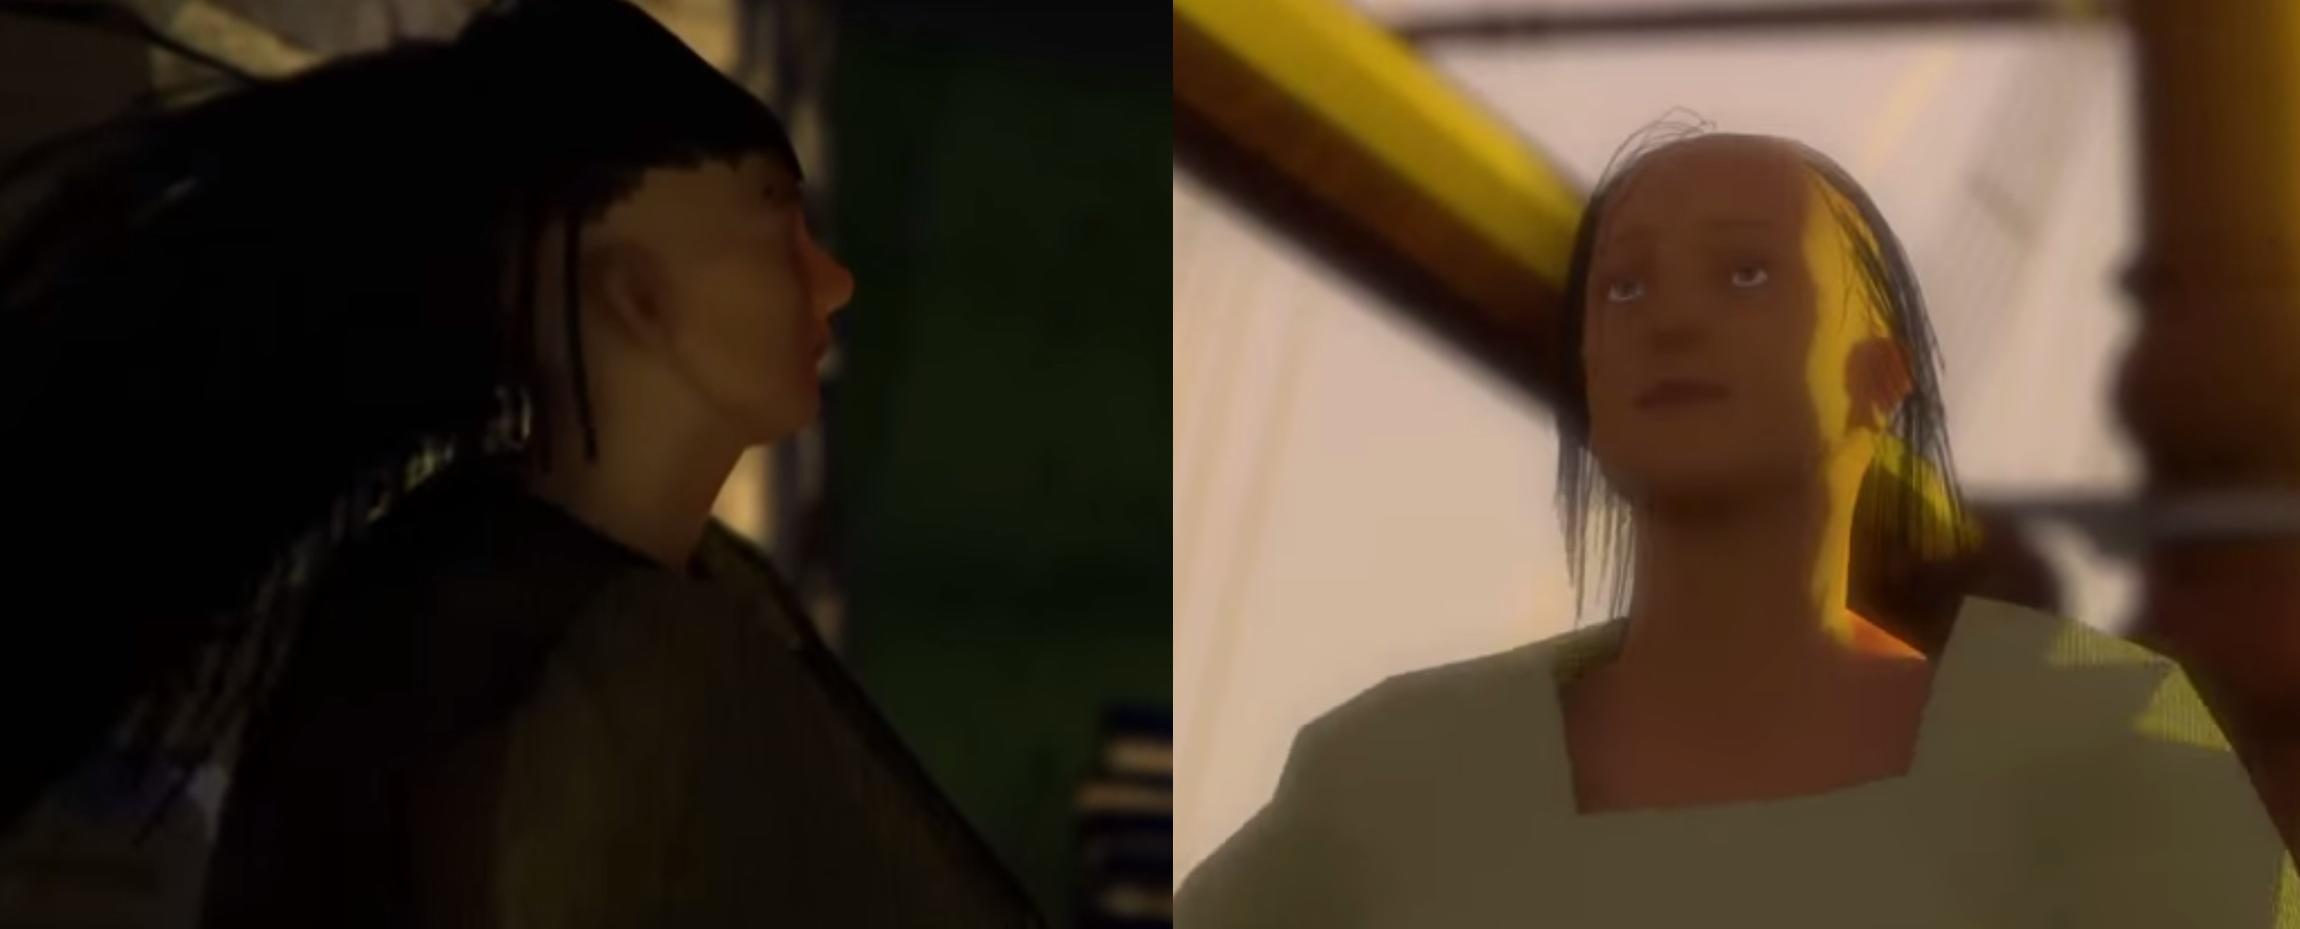
This is the tutorial I referred to convert the old man to the granddaughter.

He uses a slightly older Blender version, but still relevant.

Next, I’ll move onto giving her clothing and then hair.

I’ve now given her some clothing. This was modelled by duplicating her mesh and then deleting everything except the top part of the body. I then extruded a couple times downwards to give her skirt shape. I then added a cloth simulation, pinned the top half of the clothes using vertex groups.


I then spent a lot of time tweaking the cloth simulation to make sure the skirt behaves properly. At times, it would bounce too much, and other times the cloth movements were chaotic. After adjusting mainly the mass, structural and bending settings I got the results below:

What do you guys think? Is it too short?

Your test looks good as the young girl is walking. You mentioned you did a cloth sim… I’m assuming that is what gave the dress the initial shape and wrinkles after you pinned the vertex groups.

But how are you getting the dress to actually bounce around as she is walking? Is that part of the cloth simulation, or are you using shape keys, or softbodies maybe?

The only thing that looks a little out of sorts is the hip area of the dress as she is walking. Maybe some transitional weight painting could help fix the hip area of the skirt.

EDIT: whoops I missed your text between the image and the video… looks like it was a cloth sim throughout the walk cycle.

I like that dress and how it moves, the cloth simuation came out well. I agree on the hip area, though. The dress behaves very bouncy there, almost like silk. I wonder why the standard cotton parameters didn’t work for you. Normally they work well.

The new body shape of the girl and especially the head is good also. She looks much more like an eleven year old child now.

The animation of the cloth-material looks kinda frantic to me. It does not go well wtih the overall animation-style of the walkcycle it self. You might consider to use the clothsim as a test-medium to reflect about the way how the material could behave, as inspirattion. But personally, I think you will get a much more consistent solution for that “problem” if you animate the dress in a handmade/armartured fashion :slight_smile:

Thanks a lot guys!
@harleynut, yes the wrinkles were formed by the cloth sim. Thanks for the tip about transitioning the weights. I think this has made it better.

@minoribus, the standard cotton parameters are too light and don’t have enough stiffness to the structure. Adjusting these seems to reduce the bounciness. Great to know she looks 11 years old as this is what I was aiming for :slight_smile:

@kyomotion, great tip about using an armature for the but I’m not really sure how I would go about animating cloth manually. I’ll need some time to learn this. I’m also partly lazy, lol, and rely on simulators a lot.

Here is an improved version of the cloth after increasing (a lot) the stiffness and bending settings of the cloth and adding in a transitional weight paint around the hip area.

Had a full free day today, and thought I’d continue working on her some more. I’ve given her hair and added textures to her clothes and body.

Here is what she looks like now:


Her face has become darker for some reason. I’m guessing I’ve combined the old man’s texture somewhere in my SSS setup. I’ll look into it. Also, the rendertimes is even worse for her. I’m getting upwards of 24 minutes for one frame.

The hair is meant to be black, it comes across as grey in some areas due to specularity.

Not the best looking hair or dress out there, but still feel proud enough considering this was my previous (embarassing) attempt:


Since her face is looking a little empty, I’ll be giving her eyebrows and eyelashes next. I’ll then give her shoes and then I’ll be done I think. I was planning on giving her earrings but if its covered by hair, I’ll skip it.

Spent some time working on the granddaughter and I think I’m ready to call it done.

Here are renders of her:


  • I fixed her hairline and given her more of a forehead.
  • Gave her eyelashes and eyebrows
  • Reduced the size of her lower face a bit
  • Fixed the skin texture problem (Was combining the old man texture as well) and gave her pinker lips
  • Changed eye colour to brown
  • Worked on her cloth pattern
  • Gave her little shoes

I will need her hair to animate in the film as well. I used the default hair weight and adjusted the ‘stiffness’ setting in the hair dynamics panel.

Here is the walk cycle test again with the cloth and hair simulation.

I’ll be able to adjust the hair stiffness during the animation process and according to the scene.

The main characters are now done. The rest of the characters are not the central focus of the film, so I’ll create them a little bit later. I think I’m finally ready to move on to set and environment building.

Yeah, good progress. I like the expression in her face in the last post. Hair animation will be difficult I guess. Do we have hair collision in Blender now? Otherwise it will penetrate the shoulders and the dress.

There’s an intersection of the dress and her right shoulder - I mean, if you haven’t seen it already :wink:

Wow, the old man certainly has transformed XD She is looking great! The hair looks good. And the skin shader looks nice. I like the progress here! Good work, and I can’t wait to see more!

Great, thanks minoribus! Glad you like her expression! I might be mistaken but I think Blender has had hair collision for a while now. I set the body and cloth mesh to be collision objects. Then when I bake the hair dynamics, it automatically recognises the collision objects and doesn’t penetrate. I found it to be similar to how I ran the cloth simulation.

Thanks a lot bonrw! Glad you like her hair and skin! The old man certainly went through a lot in order to transform well into the granddaughter.

I’ve now started to model Uyir’s room. I used the new Fluid Designer to design his room (as seen on BlenderNation). Fluid Designer is a relatively new software which is built upon Blender 2.71 and allows you to easily craft you’re own room with furniture and objects. Currently, this makes the process of building kitchens easier as it contains a library of objects you can use for free, such as cabinets, drawers, fridge, oven, sink, microwave. etc.
When I modelled the room for “Vetri” (not including furniture), it took me an entire day. Fluid Designer allowed me to model everything within minutes. Applying shaders and such were also quick and easy. You can also add crown and base moulding fairly easily.

Here is how his room looks:


Exporting to Blender was very easy. The file format is already in .blend which allowed me to just open it. But the problem is that it uses a lot of scripting. This was not good as the renderfarms are generally not favoured on scripting. I had to go in and apply all modifiers and remove all scripting. The scaling for some reason looked odd and I had to scale the whole room down in order for it to look realistic (based on the metric scale).

I then added lighting and played around with the mood I wanted for the opening scene. Here is a test render:


There is Cycles volumetrics in this as I want to go for that kind of mood. The sky has disappeared as a result of using the volumetrics.

For the first scene, I need to build:

  • Uyir’s room
  • Uyir’s exterior house
  • Kidnapper’s van (exterior and interior)

For Uyir’s room, I need to create several items including:

  • Bed
  • Couch
  • Dressing table
  • Reading table
  • Chair
  • Tall lamp
  • Book shelf (with fairly old books)
  • Cloth shelf
  • Clock
  • Bedside tables

There’s quite a bit to do in this scene and I will keep updating progress…

It’s great to watch your progress Solowy. I feel like I’m learning a lot! Really looking forward to seeing how the scenery turns out.

You are really into the time-saver buisness. A Architecture-generator? Wow! I did not even know that such a thing exists :stuck_out_tongue_winking_eye:

As for renderfarning: As you already pointed out, the finhards (renderfarm.fi) is not functional anymore? Yet I thught its only because I am on a Linux based system… pity. So what kind of farm are you actually using?

As for the characters: I really like their expressions! Just one thought regarding the girl: It appeals to me that she has actaually no wrist at all. Adding on (even a small one) would make her even more believeable IMHO :slight_smile:

@Galileo90, thanks alot! Great to know you are also learning from this! :slight_smile:

@kyomotion, haha yea I just learned about the generator yesterday on the BlenderNation news site. And yes, it seems renderfarm.fi is down. I just checked and it says it’s fine but the sessions list suggest otherwise (the render queue is upto 60 pages long!). I’ll be using the BURP renderfarm (burp.renderfarming.net) since it seems very stable and I was able to render out my previous two films successfully there. Thanks for the suggestion about her wrist, I’ll give her more volume in that area.

Here is a new update with some furnitures added. Not really detailed yet (some furniture models are the same from Vetri), just played around with arrangement to get something that looks nice:


There’s lots of noise in this, might need to be seen in full resolution to see all the items. There’s also a couch next to the table that might be too dark to see.

The scene is nice and the mood looks very appealing. Hats off for planning volumetrics in an animation. I guess you are heavily relaying on the render farms power :slight_smile: If this can be handled the effect will be outstanding.

You are right with the darkness of the scene. The couch next to the table is barely noticeable. I can only see something that appears to be a white pillow.

@minoribus, the renderfarms are really going to be tested. Especially with all the volumetrics, hair, cloth animation and SSS, these scenes are definitely going to take a while to render :frowning: 
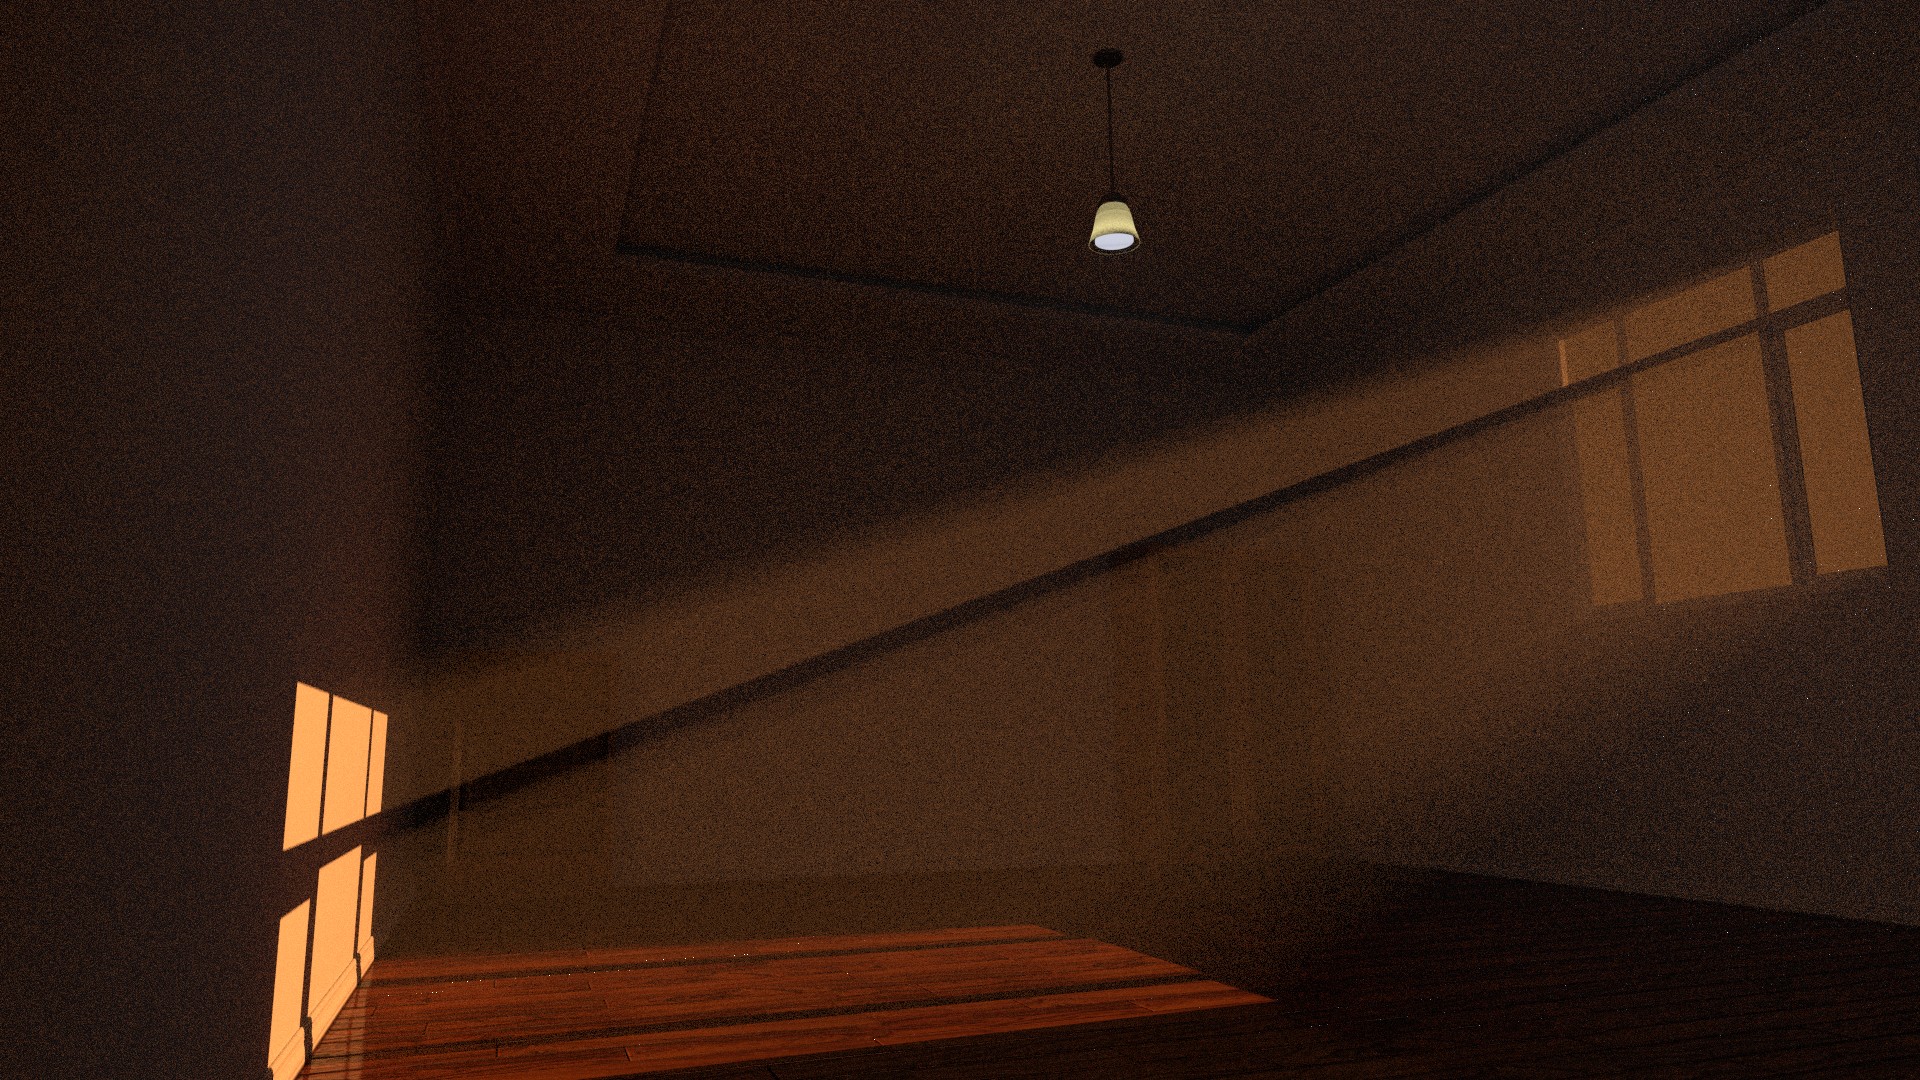
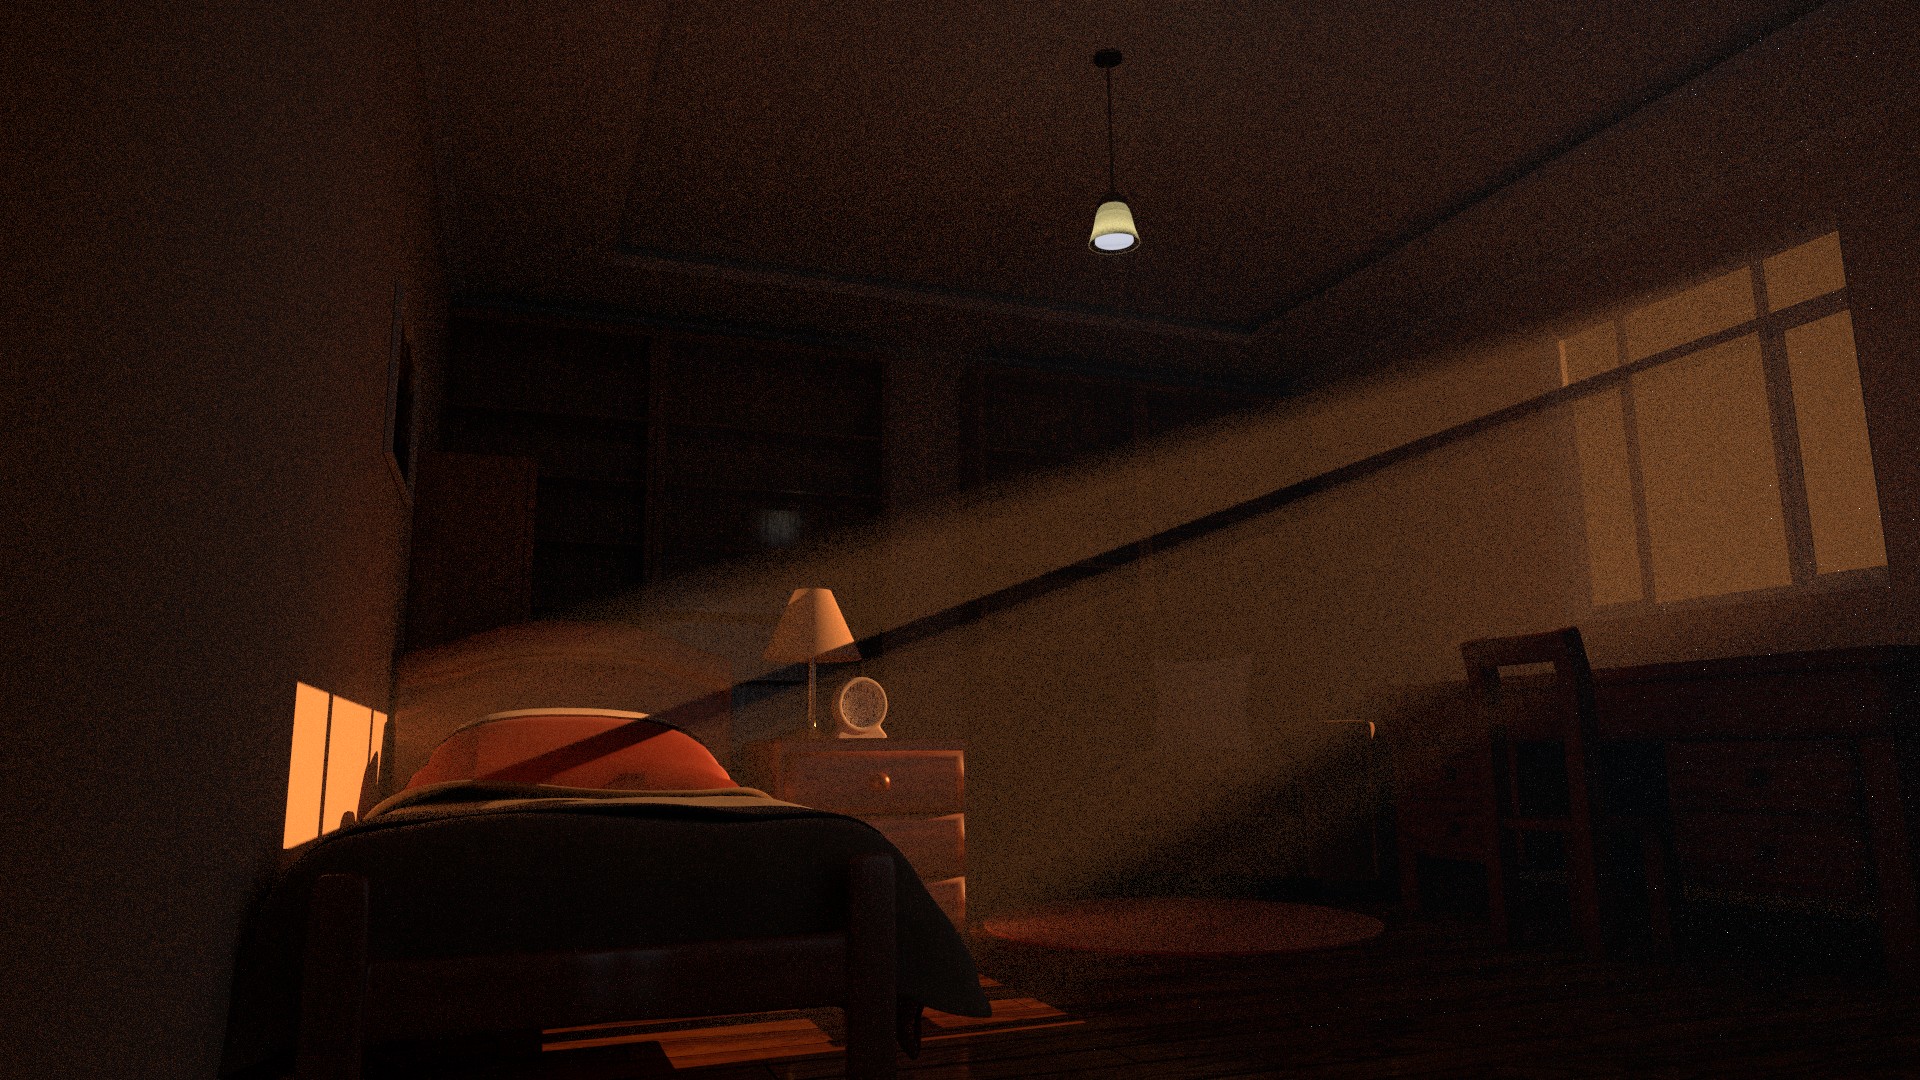
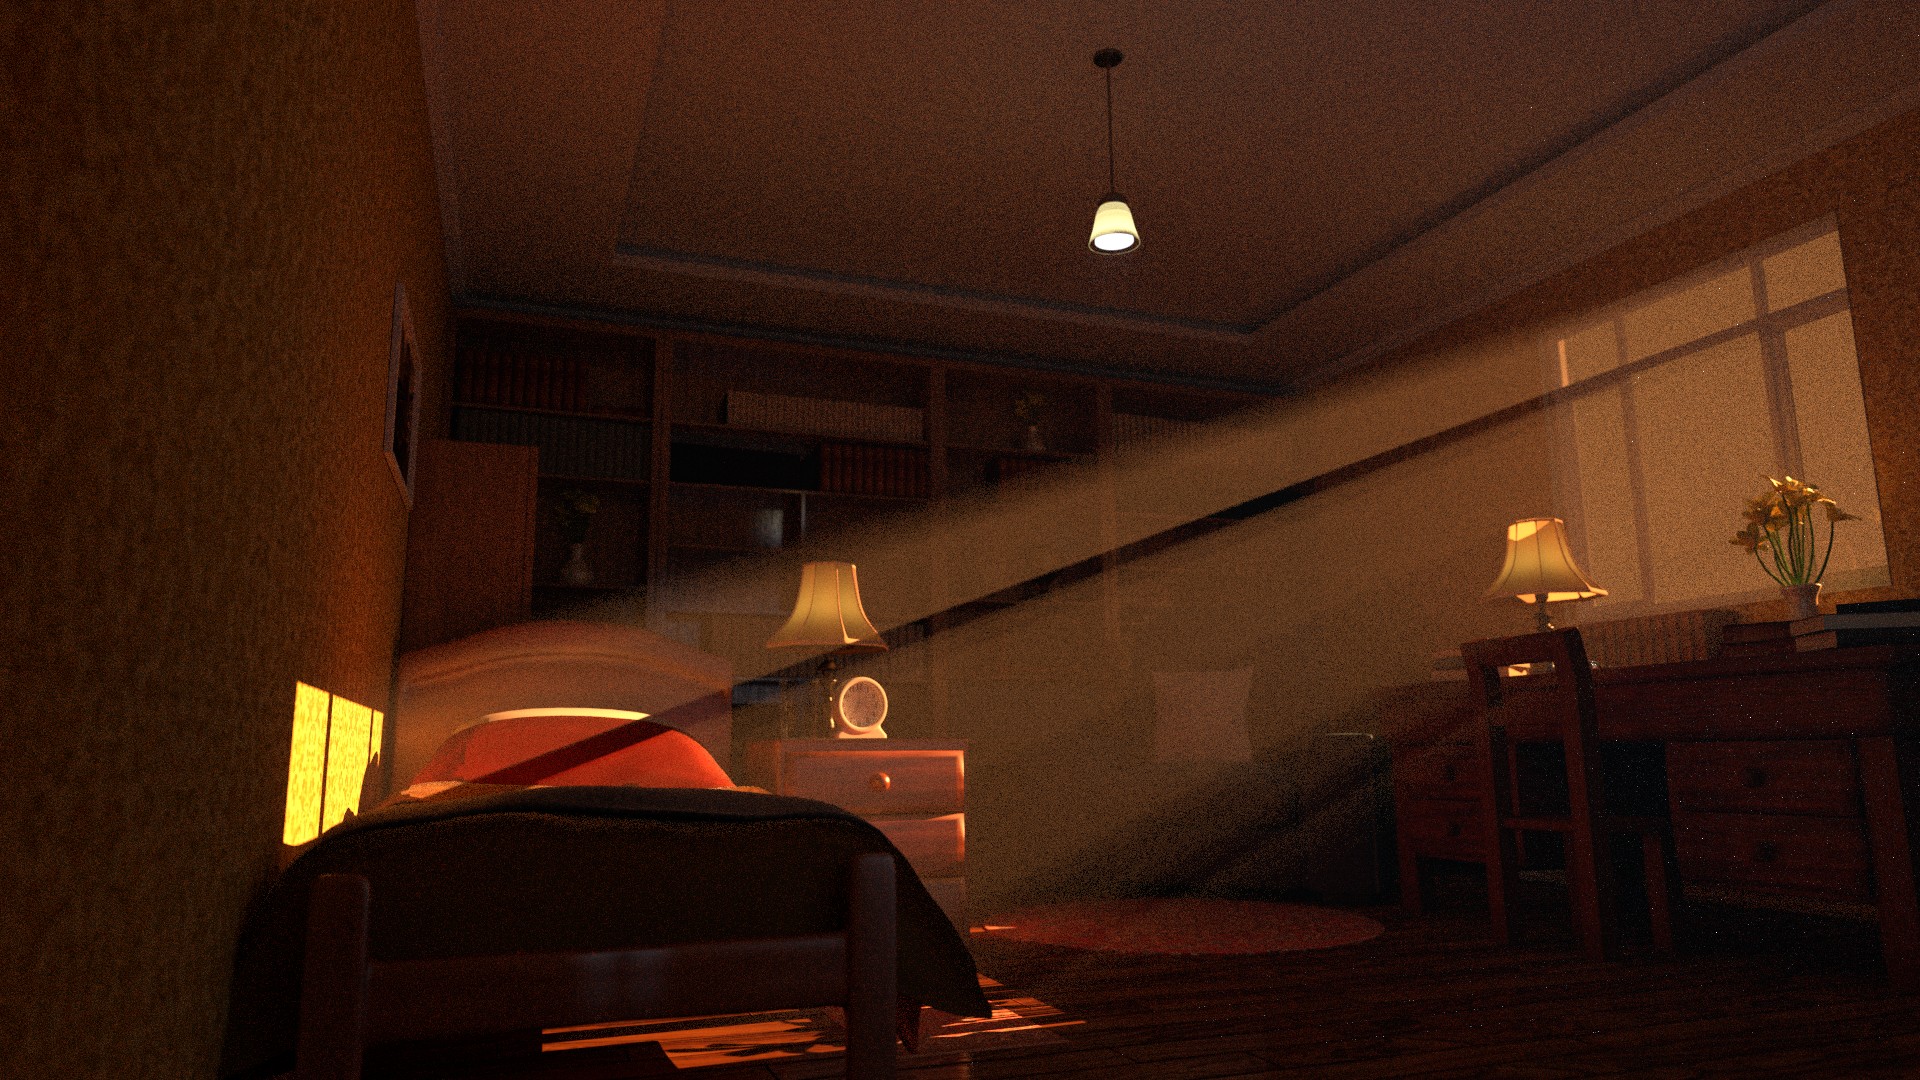
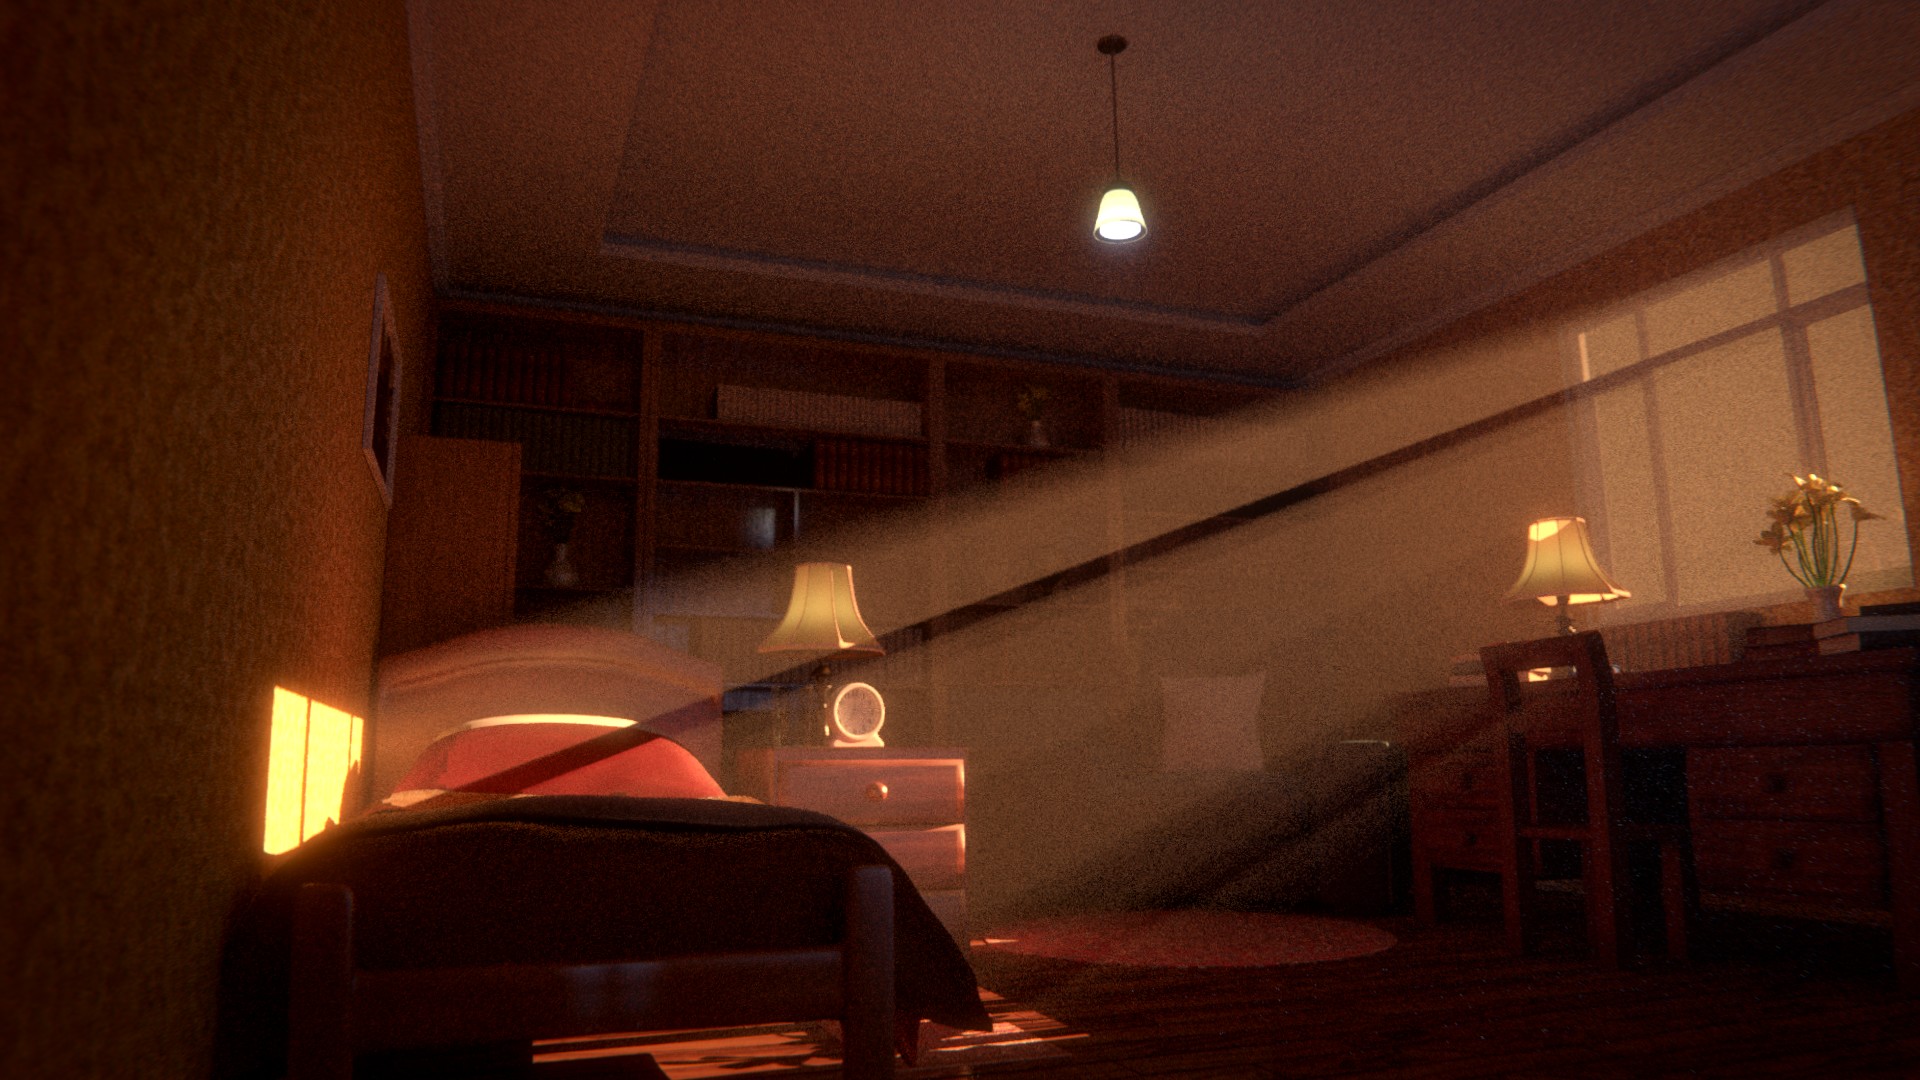
The rendertimes for this scene has already reached 1 hour at 600 samples. If the renderfarm pulls it off, I’m hoping the end result will look great. I’ll need to make sure that the animation and camera angles will help support that. Thanks for echoing my feeling about the lighting and great to know that scene and mood look appealing. I’ve brightened the scene up a bit now.

I’ve added a lot of items into the scene now. Due to the sheer amount of items needed, I downloaded some items off BlendSwap like the vase designs, radio, plants and books. I hope that’s not cheating :confused: 
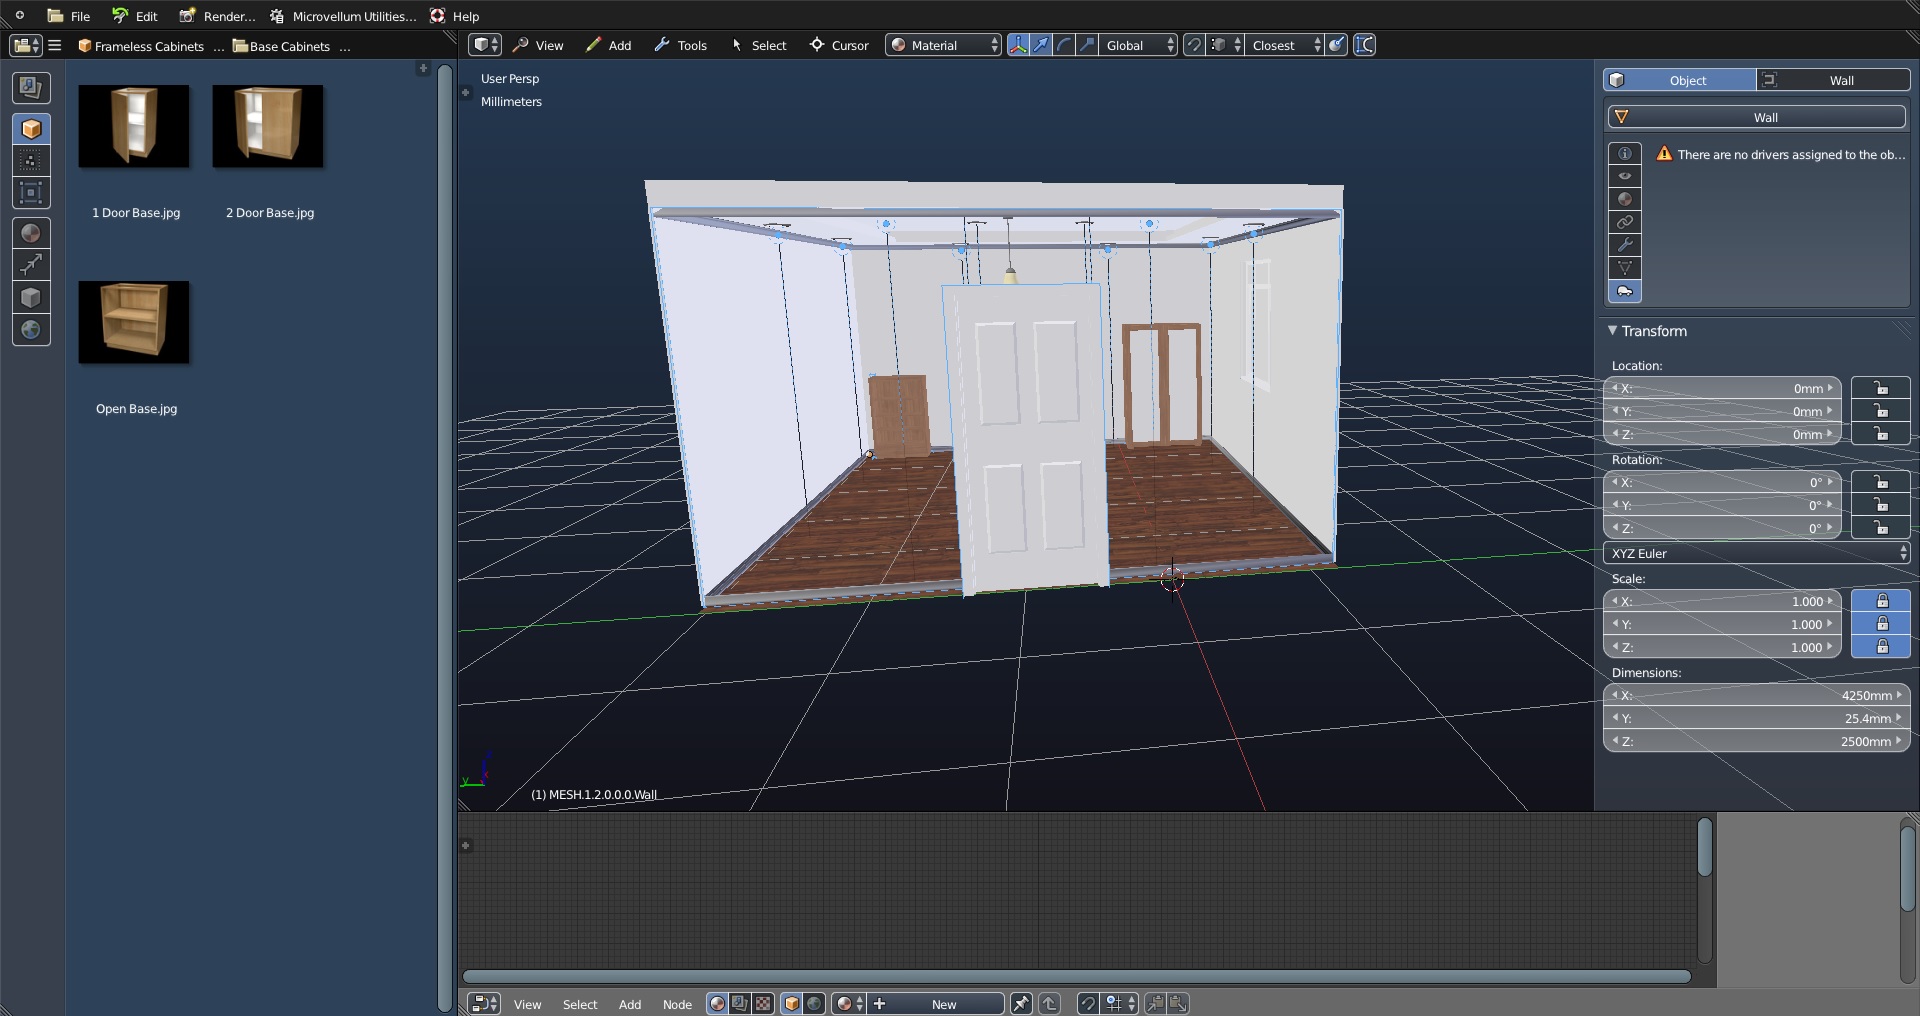
Here is what the room looks like now in OpenGL:
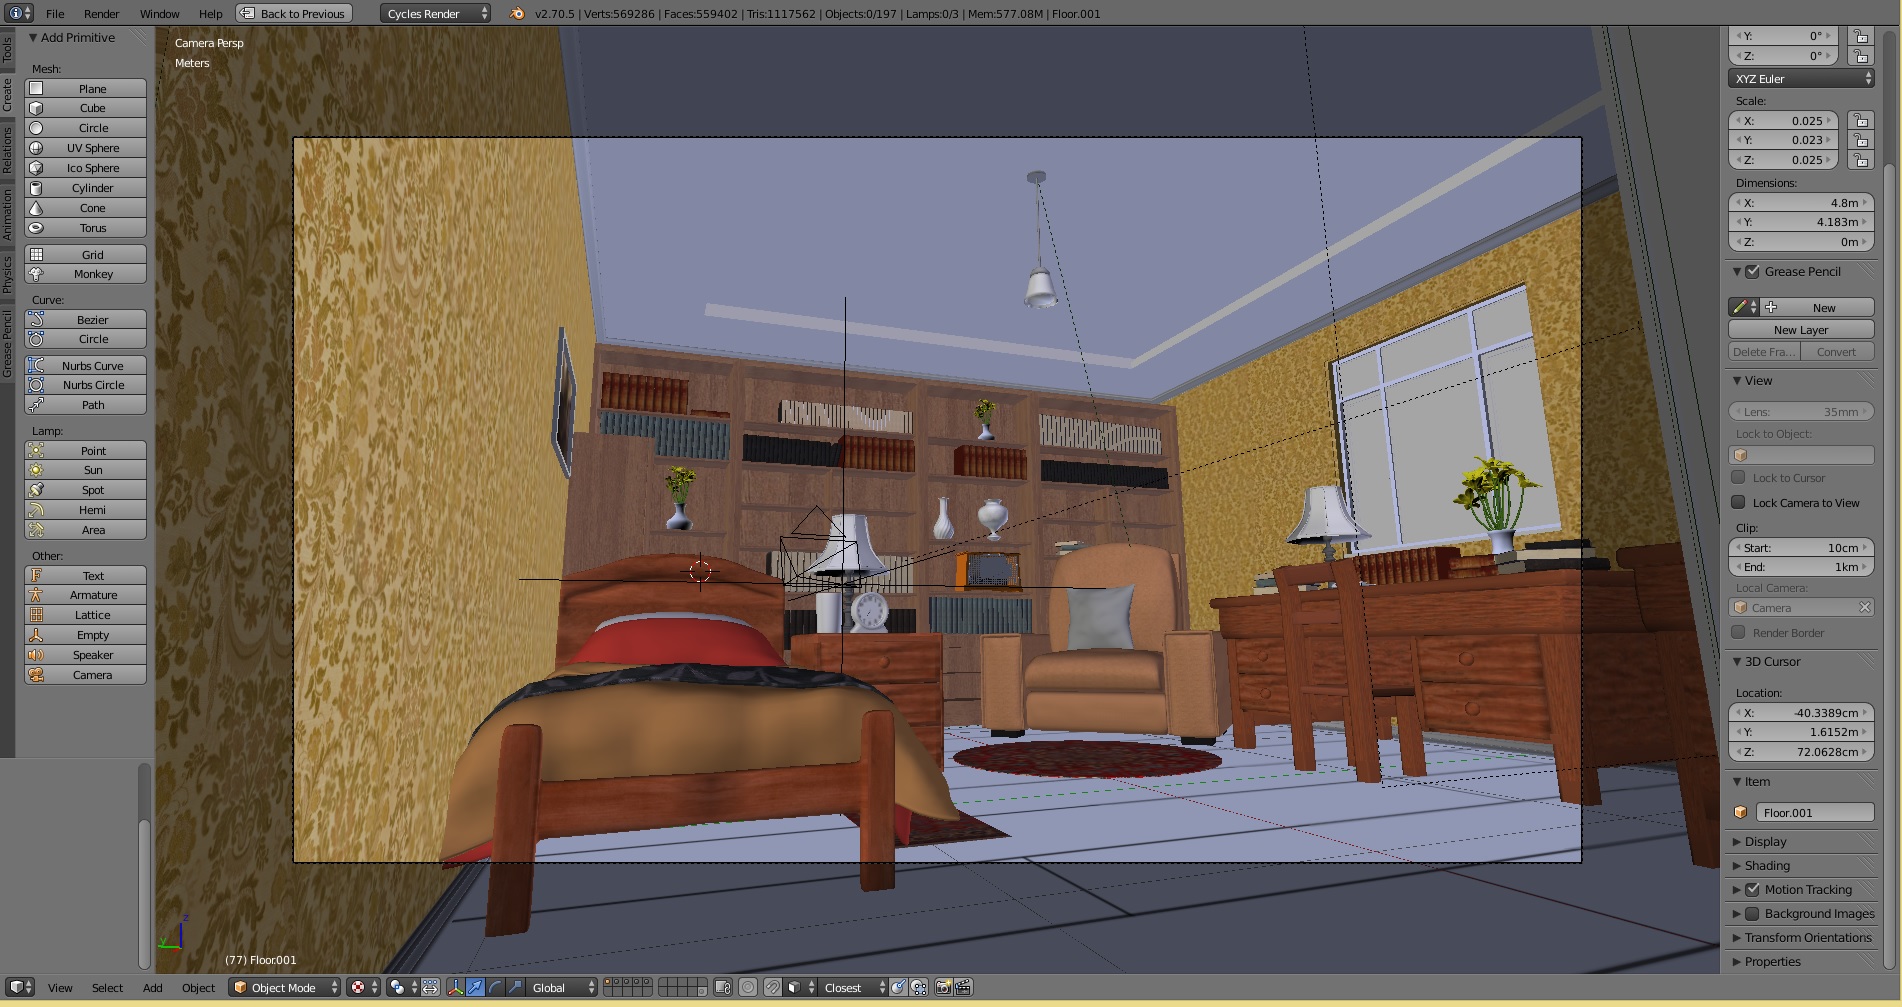

Here is a render of the scene:


I also quickly played with some compositing effects like vignette, bloom, glare, color balance, chromatic abberation and achieved the following result:


The scene is missing curtains and I might also add some old man shoes/slippers near his bed. I might also change the style of the bed frame. After this, I’ll move onto the next set, the exterior house.