Virin - A Character for Film (Beginner Stage)

So, I want to sculpt a character in Blender to learn its tools. I want to make a giant monster (Virin) with a UV Sphere with the toolset. How should I do it? Any kind of help will be appreciated for my journey to learn the Blender 2.81 version.

Thought that the WIP forum would be best than the Modeling forum for this thing. I’ll of course share my progress with the character sculpting as time passes with the details on it.

First, make a front and, side drawing of it, on paper, and then get it into computer, cheapest way is to buy a 2D scanner, they are super-cheap, since drawing with the mouse is bad or, take a phone - shot, of image, 2D scanners are amazing, ideal for beginners . .

Then, if you want a Good method, I made this video, make the entire mesh first, to get the Entire model, feet, to hands, fingers, then begin modelling - -

ALWAYS make the entire base mesh first, so you can pull individual pieces - -

Good luck, Take care - -$

I’ve begun sculpting the character’s head. Nothing much right now, that’s because no details has been put on the part. For later, I’ll try to add the eyes and some details for the head.

That’s it for now.

If you start sculpting, without the proper placement of the entire base mesh, It will suck - - Good luck

I’ll look up for a reference image, then. Just experimenting with the tools is alright too.

So, from what I heard you talk about in your video, I need to make the whole mesh for Virin before I sculpt him for details? If that’s the case, can I get some help with using reference images for modeling the base mesh? It would help a lot for the next couple of days before I work on another monster for my film (titled by the character’s name).

You see, the modeling tools is probably relative new in 2.81, and I could almost make a mesh head for a human following a tutorial by Alimayo Arango (heard of him?) in 2.79b.

I would really appreciate for guidance through my learning process with Blender to make my first character for a CGI movie I’m planning to make with people from my hometown.

1 Like

I suggest you using the clay strip tool in dyntopo, I find it good for overall sculpting (at least in 2.79) :+1:

p.s. try adding the eyes immediately as separate mesh, this way you can have clearer overview of the entire face structure.

Thanks for that. I’ll do it tomorrow for my character. Question: Do I make a new object for the eyes that I can add to the first object later? I’m not entirely sure about linking objects together, since I barely know about the workflow Blender has.

If you make the upper arm first, it will look really nice, but then when you add the lower arm, or the fingers, it looks much too big - - if you build the base mesh first, you will avoid making 10 hours of mistakes, and probably giving up - - but, I think YanSculpt has an even better Base mesh model, in his latest video, he adds orbs, and drags them into shape, using the ’ grab sculpting tool ’ – but, you want to make the base mesh first and, yes adding place-holder eyebrows to the face makes every-thing easier - -

get lined paper, draw a front and, side view of what you want, then add that as a reference image, and you’ll know what to do - - you will find sculpting is a much more frustrating experience with-out those base meshes, check out YanSculpt’s youtube channel, in his latest video you can see how to create a Cool base mesh, more quickly than me, he’s probably the best sculptor in the world right now, on Social media - - if you look at my model, the advantage is also the different parts have different color, so it’s like you can see individual muscles, and it’s a lot easier to get what you want - - Grant Abbitt encourages this too, It really works, Good luck $

The easier way to make a ’ concept art ’ Front - side image is to draw it on paper, and photo it with a camera, like phones or, to use a 2D flat-bed scanner, that’s the cheapest 1-to-1 method - - they cost 100 $ and, can also scan paintings, pages from books, and so on - -

Here’s the video, notice how he builds the base mesh first, then starts adding details, Yan’s method is probably the best in the world, right now - - Base mesh first, in the number of parts you want, after adding and, shaping a sphere, or a sub-divided box, you can give it a separate color and, once you know exactly where the upper arm is, the lower arm, the fingers are right, adding the details, like fine muscle, and so on, Flows naturally - - Yan’s method is probably the best in the entire world, so if you want the best, Just follow him and, Maybe subscribe and, watch his videos - - he’s using a Display pen tablet, and they really help too, but aren’t necessary - -

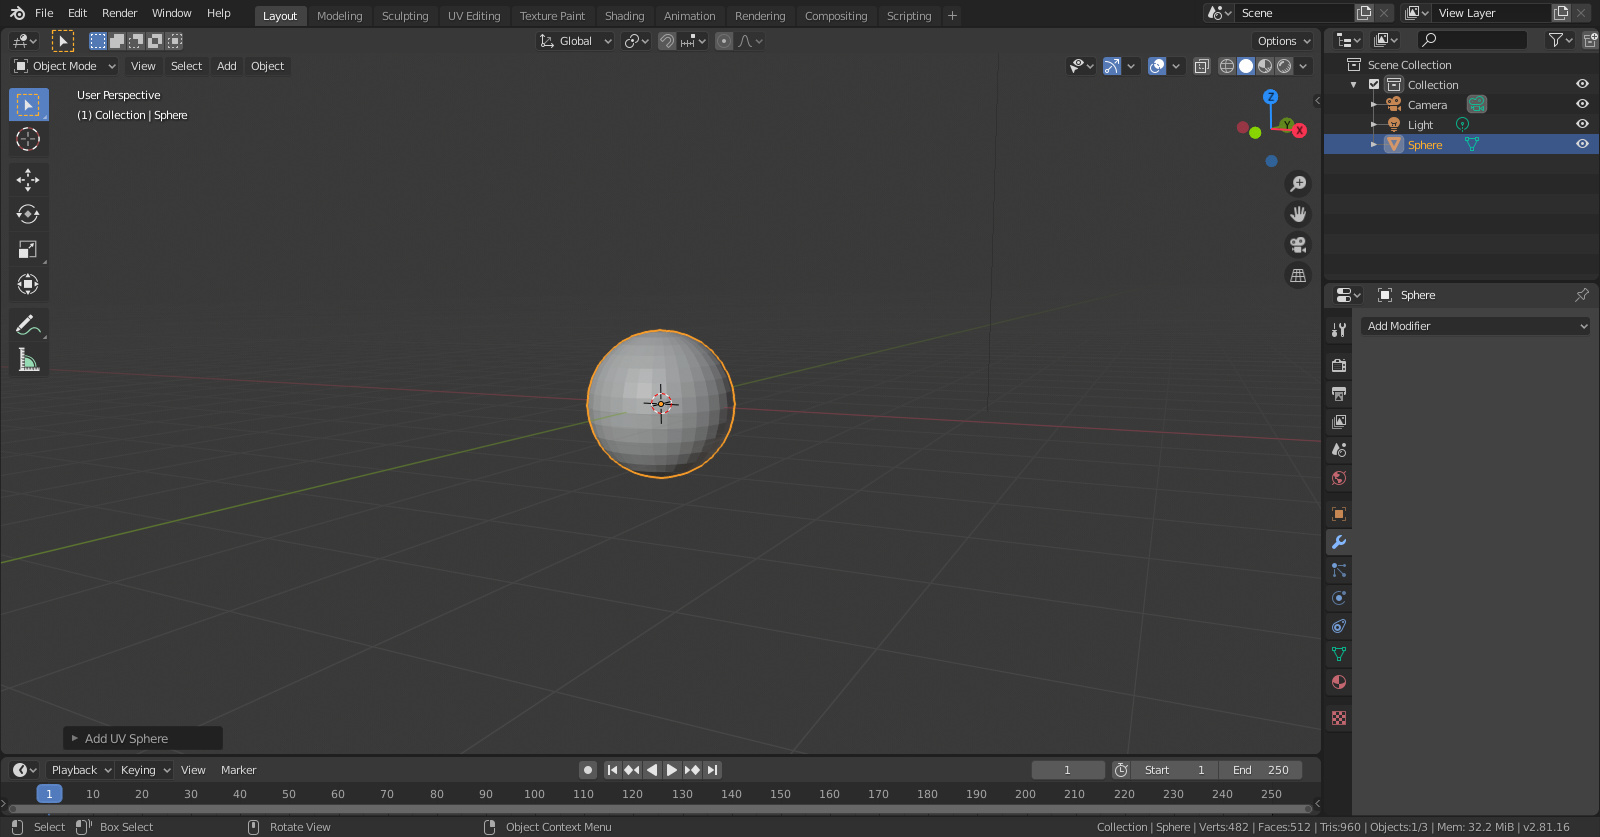
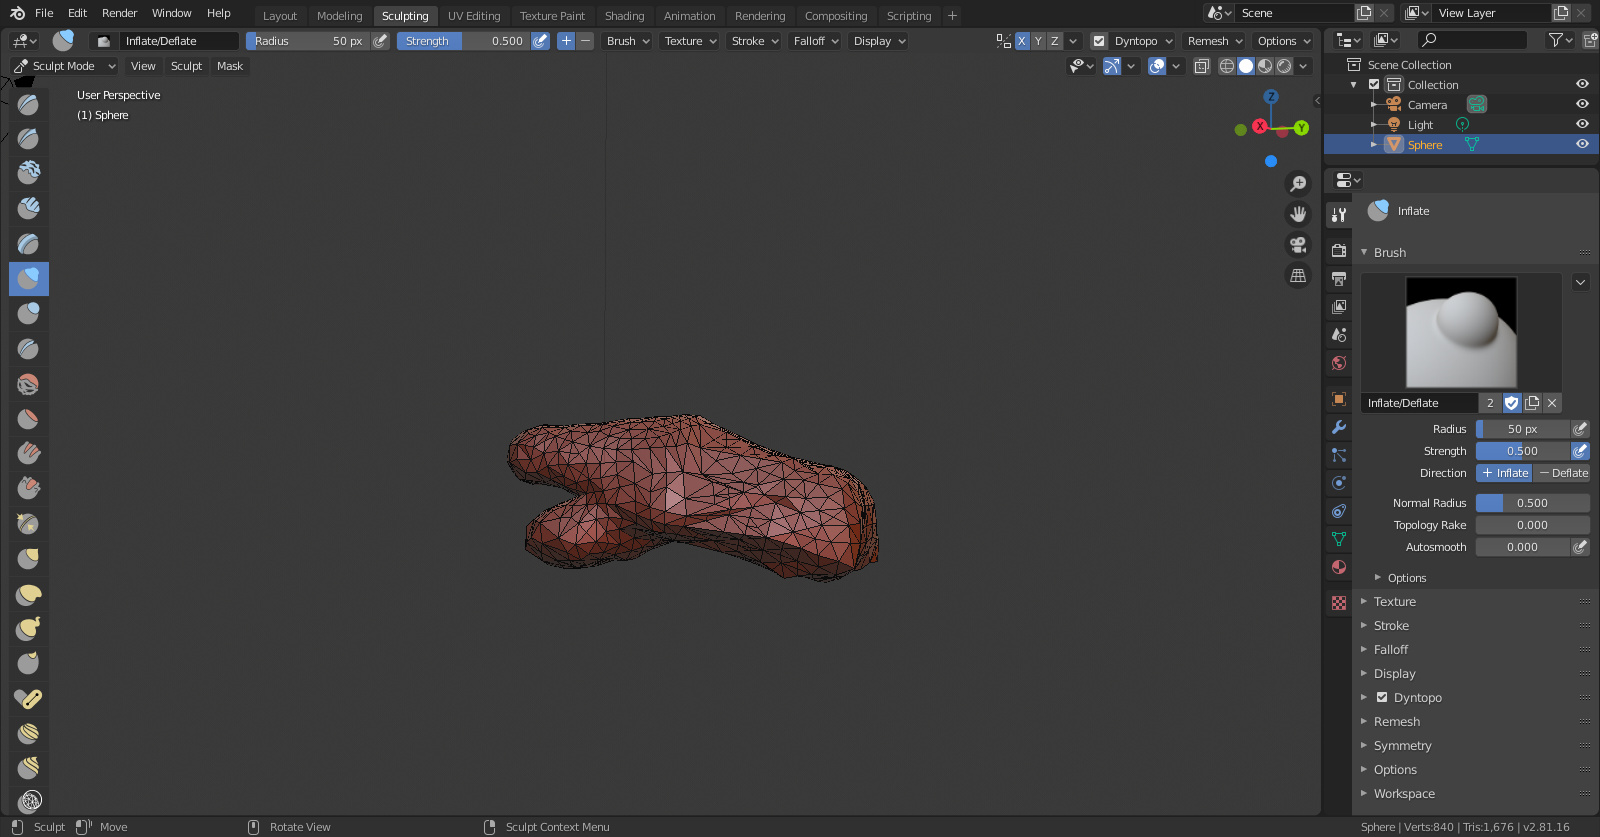
Notice how he adds some spheres, I use boxes and add a sub-division modifier, either 2 or, 3, it also makes a sphere, then hit apply - - then he goes into sculpting, but without dyntope, so he gets a quick base-mesh, also you can add individual colors to parts, to make it easier to see the different parts, that helps a lot, when adding muscle - - then, when you are done, you can use something called a Boolean union, to fuse all the different parts, to get the final result - -

I ALWAYS make mistakes in my sculpts, when I don’t have those place-holder things first, because you have no land-marks, also if I place the nose wrong, if it’s a separate object, it’s a lot easier to move it, moving things with the grab brush, fine details especially, isn’t very good - - the method is a bit slow, mine, but Yan has the best way, just give the different parts a ’ material color ’ you like and, Have fun - - then you’ll get the best sculpts, exactly what you have in mind, without Getting stuck, On details - -

This is the superior way to make models, if you go straight to sculpting, you’ll waste hours, unless you have a Very clear idea, Sure ideals - - you should experiment with it, almost every sculptor agrees this is the best way, unless one is Exceptionally talented - - notice in my video, how easy it is to see where he shoulder sits, if you only have one mesh, you’re sculpting you can’t give it separate colors, and they’re easy to combine, takes 30 seconds, per parts, For me - - Good luck, and remember making a base mesh is fun, like building a doll, first, that you add details to later, remember to make colors you like, and you’ll Get to Where you want, Fast - -$

but, sculpting free-style is also fun, and can done if your idea is Crystal clear, in your mind - - also, with separate parts you can set different ’ dyntopo ’ resolution to each part, meaning the nose can be very detailed, the face less so, and so on –

use Yan’s method, he’s the best, I think - - Or, invent your own, this is just what most youtube Blender sculptors have arrived at, Over time - -

Okay. I get it now. So, since I cannot draw reference images on paper, I’ll watch your recommendations in order for me to get Virin done quicker than being literally slow in sculpt mode.

Thank you, Jasper, for explaining to me what I need to do to continue the process of my monster making. :clap:t2: It is clear to me now.

Good, if you try just going brunt force, using sculpting and, it fails for you, Try this, Every-thing is Much easier, Good luck, It’s like making a silly putty character first, that Feels fun, Easy - -

a024cae0-795c-4957-8481-bae2f18a78a5_1_567c8c6872f698721a9fa07e6bc83656

By making it a bit silly, You’ll Be more relaxed, Confident - -

It’s like making this, and if the parts are a bit too big, like a lower arm, you can just scale it, and move it later - -

Zacharias Reinhardt does this too, in all his sculpts, my advice if you get stuck during modelling, it’s because you’re missing this - - first make a base mesh, then sculpt the individual parts, then when you join them, add the last details then, when every-thing is in right place, Easy - -

Here’s another video, by Zach Reinhards, he’s one of the best you can follow, and yansculpt - -

https://www.youtube.com/watch?v=j9LsMosCnZE

Keep the eyes as a separate object, otherwise they will be ruined by dyntopo. In fact it’s better if you sculpt big parts, such as ears or teeth, separately and you fuse them to the rest later, this way you’ll have even more control over the proportions.

I watched a “How to Quickly Create Base Meshes” tutorial by Grant. And, if I have a reference image, I can do the same thing as he did in the video by using the image as my basic reference. Is that how I can do more details for my character quicker?

No, the point of a base mesh is to get the individual, single parts made, in a low-resolution way so, that it’s easy to get the ’ over-all ’ shape, from most angles - - then when you start adding details, like muscles, they’ll be in the right place, from the start - - when you don’t you always end up having to move things you’ve sculpted, and that’s not very easy or, use-ful - -

Grant Abbitt uses meta-balls, my advice is, do it my way, using sub-divided cubes, and manipulating them in edit mode, so it’s like a ’ blob ’ or, ’ clay ', or even better, try Yan’s way - -

the problem is we always place details in the wrong place, if all the parts aren’t there, we think oh I have a torso and, an upper leg, then the that’s enough but, one tends to add details, that are completely wrong, with-out a ful base-mesh first, it’s simply a hindrance, to doing sculpts, to not have an entire base-mesh first, you will flat-out do things wrong, over and, over, and again - -

Okay. Hands, ears, etc as separate than being a whole mesh. I got it now.

Hands are trickier than the rest of the body, right? From what I heard Grant talk about them being the hardest part of creating base meshes.