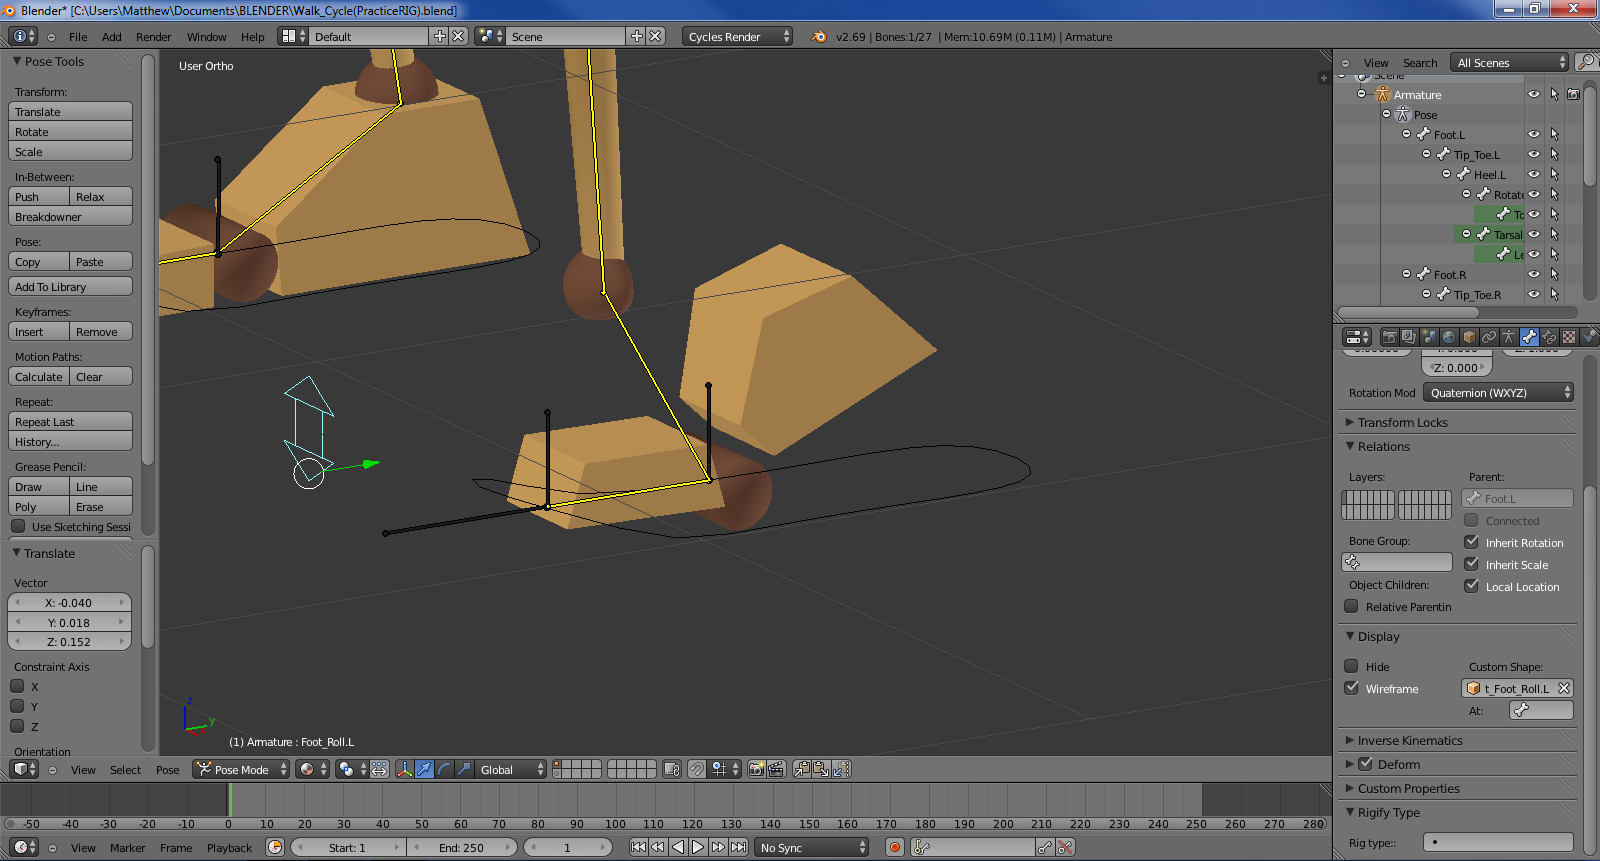
The little control at the front is supposed to make the foot bend up along the ball of the foot, but even when I have painted full strength on the foot parts it doesnt reach as far as it should instead it just stretches out a bit.
In the picture below you can see that the grey foot piece represents where the real foot should be but it doesn’t bend that far
Just because one vertex group has 100% weight does not mean those vertices don’t also have some weight from another vertex group. There is some other weight holding that bit of mesh in place, probably weight from one of the toe bones or something like that. Hard to say exactly what without the file.
You have a lot of control bones that you’ve left as deform bones. That foot is weighted pretty much equally to both Trasal.L and Foot_Roll.L. Foot_Roll.L shouldn’t even exist as a vertex group as that is not meant to be a deforming bone.
You need to distinguish in your rig between control bones and deform bones. Uncheck Deform in the bone properties of mechanism and controller bones before setting automatic weights so no vertex groups are generated for them. It helps to name your bones in a way that makes the distinction clear to you as you go along. So for instance you might have MCH_Foot_Roll.L and Def_Shin.L (for “mechanism” and “deform”) to keep it straight in your head and remind you of which bones should have Deform on or off.
If you select your mesh… Tab into edit mode… Select a Vertex… then look at the Right hand side tool bar… you can see an information box called “Vertex Weights”… it will tell you what bones are weighted to influcence that Vertex… you can adjust these right here in that Tool Box… (note you can select more than one vertex to see all the bones that are carrying influnce on those verticies)
and good why for you to see what is doing what to whom when your in the middle of a Rigging Project…