I say random because I have tried baking with different seams and such multiple times, and every time similar artifacts have appeared in different locations as before.
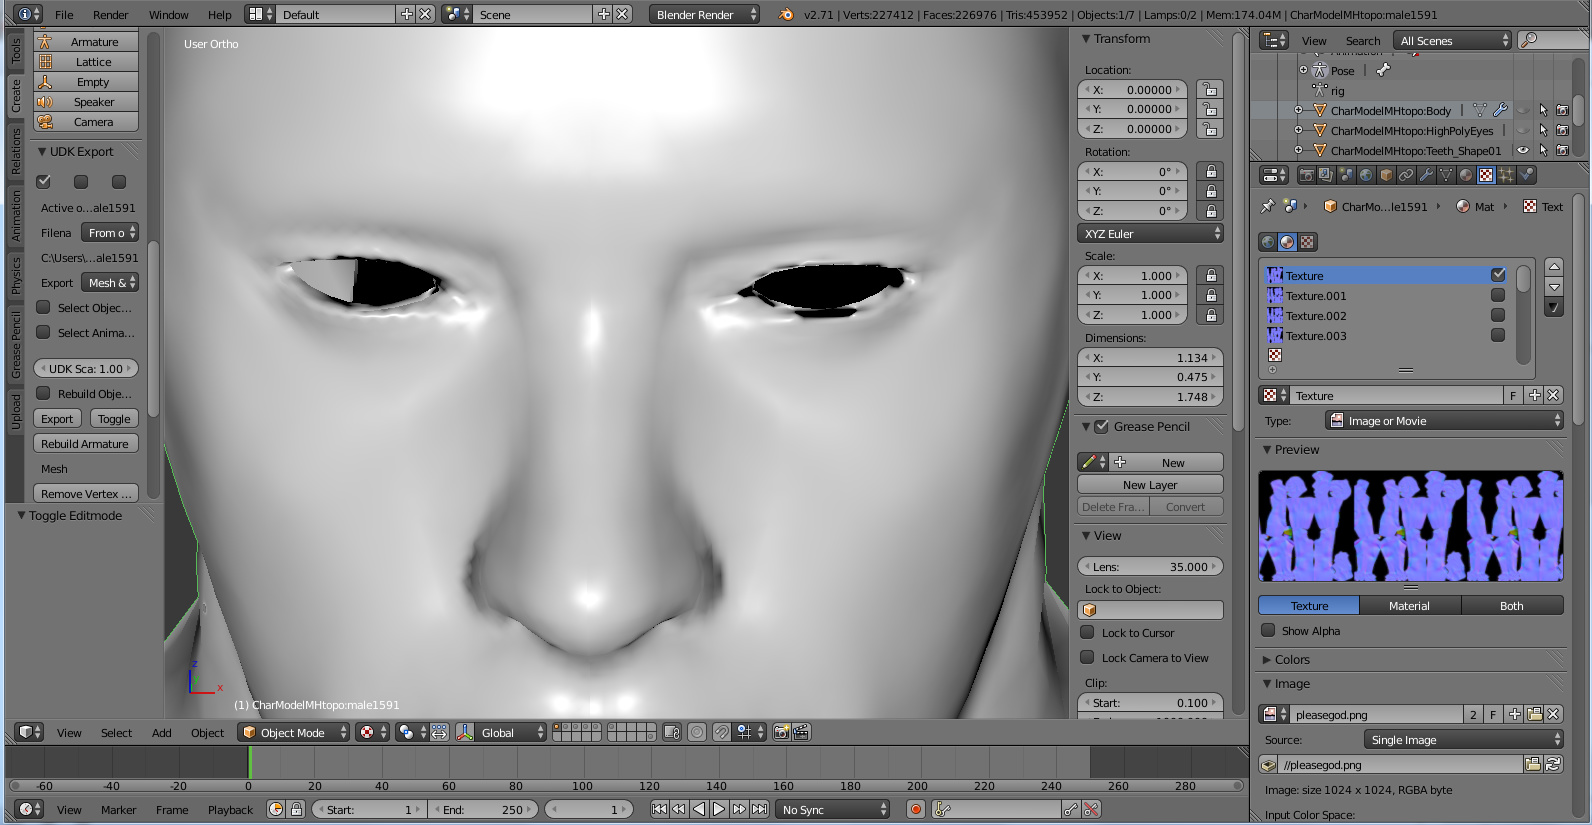
Then also I am having an issue with some blocky dark areas around the eyes and the mouth that looks like this:
(Note the blocky dark areas are different on both eyes because I was trying a different seam on just the left eye to see how it turned out before doing it to both.)
Here is the .blend, it may seem a bit messy, but that is because I am just trying to figure out this normal maps issue before clean up. The high poly model is CharModelMHtopo:Body and the low poly model is CharModelMHtopo:male1591 in the outliner.
*NOTE - This is of course not the full file, I had to delete the rest of the body and excess stuff in order for the upload to BA to work, but I rebaked a normal map and it is having the same issues as with fully body and such.
If anybody knows whats going on, and wants to enlighten me to fix this and prevent it in the future, I would very much appreciate the help!
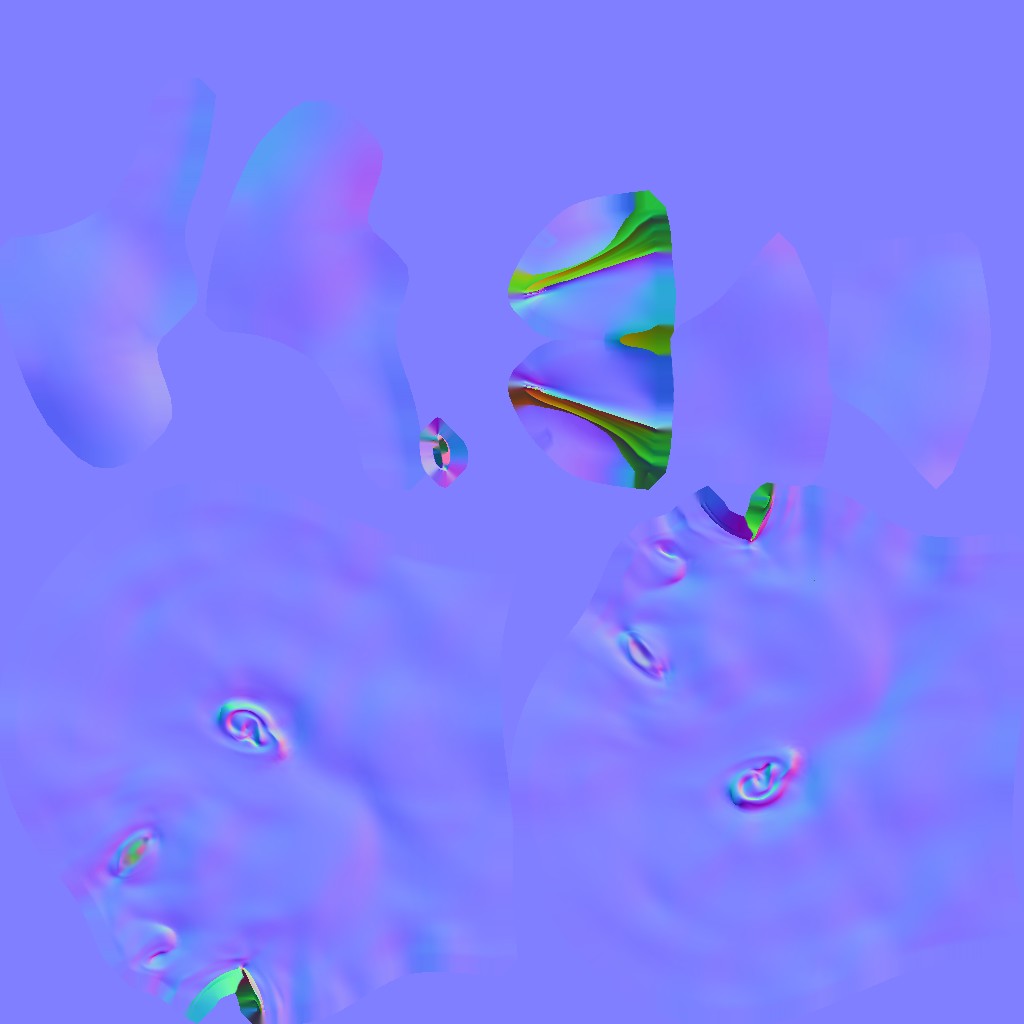
Specks were removed by increasing the Bias value in the bake settings to 0.05
Baked to a high res to actually capture detail and used the smooth paint brush to just gently smooth the map around the eyes
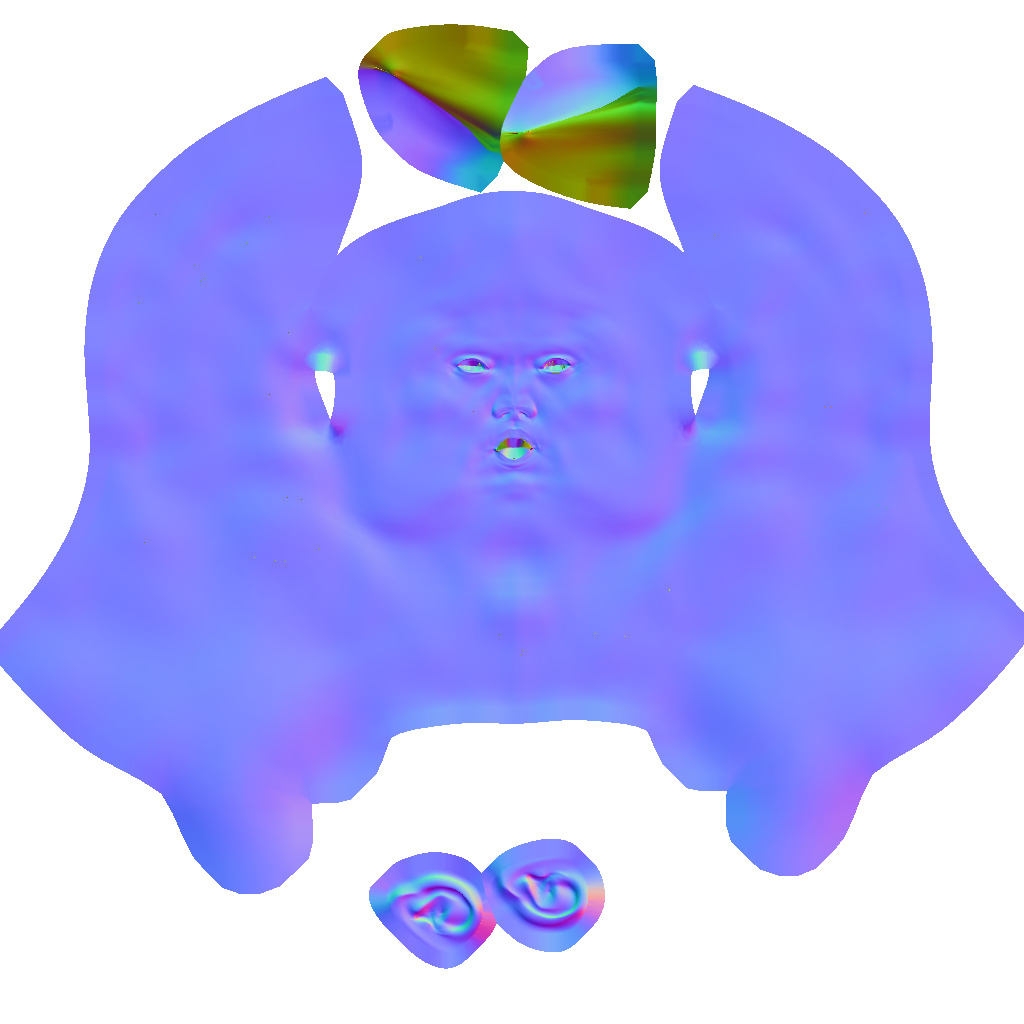
The uv unwrap of the low poly is unusual. You have seems everywhere and one right down the middle of the face. The uv islands are shrunk down and only cover about 5% of the uv space. An unwrap of this type needs a seem from the top of the skull centered down the back, and across towards the ears.
The tongue is is not closed at teh center and has overalpping vert and needs to be redone thats the yellow part at the top.
I remarked seems and unwrapped it, and baked a map. Have a look if you like: Blend on dropbox
I’m actually going to bump this and change what I had said before.
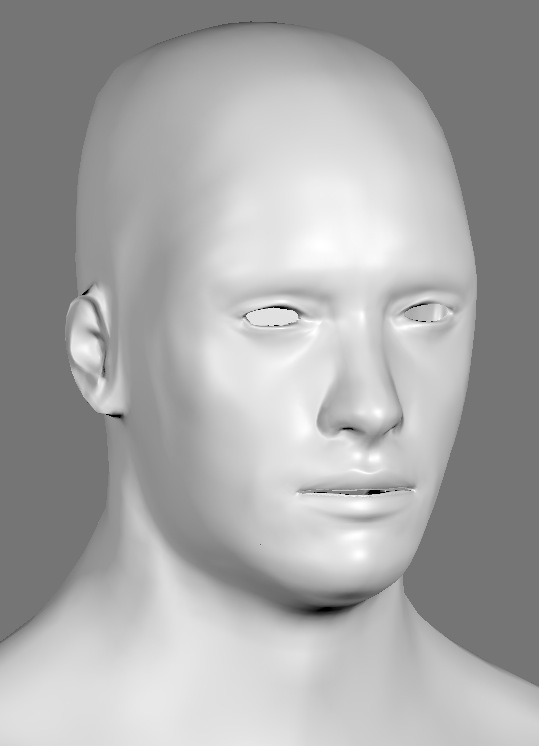
I have resolved the random weird artifact by further altering the bias and the distance (thanks for that!) and I have the eyes and the mouth looking a lot better than before, however now I am noticing that of course my work is not done, I have now noticed my hands have established some prominent deformations.
Picture of deformations with normal map applied, as well as in solid edit mode to show seams:
I was thinking it must be my seams, I cannot figure out what else could cause this, but after experimenting with different seams in the hand and arm area, I am not seeing any improvement. I have also tried turning my bias and direction up further to see if it had an effect, it did not.
Was hoping somebody here could tell me what they think could be causing my issues here. I have included the .blend, if somebody would look and tell me where my seams are all wrong/need improving as that would be really helpful for me to learn whats going on there.
Note though, the .blend doesn’t have the high res model I was using to bake for the hands image, it was simply to big of a file to put on here.