There’s a certain something that separates the two. I personally like the appearance of the first one, but I have no idea what makes it look like that.
I can’t really describe it, but how exactly would I achieve that effect? How would I be able to make the humanoids in the second video look like the ones in the first one?
EDIT: Something I think I need to know is how to make the armatures deform a bit “smoother”
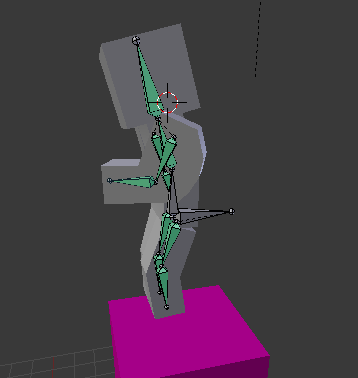
Here’s a screenshot from a new project:
It bends really weird in the middle, and it doesn’t look very smooth/fluid as the one above. How do I make it more “wavy” or “curved?”
yes… instead of having a single cut at the elbow (leading to harsh and sharp edges and bends.) have many cuts.which will give a smother result. or, failing this use a subdivision modifier along with an edge split modifier, to make the curves apparent.
If you need help with this… feel free to… read the manual or search the internet.
subdivision and other modifiers are really, the bread & butter of blenderheads.
edit: but because im feeling nice, i’ll nudge you in the right direction, select the character mesh press tab to get to edit mode, do ctrl+r and hold the mouse over the length of the arm(you should see a purple line showing where you will “cut” when you click) doo this a few times near the elbow, so you will have many more “edge loops” along the length of the arm…from here you should be able to see what I mean…
It looks like the main difference in the rigs is in the first rig there are two bones in each limb, while in the second rig there is only one. The animator for the second rig does some clever things with rotation to give his character a less robotic motion, but I didn’t see the limbs actually bend. The first rig, with bendable arms and legs, moves in ways, and gets into poses, that the second rig can’t accomplish.
When you set up your rig, try to get the bones centered inside the mesh, and use the automatic weight painting option. It should come out pretty good with such a simple design. To get better advice about your mesh, post some screenshots showing wire frame view.
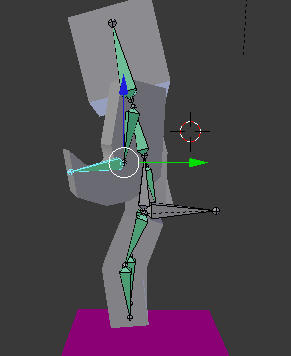
Little update: I saw that the armature is using vertex groups, so when I tried to subdivide and reassign them, I got strange results like this: (upper arm only)
and this: (lower arm only)
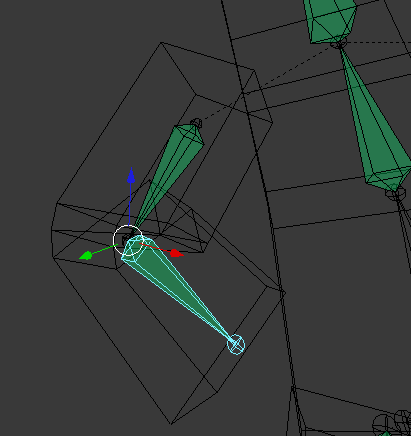
and for both, this:
I feel like I’m almost there, but there’s just one little thing. What is it?