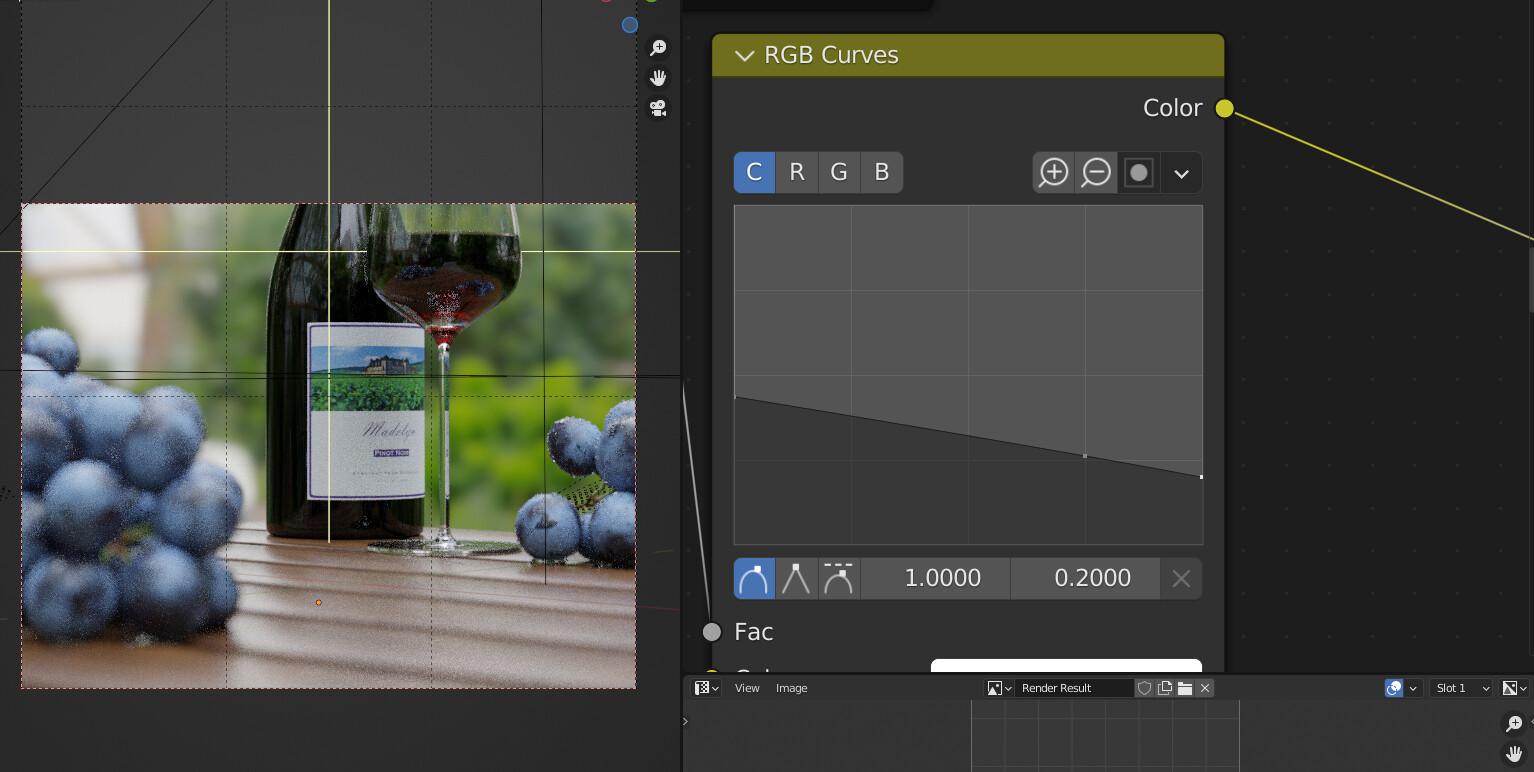
If that’s not polished the roughness should never reach 0, maybe something around 0.2.
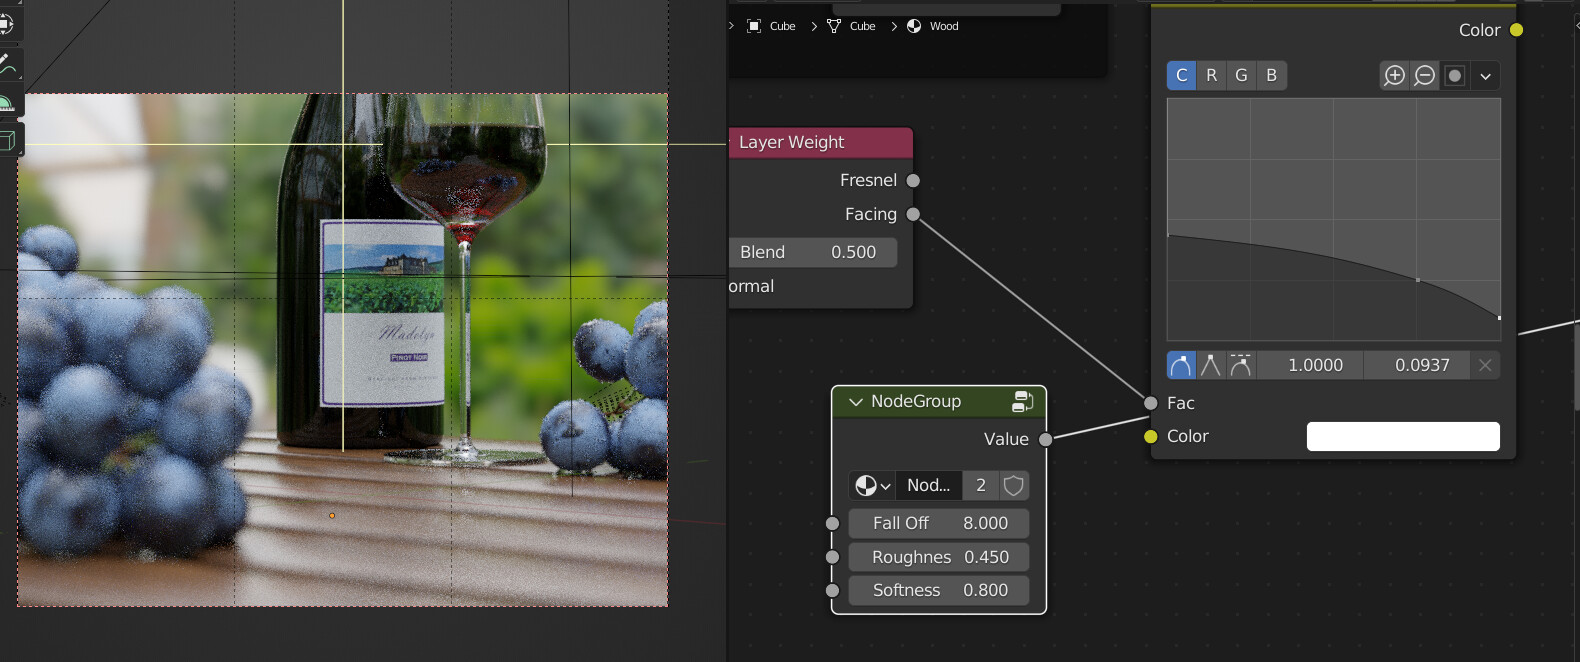
In the last example, you inverted the numbers there. The roughness is always higher than the softness
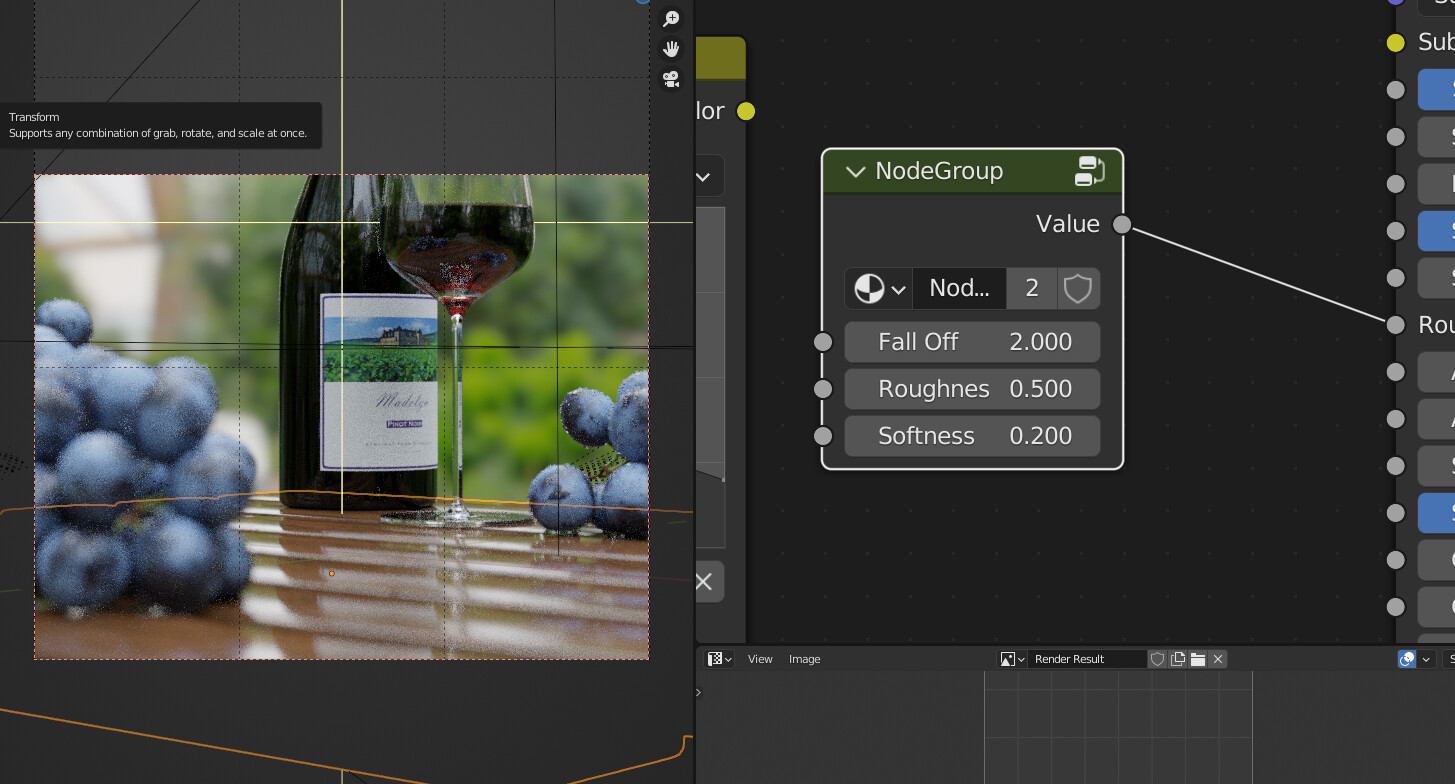
Try the roughness on 0.5 and the softness on 0.2. Put the falloff between 1.6 and 2 and tell me how it looks. Actually, that effect will depend on your sensibility. There’s no “right” value here.
Sometimes, it also helps to visualize the node result on the viewport. If you have node wrangler addon activated you can make CTRL + SHIFT + selection click on the node and then your object will show the gradient corresponding to the greyscale of the node. Remember that darker areas = less roughness.
If that’s not polished the roughness should never reach 0, maybe something around 0.2.
In the last example, you inverted the numbers there. The roughness is always higher than the softness
Try the roughness on 0.5 and the softness on 0.2. Put the falloff between 1.6 and 2 and tell me how it looks. Actually, that effect will depend on your sensibility. There’s no “right” value here.
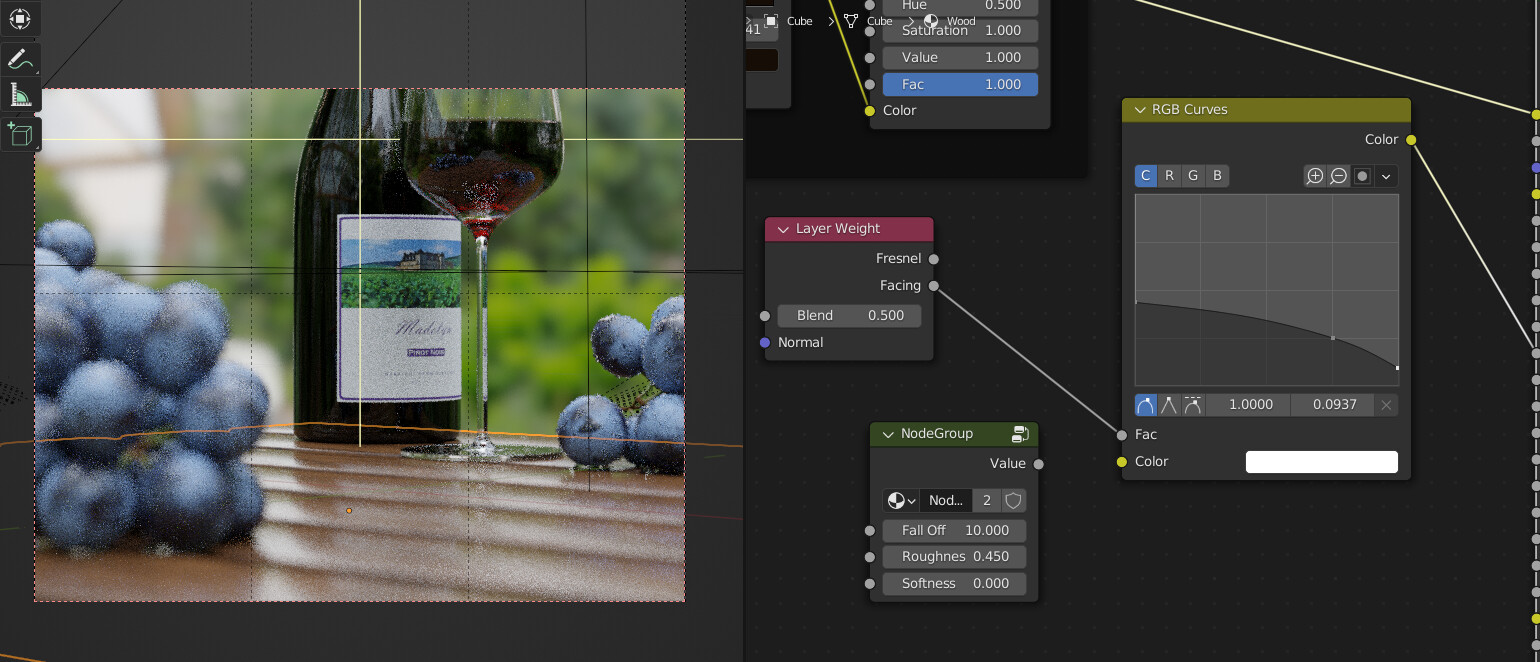
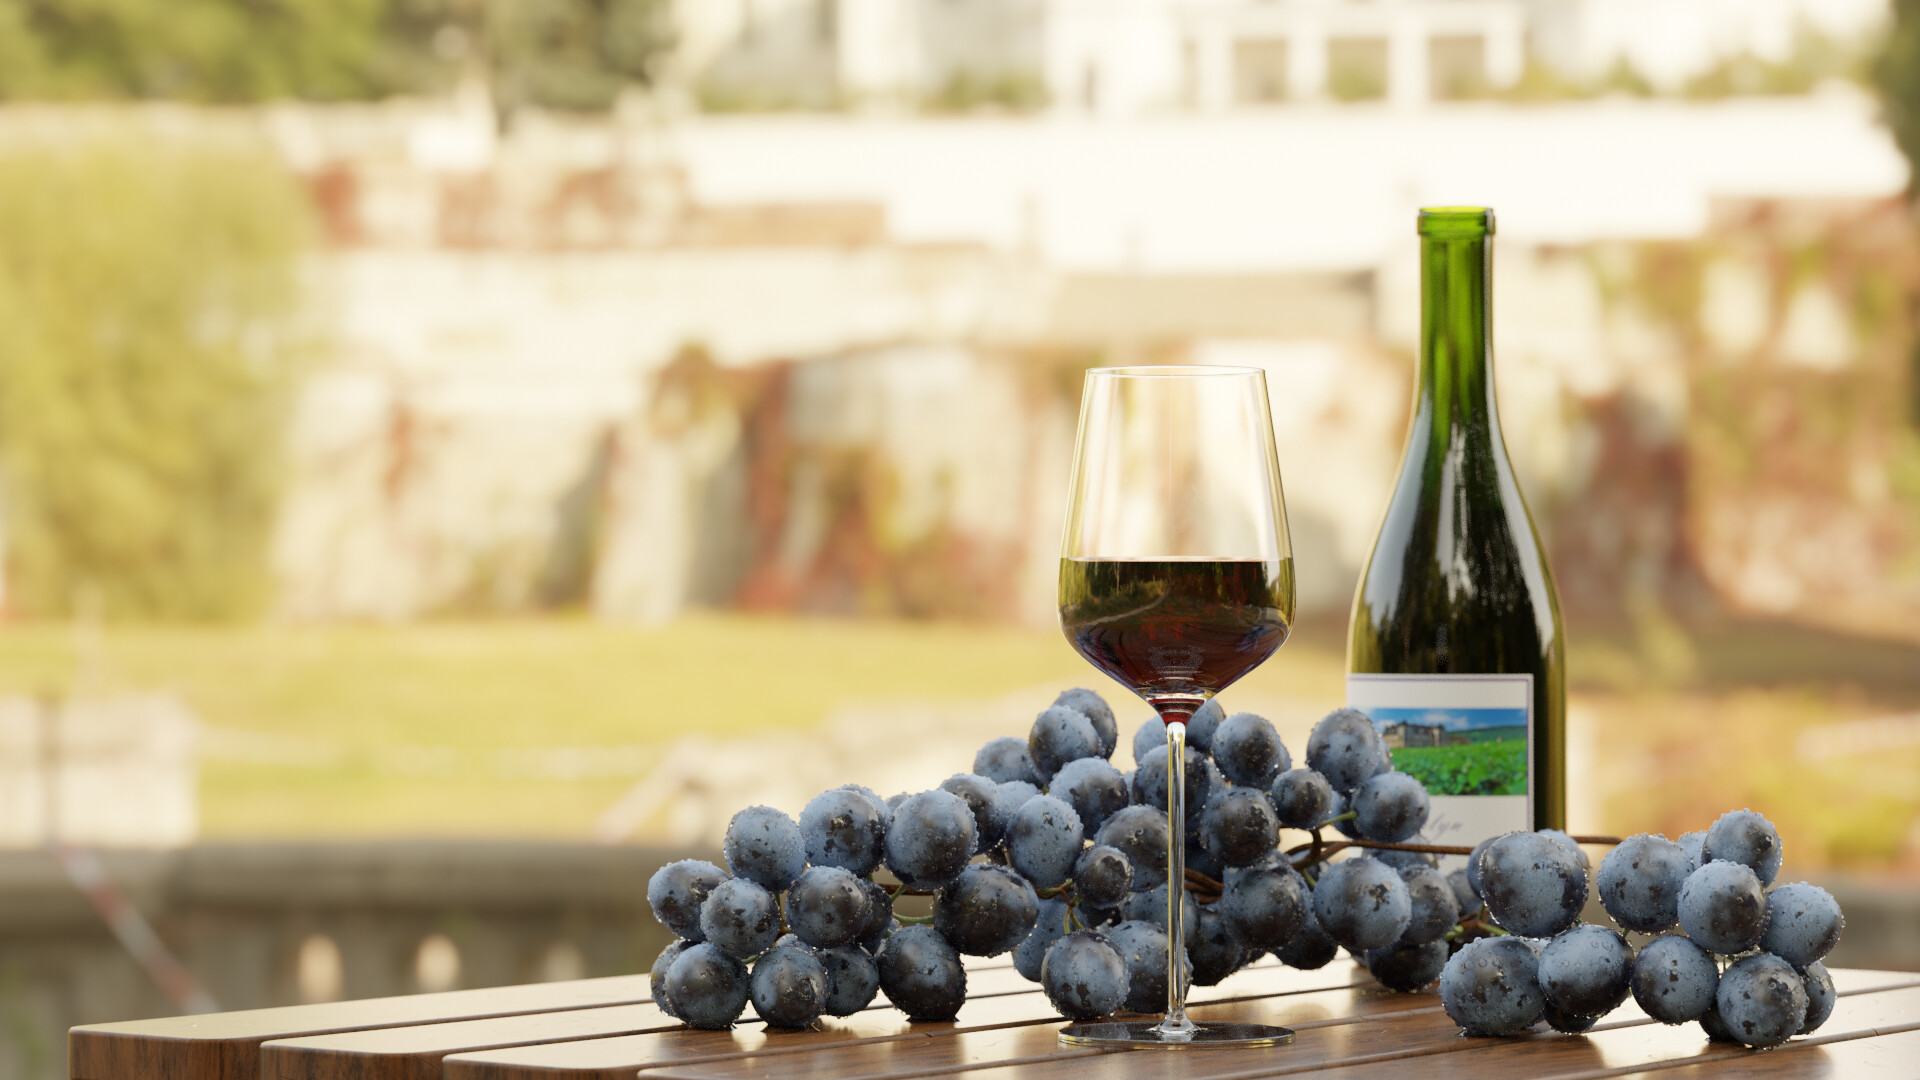
This is what I am getting with the numbers suggested
There’s something wrong with your node group. It should not be working like that. The strange is, that doesn’t even look like the one I have. Did you download it from blendswap?
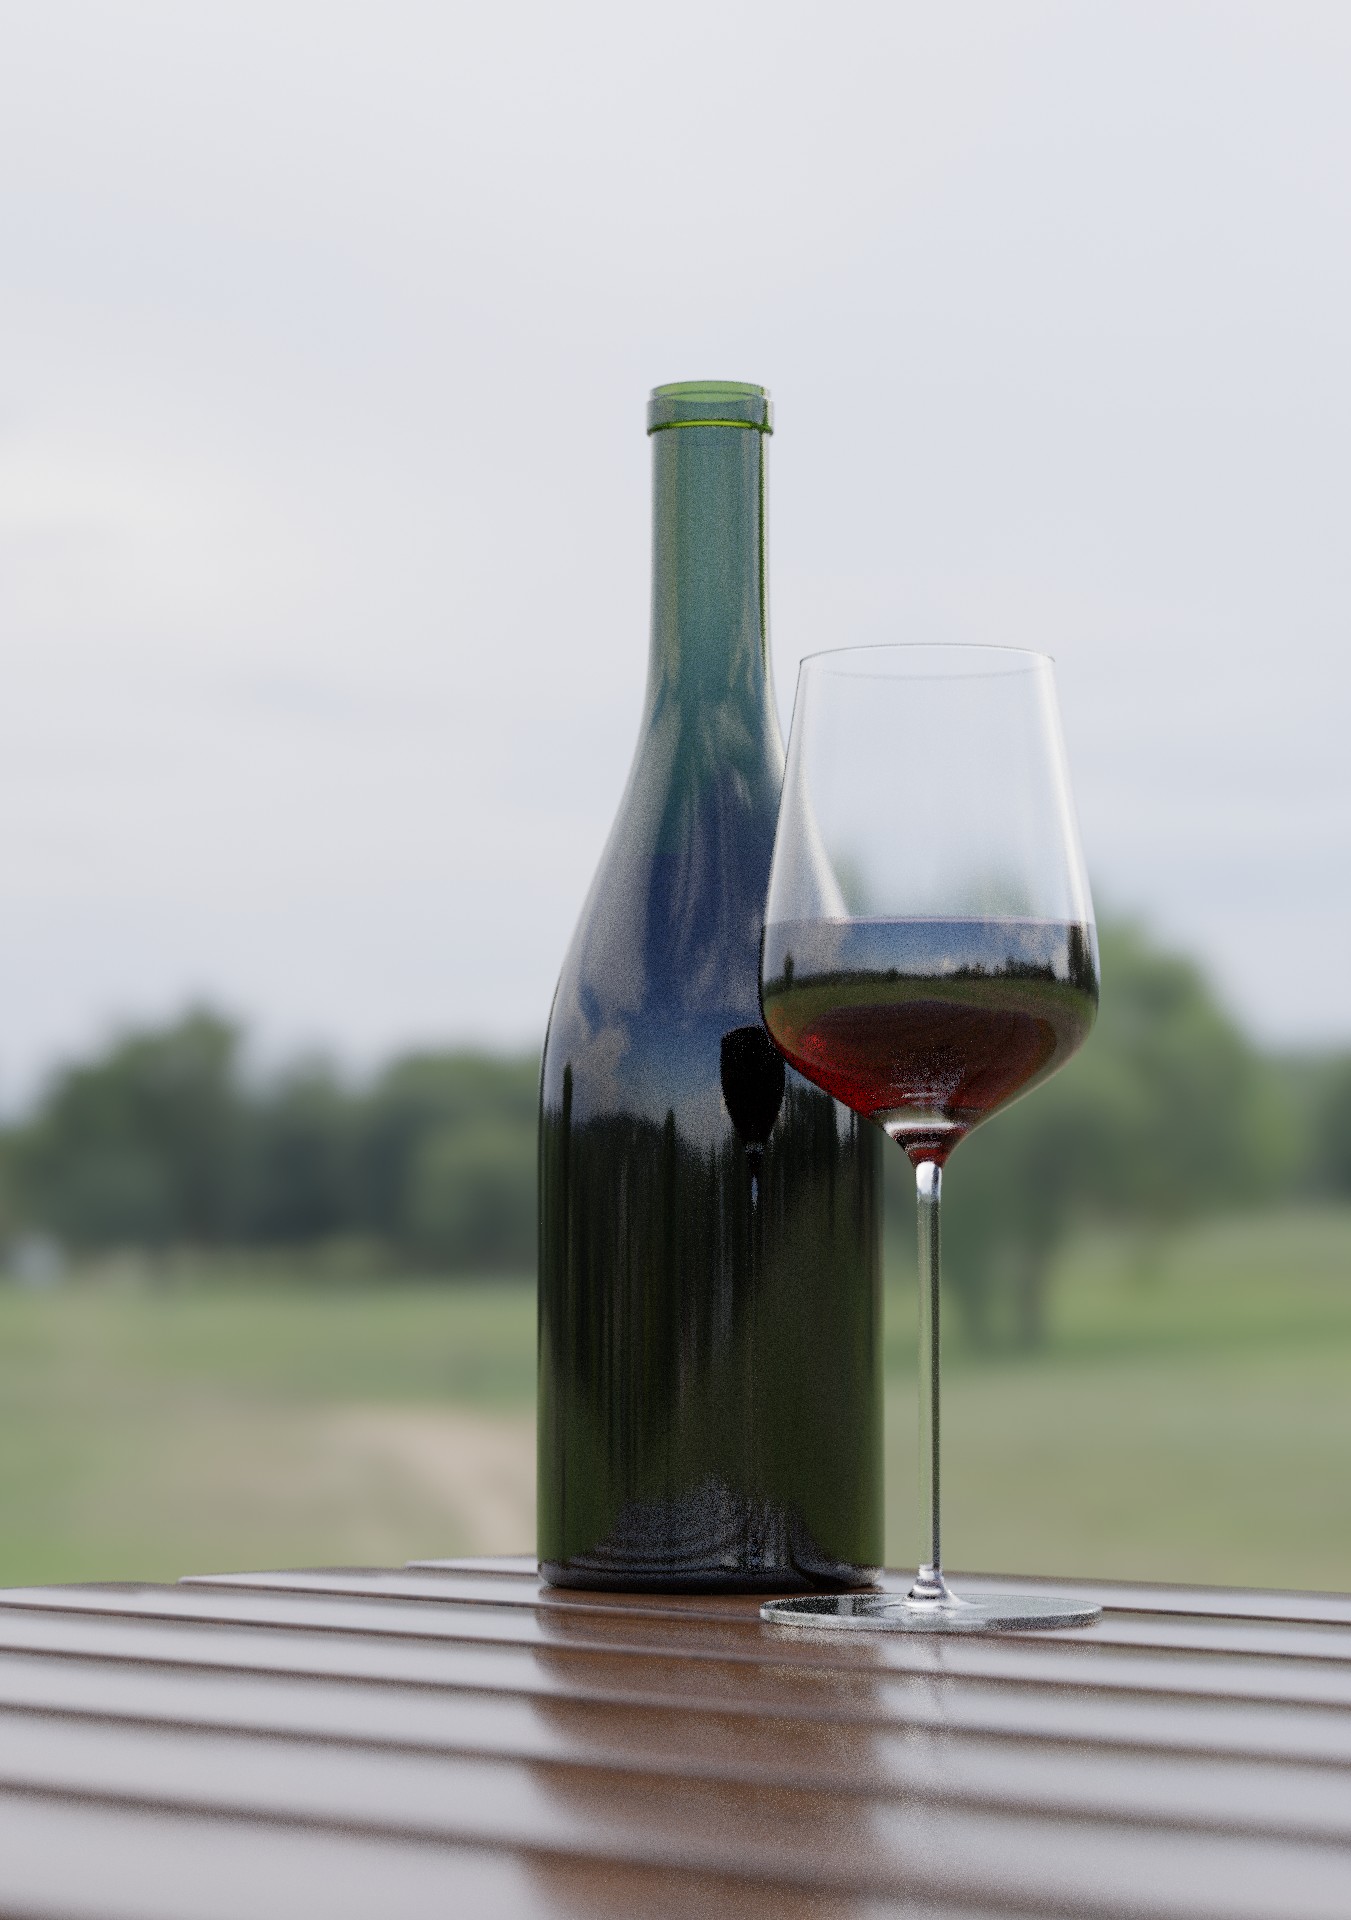
The biggest problem here is that your camera is positioned too low in relation to the table and the focus length is too high. This way you will have problems to see the effect, cause the angle difference near and far from the camera is too small. Also you did not inset the top faces as I told you before, giving you this result:
There is a way to correct that problem integrated directly into Blender: the weighted normals modifier. It corrects that very problem without having to add geometry.
On the bevel modifier? It does something very similar, but weighted normals affects the entire model, not just the bevels (this can be useful on more random and jagged models, like rocks) and it can be used on models that don’t have a bevel modifier.
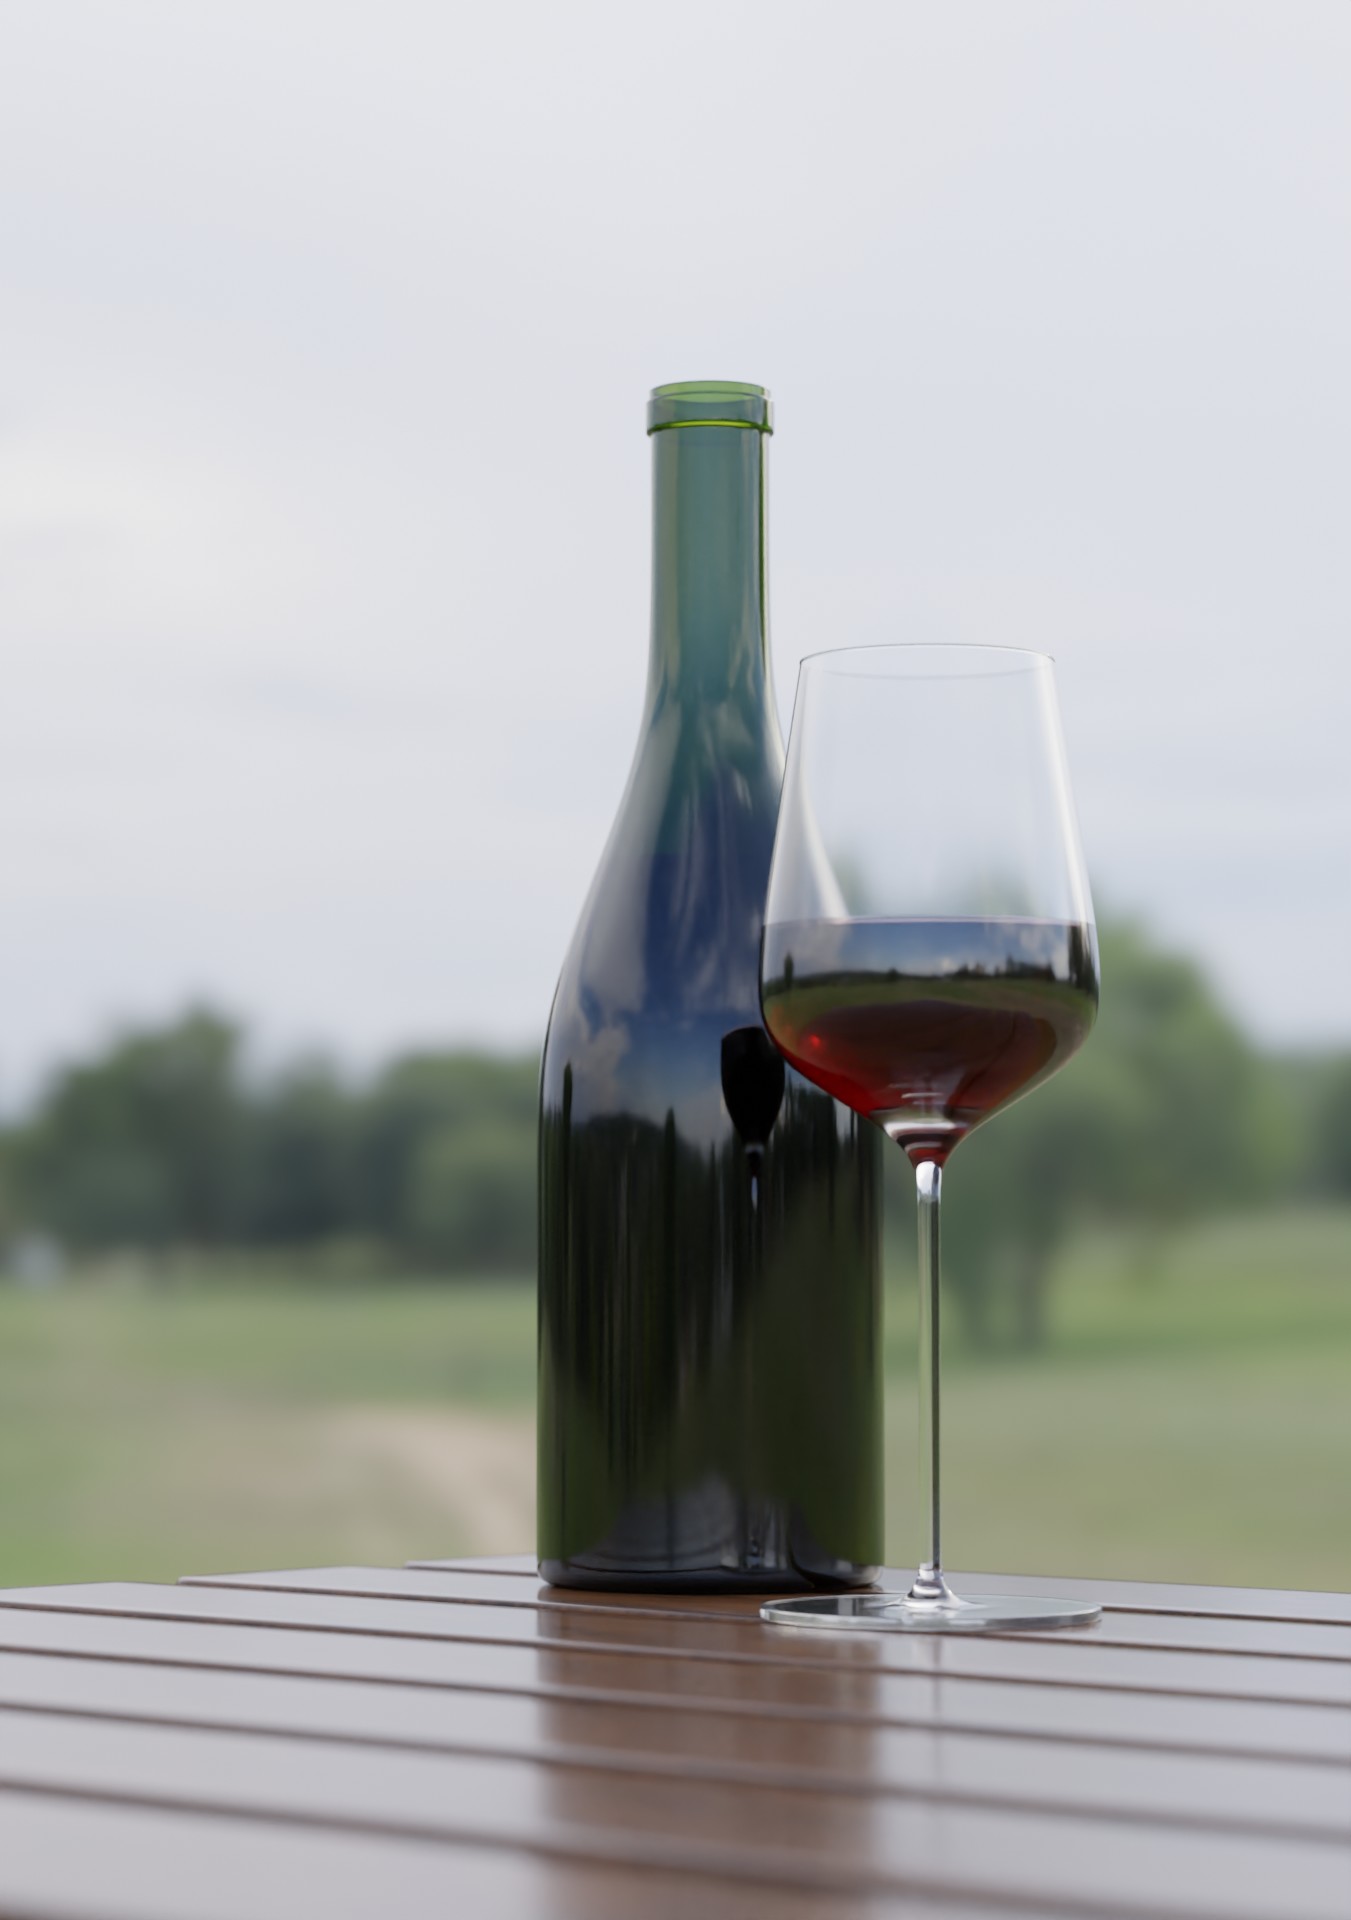
I am just adding another camera as a suggestion and I also needed to move the objects a bit. The result is still a bit strong, but now you can set it as you wish.
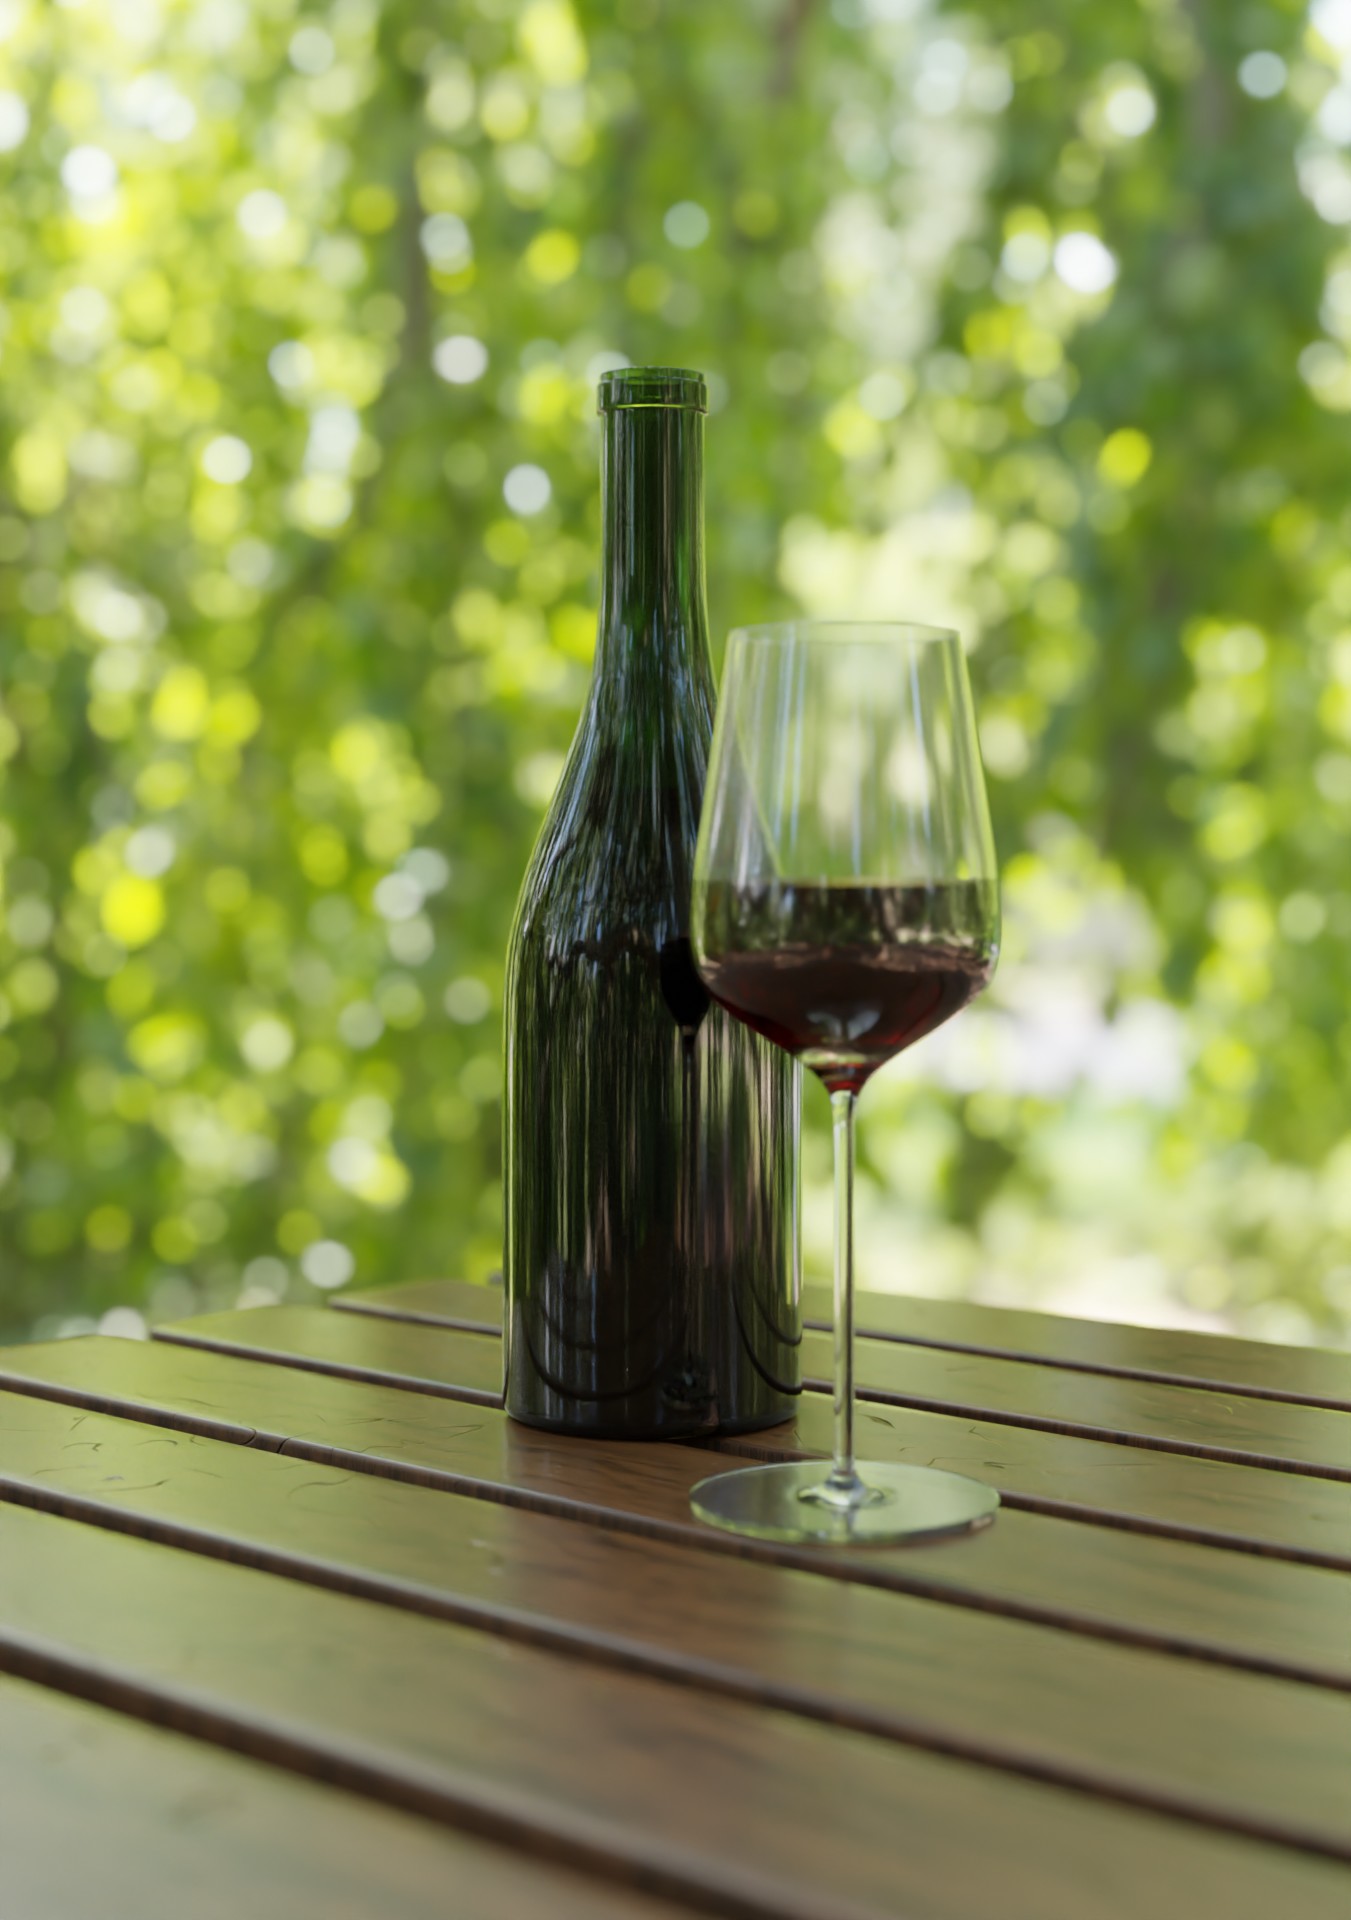
In all of these settings, I am of the opinion that the background should be sharp. In ordinary photography, things can be out-of-focus ahead of the focus plane, but will then be sharp for an infinite distance beyond it. And that is what I would do here. Absent this, the backdrop feels artificial … that it really is “a backdrop.”
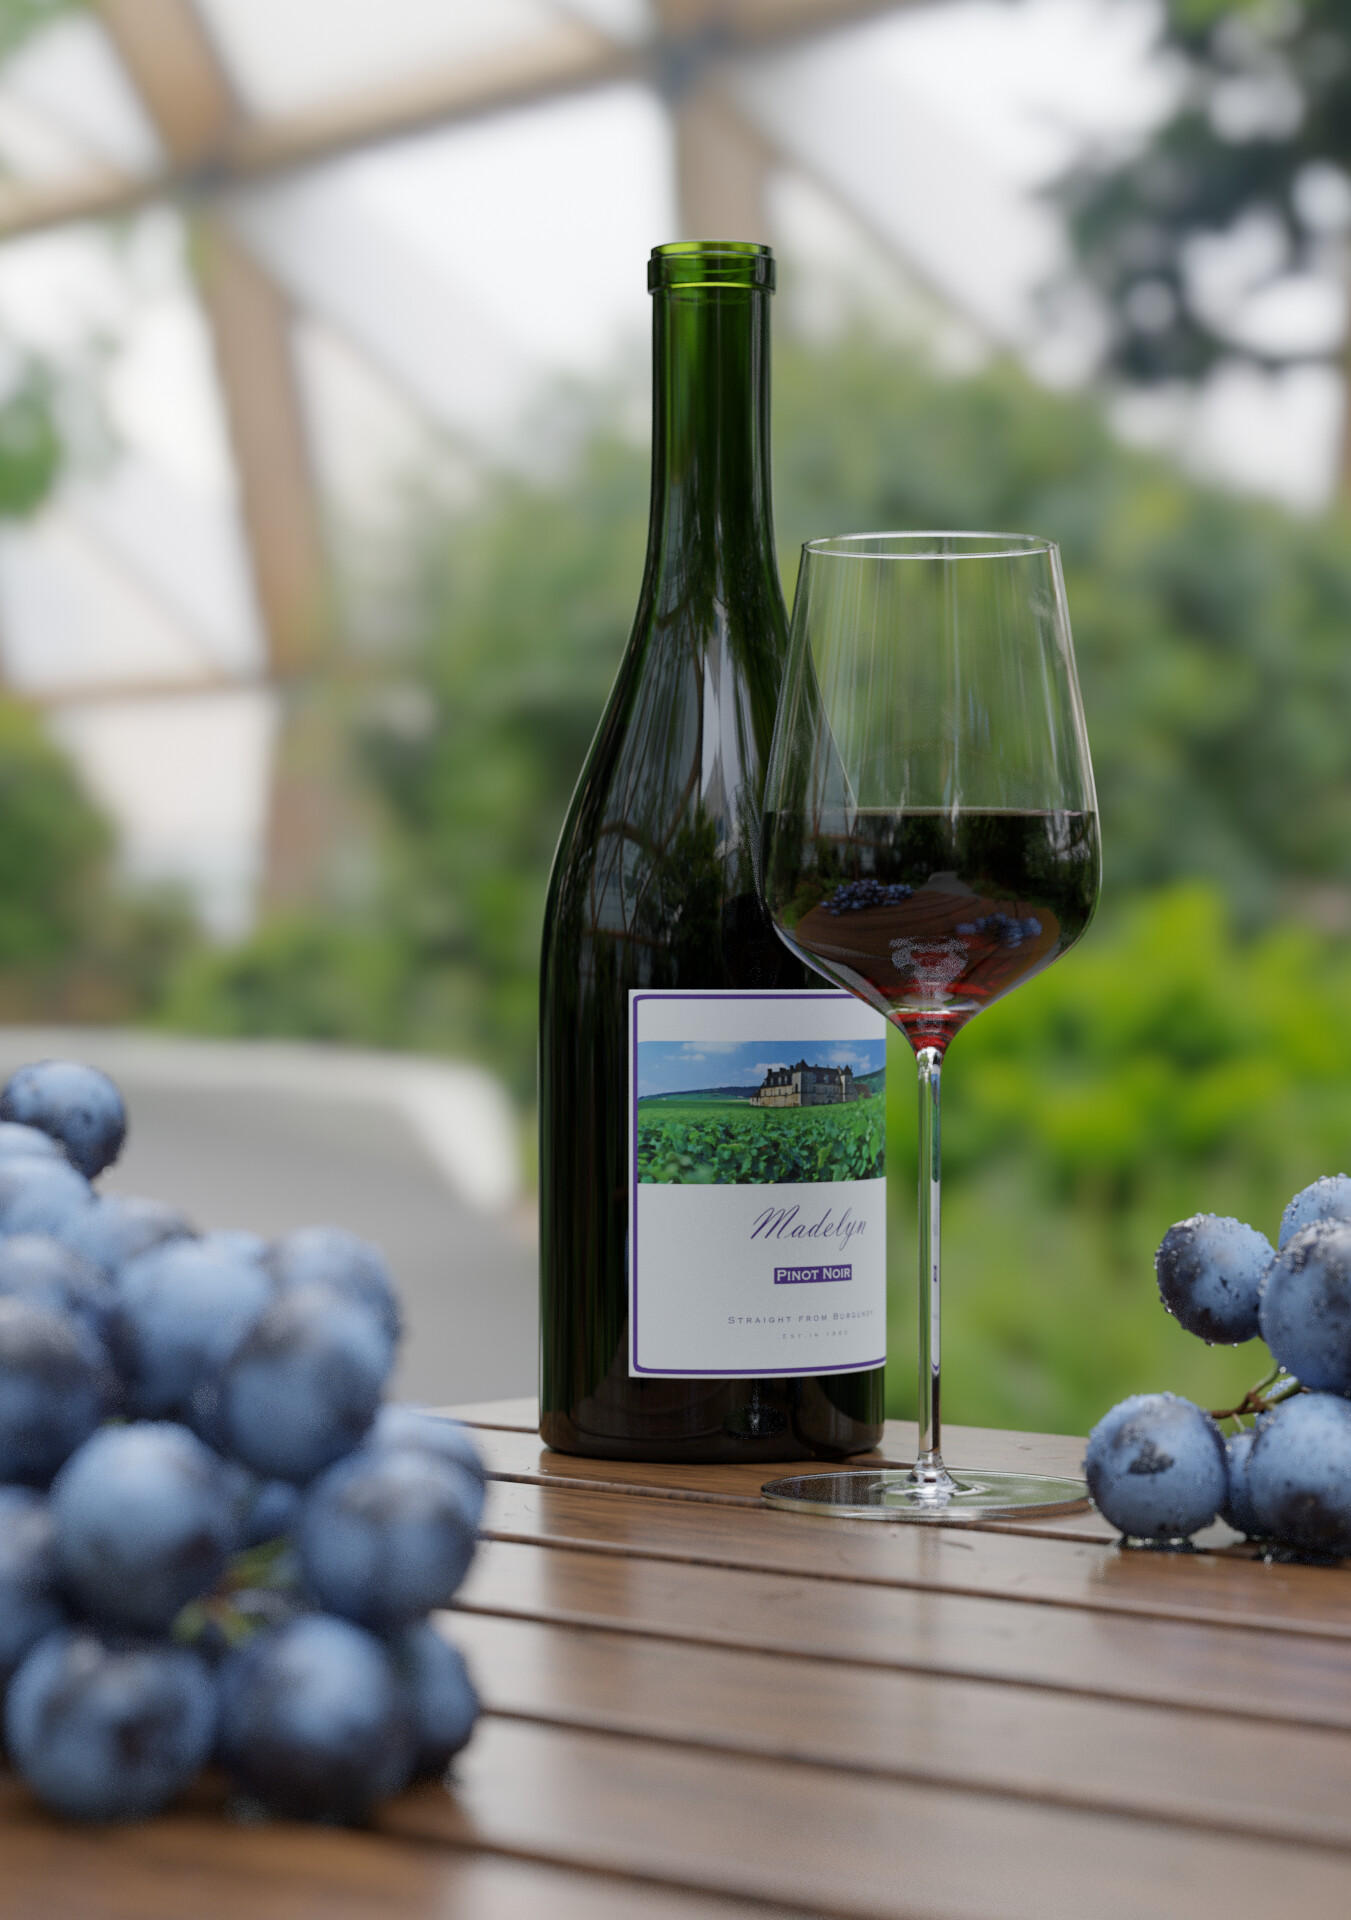
All of your “foreground modeling work” is absolutely stunning.