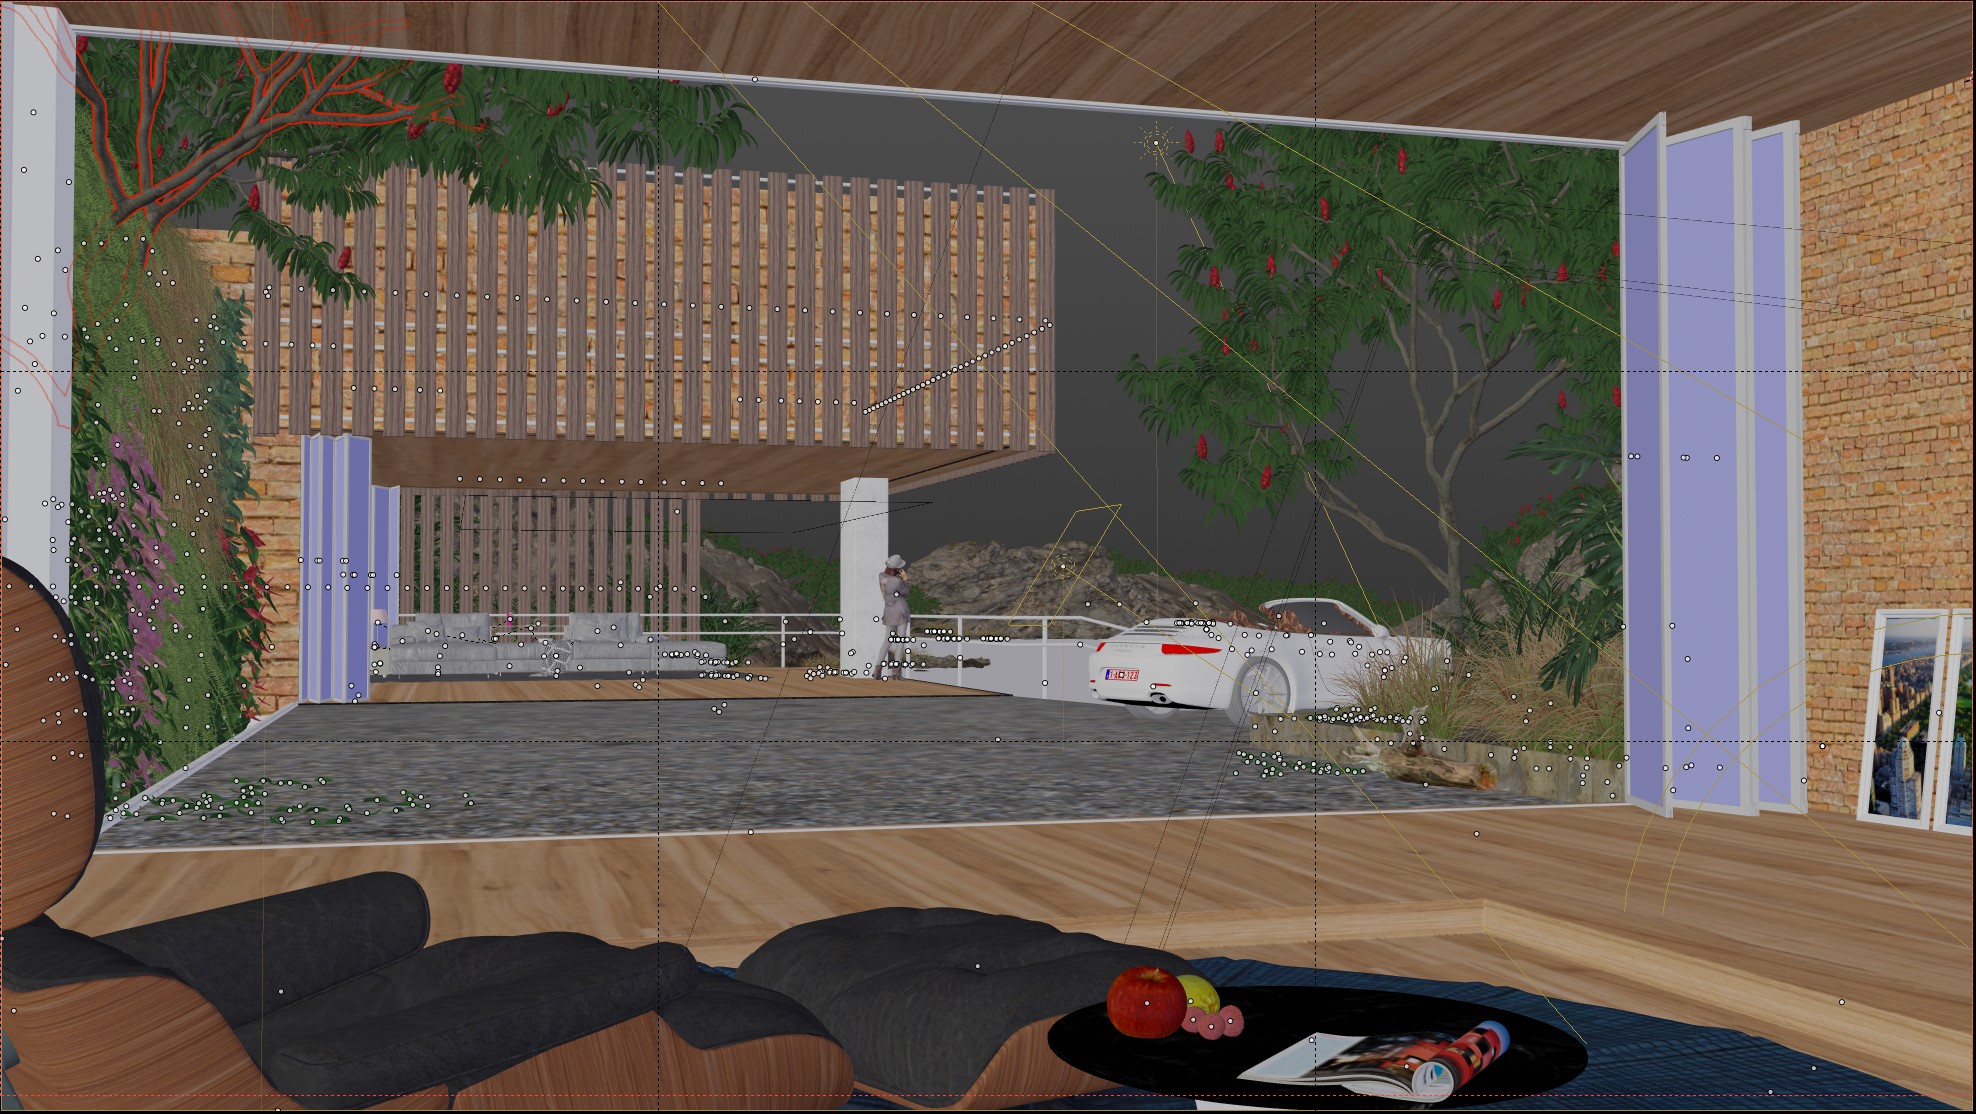
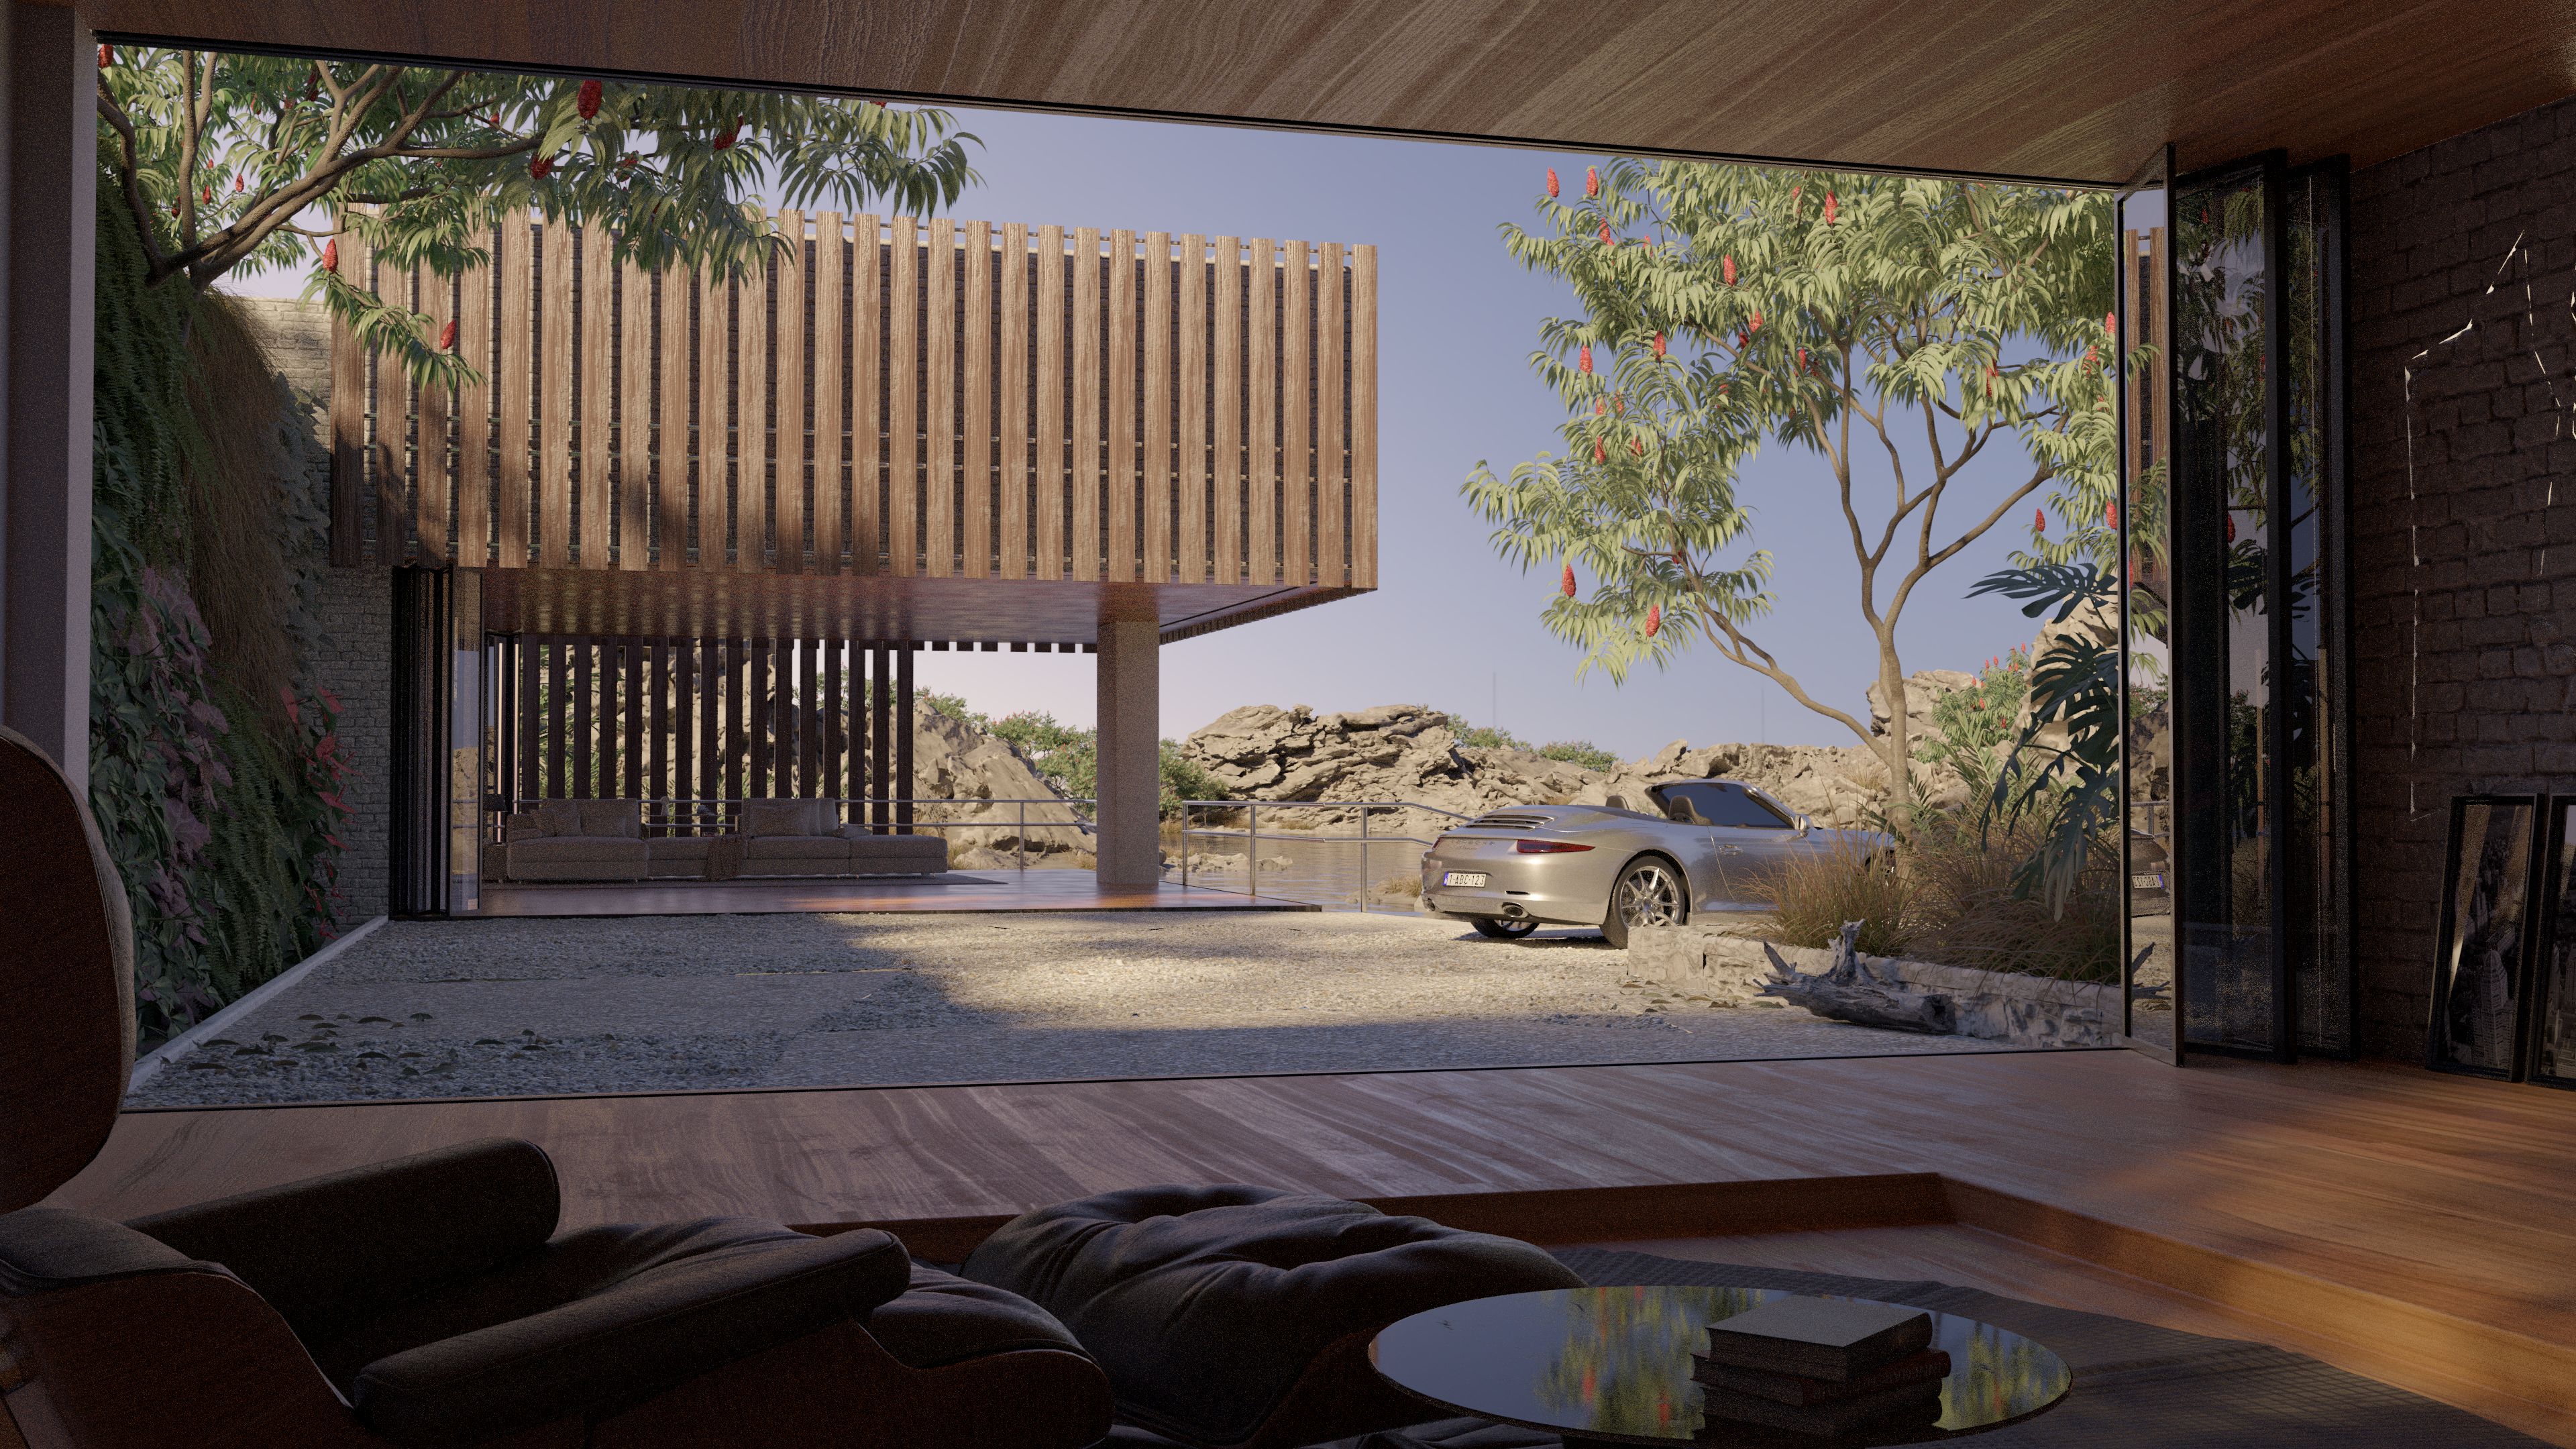
hi, i dont quite understand why this arch-viz look fake ?
yes the background is missing i need to model it and put some volumetric also.
is it just about lightning balance? (i will retouch the light in the compositor to create a more photorealistic light balance) or is it something else ? my gf think that the textures looks flat, i dont understand why !

Hi i like your Render but theres always something to change.
So ok now but why does it look flat ?
- the front or the indoor especially the furniture is very flat because there is just indirect light coming and no other lights maybe try some backlight
-the plants have very good quality but the color of the translucency does not look correct for me i always change the color to a more yellowish tone
And maybe put some color variety in some leafs
This would add some realism and depth for me
And you could try looking the image only in black then you see where the constrast is strong or not
I hope i could help you
2 Likes
Real has more dirt: shed leaves, gravel displaced by car tyres, scuff marks on floor etc. Everything looks clean and new, yet apparently someone lives there and has worn the leather on the chair (well, maybe they bought it antique, but still…)
The tree leaves look a bit plasticy, and the bark in particular looks weird. Best I can say is to look again at reference for the type of tree you’re making?
More than that, hard to say. I think a more congruous background will help though - maybe it’ll look fine with one but it definitely looks weird without.
1 Like
I think I’d reserve judgment on this until you have the background in place. If this were a night-time setting, it’s pretty believable now.
Also – I would caution you against indulging the assumption that “dirty means real.” There’s nothing more fanatical than a product-shot photographer with a bottle of Windex® in his hands! …  … I’ve watched them shooting car commercials in Death Valley, and I can attest that they polish the car, drive it down past the camera, polish the car, haul it back up to the top of the hill, unload it from the truck, and polish the car again. They even “polish” the roadway. The “natural” plants in the background might be in carefully-buried pots. A photographer in this scene would sweep and vacuum the floor, comb the gravels like a Zen master, and so on and on and on.
2 Likes
I feel like the biggest problem is lack of contrast. Real life camera can rarely capture this bright and dark corners well in same photo.
1 Like
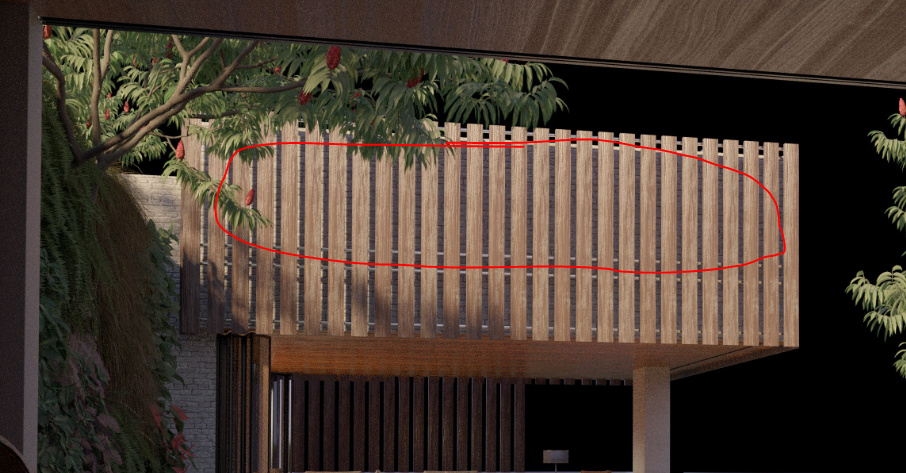
You could look at the scene in false color in the color management settings and look at where the “Hotspots” are and try to tone them down. Then you can use filmic to adjust the contrast more from there if needed. I agree that the textures do look off, the ones that stand out the most to me is the wood in the background section and the tree next to the car. Not quite sure if it is just due to lighting that they look as though there is no real depth ( kind of like a 2d asset composited over an image type thing )
In general though I think lighting adjustments would help the most though to sell the image. Modeling is nice though, good job on that.
1 Like
thanks for the advices !
on lightning i will try to adjust it manually and not on post process.
and for the bark and leaves its purely a lightning issue, the materials look super realistic with other perspectives…
here is a preview of the background
quite a challenge this render, 20 000 000 polys, i was forced to limit the texture to 2k, and i have 3 microdisplacement that are really challenging and buggy for some reasons… 6500Mo
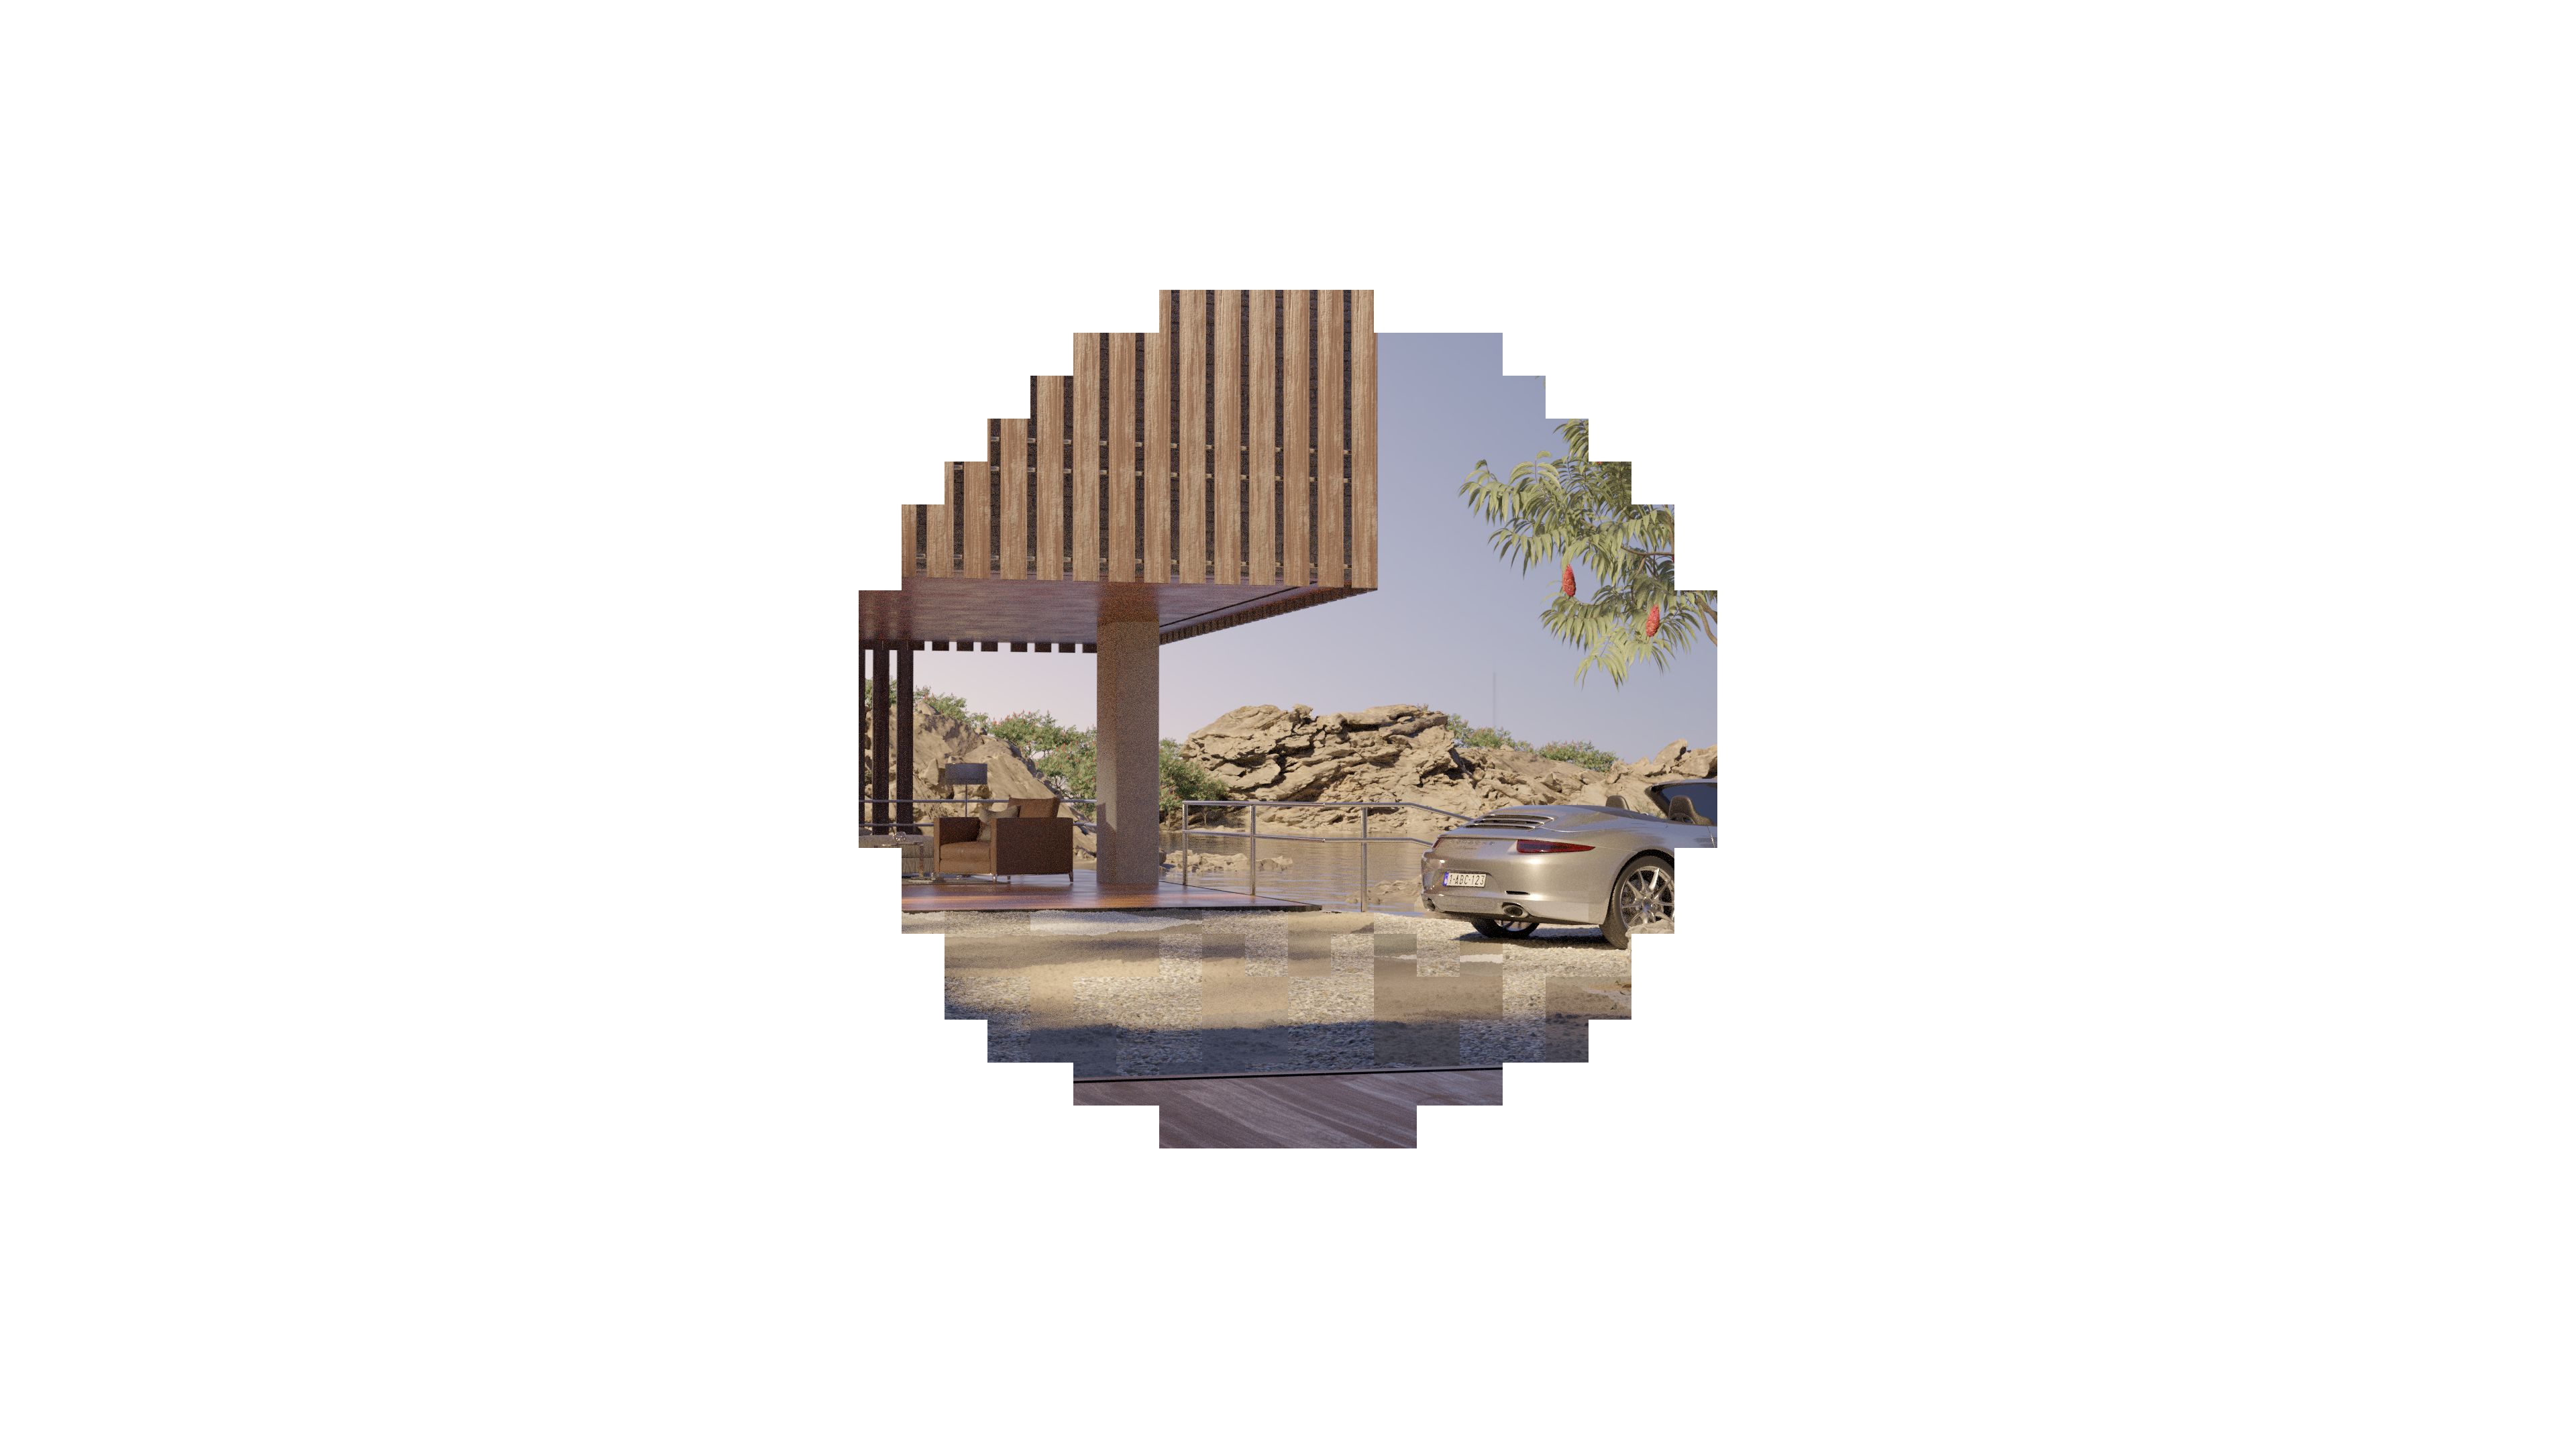
so i was forced to use normal displacement adding +15 000 000 polys … i hope this will resolve the problem ( still bumping up to 8000 mo)
its not the only issue i have…

i think its from a bad dual graphics cards support.
also my ram can’t take it, up to 40Gb of memory taken, its uber slom to do a ctrl z. is there a function that auto-save the file in other names each times every 2minutes for examples ?
got a dual gpu problem, its not a microdisplacement problem.
i peaked to 9000Mo of Vram . i supposed the UI and some other app push the vram to its limit on the GPU that are in charge of all the windows management.
now i tried to go back to micro displacement and going down to 6500Mo… still have micro displacement issue … really weird

but with CPU + GPU its working fine …
hell is this …
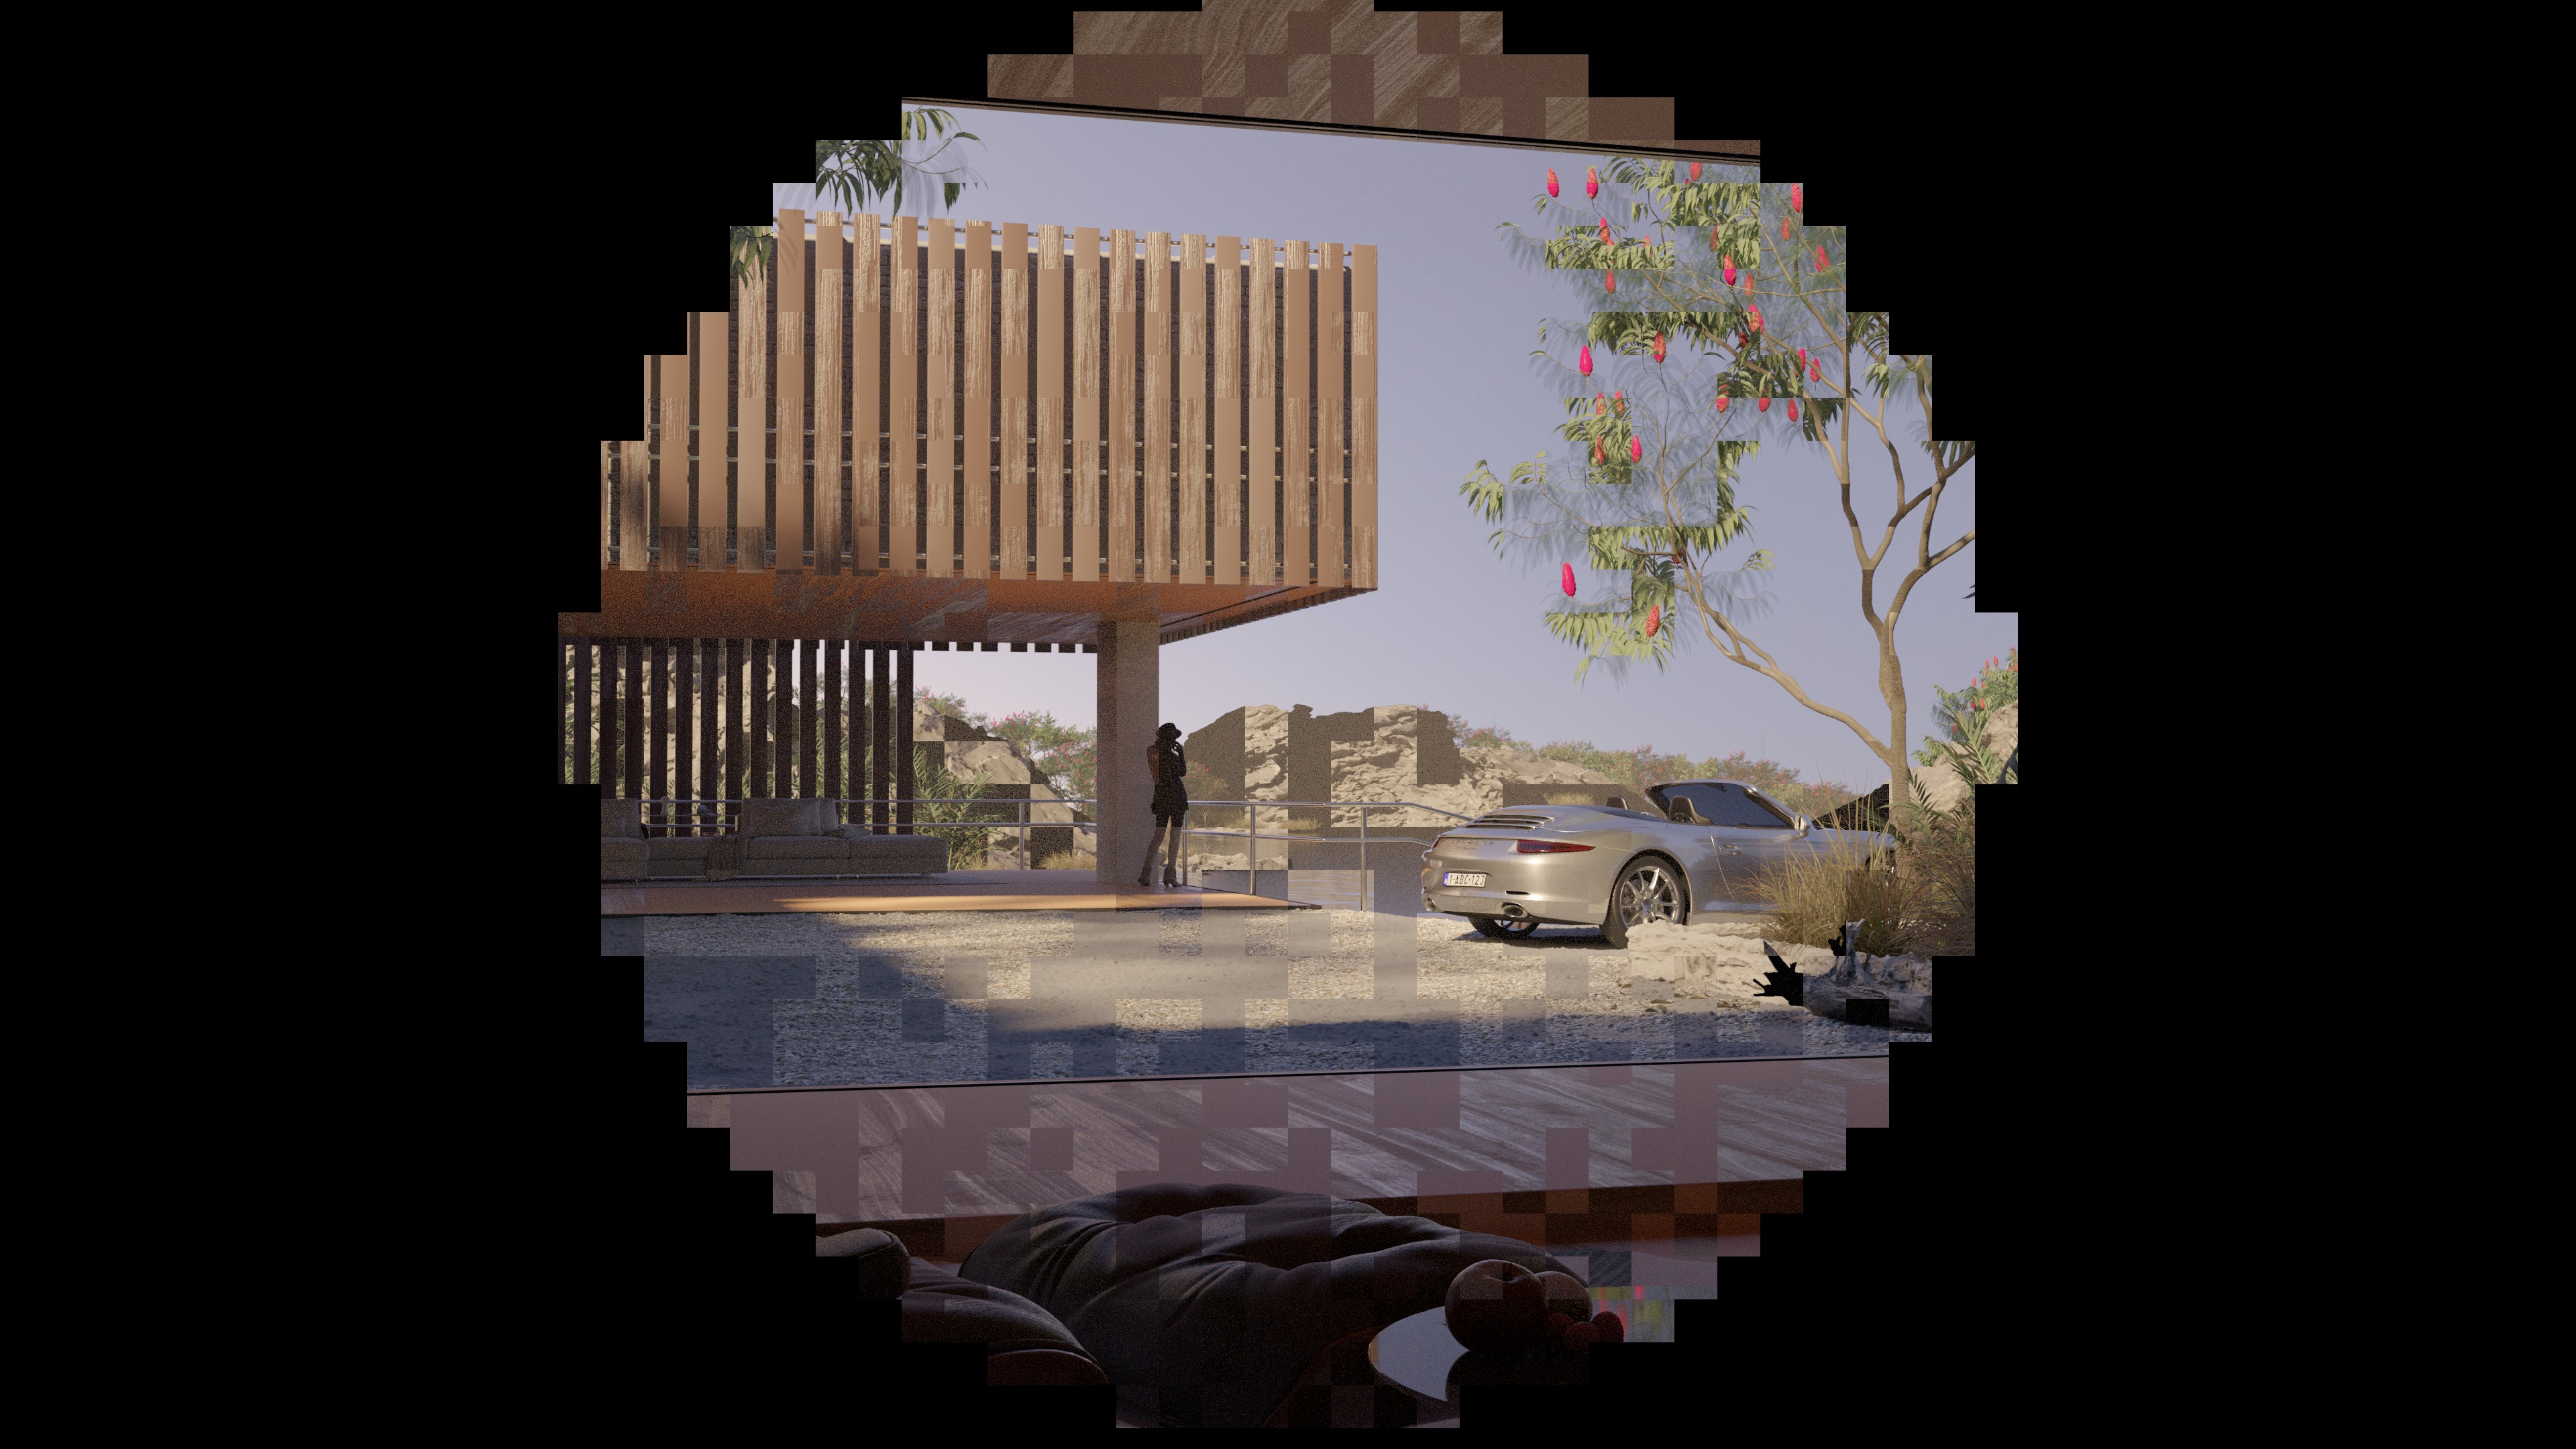
SO HERE is the final denoised render ( with d-noise)

now im heading to post process.i think the big turn-off in term of realism in this scene is the light.
i tried to adjust contrast and gamma but the result were not any better, also having more light is resulting in more bounce, and i want my scene to be a mid morning atmosphere. i think that im forced to fix this post process? any link on tutorials/explanations how to adjust the light into a more photorealistic one? maybe im missing something. im using Filmic btw…
im trying to correct this bad lightning
it was too flat
Actually, with the “HDR” technology that is now available in phones and digital SLRs, you can now come very close. The camera actually takes three or more exposures in rapid succession and blends them together digitally. Consequently, I think that people today have become accustomed to seeing this.
If you have decided on a daylight setting, bear in mind that the area just inside the door is going to have a slightly bluish lighting, provided by the sky. The effect is very subtle but noticeable when it’s not there.
If possible, I would try to find a nearby physical location that is comparable to this, and bring your color light-meter with you. Sample the real-world illumination at various points from the camera POV. Also bear in mind that the “color temperature” of most real-world light sources is known, and that Blender provides nodes which will map these to RGB values.
I was actually thinking about this. I believe if you have pure HDR image and you view it on normal display result will look gray. Camera does trickery to fake lighting to fit in areas of different brightness, for example perhaps adding some saturation, simplest filters add local contrast, but the new cameras use even AI to fix this.
The trees outdoors look gray and like they need more contrast, and overall picture have gray tone, so I think it can be related problem. No idea how to fix it best tho. Do we need HDR filter in cycles?
I featured you on BlenderNation, enjoy ![]()
woaw amazing !! but its not the final project !!! ![]()
Oops! I’ve updated it
1 Like
thanks 
1 Like
Its not true that imperfection make a 3d-scene realistic. I can put a perfect clean white box in a perfect clean white room take a photo and it would look real. Without any dirt, scratches and roughness imperfections.
I didn’t exactly mean that to be an absolute rule. However in its defence, I have to say that the choice of scene sets up some expectations and the image should deliver on that. I’ve no particular frame of reference for generic white cube in white room, so no particular expectation of what it ought to look like. On the other hand I have seen a house and a garden, and an absolute lack of any chaotic elements at all would be weird. I think most artists do say that unnatural perfection is what betrays a CG image.
I appreciate though, I was reaching to find fault because the image was very good.
the biggest issue with archviz lighting is that default sun and sky/environment strenght in cycles is super weak and most people try to stick with those values(cause they might work with other types of renderings)
Cycles in general is poorly optimized for heavy gi rendering.
You can gain much better contrast in lighting and reflection by using much more powerfull sun and enviro and higher clamping values(what values you have to figure-ideally trying to match some reference)
Also sun and sky in cycles have weird looking colors imho, so I’d suggest using manual colors depending on what white balance you want to have for each.
As for (too much bounce) you really don’t have to fear that, if you have strong sun and expose camera for sun-lit areas you still end up with darker shadows, but you will have stronger contrast in lighting and in reflections.