Hi everyone!
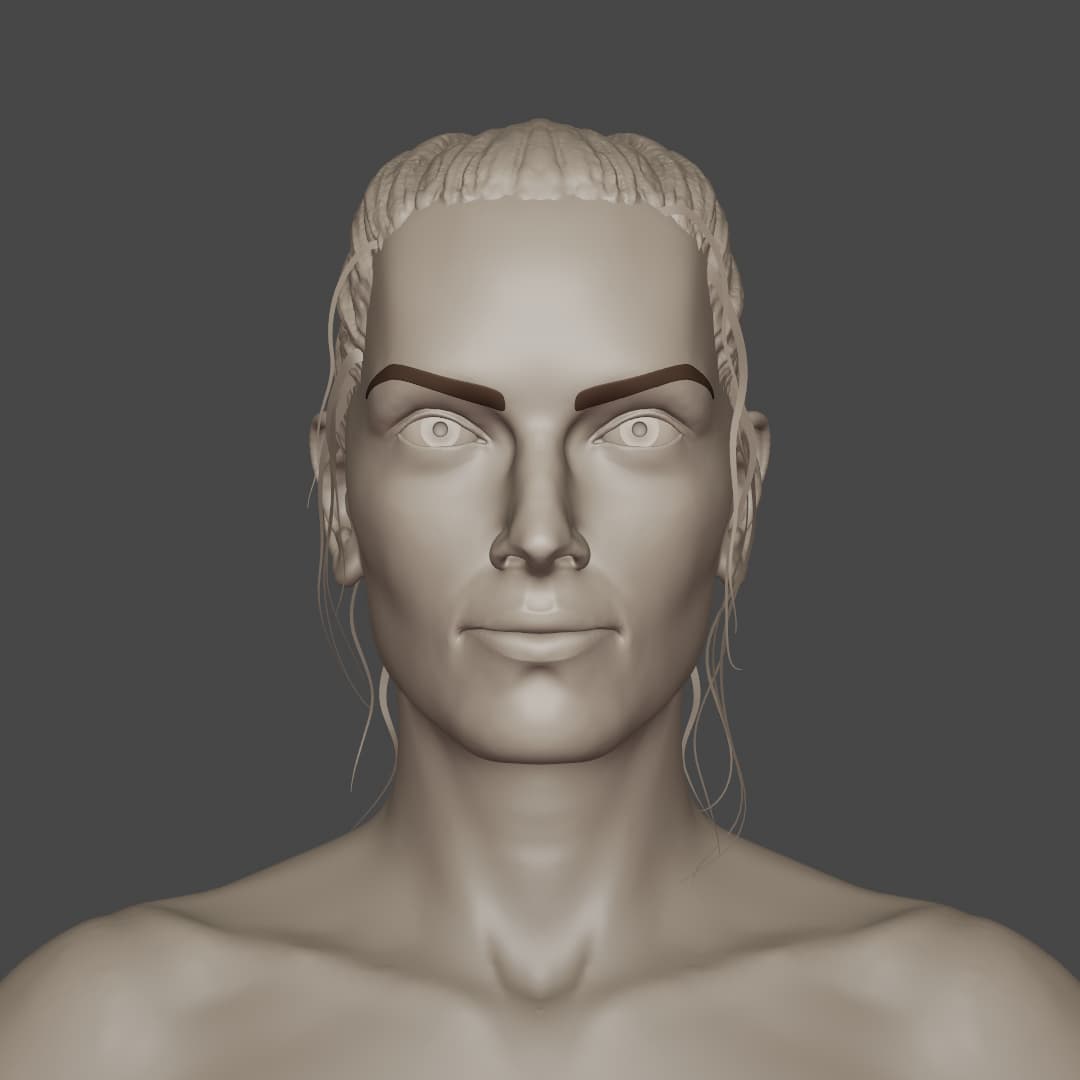
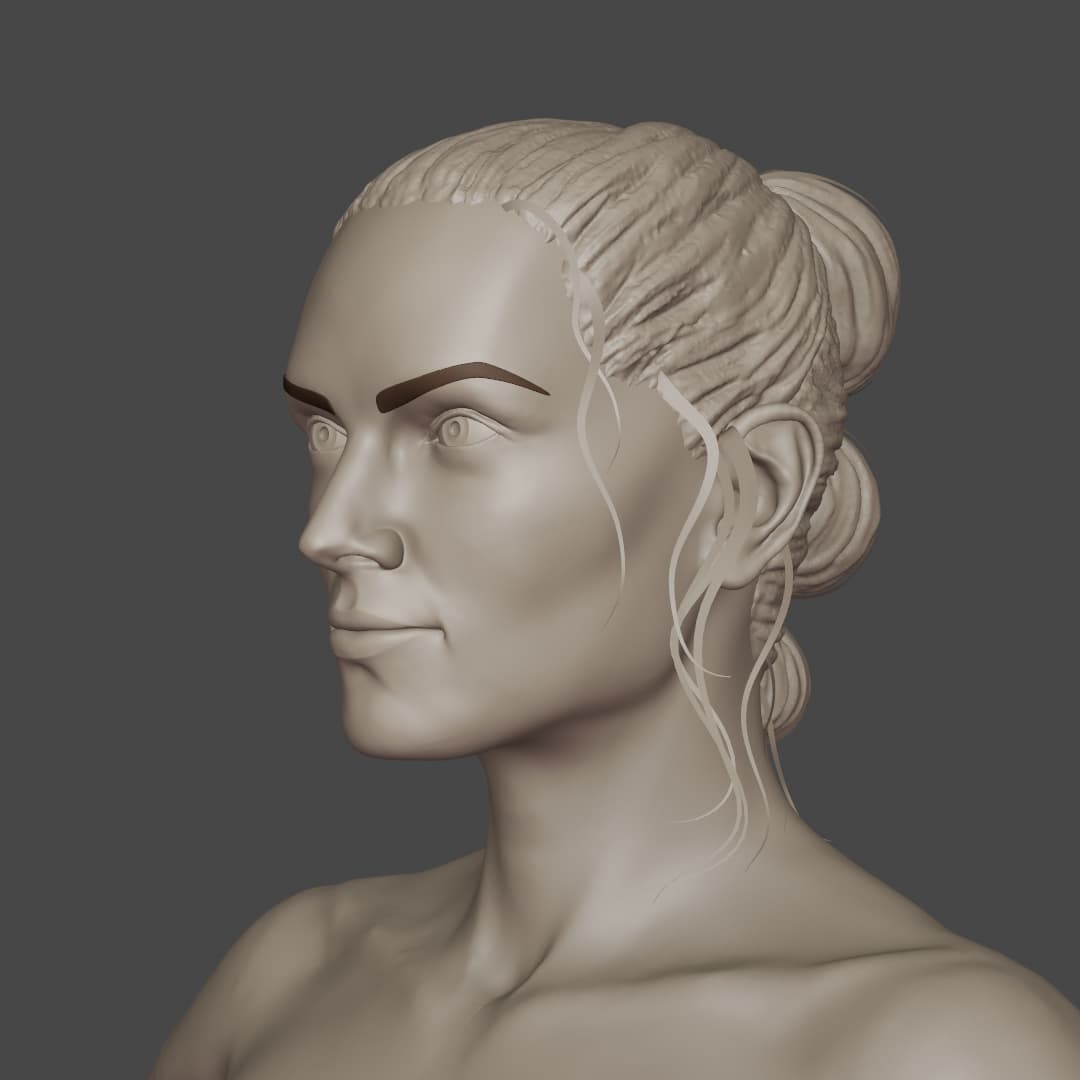
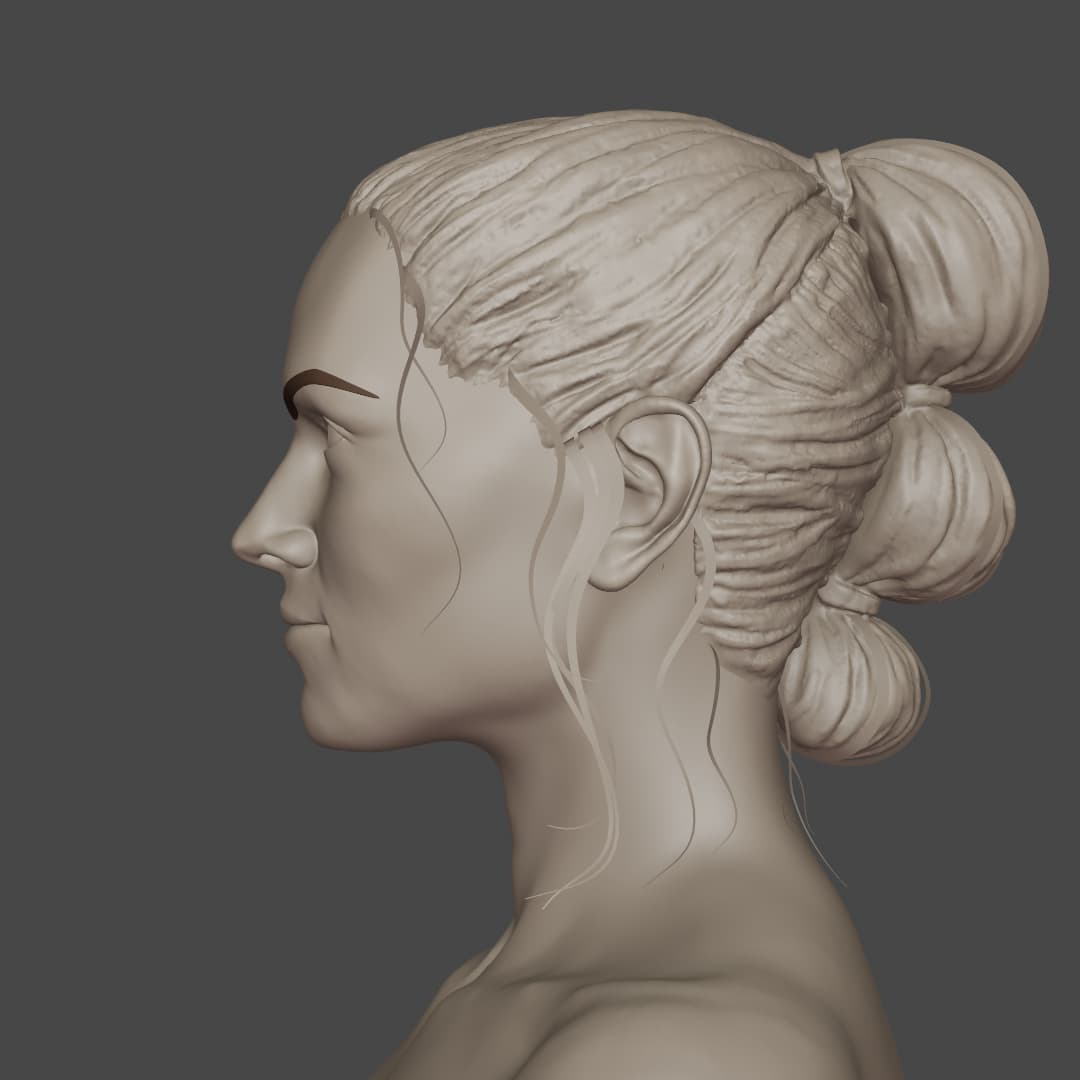
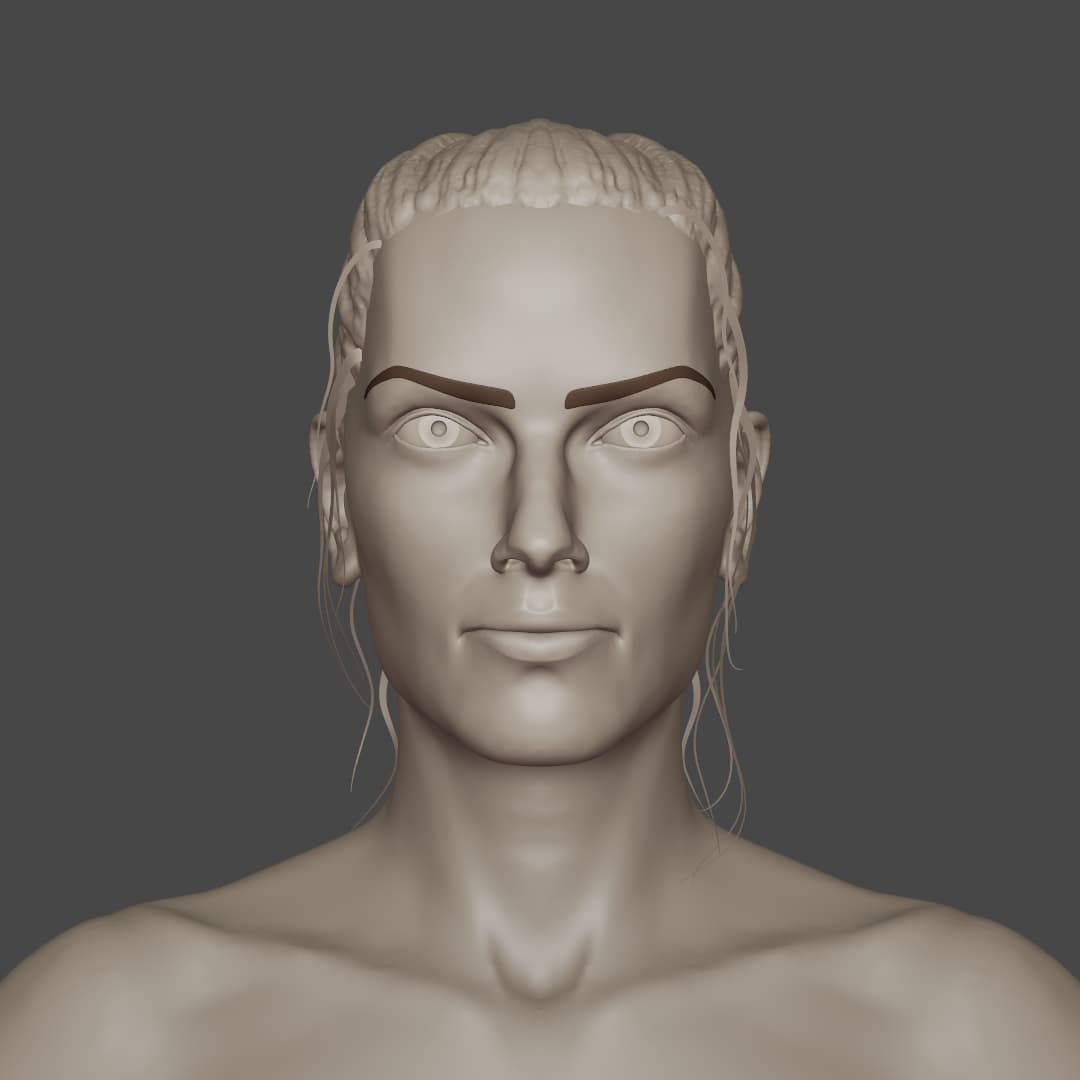
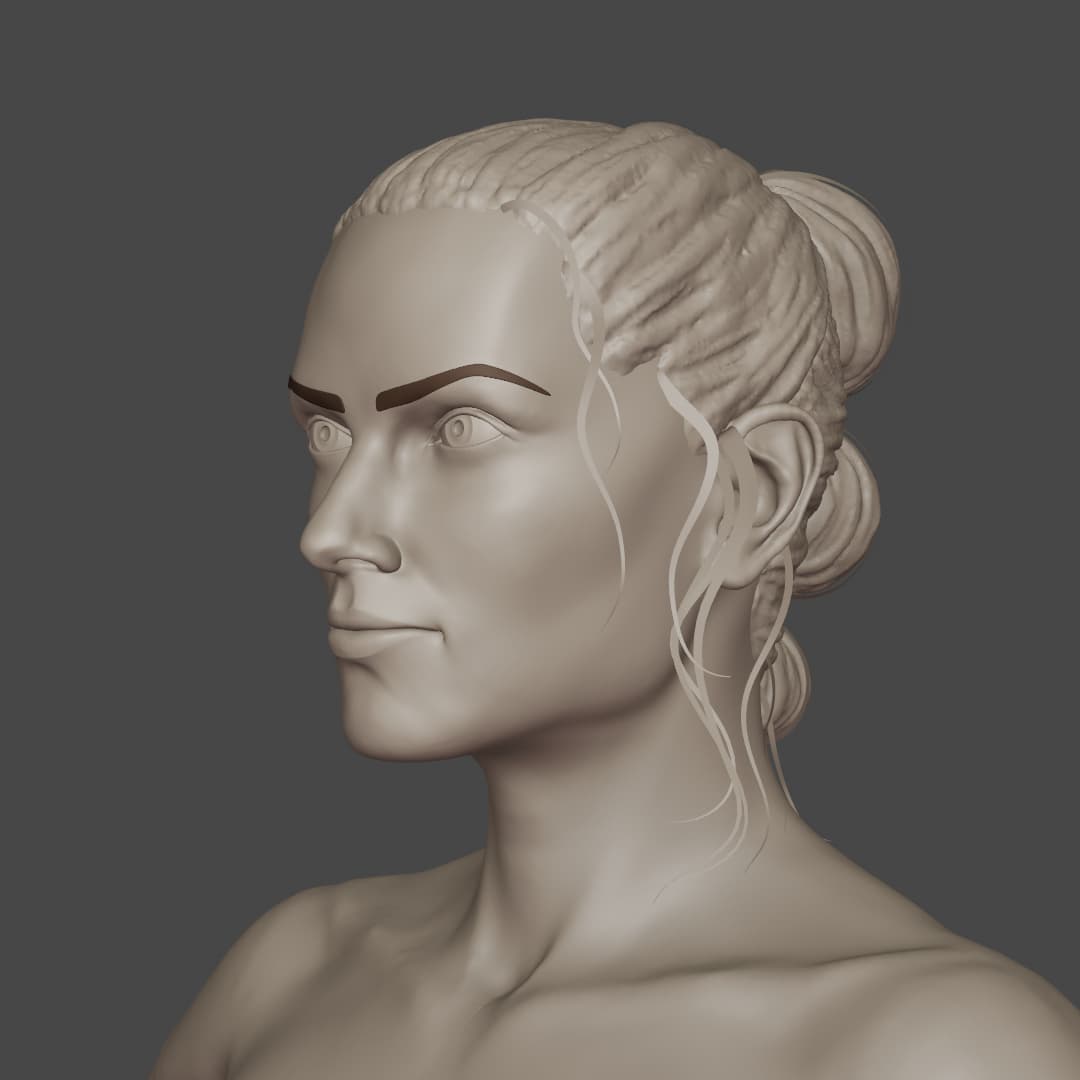
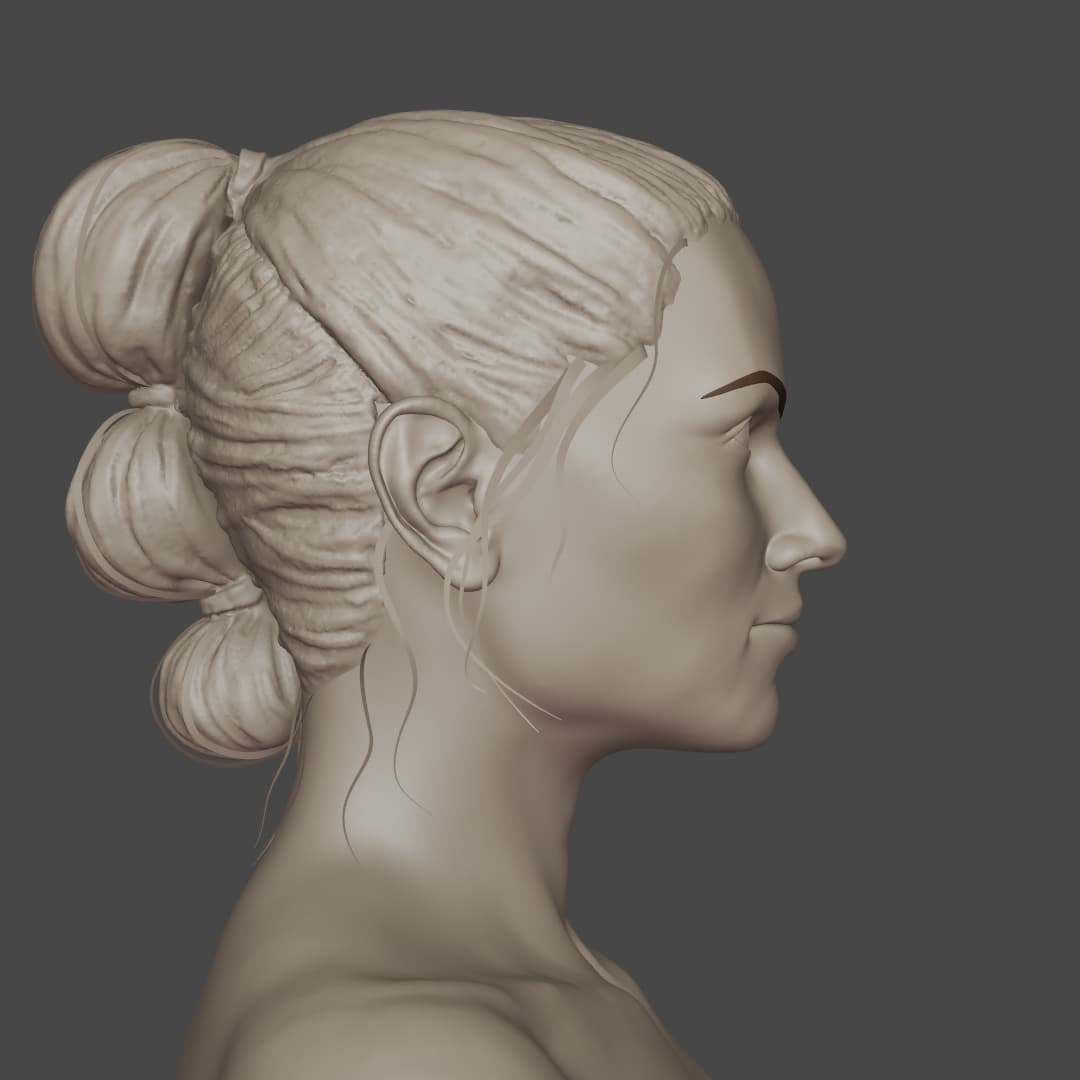
This is supposed to be a likeness sculpt of Daisy Ridley. I’m definitely not done with it and will take any feedback on her. It feels close but something is off still.

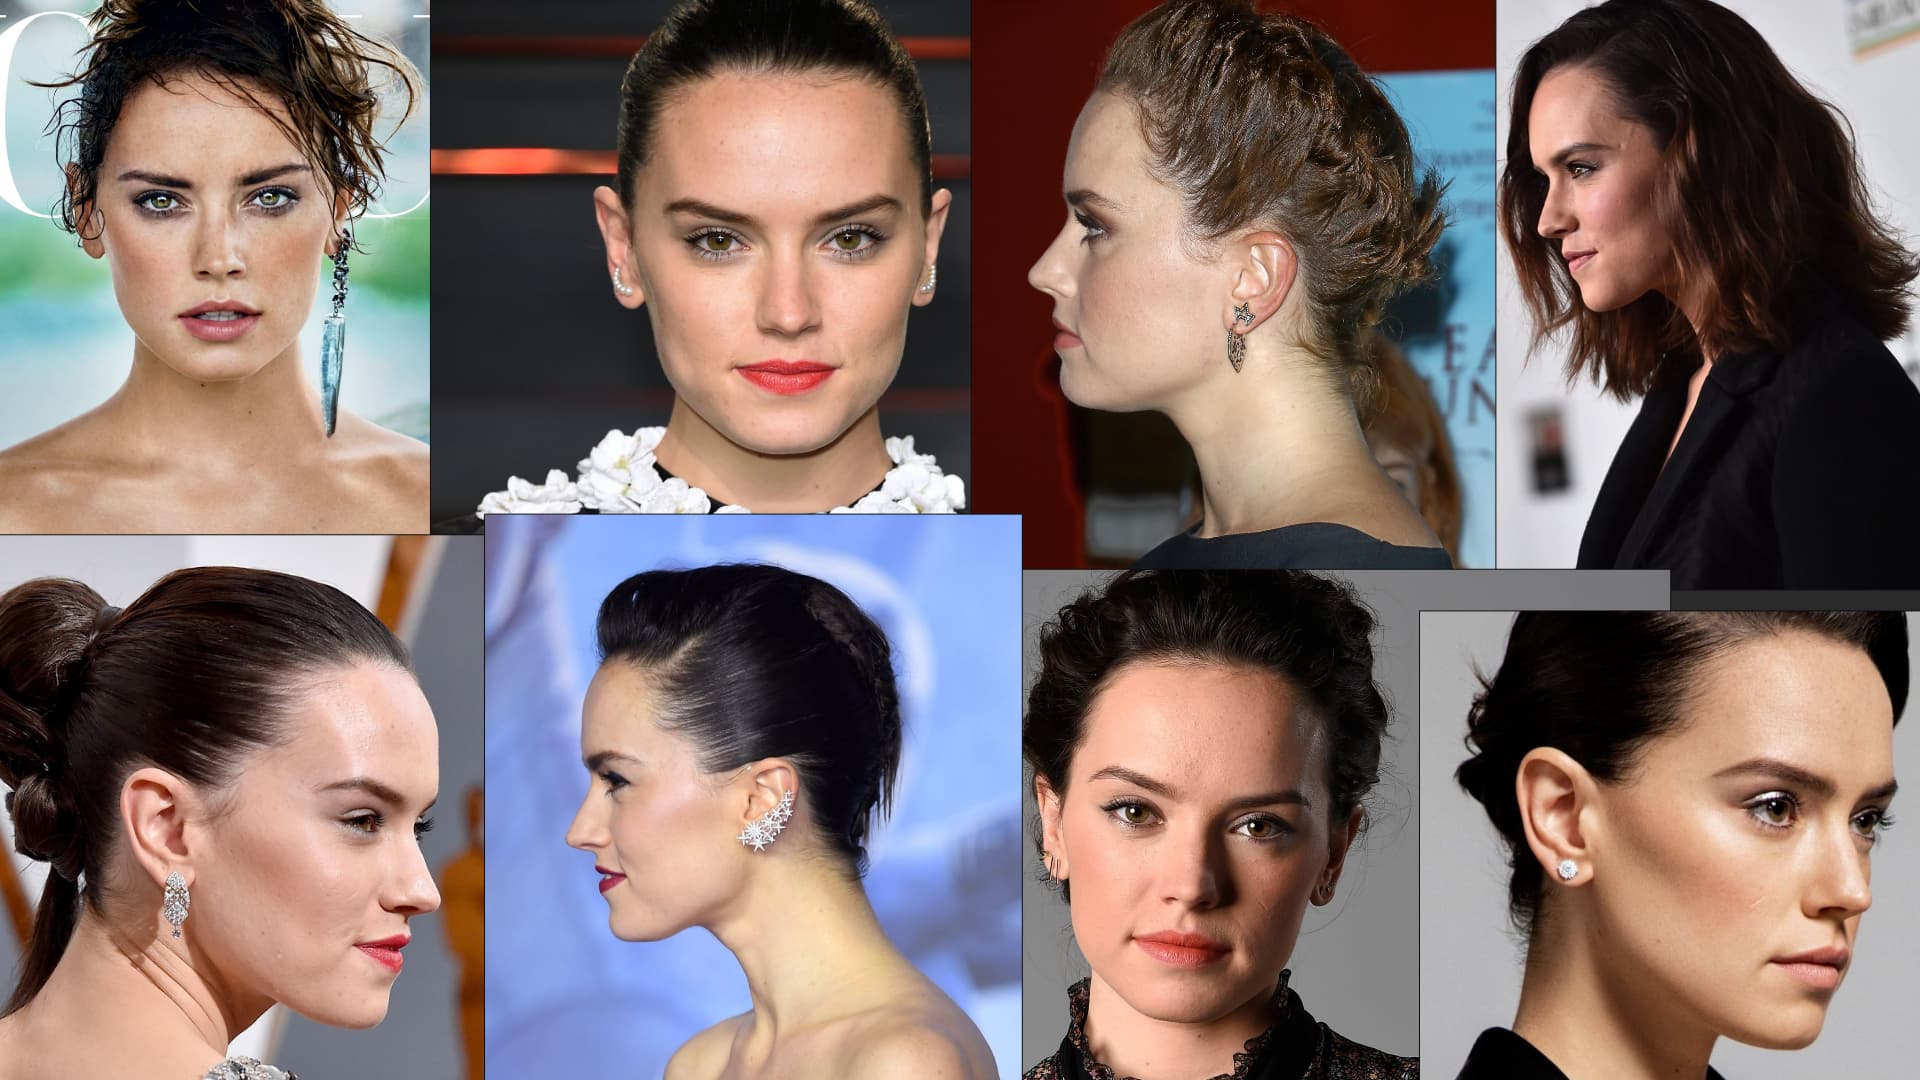
My references:
Hi everyone!
This is supposed to be a likeness sculpt of Daisy Ridley. I’m definitely not done with it and will take any feedback on her. It feels close but something is off still.
My references:
Hi, not a bad start at-all! If I had to guess who it was without the title, I’d be able to guess Daisy, but honestly the hair is the biggest giveaway 
I feel like the eyes might be a little big right now, and the nose and it’s transition to the cheeks seems a little too harsh aswell. But it could just be the perspective doing weird things.
I’d definitely recommend using more references. Try and find neutral expressions, as smiling etc…affects how the reference looks. The best source I find is getty images. I’d also recommend PureRef if you don’t already use it.
I’d also recommend bumping your focal length up to something between the 100-150 range. I often go to 200, but others might say not too. You might even want to sculpt in Orpho, but again, most people will say not too - even though Z-Brush is more or less Orpho and people do just fine with that…
Another useful tip which I’ve used for likeness, is to find a front and side image which you feel best represents the likeness you’re going for (preferably a neutral expression) and then in Photoshop or whatever, do your best to align the front and side view so that they match. What I then do is draw a very simple profile around the key detail, using a bright color - normally blue - and highlight the basic details and outlines. Eyes, Mouth, Nose, Eyebrows, Ears etc…I’ll then save that out as a transparent PNG for both the front and side, and bring that into Blender. You can then add that as a background plane for your front and side view, and because it’s just a transparent outline sketch, it makes lining up key landmarks super simple.
Are the eyes in the right place. Is the mouth or the nose the correct shape etc…You won’t get a perfect likenss just doing that. You need to then rely on observation etc…and that’s where having a bunch of references comes in handy. Different lighting and stuff too can really help show off shapes in cheeks, and around the eyes, etc…
It all depends really on how far you want to go with it. But as I said at the beginning, this is a solid start. Keep going!
Thanks for your feedback @Magnavis!
I just checked out Getty Images and found a ton more references! I use pureRef and love it. Interesting on the focal length. I usually sculpt in 50 to 70mm, trying to keep it similar the the reference images. I can’t imagine sculpting only in ortho as none of my references are ortho.
I’ll keep looking for references!
Thanks again.
Good work, getting a likeness is quite difficult.
I think one of the issues with the focal length that @Magnavis mentioned is that, while you might roughly match the focal length of the viewport with that of the camera used to take the reference pictures, the viewport camera is much closer to her face than the cameras used in the reference, leading to much more foreshortening; the geometry might look closer only if you zoom in while in camera-view i.e. NUMPAD-0?
The face is hard to judge accurately without side-by-side but I think you’re close. One detail I see: while she does have fairly sharp changes in plane on her forehead, I don’t think they’re as sharp as you have modeled; the vertical veins she has on both sides are large enough that they catch highlights and might be exaggerating that effect in the reference.
Hey good work so far,
When i’m doing likness sculpts the most important advice is to sculpt in stages.
First sculpt the biggest shapes like the overall shape of the head, where sits the nose, the eyes and mouth. Find the landmarks on the face and try to get the rough shape right. Trust me if you found the rough shapes aka landmarks on the face your likness will already be fine without doing any detail.
What helps is to start really low poly. With this you are kinda restricted to those big shapes.
Sculpting in evee with lights helps alot too, this way you can match up your references better and find the shadow shapes.
If you have these shapes right you can go a bit more detailed like the finer shapes of the eyes, nose and so on. And then fine as pores and small wrinkles but these two stages should just be the cherry on the cake as final polish.
And like smws said the camera can trick your view. If you set your camera FOV to 80 - 85 you are most of the time good to go.These reference pictures are mostly taken far away with high FOV
I’m not the best sculpter myself nor did this help you with this specific sculpt but maybe as general advice on liknessculpting itself.
And dont stick too long on a head, if my sculpt doenst look like it should after 2 or 3 hours i delete it and start new. This way you are often times way faster. Sometimes you maybe sculpt for 2 or 3 days on the same head but if you would have started fresh, your 3rd attempt will be the final and it has cost you maybe 5 to 6 hours.
Hope that helps in any way
o wow you know your share of expertise
to find big forms that are 95 % close is hard for the best sculptors in the world from comparission
you need an good workflow to get the forms not lets do this in 2 days
it can take 2 years to go trough all the errors for yor brain to catch what is real locking and what cant be right .
this can be helped with good reference and good matching of the modell on top of the image (if you learn this process right it takes one year maybe to do good big shapes)
then its the nose and eyes that can break an likeness when you rotate the head
eyes took me 2 years to understand on 6 different heads ,try to sculpt sophie turners eyes or lizzie olsens eyes and you are in for some long and frustrating jurney