I didn’t take any images of the first couple of days, because I wasn’t sure if it worth to show them.
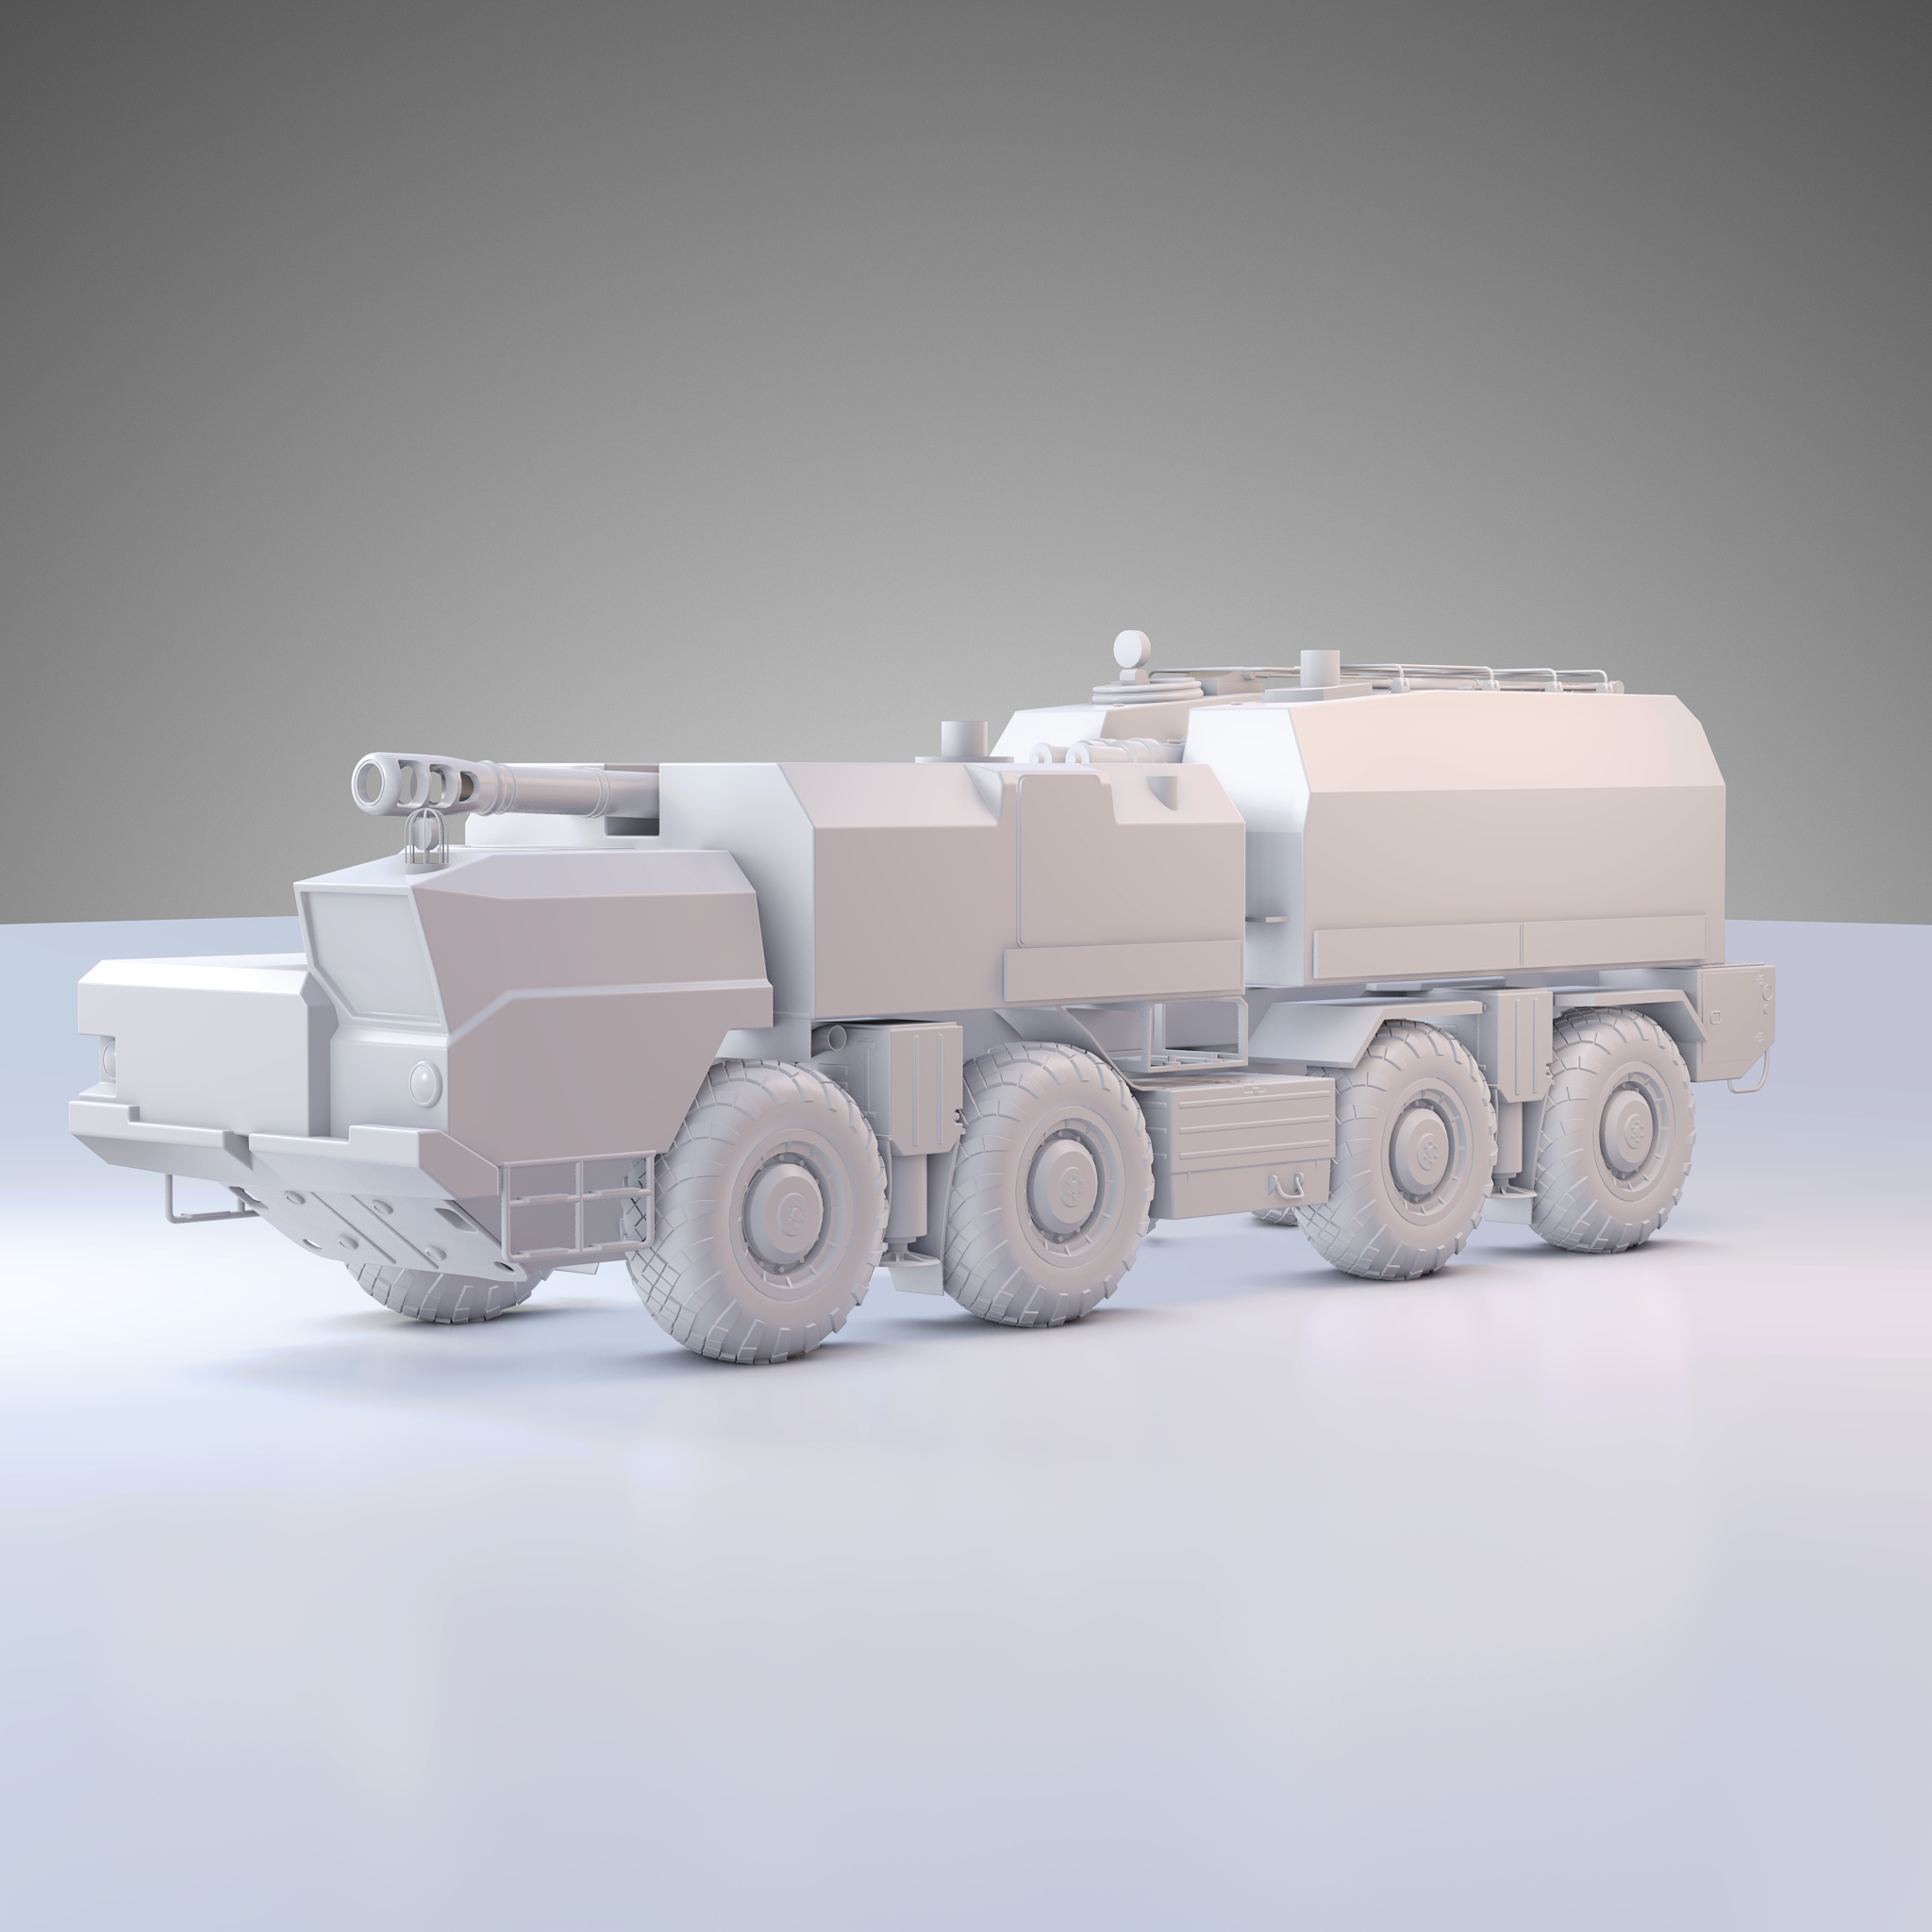
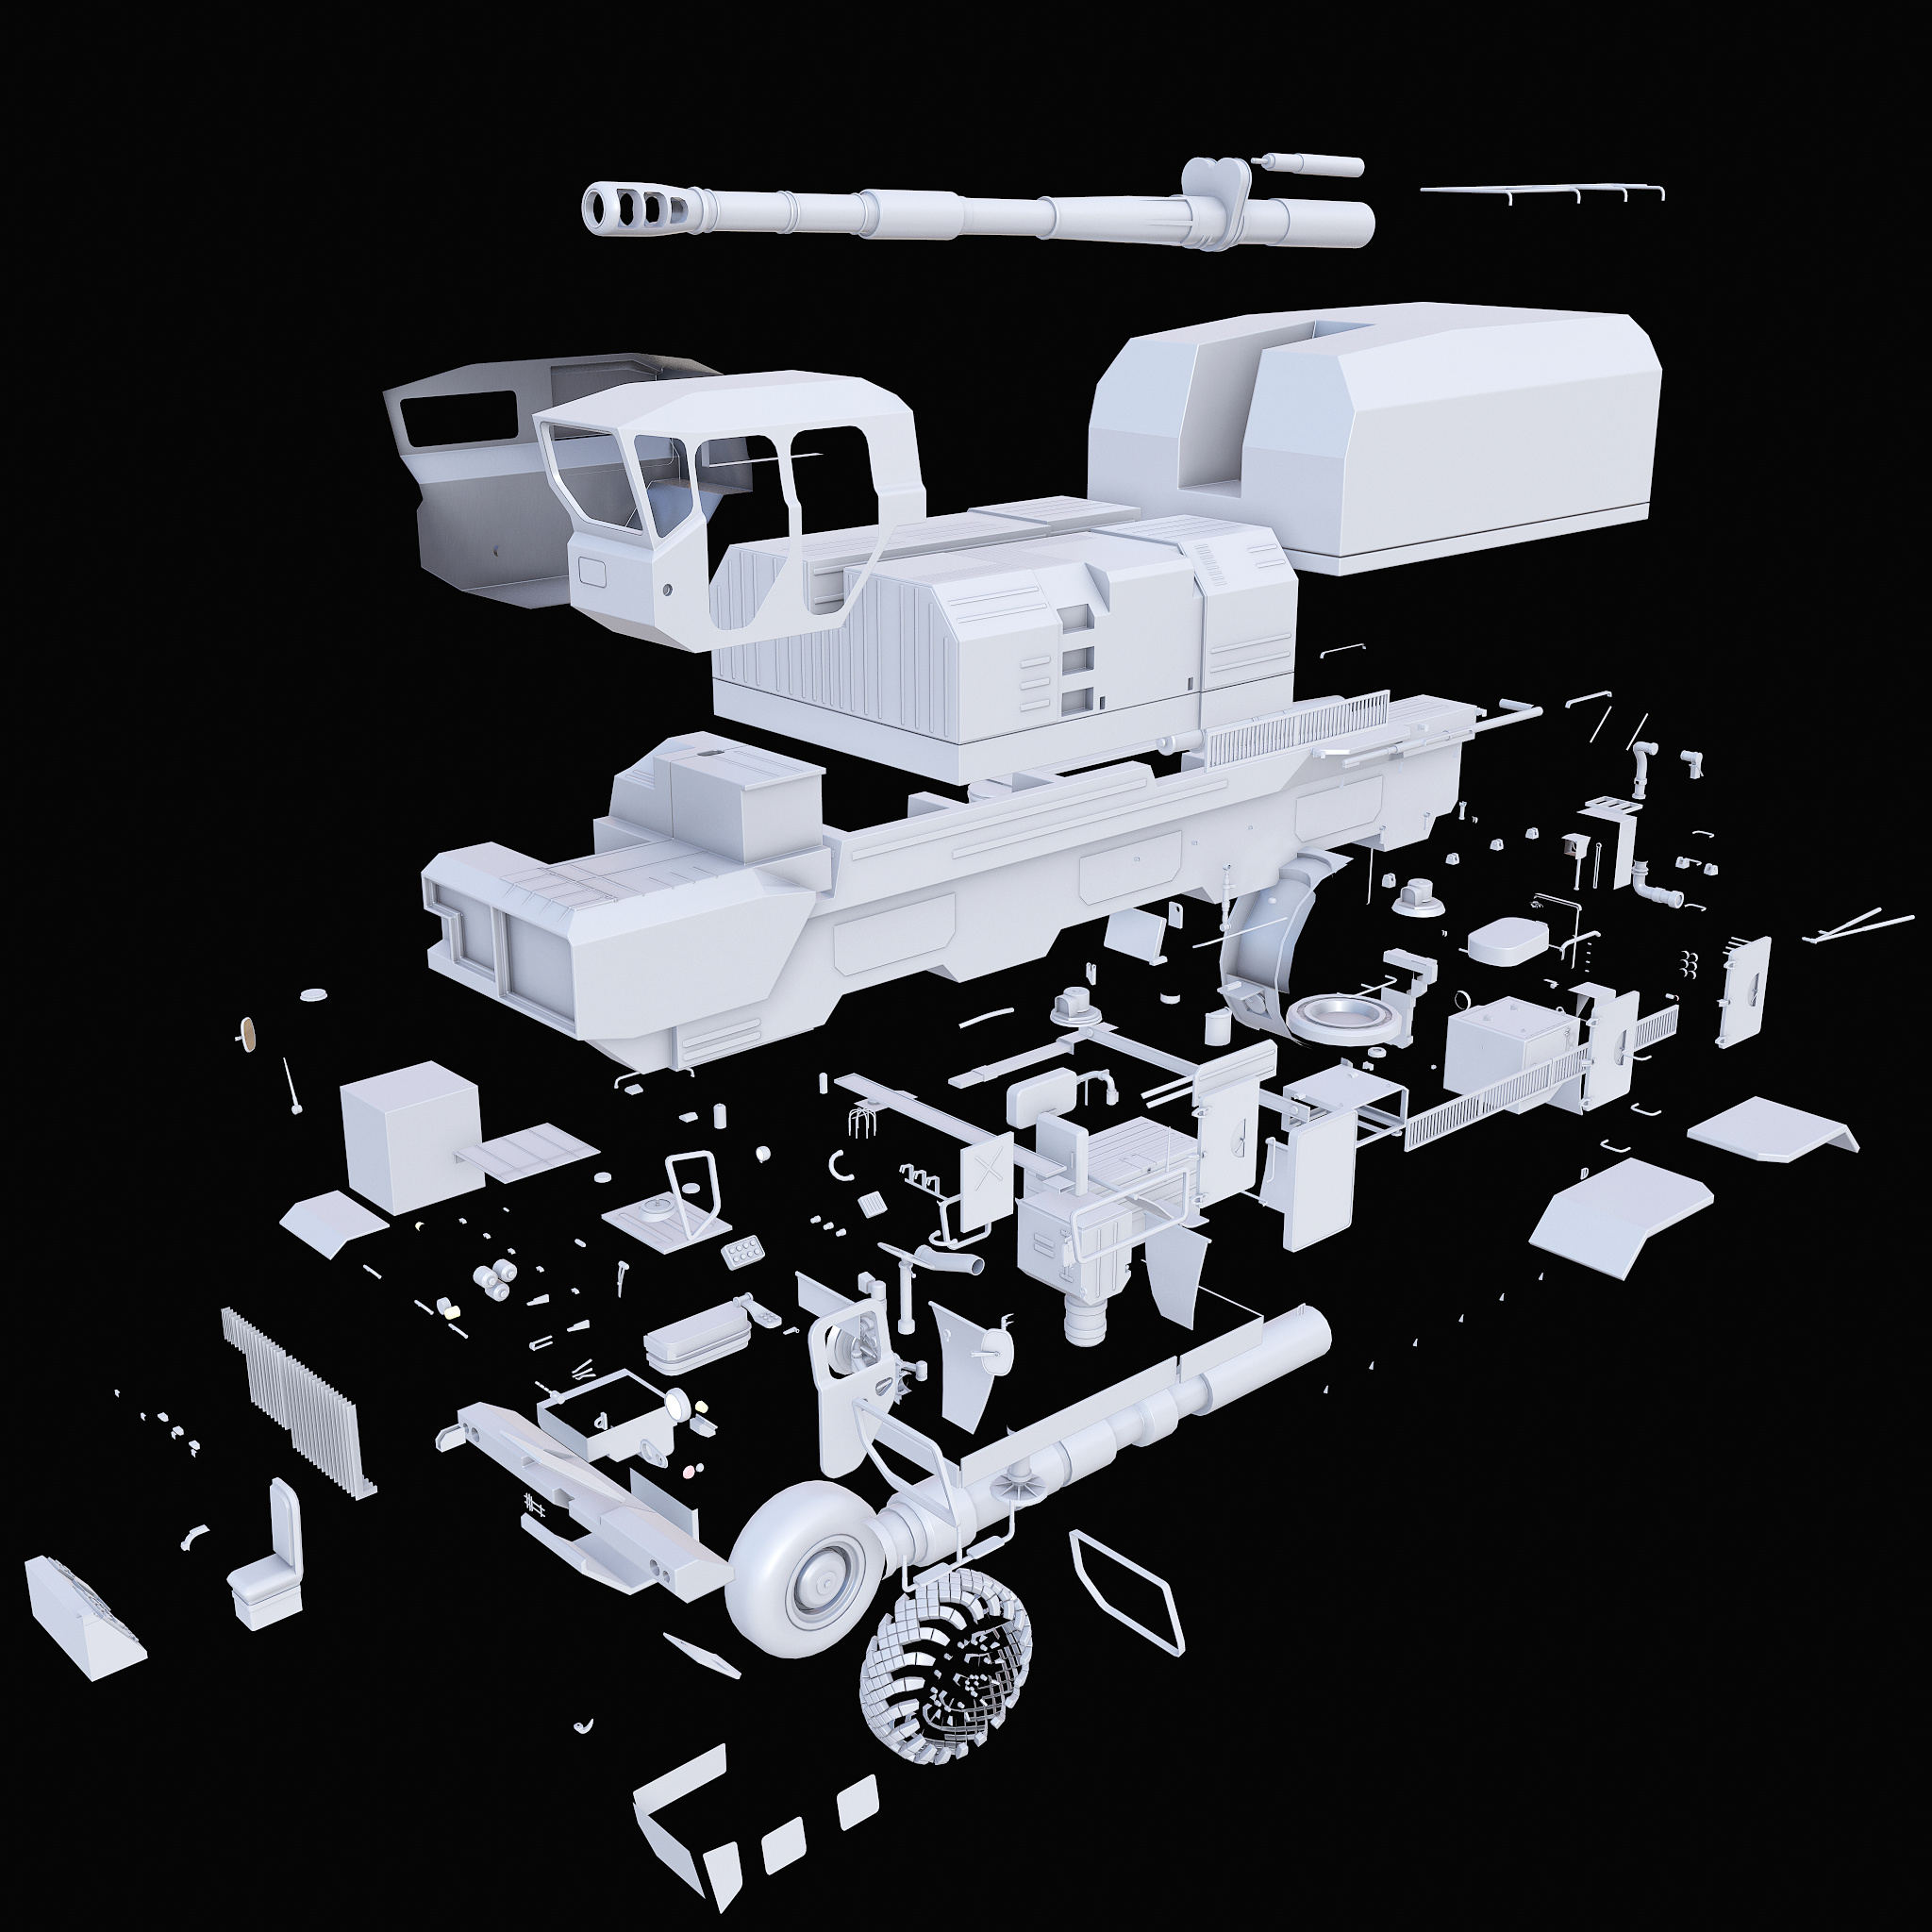
Currently, I’m working on a high poly model. Lots of things need to be done, but at least I modeled main shapes and started to add more details to them.
Day 5.
Completed middle section. Next is a driver’s cabin.
Have an idea to make the whole vehicle modular, because on this chassis (MAZ-543) created a lot of vehicles, so it would be nice to swap artillery to rockets or change driver’s cabin (or maybe add some crazy sci-fi modifications). Collections in Blender 2.8 makes this possible because now each huge component (like the whole turret) now exists in separate collections and I can easily export them, duplicate to make a high poly/game ready version or hide them.
Today I opened a new little trick for myself. Usually, I’m adding bevel modifier before subdiv modifier to save mesh form instead of putting a lot of edge loops (hello, Maya LT). But there is another way to achieve the same result plus add additional polishing effect. All you need to do is to add creases on all required edges, add subdiv modifier and then bevel modifier. Sounds like just swapping two modifiers, but it will help to save a lot of time, required to migrate asset to ZBrush, dynamesh and polish it when you can’t achieve the same effect in a reasonable time with poly modeling in Blender (especially with complex booleans and curved surfaces). This method, however, not works every time and depends on the mesh topology after subdiv with creases and you need to tune the amount of bevels/subdivs to achieve the required result.
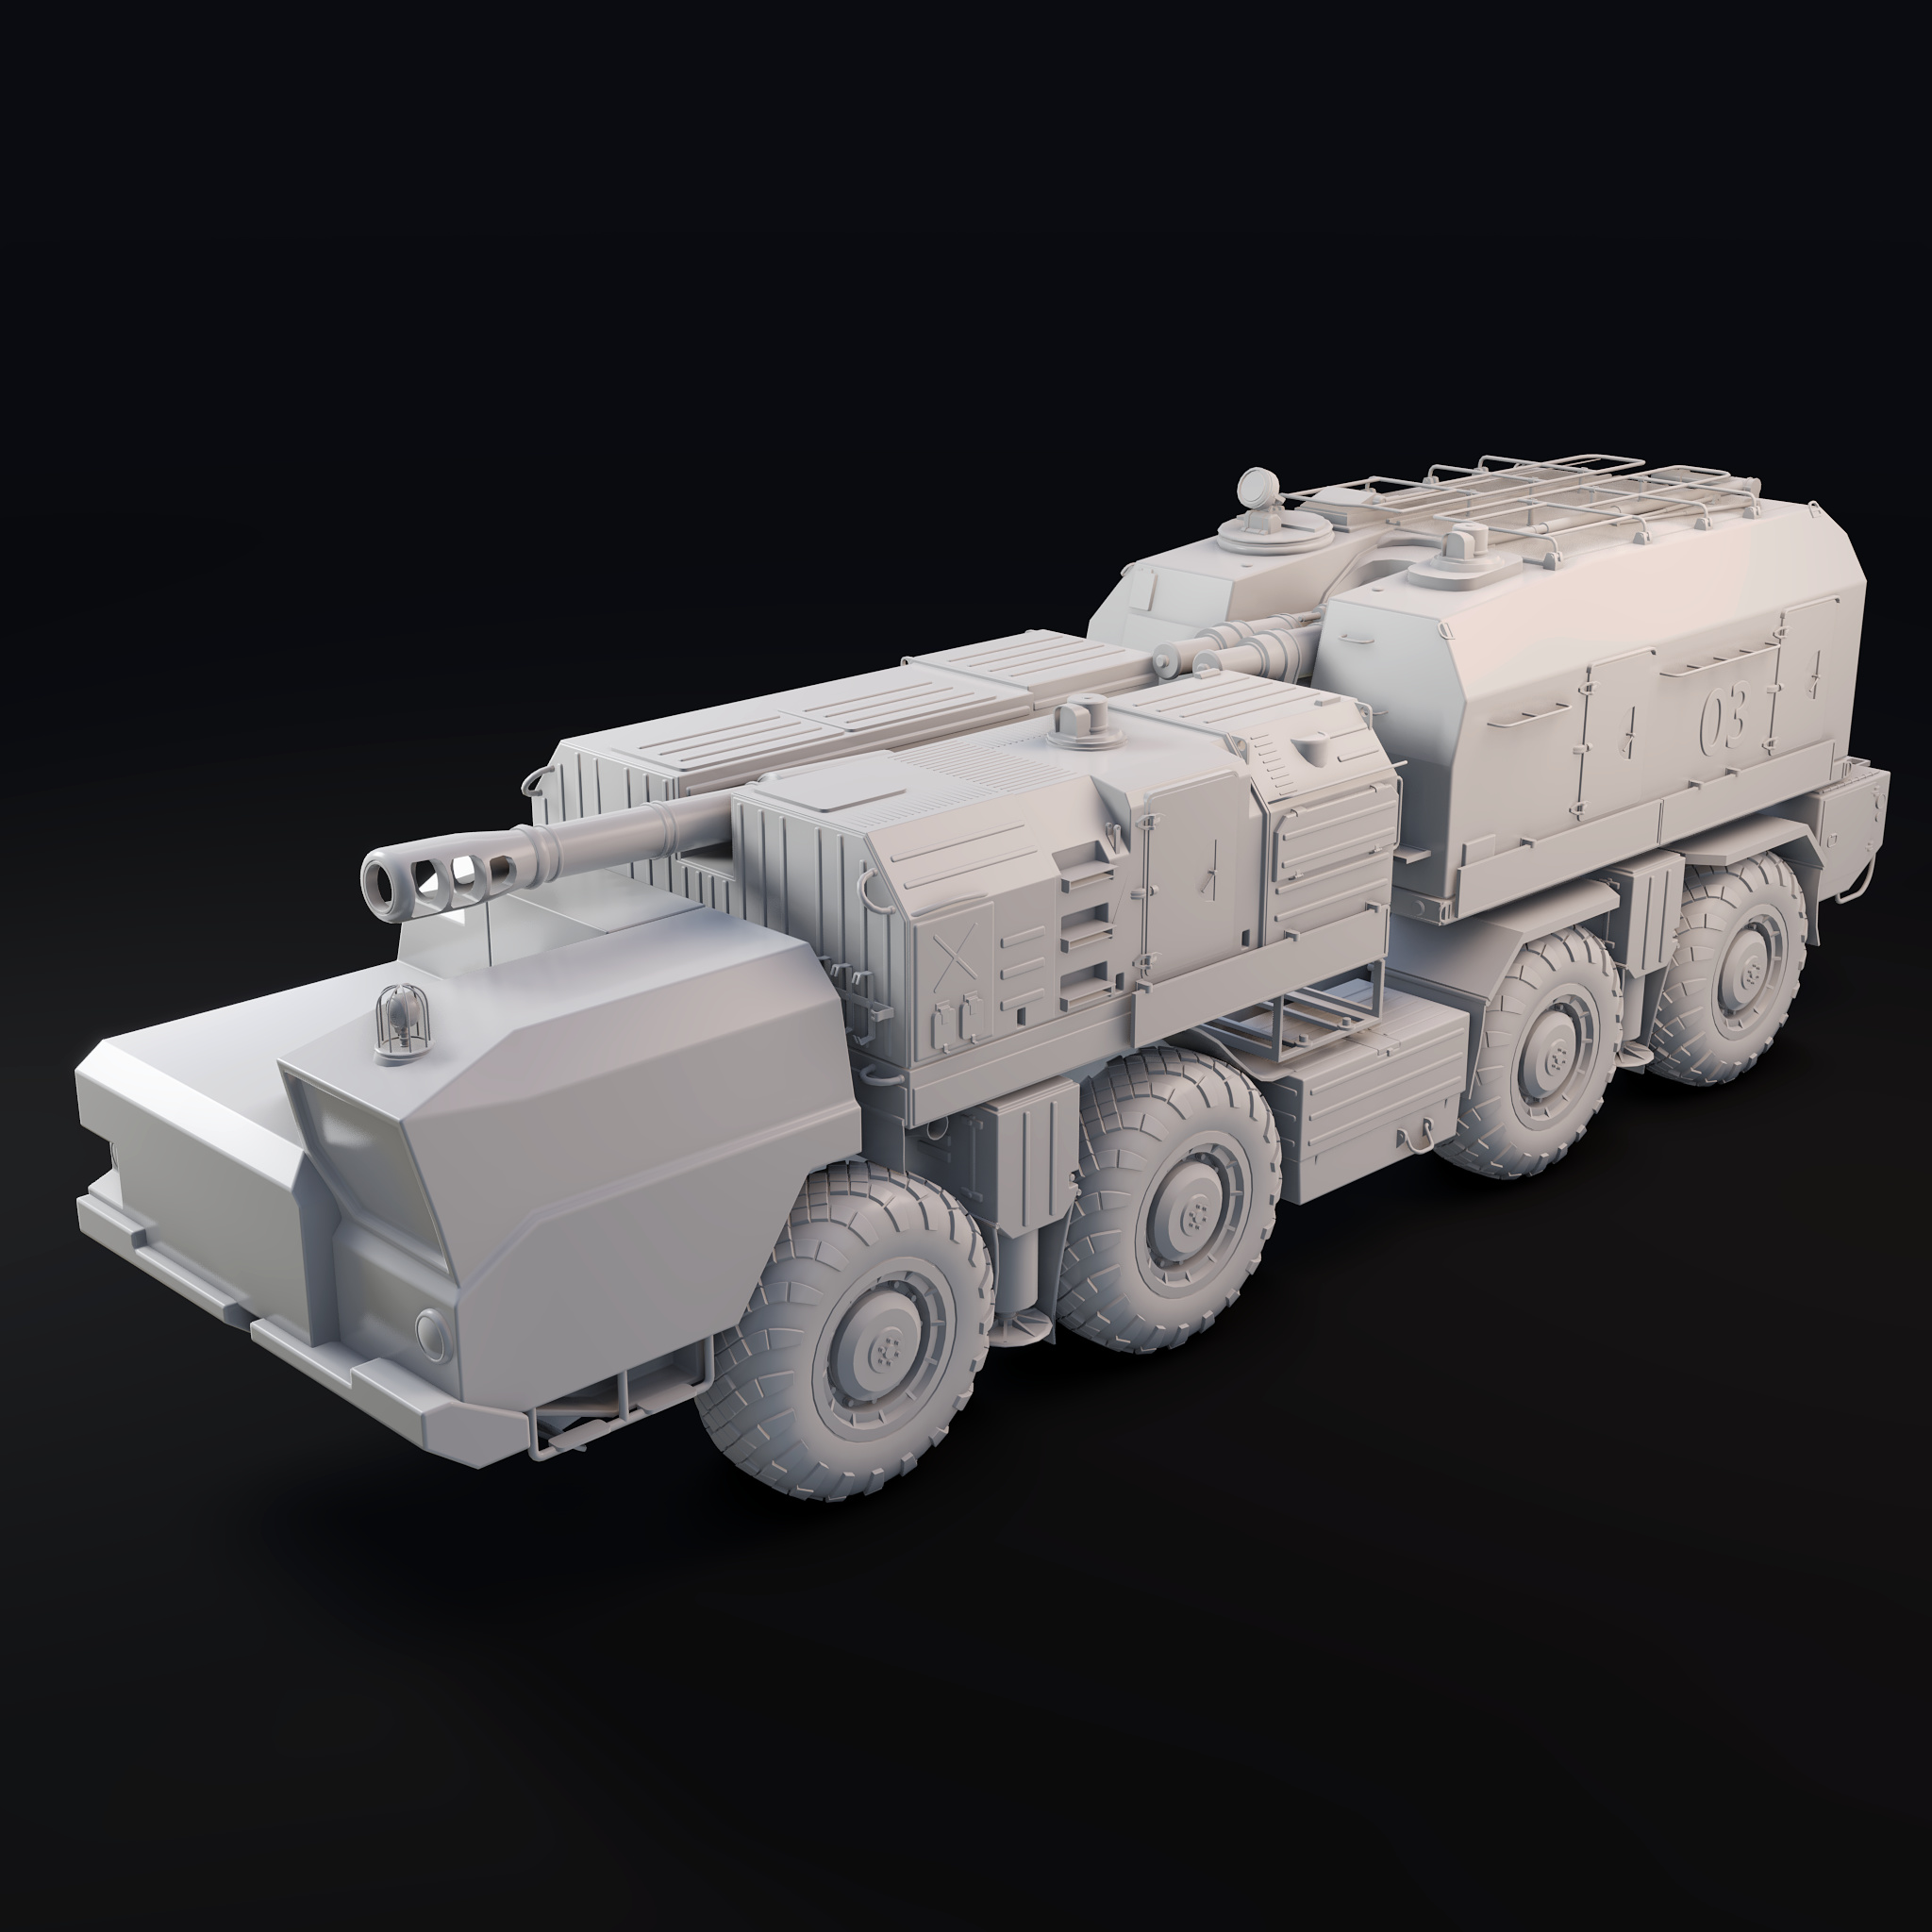
That was a tough day. Around 16 hours of modeling, but I finally finished the driver’s cabin and chassis.
Next goal is to polish all pieces and split model into two variants: high poly with Subdivs and game ready model. Then make UV, explode all parts and bake normal/curvature/ao/etc maps.
It probably will take a couple of days and after that, I can start doing texturing.
That’s a nice looking vehicle. I will try to play around with your method of using creases, sub-divided surfaces and bevel modifiers. I’ve never thought of softening edges that way.
Thanks. No, I just wanted to make military vehicle from a real world, then used Pinterest to collect a bunch of vehicle pictures, then selected this vehicle for further development, collected more reference images and started to modeling.
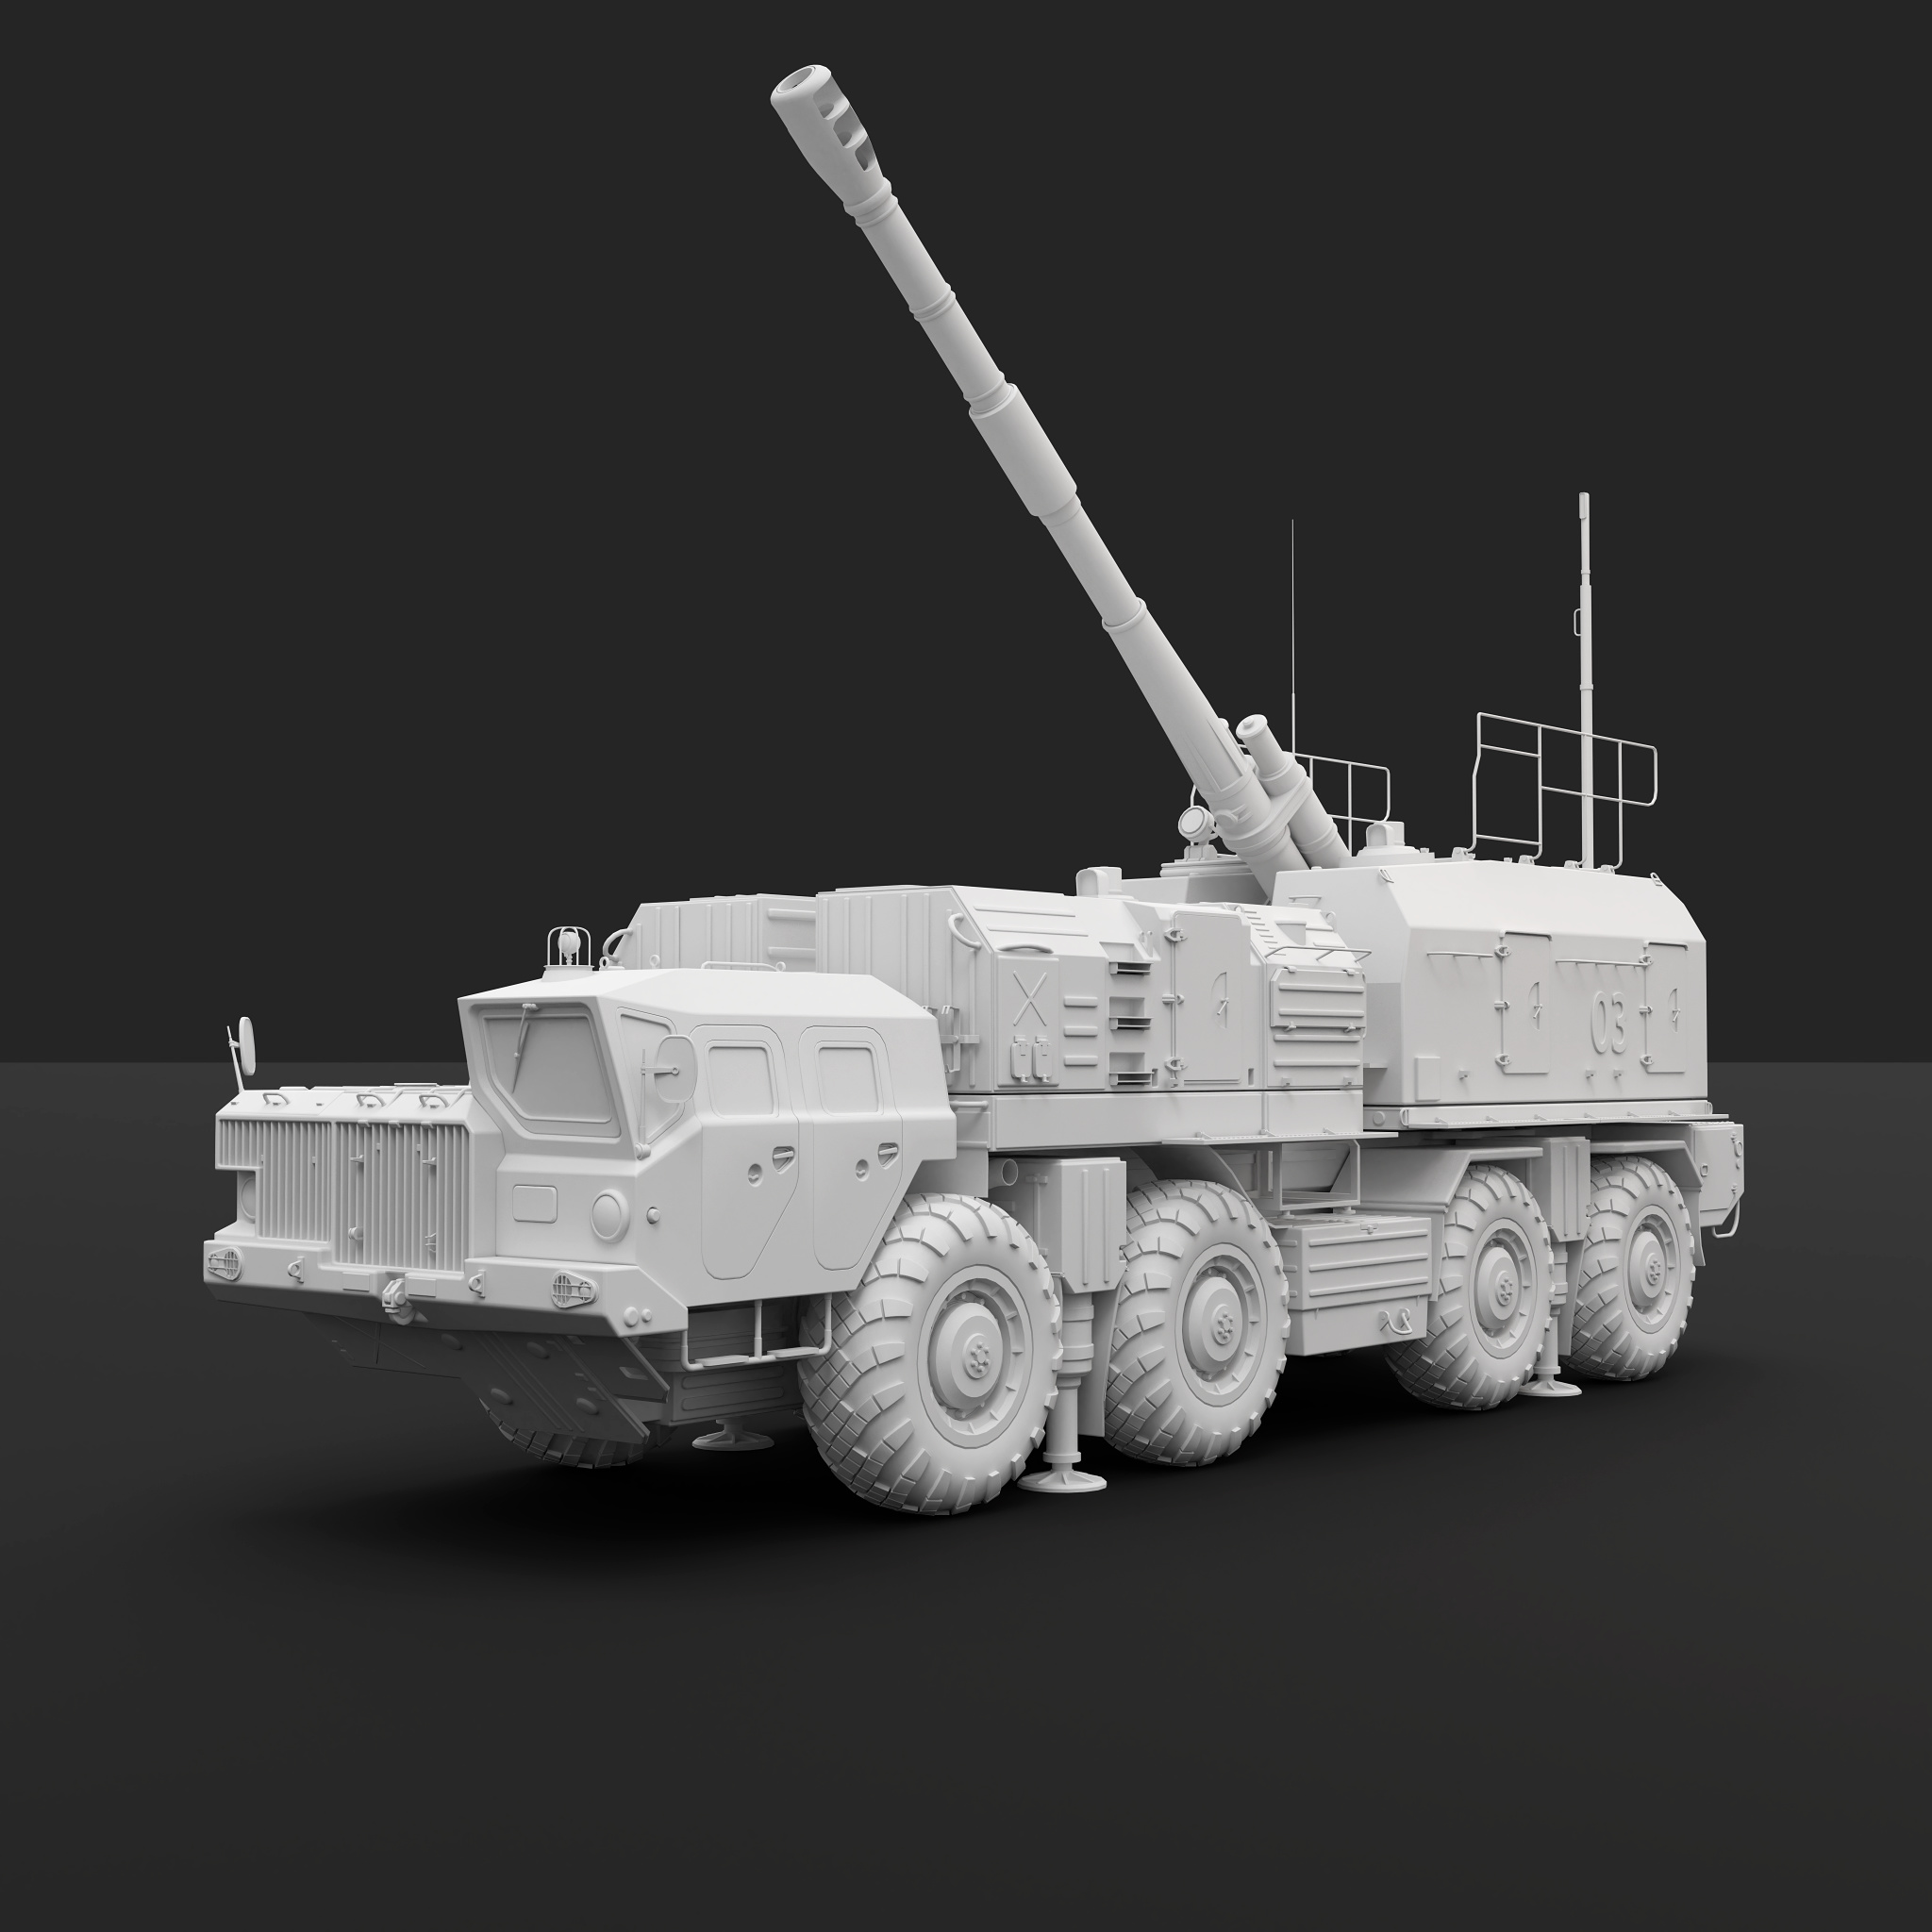
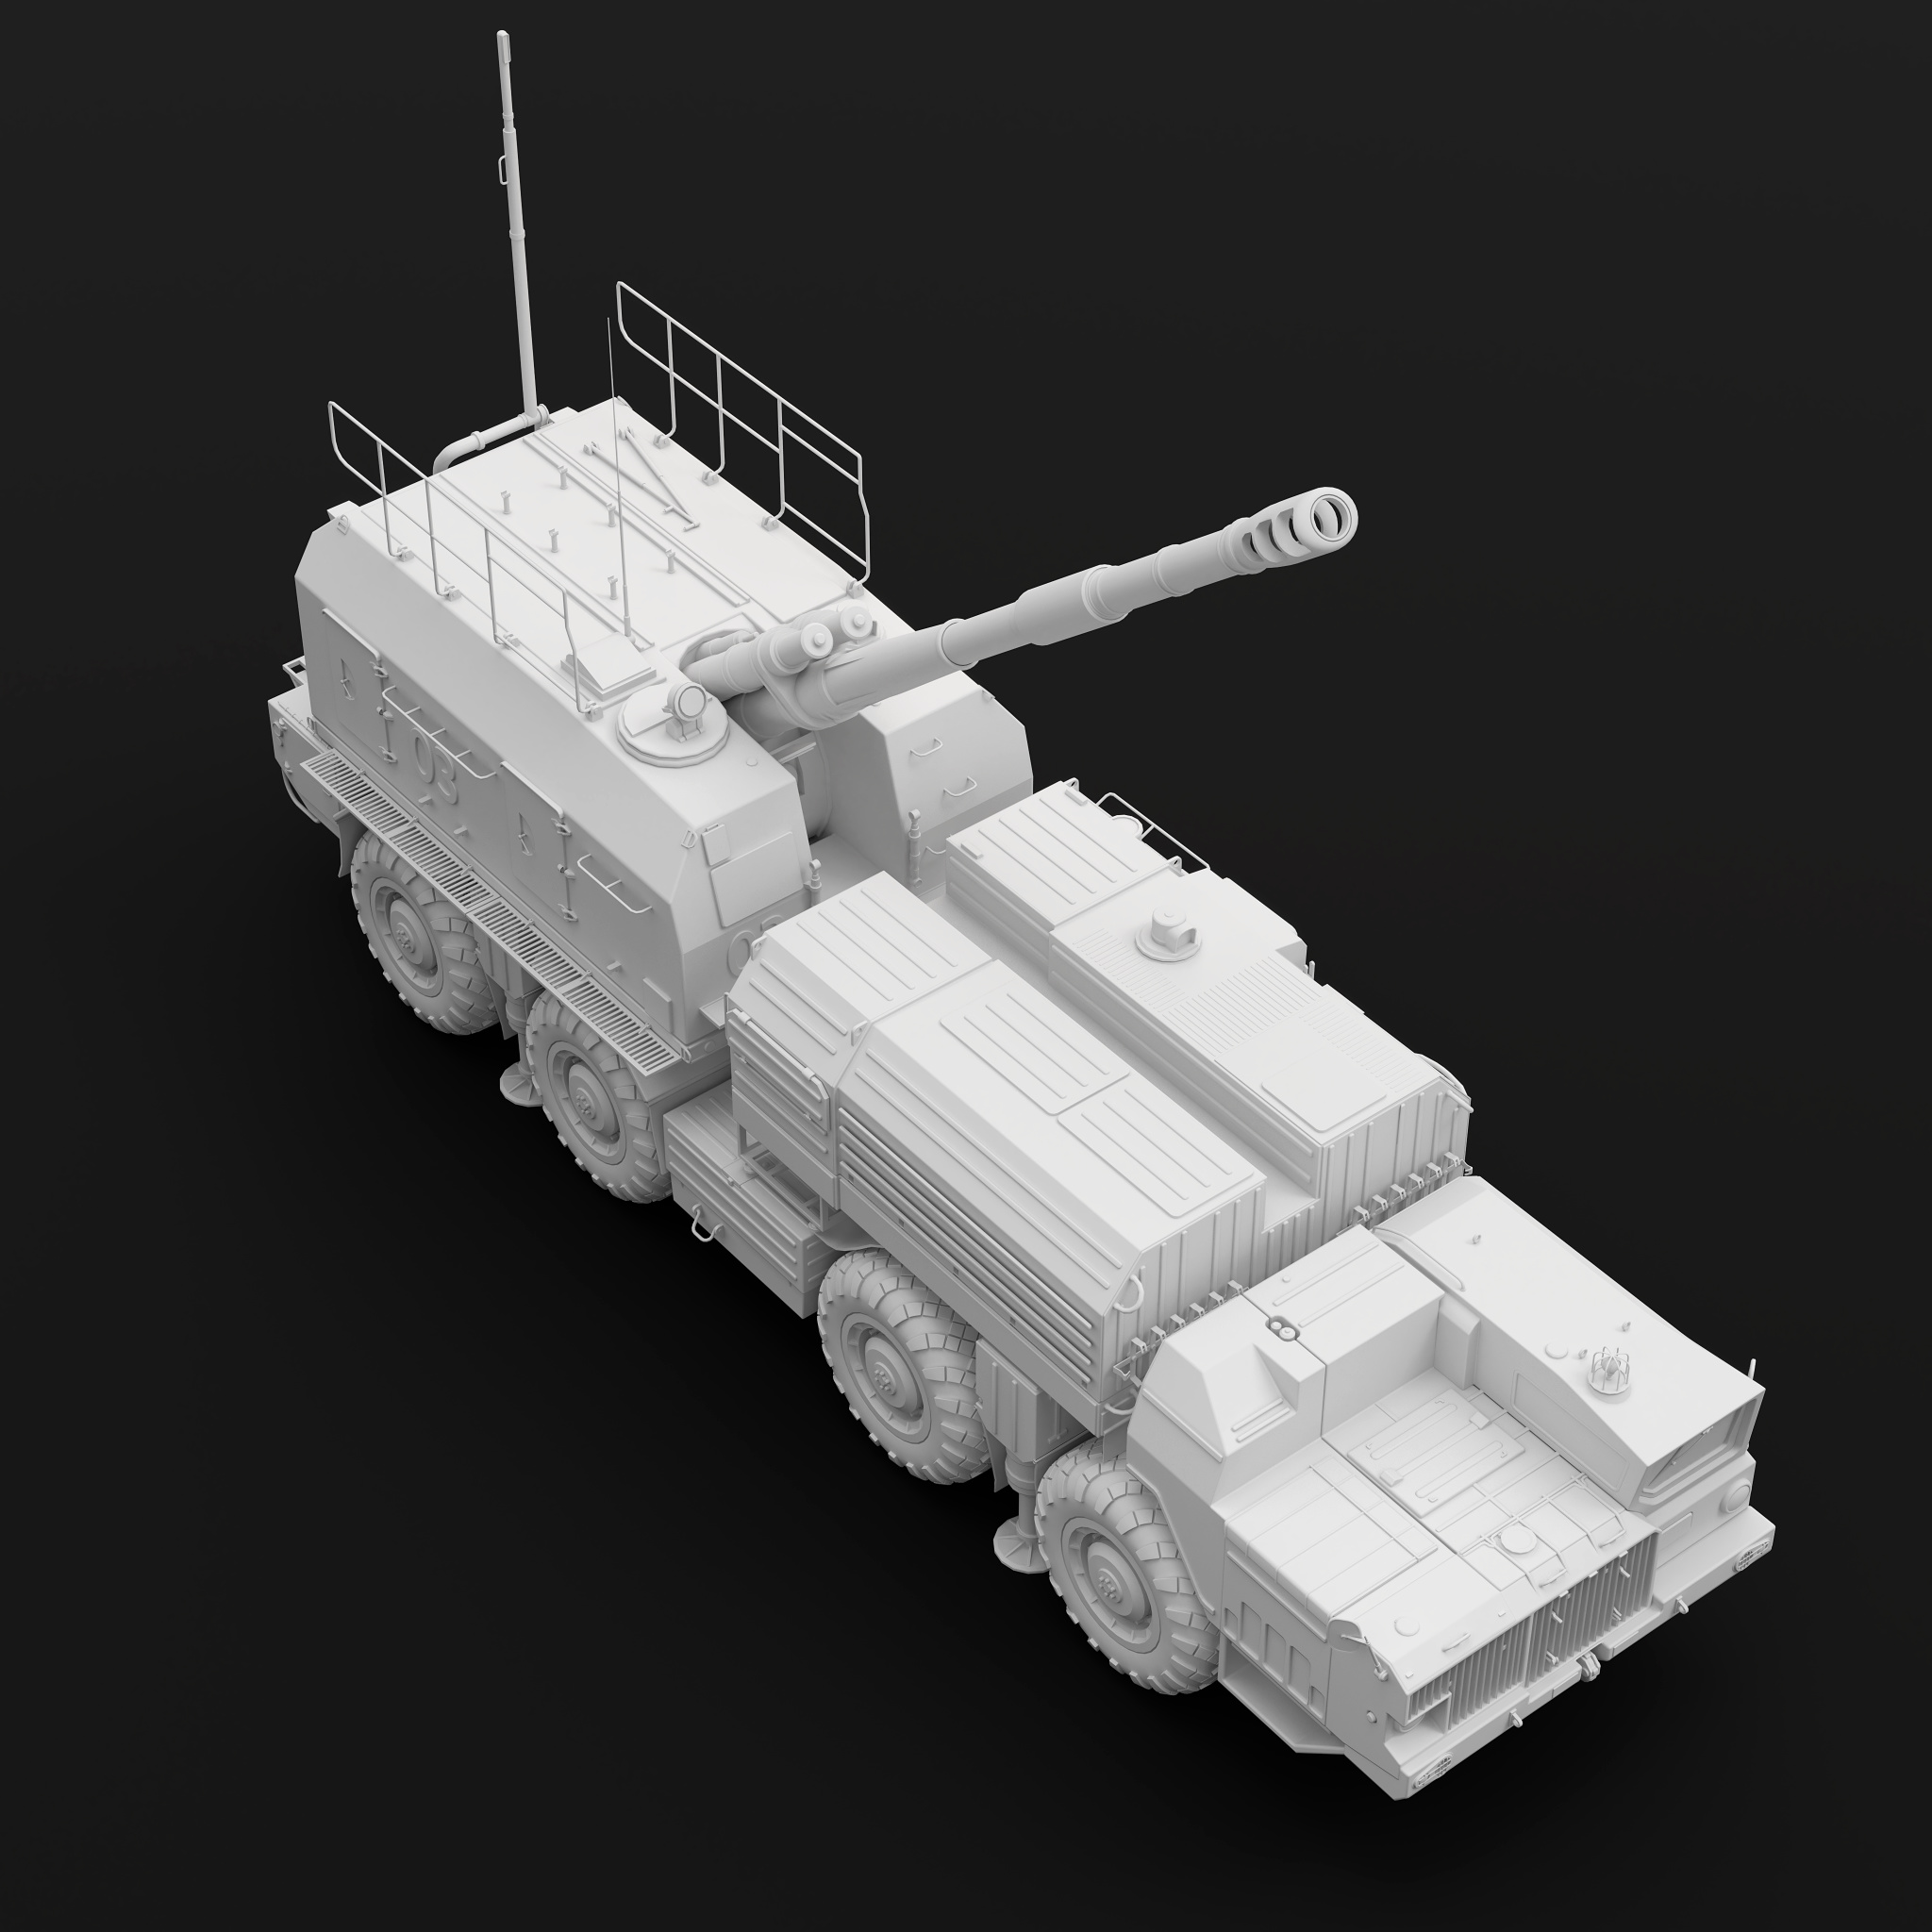
Polishing - done. Simple cabin interior - done. High poly - done. Game ready with UV - done. Almost completed baking. Probably need another one day.
Really boring days with a monotonous work of processing hundreds of meshes.
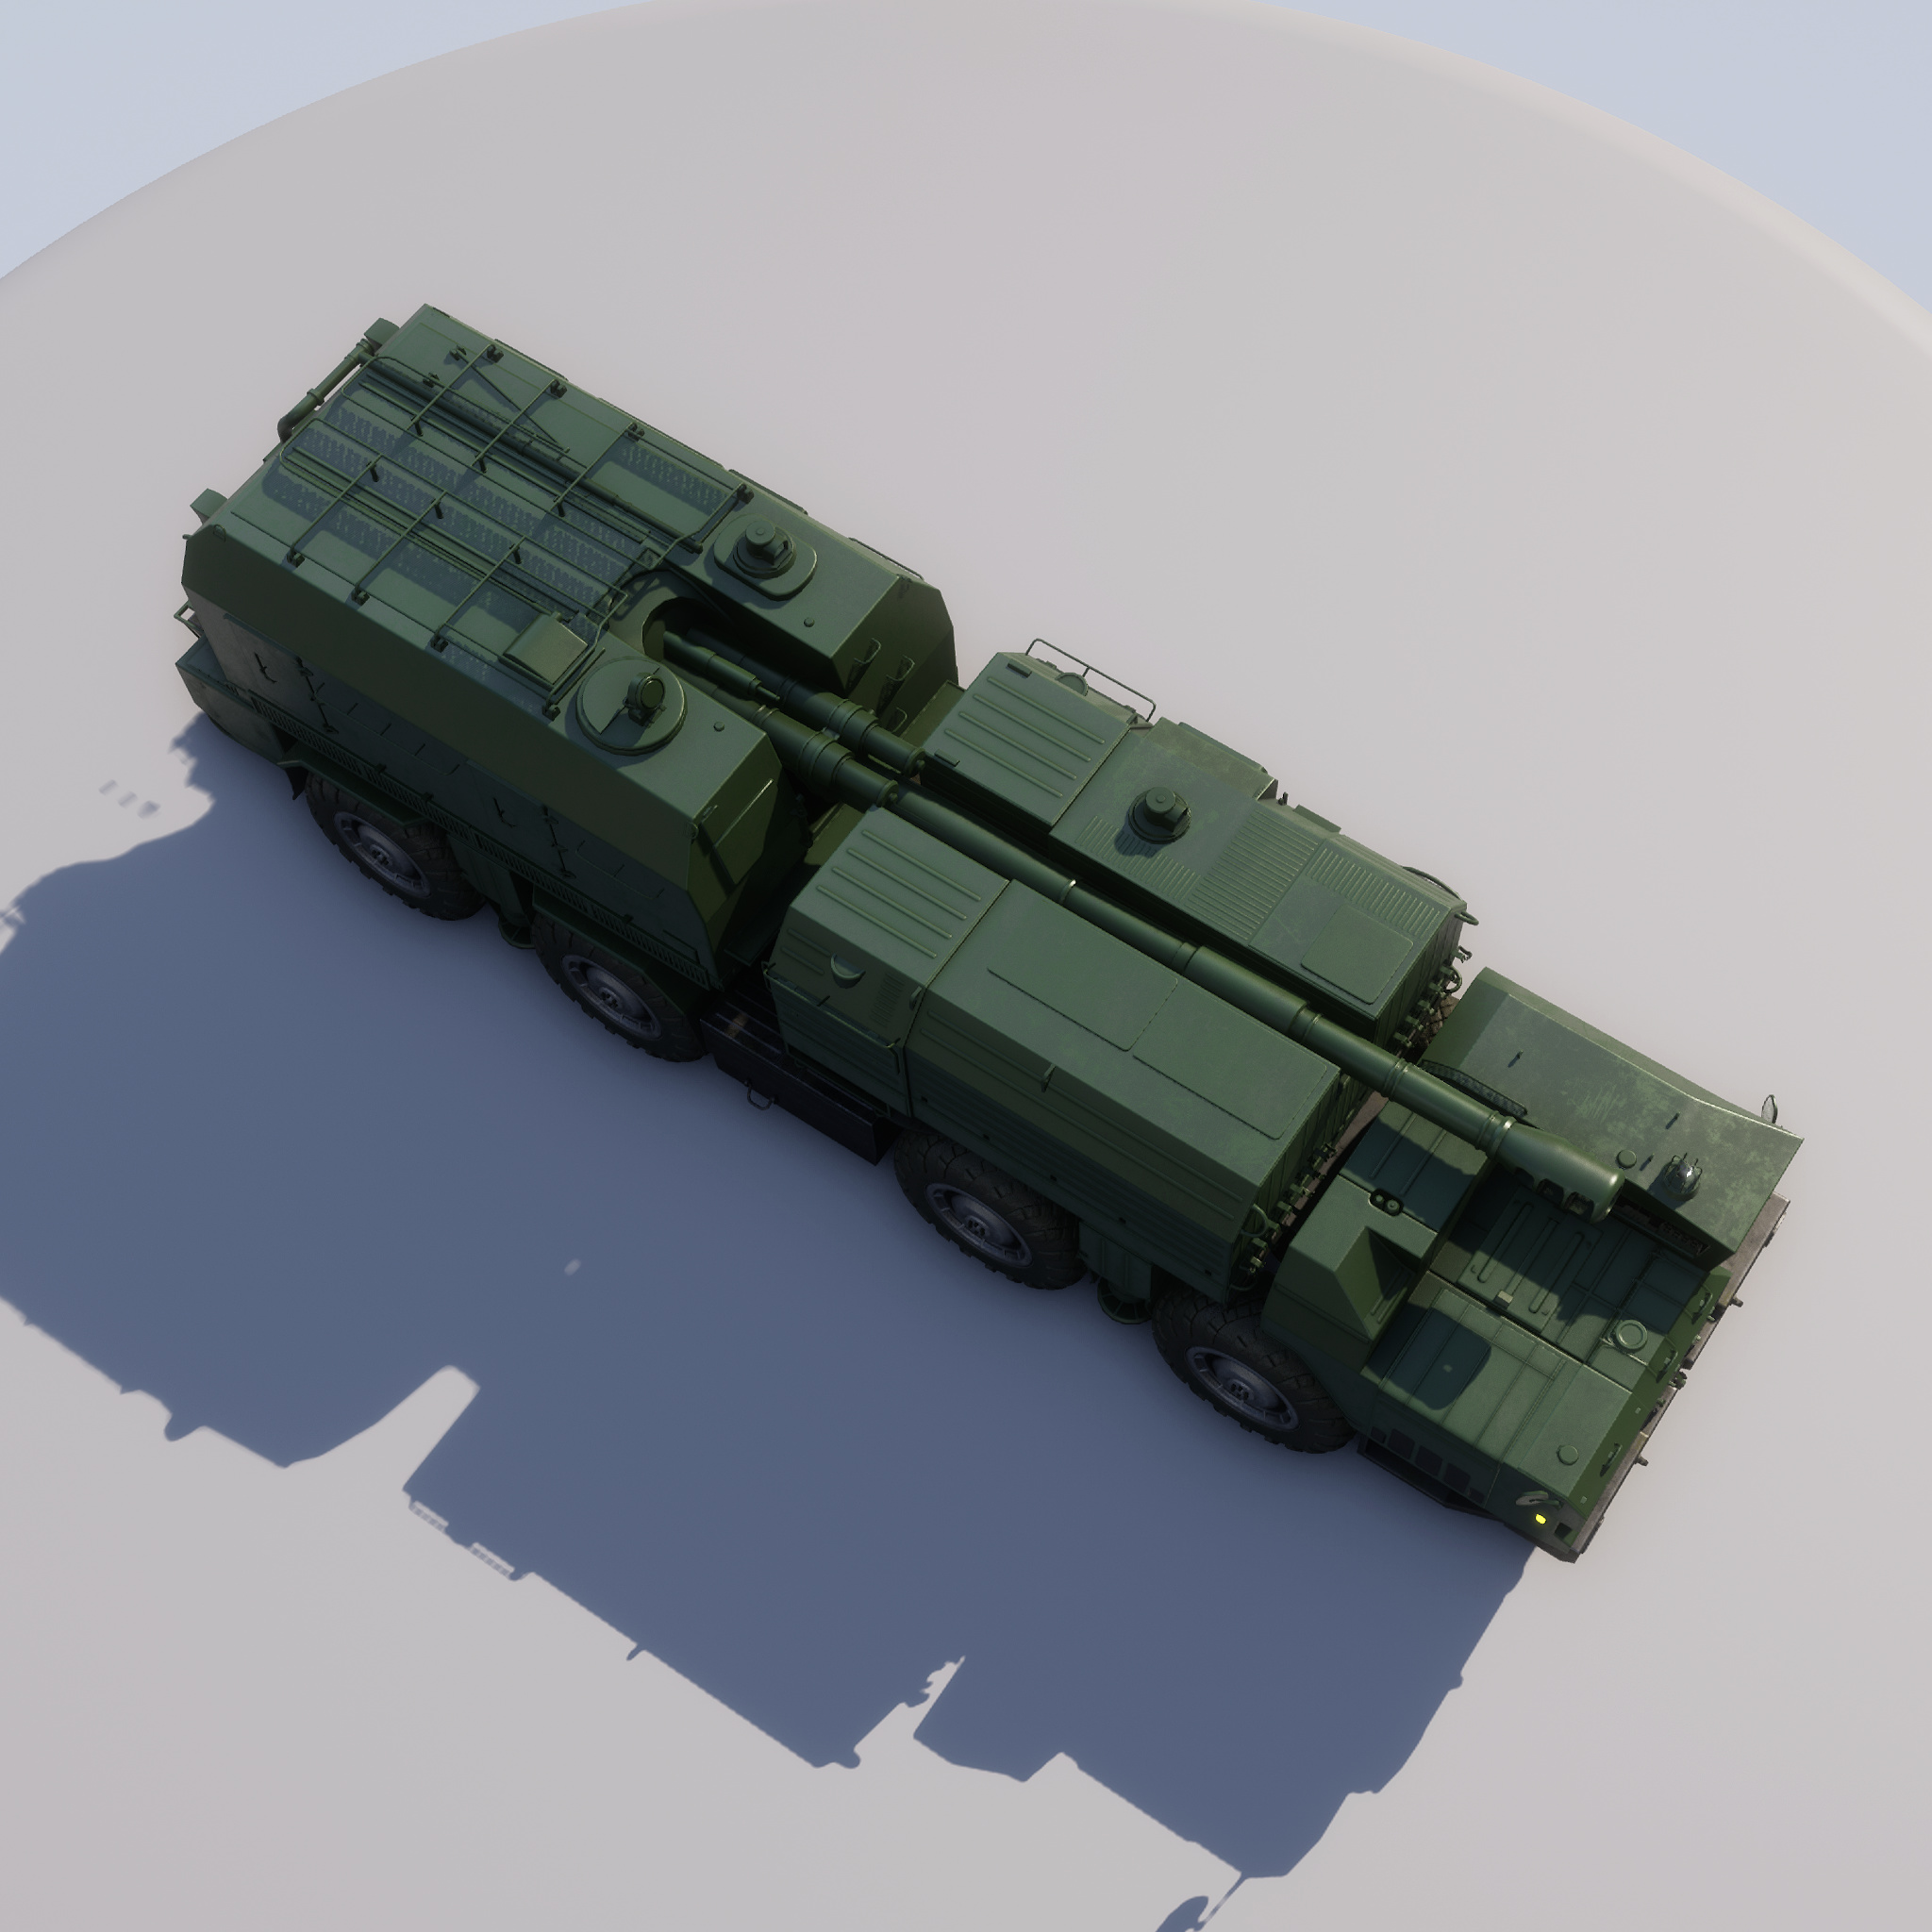
Some renders of high poly version: https://www.artstation.com/artwork/OyPKRk
A little remark about collections in Blender 2.8, which I used heavily during modeling this vehicle. I found that you really can’t hide them or to be more specific, unload temporarily from the project. What I mean is that if your collection costs you 3-4 Gb of RAM and you make a duplicate, your project will cost twice more memory and hiding collection means only visual hiding and you won’t save any memory. Because of that, for baking purposes, I have to make a separate .blend file, where I explode meshes properly. Also, if you duplicated collection for making high poly and it still has an animation keyframes, then low poly object animation playback will be extremely slow too, like if hidden collection moves too (and it probably really moves).
well done! ) btw, how do you bake normals, via blender internal cycles? or something like marmoset?
blender cages and additional hi-subdivs in case of skewing is something i’m afraid of))
First of all, I manually exploded game ready and high poly meshes in Blender to prevent any baking artifacts. I exported 8 vehicle parts (each part exists in a separate collection, like cabin or turret).
Then I used Marmoset Toolbag 3 to bake Normal/Curvature/AO/World space/Position/Thickness maps, which I will use later in Substance Painter. I like to use MT3 because it allows you to interactively draw skew/offset masks to fix a lot of baking artifacts and it really bakes everything fast. I also baked Bent Normals/Height maps, which maybe I will use later in a game engine (height for Parallax Occlusion, for example). All maps are baked in 4K resolution to achieve the best possible quality and later can be adjusted in Substance Painter/Game Engine if needed. Normal Maps baked in a 16-bit format to prevent any banding/reflection artifacts (but in the game engine I will import 8 bit until I see those reflection artifacts for certain meshes).
LOD0 has 200k polygons at this moment. I made a little research and found that cars in current AAA racing games may contain 200-300k polygons, so I think for a hero asset with such amount of details it’s fine. LOD1 probably will be around 80k polygons, other LODs will contain even less amount of polygons by removing lots of pieces, which aren’t visible from a distant view.
The goal was to set the UE4 project and get a simple driveable vehicle. I used my previous project - Modular Vehicle - as a base for this project to speed up things.
I’m planning to use layered materials and use Substance Painter mostly for drawing masks to save a reasonable amount of memory. So basically I will use UE4 viewport to look at the end result of texturing instead of Substance Painter viewport. This was one of the reasons to make UE4 project before doing any texturing. Maybe I will try to use SP Livelink plugin, but not sure if it works with custom materials - I need to do some research. I also don’t know yet whether I will use relatively new UE4 layered material feature or will use my own custom layered material, which I used to make another one vehicle almost 2 years ago.
I used a slightly modified lighting setup from Paragon Assets for material calibration purposes. I didn’t use any textures in UE4 yet (not even normal maps).
What else? I made rigs for each vehicle part, which will be animatable. The vehicle can be driven already - one of the hardest parts of work in UE4 - single mistake or wrong bone rotation and your vehicle will fly to the sky when the game will start.
Some useful tips:
If you have mirror modifier - make sure that Bisect is not selected - otherwise, you may encounter problems after mesh rotation/scaling
Apply array modifier before applying rotation or your mesh position will be shifted
Apply solidify modifier before making UV
For armature set rotation X to -90 and scale to 0.01 for UE4
A vehicle for UE4 should be placed in X forward axis
If you found that your vehicle is not looking at X forward axis, then parent it to an empty object, located in 0.0.0 and rotate the empty object in a way so the vehicle will look at the correct axis, then unparent vehicle from empty.
Tomorrow will start working on materials/texturing.
After some research, I finally decided to use the same workflow as Epic Games used for Paragon. I tried to use layered material system (spent one day for that), but then saw that currently this system is discontinued (things may change this year or may not), so I didn’t risk to use it right now and rewrite everything with default material functions/materials. Of course, things may be much faster with layered materials feature (really much faster), but I found that currently it’s not stable and materials may not update automatically after tweaks, which may cause a lot of troubles.
I also tried to use Substance live-link plugin for UE4 but didn’t found how to use custom export presets, so it is currently useless for this workflow.
In Substance Painter, I did three custom export presets. One is for a single Base Material and contains Grim/Scratch/Custom/AO map. Second is for a Base Material + 3 Additional Materials + Grim/Scratch/Custom/AO. And the last one is for Base Material + 6 Additional Materials + Grim/Scratch/Height/AO (currently not in use).
Current custom channels:
U0 - Rubber
U1 - Steel
U2 - Black Metal
U3 - Grime
U4 - Scratch
U5 - Dust
What should be done next?
Better grime/scratch/dust masks
Better tiling materials for metals and rubber
Support of camouflages
Maybe add support for snow/wetness.
Paint additional normal details
There is also a chance that I will temporarily stop working on materials and start doing modules because it’s almost half a month, but guns still not firing
Many things will happen now in UE4 (and the forum is all about Blender, so I’m sorry about it), but I will return to Blender when I start doing more modules and environment for Showcase level.