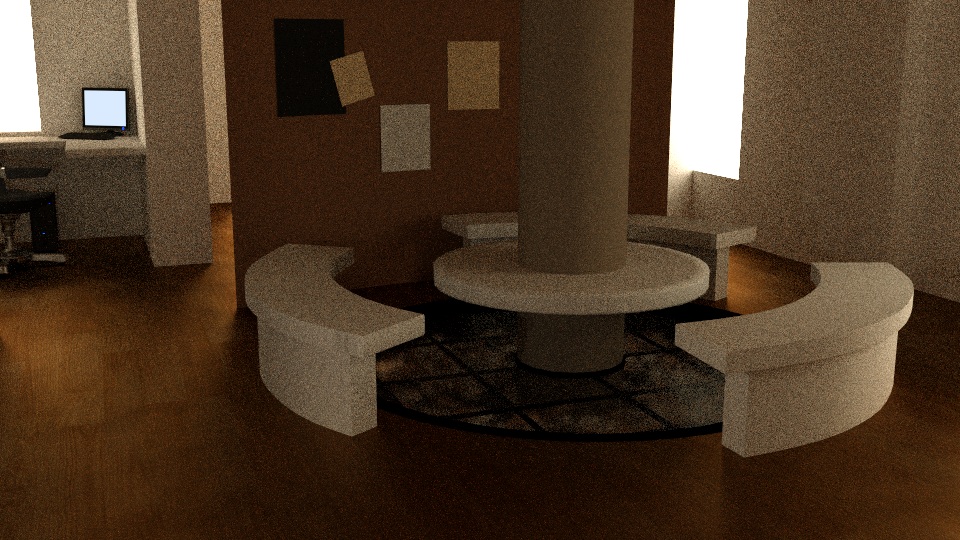
This is an assignment for my Interior Design class, an architect’s office. I’ve been playing with Cycles as it gives me really fast results on my new rig.
Question is, how do I achieve the look on the floor in the first image? I found off Google; believe its done in Vray.
Thanks!
EDIT- I’ve uploaded my final renders somewhere below, check them out
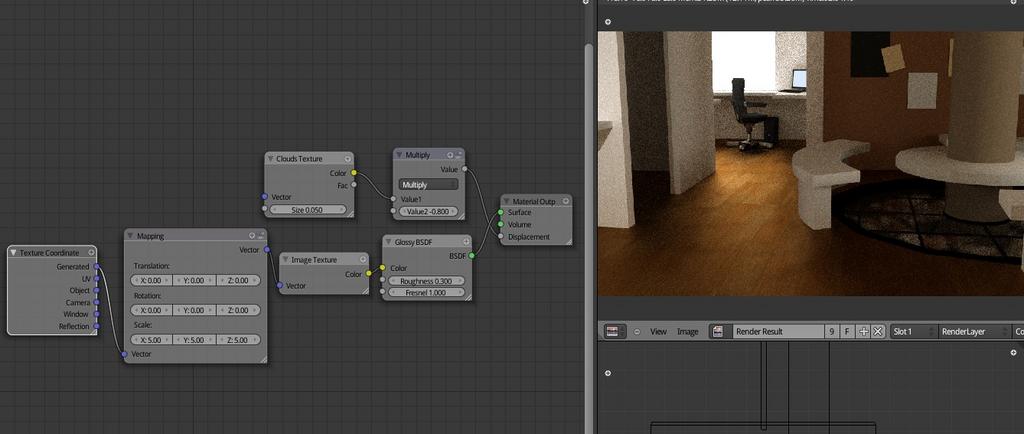
This is the setup I have right now. I have no idea how to setup spec maps in Cycles, though I’ve been experimenting for a while.
You can see I’ve used a Cloud texture instead of the actual bump map that came along with the texture. Reason is, using it doesn’t make any difference at all, and it seems the same as simply using diffuse map alone. The clouds make a little bit of variation around. Nothing spectacular though.
I successfully recreated that image in Luxrender, with all the spec/bump/dif maps. Right now I’m going through the big Cycles thread again hunting for node setups.
@agentmilo
try plugging a diffuse and glossy into an add closure
i.e. add a diffuse node and an add closure to your setup . plug the diffuse and glossy into the add closure and plug the add closure into your surface
@sx-1
Your trick seems to work, but its coming along rather slow so I can’t show you a preview right now. I’m keeping it for a render.
By the way, the noise doesn’t seem to go off no matter the amount of samples. Right now I’ve barred it at 4k samples with Max bounce @ 15 and Min Bounce at 3. Anything else I should be doing?
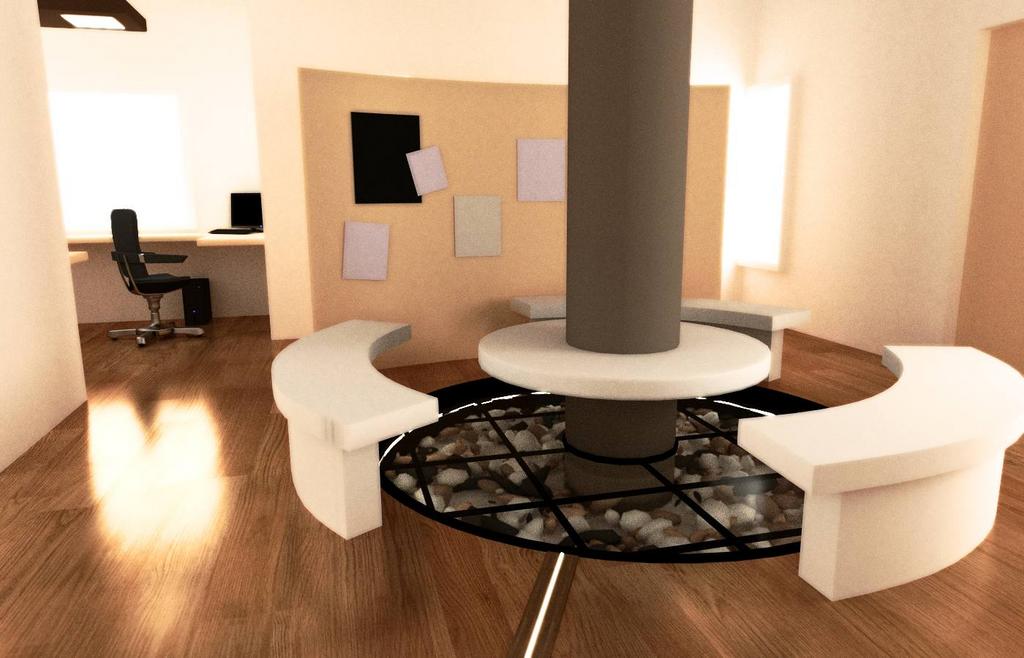
EDIT- Okay, here’s a stop at 800 samples. Quite not the results I was expecing but all the while better than the first one.
Well here’s my render after using sx-1’s advice. This is my final one for the moment, I don’t have much time to spend for rendering. It looks bad, but it’ll have to do.
Still have other views left.
@DDD I’d read that thread. Unfortunately, I can’t see the video since my dorm network has blocked all such sites. Thanks though.
The example image features quite a strong contrast combined with a strong backlight (including bloom) and pretty glossy floor. Although your scene has quite a different lighting scenario, you could get much closer by making the floor more glossy. Also the reflection looks very yellow, make sure your specular color is set to white, or make sure that the specular texture is a greyscale. Apart from that, I’d recommend the following:
-add bloom (in Blender’s compositor or post processing, or in Cycles if it supports it)
-reduce the saturation of mostly everything and/or fix the white balance in post processing
-adjust the contrast using curves (S-shape, darkening shadows and making highlights brighter)
-use shift lens instead of pointing the camera down
-scale the floor texture down
If you really want to emulate the example picture you should also use Depth of Field, but I’m not sure that would be a good idea on your image.
Wow abelabel, that looks really sweet! Lemme try that right now, and I’ll get back.
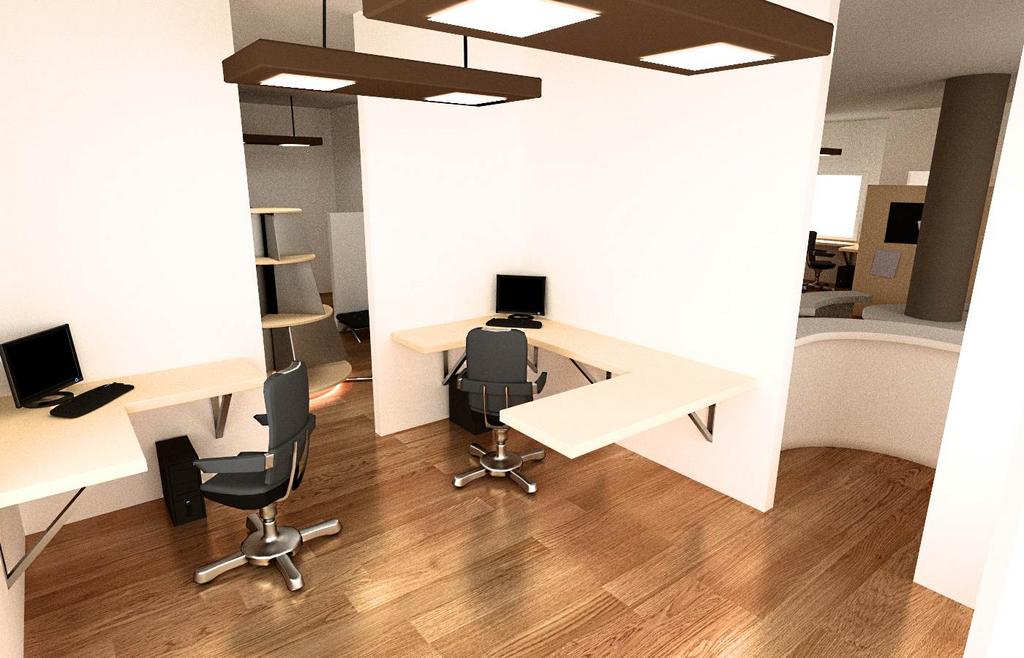
EDIT- Ok, I’ve done what’ve suggested in post-pro. Rendering the whole image with lens adjustments in Blender is not feasible for me at this point of time. I’ve got results that are somewhat closer to yours but not yet. Somehow, yours looks more artistic. Eitherway, they make the renders all the more appealing.
Thanks alot! I’ll upload the remaining views if I can, today.
There seems to be only sunlight through the window, there is often a blue sky out there as well. A HDR sky will look white but the floor reflections will show the fall off to blue as in the first image.
@Manti
I did try that. But then the reflections are really hard, and difference in decimals brings drastic changes. I didn’t have too much control over the reflection, this was as low as I could go.
@3pointEdit
True, I did notice that. I had switched on nodes for the environment initially, but the whole scene turned blue, rather artificial.
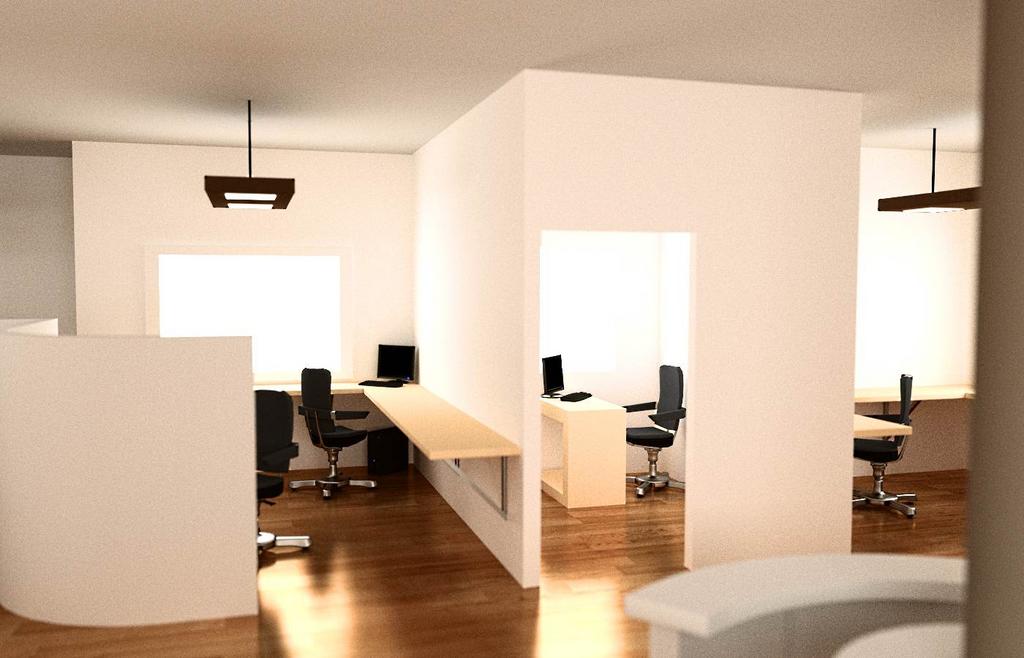
Forgot to mention, I got the office chair and PC set off Blendswap (which I modified a bit).
Each image has a resolution of 1400x900, rendered at 4000samples with Min and Max Bounce of 3 and 15. Every image took roughly 50mins-1 1/2 hours to render.