And here it is folks the Blender car modeling work shop. Thanks to all that took the time to respond to this thread http://blenderartists.org/forum/showthread.php?t=200882 and have given me enough courage to try and do this.
What is this about?
This is a two week car modeling collaborative project that will run from 1st of November to the 19 of November.
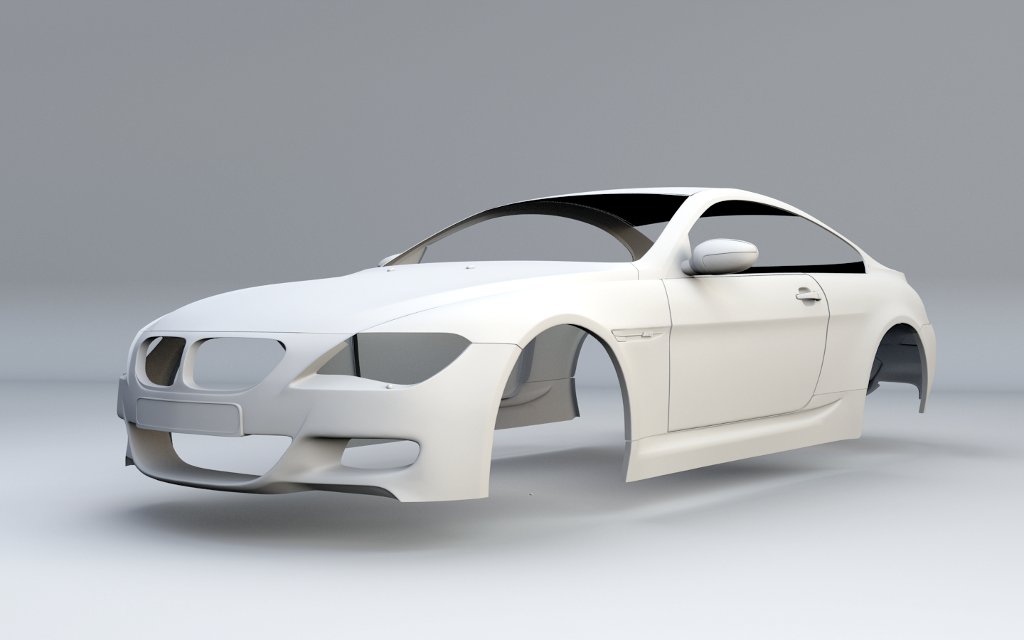
You task is to pick a car and for two weeks you will model nothing but the body of your car so windows, interiors, wheel, lights are out. You hone in and focus on things like the hood, fender, roof, pillars, side mirrors, grills, boots etc. The car must be a new model that you will start specifically for this exercise. To give a better idea of what you should be working on I have attached a representative picture of what will be considered the body.
Everybody taking part would post in this thread. The objective would be to try and get as close as possible to the real thing in terms of accuracy. Picking a car with lots of big reference pictures would be advisable.
In order to simplify things and make it easier for everyone to objectively judge whether you are close to the real thing or not you are only allowed to pick existing cars no user designed cars.
This is all about improving techniques and sharing knowledge among like minded individuals. For that you need to be prepared to give and receive good constructive criticism.
If anybody wants to be able to use curve networks for modeling, the only open source solution for this is available here: http://www.jpatch.com/?page=download
Only choose JPatch 0.4 PREVIEW 1 because later versions are either unstable or no longer have the curve network approach. I guess everybody will jump straight into blender. But even if you take the time to go through the tutorials and documentation, you might end up finishing your car’s body sooner than you’d expect, thanks to five points patches.
Just wanted some input, I’m pretty close to a beginner, so I picked out some cars that I would like to do and wanted to see what everyone thought I should try.
The cars are:
C4 Corvette, fairly squared body, and should be buying one soon.
Acura Legend, my current car.
Nissan GTR (the newest one), actually quite scared of this car because it seems really rounded.
Plymouth Prowler, favorite car in the world, might also be slightly complex.
Willys Jeep, very old, friend has one that I helped work on.
Just let me know what you think so I don’t jump in too far over my head.
actually i think the GTR would be the easiest to start with, roundness inst the issue usually when starting out, its usually small annoing stuff like cutting holes to things, unclear body lines etc etc… and gtr doesnt have that much these things its fairly solid simple body with clear body lines. It has a lot of reference images all over the net and i think the blueprints should be normal too…
So it seems ill start with the progress images: xD
I have no idea where are the others. But I try to push my self and the Forums blackout was grease on it. I keep saying to myself -The others are almost ready, Keep Going! (you never know : )
First 2 days of modelling, I posted the beginning step also, maybe it can be interesting 4 somebody. For me the door and around the fuel cap is going to be heavy I think.
Edit: @ NinthJake sorry it wasn’t for you. I’m laughing on it. ; )
Anyway, Thanks for the tutorial.
Anyway I have just started on mine but I am taking a huge risk here, I am actually going to take a different approach for the modeling on this one. I have been getting more and more into the idea of automotive modeling using splines lately but since splines in Blender is a bit “meh” I decided to spline model… Using polygon extrude
I am only using it for the more complicated shapes for now (such as the lights) and then I just fill in the rest as if I were spline modeling. I have no idea if this has been attempted by someone before me and (if so) if they found it a good technique or not. We’ll see
I am only using it for the more complicated shapes for now (such as the lights) and then I just fill in the rest as if I were spline modeling. I have no idea if this has been attempted by someone before me and (if so) if they found it a good technique or not. We’ll see
Instead of using single edge loops, extrude an actual face loop for each detail point. Be sure to then cut the loop to handle anywhere there will be “hard” edges.
LOL I am afraid not, I checked yesterday in the morning and it was back online for a brief time it seems. I thought I would ran some errands before posting big mistake because when I came back it was offline again. But now it looks like its good to go.
Note to everyone. I have changed the end date to the 19 to make up for the days the site was been upgraded
The car that I am working on a Lotus Elise series 2, NinthJake I see that you and me take similar approaches to car modeling by laying done lines first than filling in the polys later.
I have been lurking around on sites like cgcars now to see How Pro car modelers go about their work and one thing I keep hearing these guys repeat is to work with a dense mesh something that I admittedly found weird because I always tried to go light but their reasoning was sound. Most distortions and inaccuracy of a mesh are usually the result of working with too light a mesh. bumps however are usually the result of going too dense to soon. So I am trying to start light and than as I smooth things up increase my density.
Once the loops are made it’s fairly easy to tie everything together smoothly from there. The great thing about this methodology is you do the tweaking up front on the details only once, instead of fighting the distortions caused by inserting edge-loops to add detail or harden things after the fact. The more details you can define in advance, hood edge, wheel arch, headlight cutout and so forth… the cleaner and smoother the final form will be.
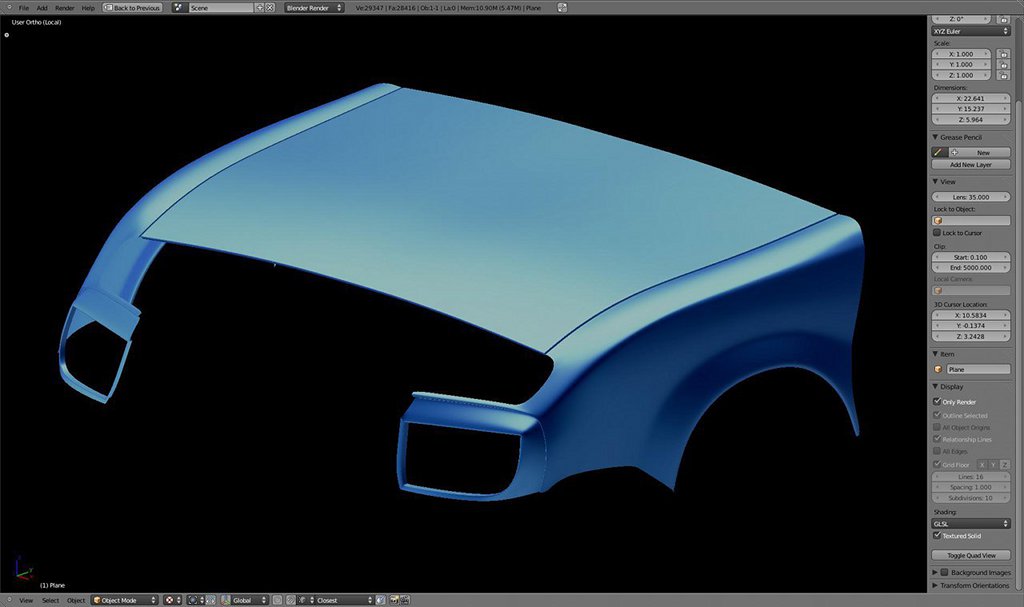
I’ve attached a quick example that’s a continuation of my previous post. If I were doing this “for real” I would have also added “in-between” arcs also before filling in the faces.
Its probably personal preference, but i would not recommend making hard edges(corners) before u got nice edgeloop flow, becasue tweaking mesh with lower not so dense mesh is much easier, add edgeloops with knife or edgeloop cut tool is final thing u add when you are completely sure you dont need any more tweaking for that part.
And tyrant monkey is right, the most import part is balancing between dense and light mesh, and easiest way to do it is to start out light, and then slowly add polys where more detail is needed.
it doesnt really matter whats the actual modeling style you use, its the outcome that has to look good
personally i like to use mix of simple extrude and move, and edge tracing and filling, i kinda go with the flow what ever method looks best for a particular part
@RickyBlender you are free to make whatever car you choose, just not your own design. I decided against personal designs because it makes it really hard for any one to say whether you are accurate or not as there is nothing to objectively compare it to. If it is a car that exist already you can look at photos and compare them to what the modeler is doing. For an old car like that you only problem is that you might struggle to find blueprints and reference photos but if you can find them great. A model T will make a nice addition to the cars been modeled here.
@no.reason nice start but watch your mesh density and flow. You might want to look at the lines around your wheel wells and make sure that flow corrected. Lines that are wiggly and not smooth are sign of future troubles ahead. Look at your A pillar it looks bumpy make sure points on it line up in the front and side view of your blueprints
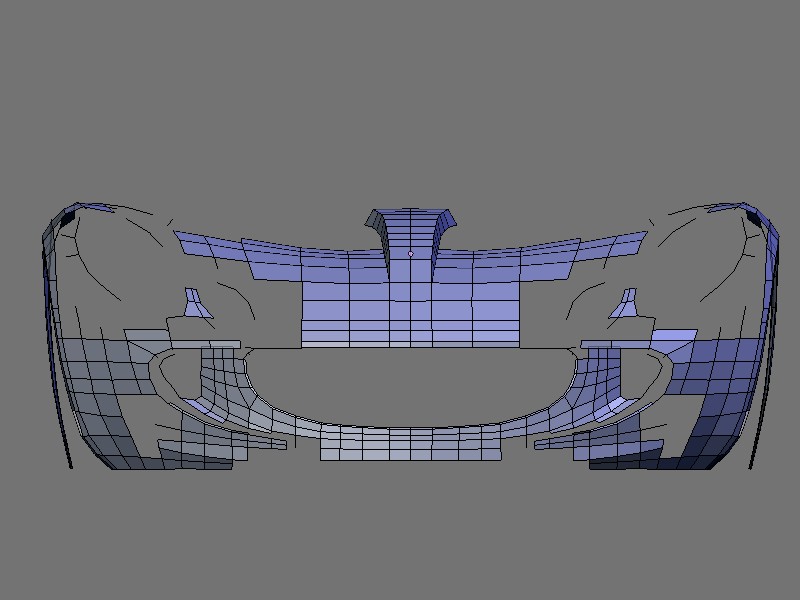
@Max Evil Nice work just some bumps on the front bumper around the circular hole. But its shaping up nicely
@NinthJake good start mate just watch that your points are lining up with your blueprints. On your screen shots you can see points that should be lining up with the lines on you blueprints are floating to the side of those lines, look at the wheel well arch in the front and rear view.
Good start everybody and whether you are a beginner, intermediate or advanced modeler don’t forget to crit . Everyone is blind to their own mistakes so having other people look at your work is always every helpful its the quickest way to catch a mistake. So post and crit
I think I rather do single edge extrusions because then I only have one edge that I have to move around to fit the blueprints at once After I have completed a shape it is an easy task to extrude it out anyway. Thank you for the tip though
Awesome, have you modeled a car this way before?
I have also heard that the professionals work with a very dense mesh somewhat early in the progress. I don’t see how it can work out though.
Thank you. That is due to the blueprints not matching up perfectly so I have to find a happy medium for the lines
@NinthJake take a look at the Thomas Baron tutorial I added on the resource list, same approach as we are both using plus he shows a nice way to go from light to dense. so you blueprints don’t match that sucks, but it happens. Most blueprints are traced by people or copied from catalogs so you get the good, the bad and the ugly all too often. Hi res photos are the best of such situations
Actually in my last post, I should have said you’re good, for being able to capture an Elise that good (when it’s not even finished nonetheless) that it’s noticeable what it is.
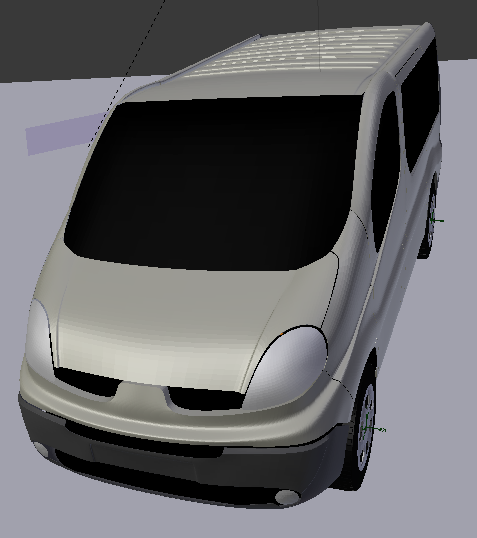
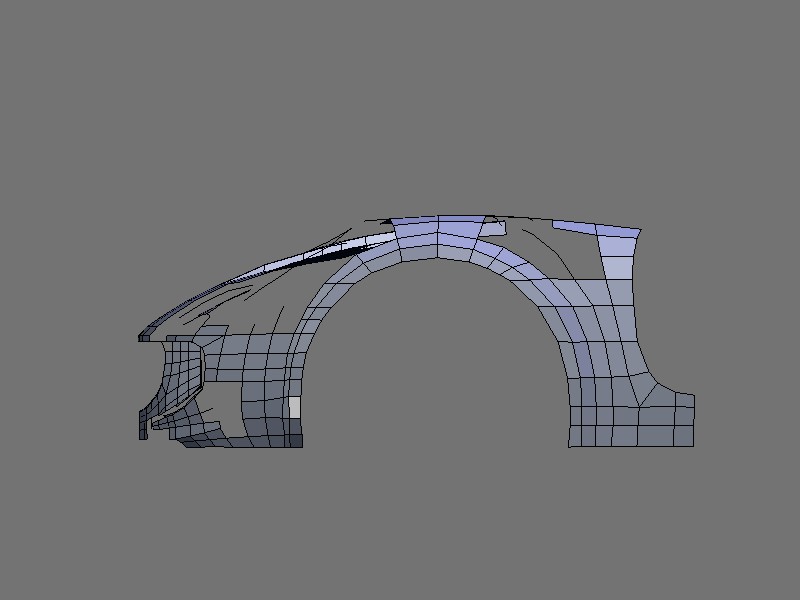
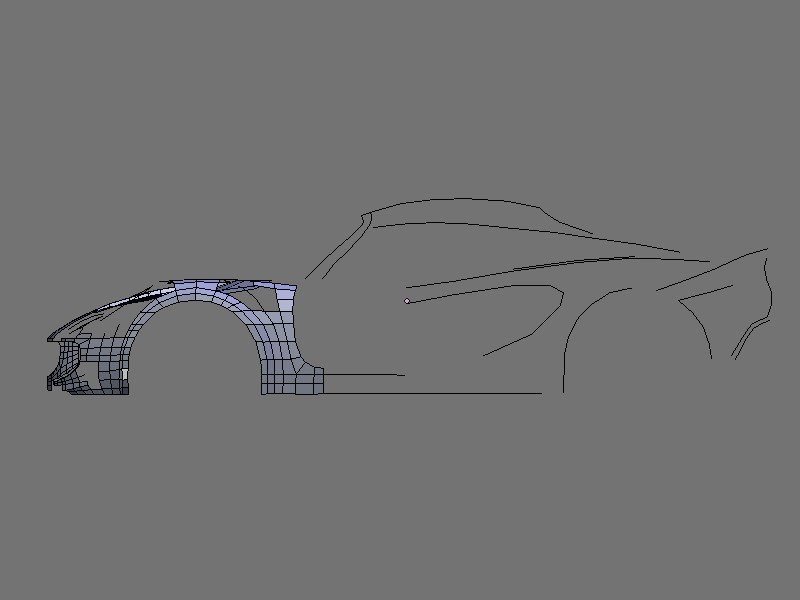
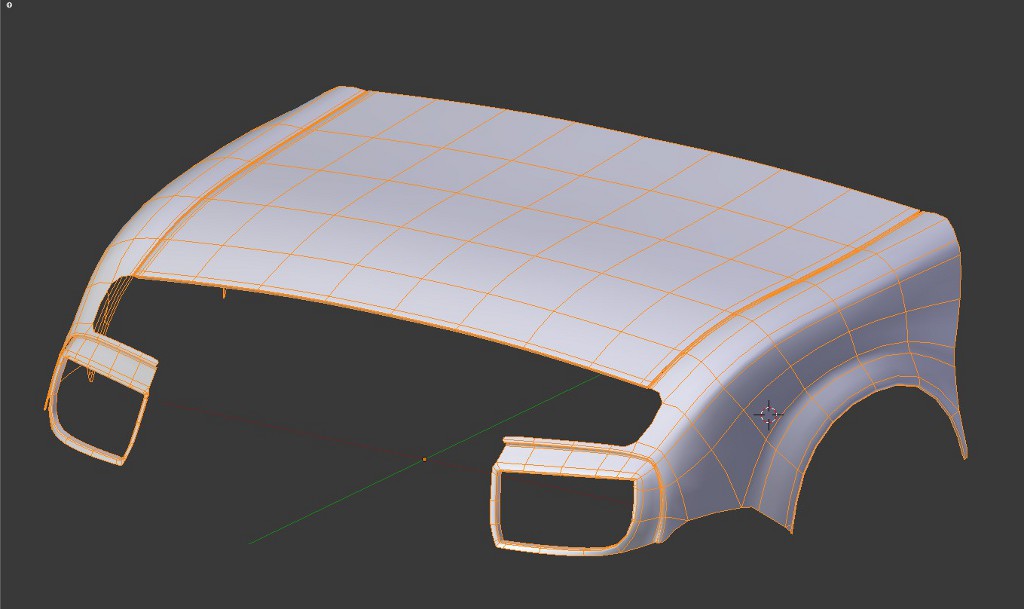
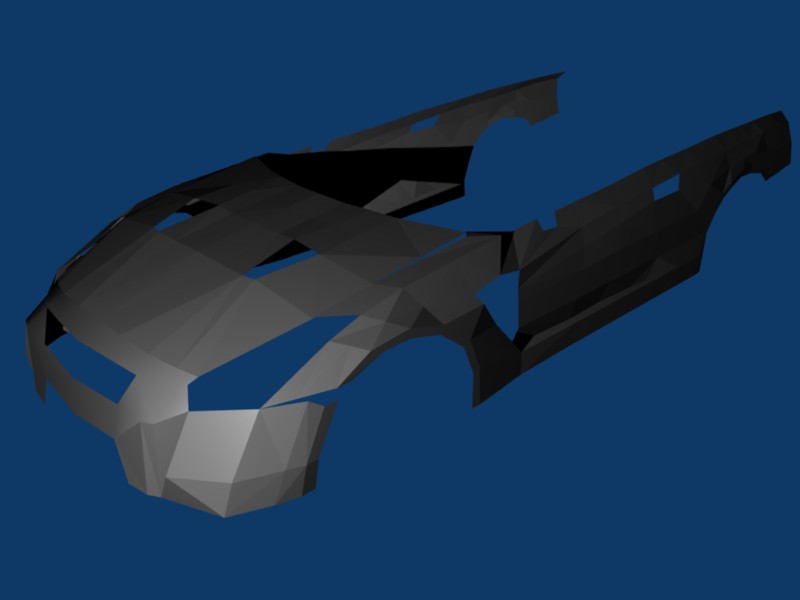
Anyway, thought I’d go ahead and try to get some stuff done on my GT-R, keep in mind, this is practically my first time trying to model a car from blue prints (and actually being somewhat successful), it’s probably crap to what some of you are making, and I know some things don’t line up just yet, but I’m just trying to get the basics of it down, then I’ll do all the vertex pushing I need. I’ve worked on this 4 hours which is probably how long it takes you guys to finish it, but sadly, I’m a noob (hopefully this will help change it)
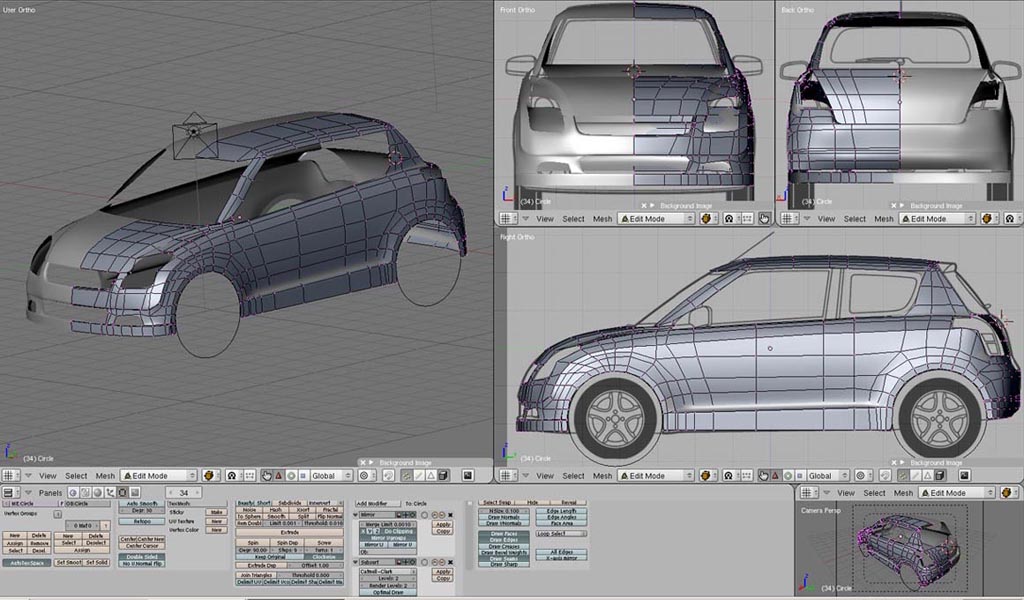
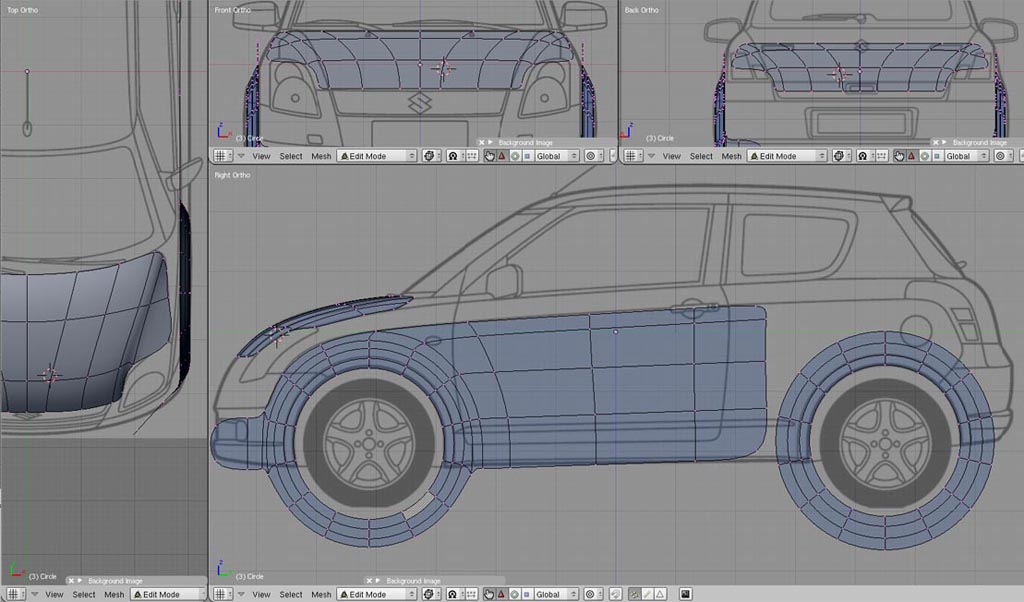
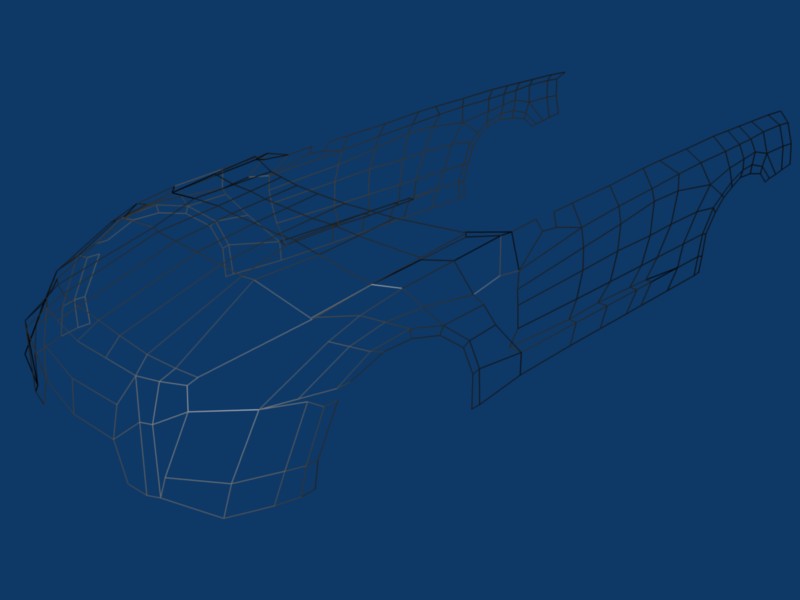
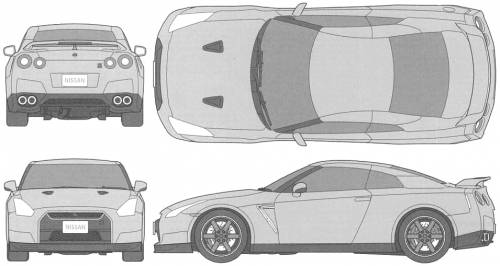
So anyway, here’s the hood front bumper front fender doors and back fender. I haven’t actually messed with the back fender too much to try to put all of its verts in the right places, just tried to get a basic outline for it. A little unsure about the vent in the front fenders also and haven’t completely finished them. But here’s a render (with no subsurf, so it looks like crap) and a wire render, along with the blueprints.
 Thanks to the forum upgrade we already lost two days.
