nice … looking foreword
Testing out the ACR paint job.

I’ve achieved this using vertex colors which is a little unusual. The upside is that the black and red paint are one material and that I can switch between this paint job and the other one very easily.
looks good. the black sliver to the right of the “drivers side stripe” is too thin and looks to me as thoug hthe racing stripe is too wide. it should only be 4" wide but looks more like 5 or 6 in yours. here is a pic im using to compare.

Put together a quick action shot.
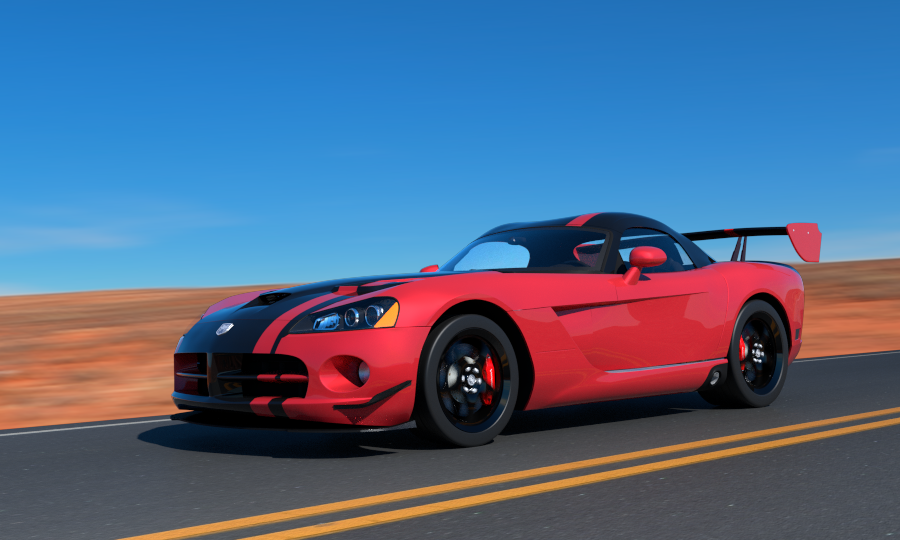
I’m not sure what kind of scene I want to do the final renders in yet. But that is still a ways off.
Edit: And another…

I suggest getting rid of the dof, it makes the car look like a toy.
I see what you mean. I was trying to go for something like this:

where the camera shoots from far away from the car with a large focal length. I will probably use something like the first render for my final shot so it doesn’t really matter.
for a shot like this you need to get MUCH closer to the ground. There are several general rules of thumb to an aggressive car shot. mid side profile. low front profile, low back profile. meaning, the car is inline with the midline of the car and the picture is taking from the side, a front picture will be about a foot off the ground and simulates the feeling of being run over, a rear picture will be close to the ground to accentuate the rear exhaust pipes. high up photos makes the person looking at the car feel bigger than the car which is less aggressive and makes the car feel like a toy. the only good way to do this is a top down profile view and is still rather rarely done.
I definitely need to do some research on car photography before I do my final shot.
id suggest that. study car studios on google for a while, also youtube search “how to photograph a sports car” or something along those lines. In most cases they will say something similar to what i said, maybe in fewer words. lower makes a more agressive look, mid height makes a carshow/showroom look, above the car makes a toy-ish look, and top down creates a fast feeling.
I have to add that if you are replicating the paint job exactly then the black stripes don’t touch the headlights the whole way down and the one on the right doesn’t get thicker at the end
But other than that it looks great man really good job
Yeah, the black paint is done using vertex paint so it only goes where there are vertices. I need to think of a better way of setting the colors.
personally what i owuld have done was take the top down view of the car (num 7) and done U>project from view, then saving the top down UV map as a VERY large png (ie 6000X6000 plus pixles) then using gimp or CS6 draw the black stripes in more carfully, then just add the UV map to the shader. this is similar to how i had originally intended to do the stipes on mine, before i changed to the TA ed.
Thanks, I will try something like that.
what i would suggest is making the stripe, connecting it to a diffuse node, then connecting the alpha from the image input into the mix fac input, then layering it ontop of the red texture as a seperate shader. this way you can adjust the red from within blender.
Well, school starts in a few days so updates will be less frequent (though they haven’t been very frequent to begin with.) I think that I actually do my best work when my time is limited and I can only work for short periods every day.
In other news: I have started modeling the suspension for the car and created a simple rig.
The reference image for the suspension:

The basic rig I have built:

That is the 2013 suspension. make the purple blue and the black silver and it will look close enough to the ACRs
Thanks. I am guessing that the one on the left goes to the front and the one on the right goes to the back?
I am having a hard time finding clear photos of the ACR’s suspension system.
Yeah the ACRs is hard to find, im going off the model years… for the most part it never really changed TOO much visually, mostly colors like i said.
Just flip what you said, the bigger shocks with the forks are in the back. ALSO NOTE! those are when the coils are NOT in the car, once they are in the car they grow about 2" each.
Here is a better example of size and location on the vehicle. Rear tires on the right, front tires on the left. The front shocks are much smaller to boot.


