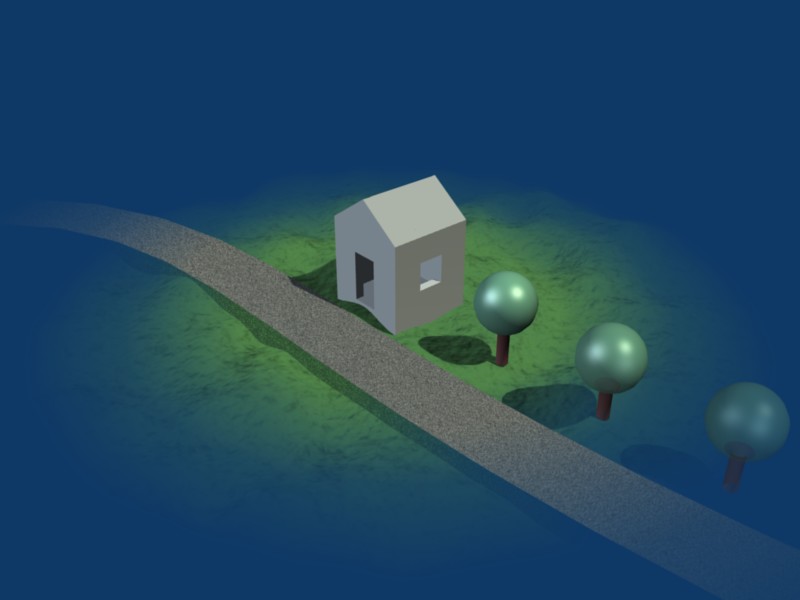
Section - architecture, engines, ect. with Nodes

Edit: for some up to date info (cycles and incoming real volume material) check this thread.)

Sectioning like an architecture, engineering staff (engine, machines etc.) based on simple Node Material.
Get textured section use Render Layers + Composite Node.

I was continue on Matt Halldins work ( http://blenderartists.org/forum/showthread.php?t=125351 ).
Use Blend texture for hiding or mixing materials is nothing new, but I never seen it used for sectioning. So thanks Matt :slight_smile:

Tip: as texture position controler use plane. you can see place of section and easy to animate.

Tutorial-Part-1

  • section material setup
    (Edit: link deleted)

Show
http://www.mond.own.cz/blender/section/section-part-1.jpg
http://www.vimeo.com/6686912
http://www.vimeo.com/6717077

Tutorial-Part-2

  • textured section
    (Edit: link deleted)

Show
http://www.mond.own.cz/blender/section/section-part-2.jpg

Download .blend file

UPDATE 18.11.09:
Some mess that you can see in Front/Back function result is not SubSurf problem. This problems comes from camera PERSPECTIVE mode in parts acute angle view to a mesh. Front/Back function has a problem to decide if show out or in material.
Front/Back function in Geometry Node works correctly only in ORTHOGRAPHIC camera mode.
I’m not so optimistic that somebody in these months will have attention to look at closer to this problem.
So maybe in a future :slight_smile:
I got the same result with 2.5 version.

(Thanks to vfcassola hellp)

Great work! I’m not sure why, but I still prefer my own node setup, though I’d guess most people would prefer your approach.

Sorry for dropping out from that old thread – I still hope to get the time to rework my old section tutorial on the wiki → http://wiki.blender.org/index.php/Doc:Tutorials/Modelling/Meshes/Sectioning_a_mesh_with_nodes

That looks really cool, thanks for sharing.

@Matt: keep your style :slight_smile:
@BlueSpider: thanks, I hope, somebody will find it usefull :slight_smile:

nice done vklidu, and nice light setup as well

Something gone wrong here, I cannot figure out what though…
My render looks quite different.

Attachments

section_test.blend (159 KB)

phoenixart, you need to flip the normals of the faces of the small cube inside the other. (In edit mode W>Flip Normals.)

vklidu, first off, thanks for posting such a great technique right at a time when I am in great need of it for a project! Cheers for that!

However, I’m having some trouble with taking this technique to a multiple-part mechanical assembly. My issues seem to be in three basic categories:

1.) I’m getting illumination on my render layers that are used to determine which areas of the base image get the cross-hatch pattern overlayed, despite having isolated all my light sources to a single layer which is not included in these render layers. Of course, with these render layers, you want only the “insides” of the parts (that coming through white) to show up at all. Everything else you want completely black.

Here’s a screen grab of an example “Factor” section layer:
http://members.cox.net/kelly.lasse/hatch_factor_layer1.png …see how the mesh is getting light from somewhere, but there are no lights at all included with this Render Layer!!!

  • so how come I’m getting lighted faces on the outsides of my parts in these render layers, when there are (or should be) NO lights coming through at all? The only place I know to control this is in the layer buttons for the associated render layer, turning them on or off (or ctrl-click for z-masking). Is there any other way that lighting can get through, like with a parented or track-to relationship? I’ve coombed through these as well to verify that there are no “associated” objects that may sneak a light-source into this Render Layer.

This is resulting in overlay hatch patterns that look like this:
http://members.cox.net/kelly.lasse/final_output1.png… obviously not the results I’m looking for! :no:

  • on a side-rant, this is one of those hair-tearing, fist-pounding frustrations with 2.4x blender… that there’s some obscure setting hidden somewhere in a completely illogical location that’s causing unwanted things to happen in your output that somehow got set while you were experimenting with something totally unrelated, and now you don’t know what it is or what you did to enable it.

Another good example, by way of warning others trying this technique: DO NOT turn on “Full OSA” for the materials that you want to section. It causes the mesh edges to go gray on the inside faces for some borked reason, and really screws things up. Believe me, you’ll have pulled out handfulls of hair by the time you think to uncheck that option. GAAAAAH! (Yes, I’m nearly bald now.)

2.) I’m getting shadows on my base render layer from those areas that are fully alpha’d cast upon areas that are not. Is there a way to turn off the shadow casting of the “sliced-away” (alpha=0) areas of the meshes?

Here’s a screen grab of my “base layer”:
http://members.cox.net/kelly.lasse/b4_overlay1.png
At the lower right corner, you see the knurled end of a non-sectioned part that disappears (as you go up) into shadow. I don’t want these shadows… any way to not have them here?

3.) I’m getting a lot of face artifacts where the faces of two assembly parts are “close” to being co-planar. (As an example, see the image above between the inner and outer sections.) Other than tediously editing the meshes themselves, is there a way to minimize this phenomenon?

Thanks in advance for any help or thots!

Thanks Mats!

Thank you for this tutorial

@mzungu i can’t offer any help, but only sympathy and admiration that you are even using blender for a tech project like this!! i like it!

with your multiple part project you are clearly testing the limits of this method. but that’s how the method will grow, i guess

it’s not encouraging when you think that in other mechanical apps, it is possible to get a non-destructive section with a few clicks

sorry to be philopsophical at a time like this…

steeve, thanks for the good vibes, n’ all, but I only imported these models in order to animate them in blender (from CATIA in this case). No, I wouldn’t dream of attempting any serious mechanical design in a mesh modeller like Blender. Been there, tried that and… OY!

However, most CAD apps really suck at rendering and animation, something that’s Blender’s bread and butter. But, getting this little bit of trickery to work has been a challenge. Shame, 'cause it’d be soooo cool!

I’ve tried using the Sim-physics branch to make the parts volumes, then slice them, but I had trouble making the volumetrics solid-looking. Farsarthy had made that possible at one point, (according to one obscure post in the Volumetrics Thread) but with the latest (2.4x) builds, the settings he recommended couldn’t be done, as the spinners wouldn’t go above 1, where he’d recommended 10 or 20.

If I could figure out that route, I might go there… assuming render times are reasonable. Wasn’t what I experienced, but hey. :spin: … round 'n round we go! :smiley:

Okay, I’ve found there is a setting to help minimize this effect, which will improve things a bit: there’s a z offset spinner in the material, meant for transparency issues, but it works very well for these co-planar faces in this scenario.

I still have some artifacts that are resulting from steep viewing (nearly tangent) angles on a given face where blender doesn’t know whether to show the inside color or the outside material, and is showing the wrong one of the two. Don’t think this one’s fixable, tho.

Anyone on the shadow thing? I’m going to hate doing without shadows altogether… how can I set the shadows cast by the alpha’d regions to be completely transparent (e.g. non-existant?)

EDIT: I forgot to mention that these are buffered shadows. When I went with raytraced shadows, my render times went through the roof (before). However, vklidu appears to be using ray-shadow lamps just fine… I’ll give it a run.

i get the feeling you may be on your own here

are you trying to do an animated section cut?

Something really cool

Thanks to all of you for your interest :slight_smile:

@mzungu:

Ad 1)
Looks like AO (ambient occlusion).

You can disable it for this layer under Scene (F10) > Render Layers by clicking with Ctrl to AO button (grey dot next to the AO comes black).
And like this you can disable AO also for other render layers that looks incorrect in renders, but it change lightning of course. So this is useful only for some renders.

Anyway AO affects all objects in scene even there is transparency thats why I turned it Off. (for example -if you section a cube in a middle, on a floor will stay AO shade of whole cube)
If somebody knows how to setup material where AO accepts transparency will appreciate :slight_smile:

Ad 2)
Did you enable Transparent Shadows button in Material > Shaders?

Ad 3)
I don’t know how to correct it :frowning:
The mess inside a section is what I was talking that reality is a bit different from theory.
And I think the same as you - blender cant decide what side is what. Your option try Z-offset sounds good I will test it.

p.s.:
From your question I see that second part of tutorial in czech language is not to much understandable from movie :slight_smile: And sorry for delay, vacation week.

I red it in a hurry and my english needs brush so if Im wrong in explanation of your problems let me know I will read it again :slight_smile:

One think more: I have a problem use mirror material. It’s mirror hidden part of object (his inside (back) material) that is strange too :slight_smile:

vklidu, wow, thanks for the response! Yeah, I have been awaiting the english version of the part 2 tutorial, but I think I got the general idea of it just by watching what buttons your were clicking, etc. Thanks for posting these!

As to my issue #1) above, I’m not using AO at all. I still haven’t figured out the problem and I think its just a corrupt file or a blender bug. It makes absolutely no sense to me, so I started over to not use the image overlay technique at all.

I’m still unable to solve the buffered-shadows-through-alpha’d faces issue (#2 above). I think its just a problem with blender’s buffered shadows. I think its going to be solved in the upcoming deep shadow maps being implemented in 2.50, but I can’t wait for that. I’m trying to come up with a solution using ray shadows, but its very slow, and as such may make this project a bust (I’m hoping for 500+ frames per clip, so the shorter the render times, the better.

Like I mentioned, the z-offset helps a lot on co-planar faces, but not much for the tangent-face issue. I’m hoping that won’t be too blatant a problem in an animation. We’ll see.

Thanks again for the great technique! (both you and Mats). Perhaps in the future the volumetric tools could be used for something like this without all these “headaches”.

I played around with my own approach today and managed to set up a kind soft spherical sections. I thought you folks might enjoy having a look at it.

In the attached blend (just a simple scene), there is a spherical blend texture used for transparency. In the material nodes, there are two node groups with the blend texture reused using different mapping – the smaller one is used for the terrain and the larger one for the road and the trees. I grouped the nodes to make it easy to reuse the set-up for the various materials/vertex groups.

Attachments

Sphere-soft-mask-001.blend (261 KB)


@mzungu:

  1. if its not problem for you send me the file to take a look ([email protected])
  2. buffered shadows also doesnt work for me
    for some kind of animation can be enough bake all lights and textures to UV (it takes render speed, but im not sure if it helps with your model)

Can you send me a file with your Z-Offset setup, my trying moves zoffset both inside-outside material.

Looking for volumetric too, all fakes helps mostly only in specific way.

@Mats: sorry, sounds a bit out of topic for me

vklidu, I’ve ended up using buffered shadows, but using the irregular option, then adjusting the shadow alpha for each material. I also had to dramatically reduce the number of spotlights I was using (had a dupli-faced dome light setup before) due to render times going high on me.

Yes, the z-offset works on either side of a face, I assume the side which is facing the camera at a given time. Thus, as you can see in my example clip below, this feature didn’t really work out well for multiple sandwiched parts. It was some help, but not consistent over the course of an animation.

I’m not using the nodes overlay to get the hatching patterns method at all - just different solid colors inside the parts to differentiate them.

The biggest issue now is blender’s tangency confusion - its having trouble deciding which material, the inside or the outside, to show on those faces that have a steep angle of incidence. I haven’t had a chance to investigate whether there is a setting that will make this determination much more accurate.

Here is a “cropped and clipped” example of where I am just now in this project: <link>

You can clearly see the tangency issue.

I would love to be able to take the cross-section script and further develop it so that it creates a surface mesh object for each sectioned component for each frame of an animation - perhaps creating-then-destroying each section object at render time - based on where the cross-section object (in my case I used emptys) falls at that frame for that object. Then these live-created/destroyed section meshes could each be assigned the shadeless texture of choice, allowing differentiation of each sectioned component.

…ah, to dream. Alas, I’m no python coder. Perhaps some day I’ll have the time to devote to this focus… :rolleyes:

-Cheers all!