I’d like to just have a place to put up my wip painting as I explore just using the Blender paint and masking tools with the compositor.
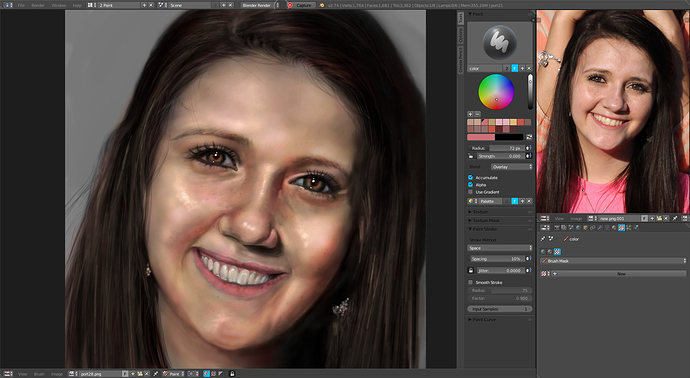
this is the first of my attempts, just messing around and getting used to just using Blender. Practice makes perfect, so i will post more as I go
I used the masking in the UV Image editor - change the View to Mask, and ctrl click to add a mask point, keep doing so to trace the area you want to mask, and select the end points and alt-c to close. Use a Mask node in the compositor, and use it as factor for the color mix node and use a blending mode that makes you happy. I use just the image input node through my chain to a viewer node, and use a uv image editor window set to viewer to get the output, F3 over that and save to the image name with an incremental number so you can make changes and save your progress. Just make sure to turn off ‘Use Nodes’ while painting, since it will keep compositing on every paint dab or stroke.
Also, I use two different masks, since Blender allows as many as you want
Nice, i never played with the mask from the uv/image editor until now, it looks like it’s very usefull as a workaround for the lack of gimp/ps-like layers.
Thanks for the tip.
You’re welcome
I actually think now that there might be a lot more flexibility in compositor as far as saving different increments of work, and recombining in the compositor with masking and overlay of 3d elements… going to see where this takes me, having a lot of fun right now.
Examinis, I will make a simple tutorial tomorrow - it is simple to just paint and make a picture, but the extra stuff in the compositor and masking helps to selectively make changes.
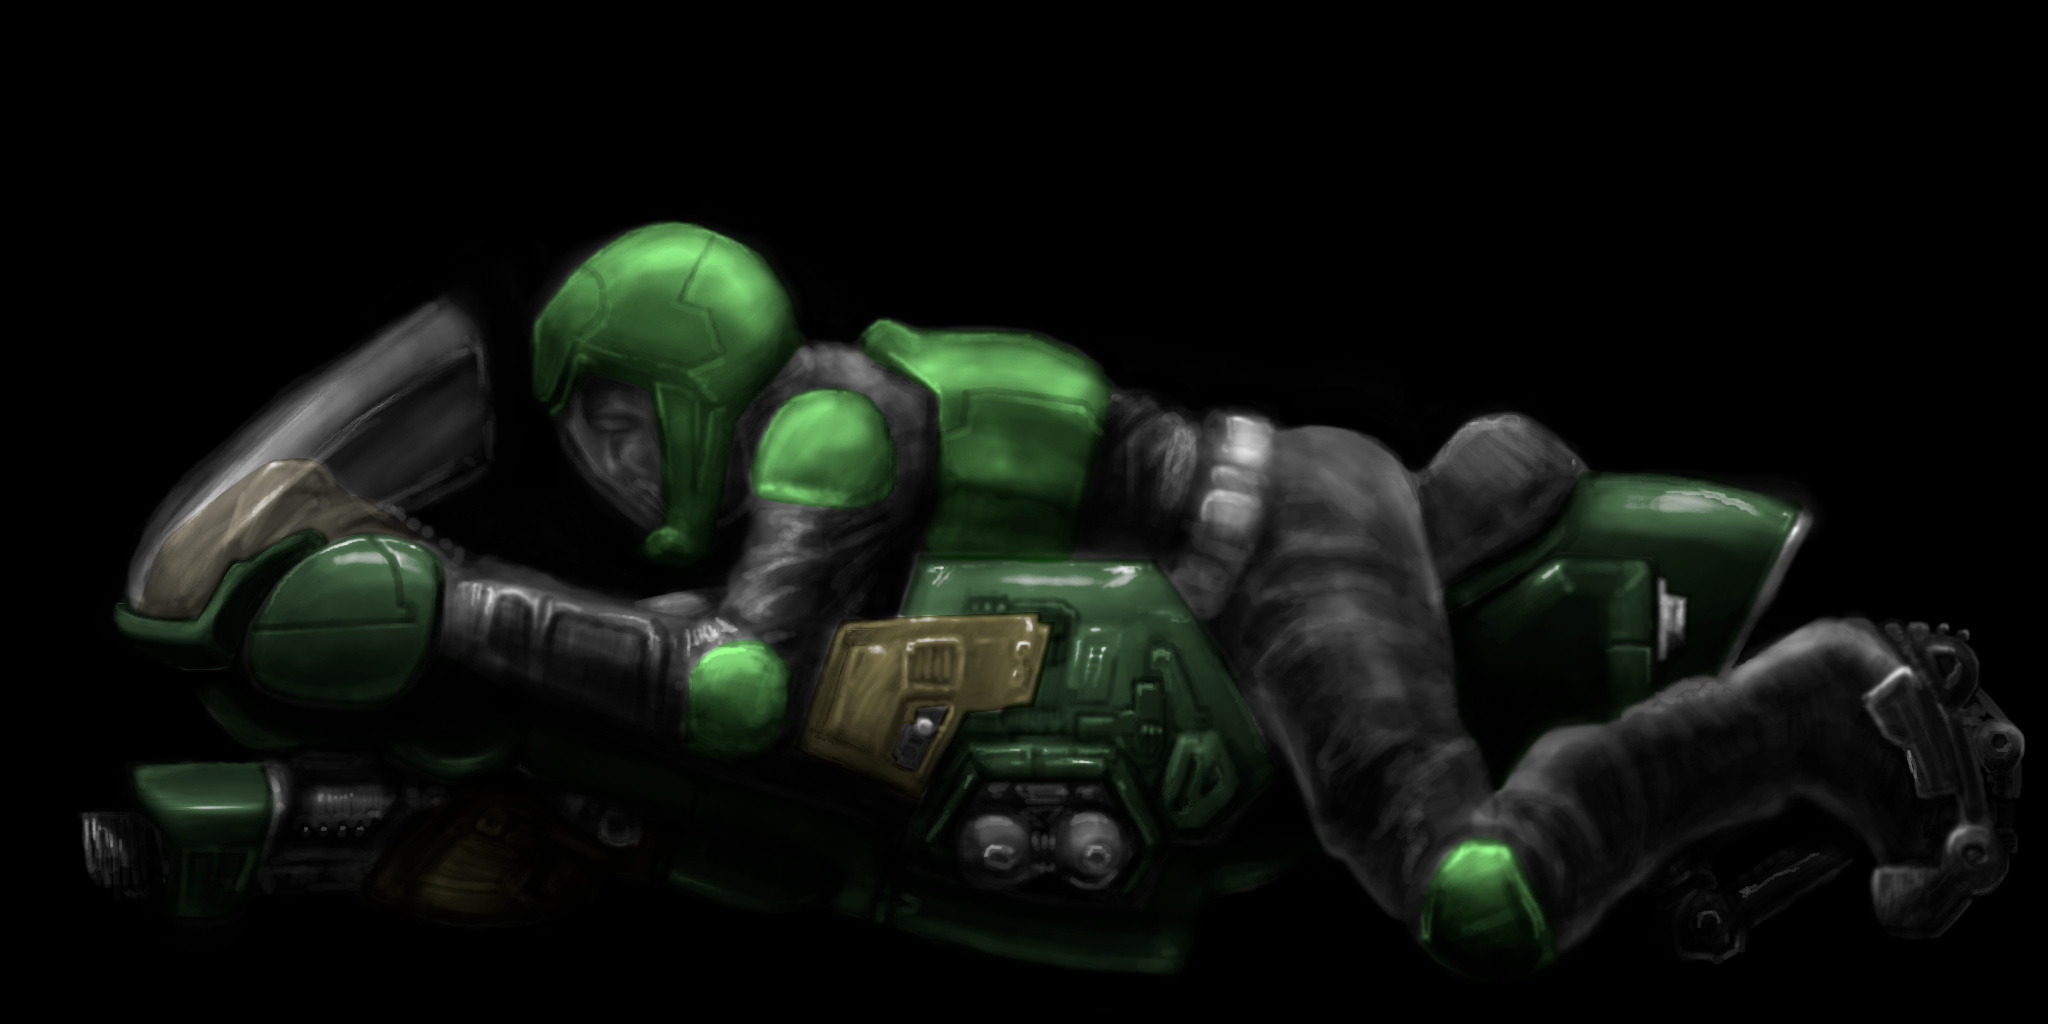
Here is what I worked on this morning, haven’t finished but I like the start of it
I did notice that sometimes in some files I have a problem with the smear and soften brush, if I have made too many changes to the brushes sometimes they just return solid white pixels. I get around it by saving my image often so I can reopen in a new blender instance.
Also another thing I had no idea worked: using the color mix node in the compositor, you can select the little box to use the alpha of the second operation, so the color you feed your mask can be set to half partial alpha instead of full - so you can dial in the colors better to get overlay/multiply etc to taste
edit: Here is a screen grab of the nodes at the end of the chain that used a transparent image as a background, and image input and outer mask fed into a Set Alpha node, using an alpha over node to combine it all. I plan on using this image as a texture stencil, so I can make a few of these guys flying through the air and put them into a modeled/painted matte.