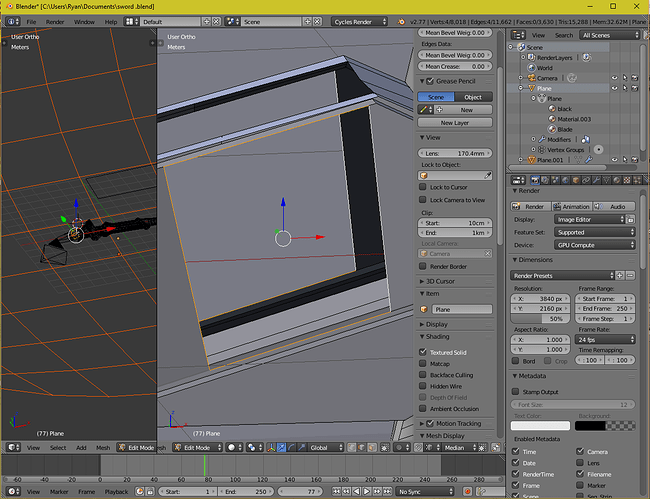
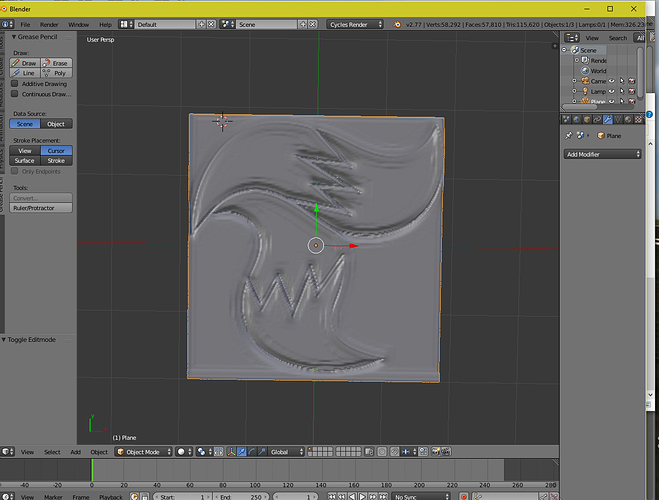
About my sword i was able to get rid of the wired Shading thanks to subdividing.
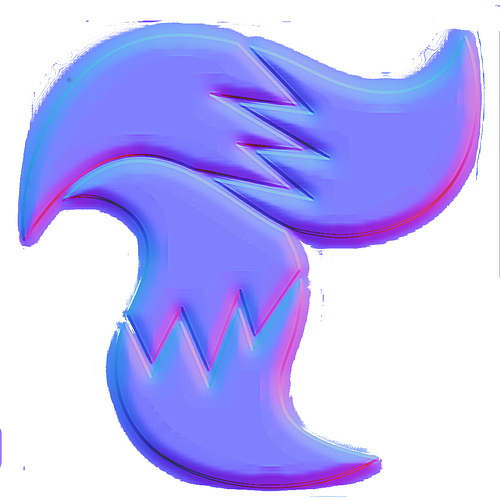
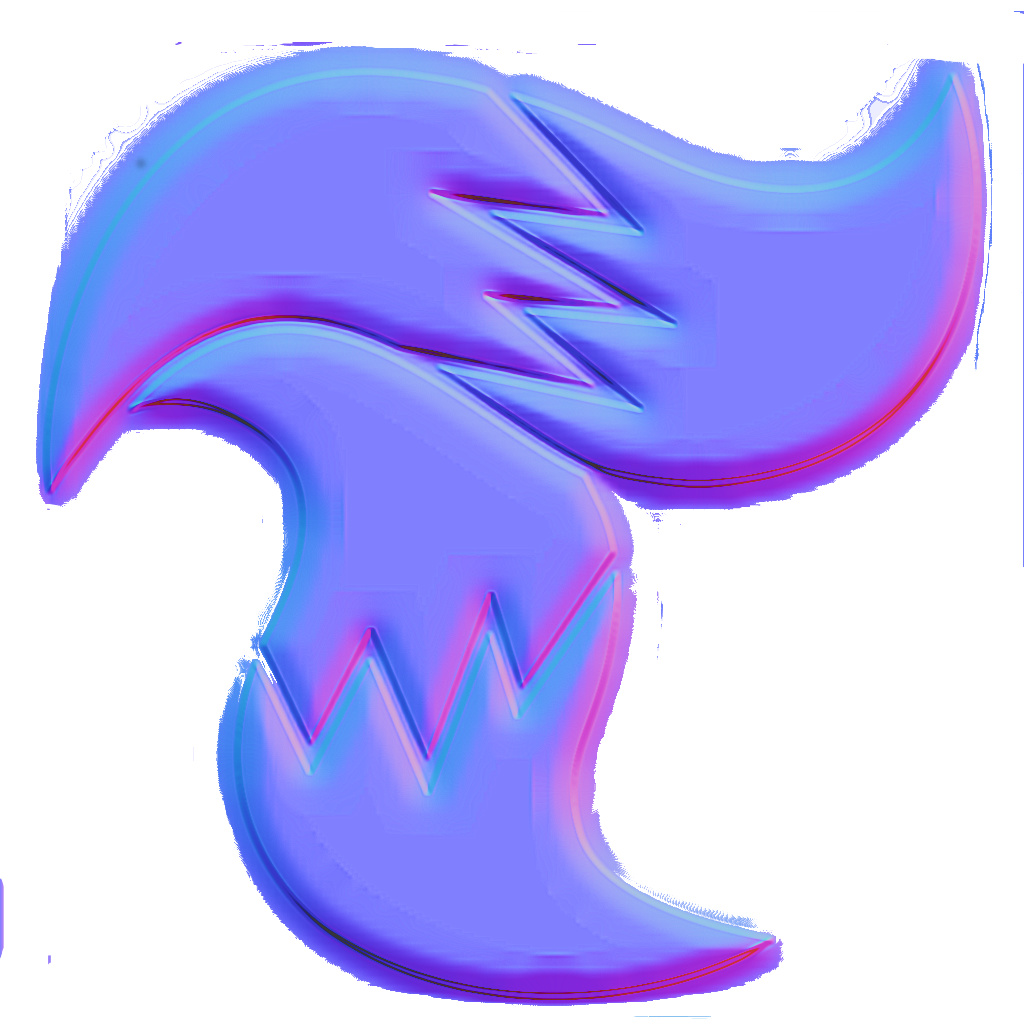
This is the logo i want to add to that Face
For this part of the sword is their a way i can do that ?
About my sword i was able to get rid of the wired Shading thanks to subdividing.
This is the logo i want to add to that Face
For this part of the sword is their a way i can do that ?
wait, what do you want? you want to have that logo on your sword?
first off i would then suggest you to polymodel it rather than sculpting it, it will give you a LOT more controll, and a lot nicer resoult. pluss a lot less polygons.
https://gyazo.com/0de773db11b18c07a81389cd9456020f
you will have nice controll over the sharpness too.
then you can simply reduce the amount of verteses along the edge to make it fit however many verteses there is in the “socet” of the sword
here is a good way to lower the polycount. note this metod will not deform well when animating or subdeviding, so it should only be used on hard surfaces.
https://gyazo.com/43d723a4a70d616b19f5bb88187f4de0
also keep in mind, it does not HAVE to be all one mesh. you can keep them separate.
Yes i do want to put the logo on the sword since im making my own version of the crimson blitz. This is the current render http://louie123456789.deviantart.com/art/Crimson-Blitz-Tails-Edition-Test-in-progress-617095628 of my sword .
I would like to have it as one object
A bump or normal map would work better than actually modeling it in.
That is a good point i want to model it in because it would give the mesh more detail
but why? for details like that its actually better to use a normal map, that was actually a good suggestion DCBloodHound. you wont see the difference and there are a LOT of disadvantages to have it as a mesh rather than a map.
you can generate a normalmap with a high poly mesh in blender and transfer it over to a low res one.
know how? if not i can make a video on it really quick.
I understand i can use it as a normal map instead i will do that. Thanks. I have the original image i can make the normal map my self thanks.
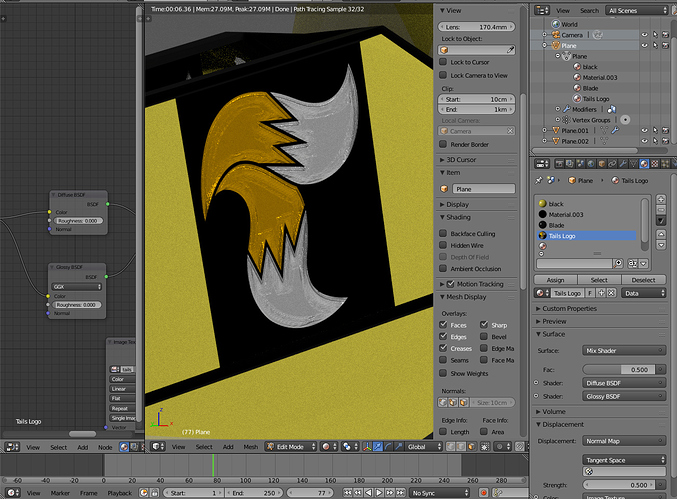
the normal map is working how ever when i use the original image i get a black background i want the black part to be yellow to blender in with the rest of the sword
this might not work for you, but worth a try.
what i did, i turned down the saturation on the image to make everything either black or white, where the black values remind black and any other color becomes solid white.
then i used this as a factor with a mix node where i mixed two diffuse shaders, one with the color imput from the image, and one that lets me controll the color of the area witch was black, in your case, yellow.
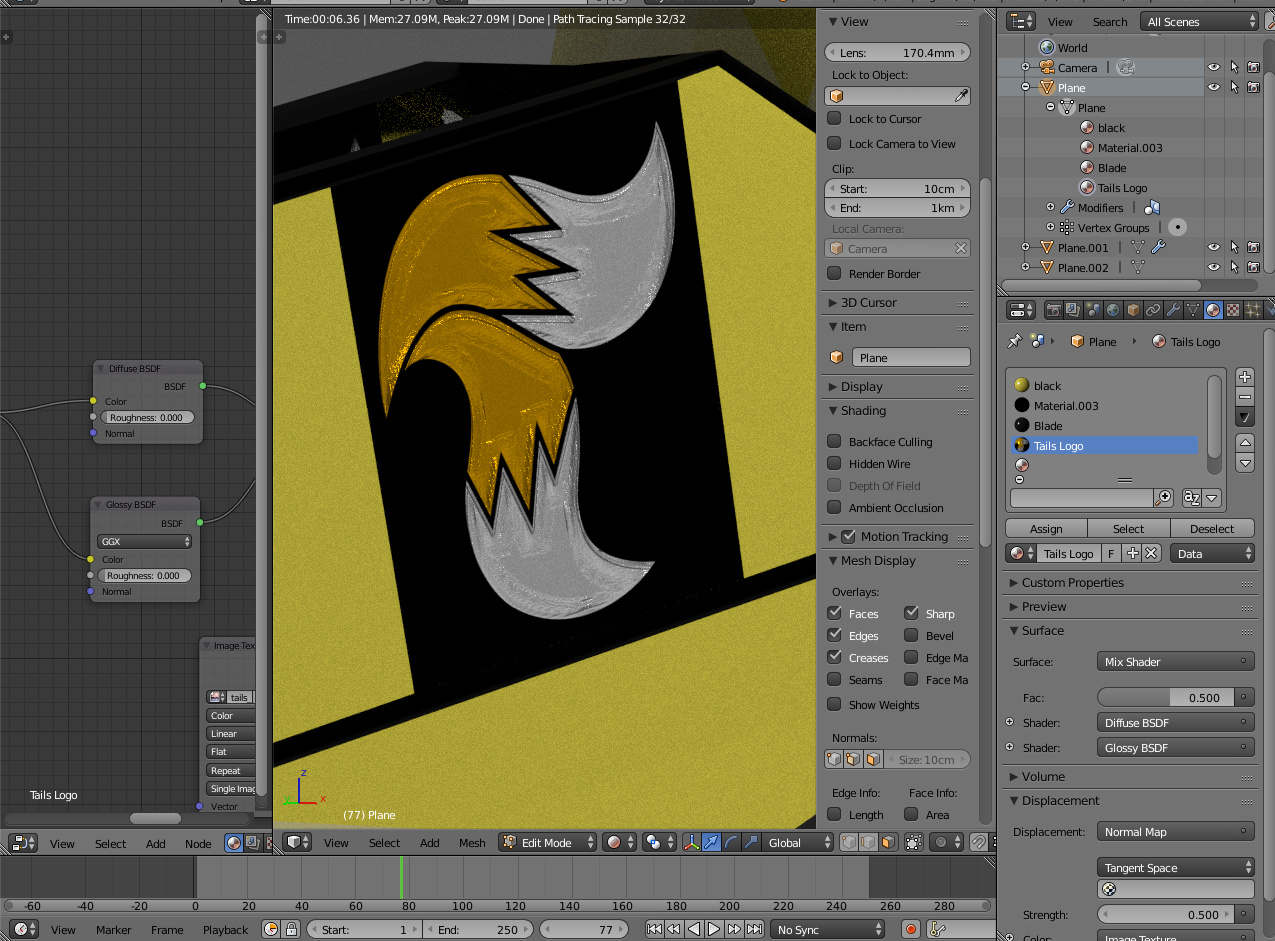
actually i just now realized that it is not going to work due to the black lines that is a part of the tail. those would get masked out aswell in the process.
the only way i can think of now is to mask it with an alpha value.
import your image to photoshop or alternative image edditing programs (use sumopaint if you dont have any, that program can be used online, no download) and simply remove the background so that it is transparent. then save it as PNG! not jpg, PNG! then use this node map:
https://gyazo.com/6932ed47eedf779aa0d4049706a29eb8
Is their anyway to fix that?
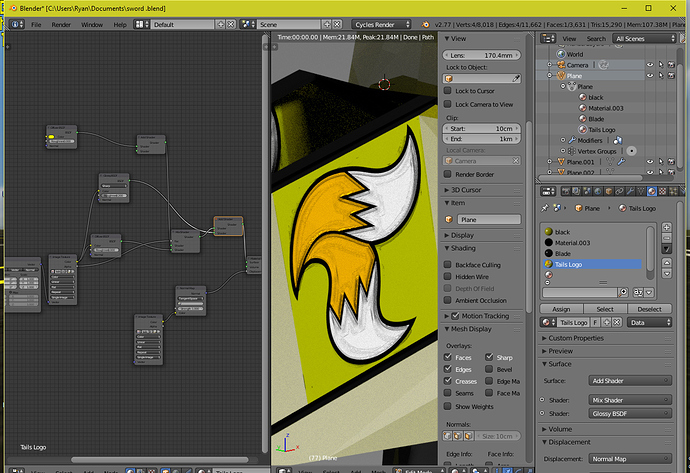
seems like you want a metallic material. try this:
in the Color of the background node, you need to enter a hex value. to get this value, use the original texture and use the eyedrop tool. this can also be done in blender to get the right color right away.
its not reflecting like i had with the previous settings i want it to reflect with the previous settings. But the color is right.
its not letting me post the pic
submit the blend file and we can help you right away. also submit the texture.
it might be due to the fact that you have a normal map fed into the displacement input on the material output.
try to clean up your node map.
add the material i just gave you to the material you have called “main blade” and to the icon part.
on the main blade, remove the Normal and Color Texture part aswell as the Mix Shader, and only use the Glossy+fresnel.
and use the “Color of the background” part to control the color that you wish to have on your blade.
this will give you a more metallic accurate material, as mixing a glossy with a diffuse is incorrect if you want it physically accurate.
the upload file manager on here won’t let me upload so i uploaded it on google drive https://drive.google.com/file/d/0B-wRaG3ZMi5qcVM2bTFsdHBnQkk/view?usp=sharing
there you go. all i did was add the material that i submitted to you.
also, look into lighting it with an HDRI. here are two great once:
it will give your mesh a much better look, cause currently it has nothing to reflect so you dont get anything out of your glossy shader.
alternative is you need to set up a proper studio light, the one you currently have is too basic.