Vicky - Thank you very much! I knew from the start that I wanted to make each shot as visually pleasing as possible, while still maintaining a consistent look throughout the sequence.
Harley - Thanks for the detailed review! I like the shot that begins at about 40 seconds as well. I had intended to add car crash sound effects, but the few I found online just didn’t sound right, it made the video seem worse, kind of cheesy. I looked all around the house for things I might be able to drop to record and filter the audio of, but nothing worked. I suppose this is a sound that requires big, heavy metal things to record. I eyed the washer and dryer hungrily, but quickly reconsidered that notion. Maybe next time.
You’re right about dents and scratches, that would have been great, but I just don’t know how to pull that off on something of this scale. I think it would need to be automated, like in a video game. I have another GTA video I want to undertake that will require those things, but with far fewer vehicles, so hopefully realistic damage is coming in the future.
Jose - Thank you! Your words are always very encouraging! I like your pancake idea, as well!
BjarkeDuDe - Thanks! I had the feeling some people would really enjoy the idea of the video, it’s certainly a bit extreme and different from the average project. Hopefully future videos will be even more insane!
Scotchtapeworm - Thank you, that is one of my favorite moments, too! That was also the shot I animated in preview mode the most as well (4 or 5 times, I believe), in an effort to get the timing and positioning just right.
Frobenius - Thanks, I was very happy when I placed that song on the track to try it out! The timing was very good even before I started trimming shots to better fit the music (a painful but necessary task). If you ever want to use it, it can be found on Machinimasound.com here: https://machinimasound.com/music/the-end-of-mankind/
Thank you for all the kind replies, I’m delighted to see that people have enjoyed this video. I’ve decided to invest in another GPU so that I can render videos faster, and thus upload more often. I believe I can maintain an upload schedule of a new video every two weeks now.
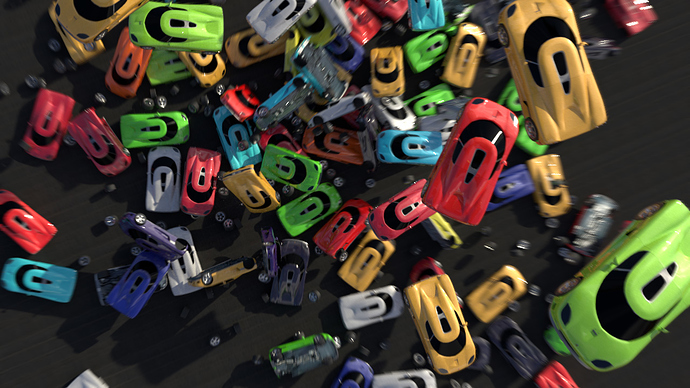
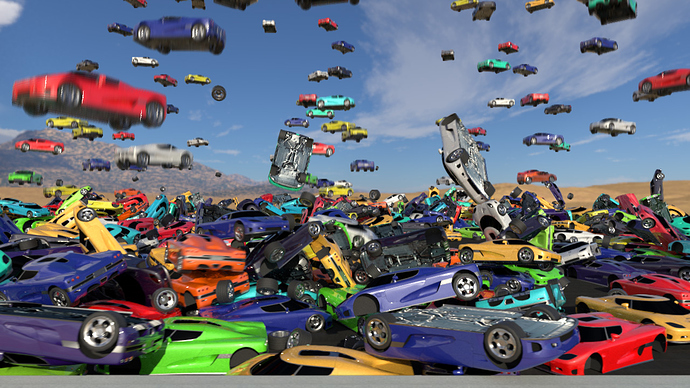
Some technical info: I was only able to render a maximum of ~150 cars on screen at a time, so for the final shot, I set my camera up and did my best to guess where the cars would be, then positioned, simulated and rendered each tower of cars separately. Because the platform they landed on was a square, I just divided it into 9 areas, and restricted each of the nine simulations to a seperate area. I made sure to leave enough room for flying wheels to escape their area and land in another, though, as I felt this would help to make the shot seem less “staged”, so to speak. All told, the combined passes would add up to 37,000,000 vertices.
To composite the cars, I rendered out two different passes from each simulation- one of the cars themselves (with alpha background), and one of the ground and shadows of the cars. Layering the car passes is straight forward. To combine the various layers of ground and shadows, however, you need simply stack all the ground images and set their blend modes to “Darker Color”. You will want to make sure you’re rendering as noise free as possible, however, especially if you’re blending many layers.


