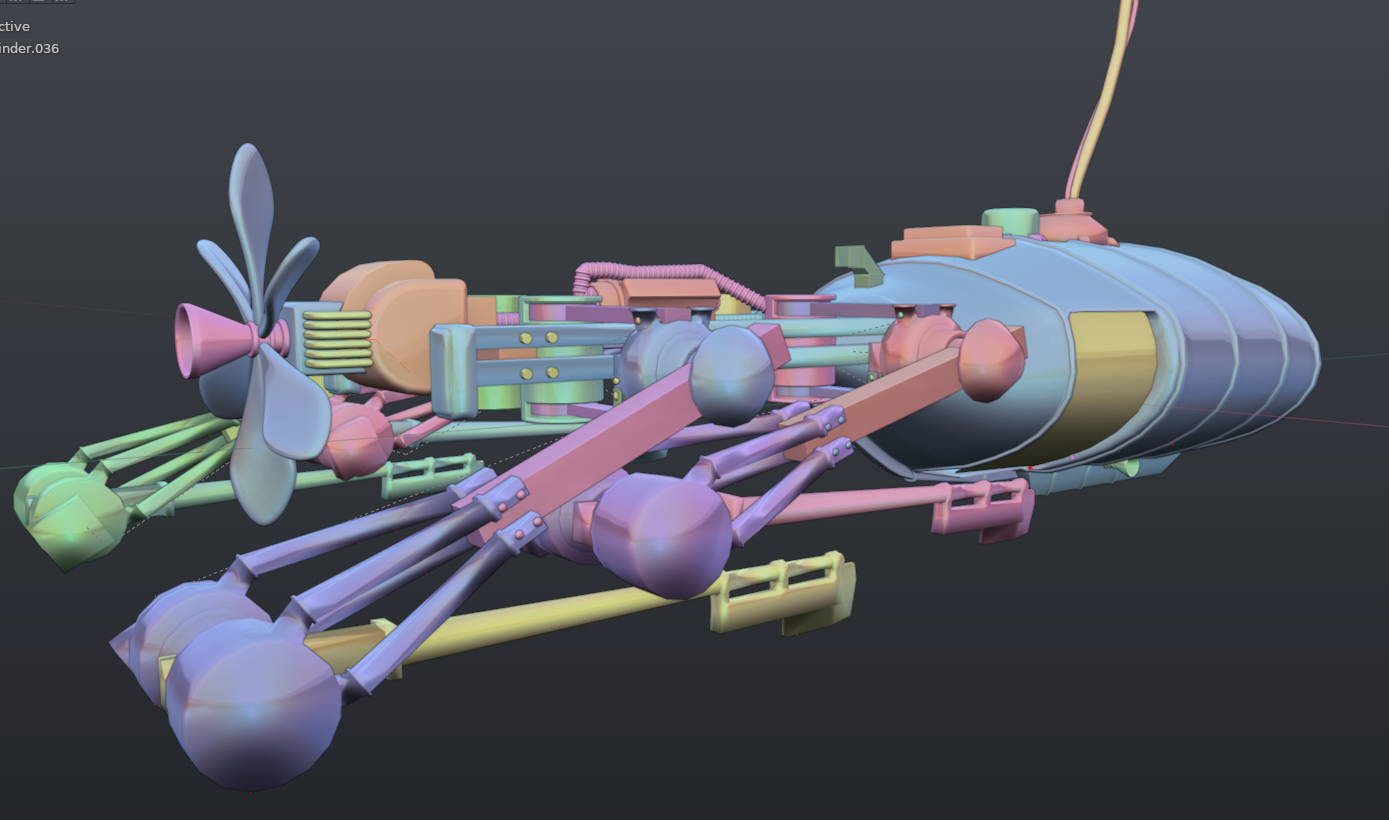
I’ve made some changes to my submarine- I took pretty much everything off the back, as it wasn’t adding much functionally and didn’t make sense practically. Unless there’s something glaringly wrong with it, I’m going to call the modeling done:
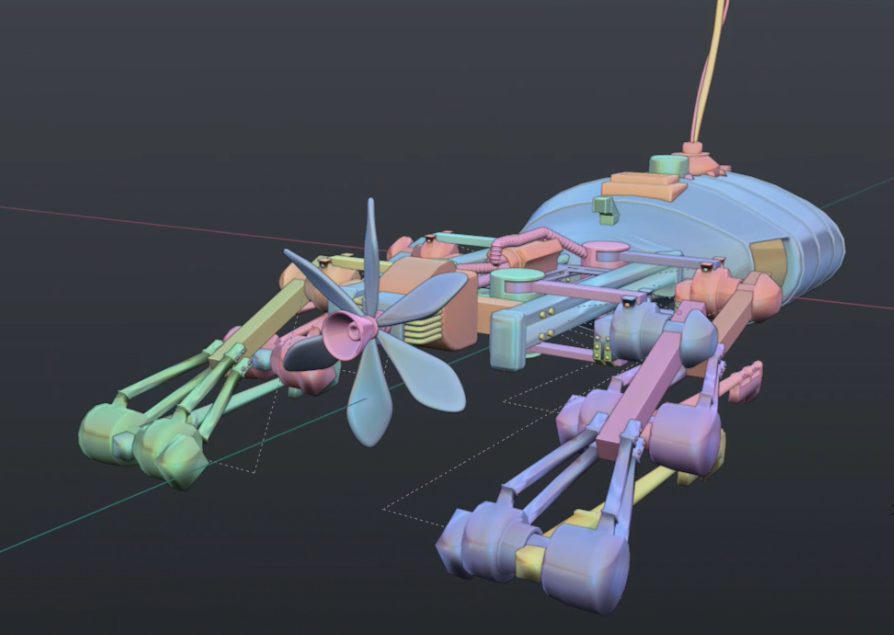
Some leg articulation:
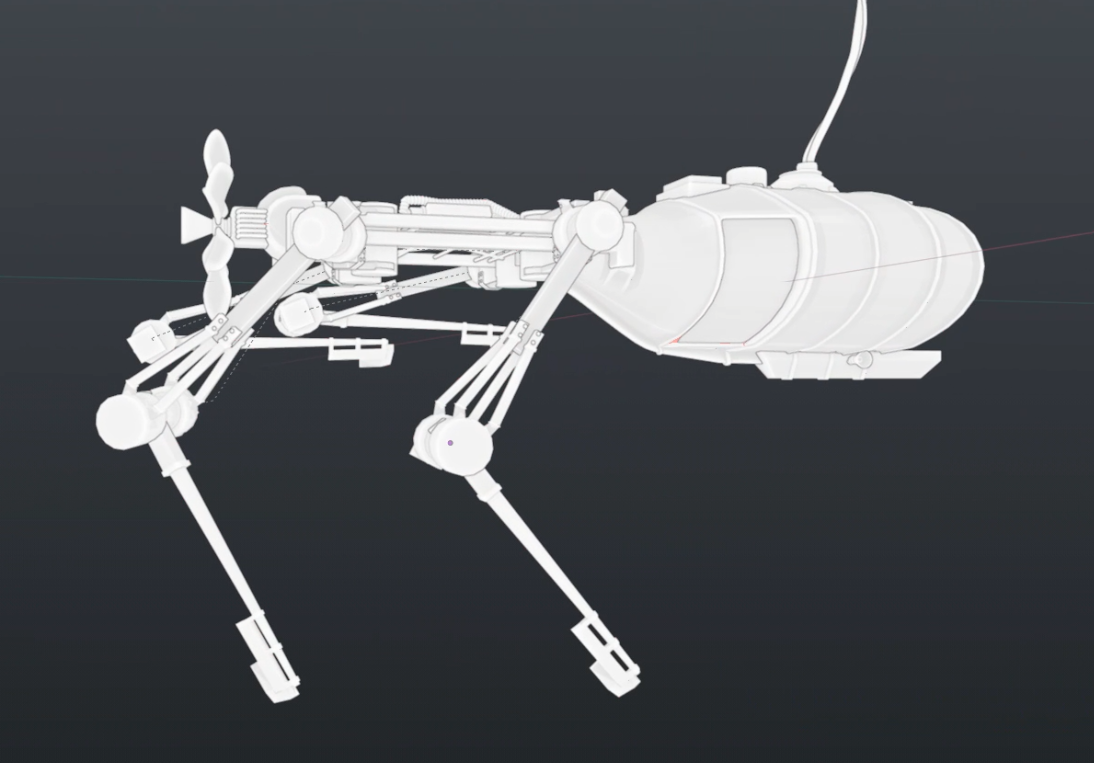
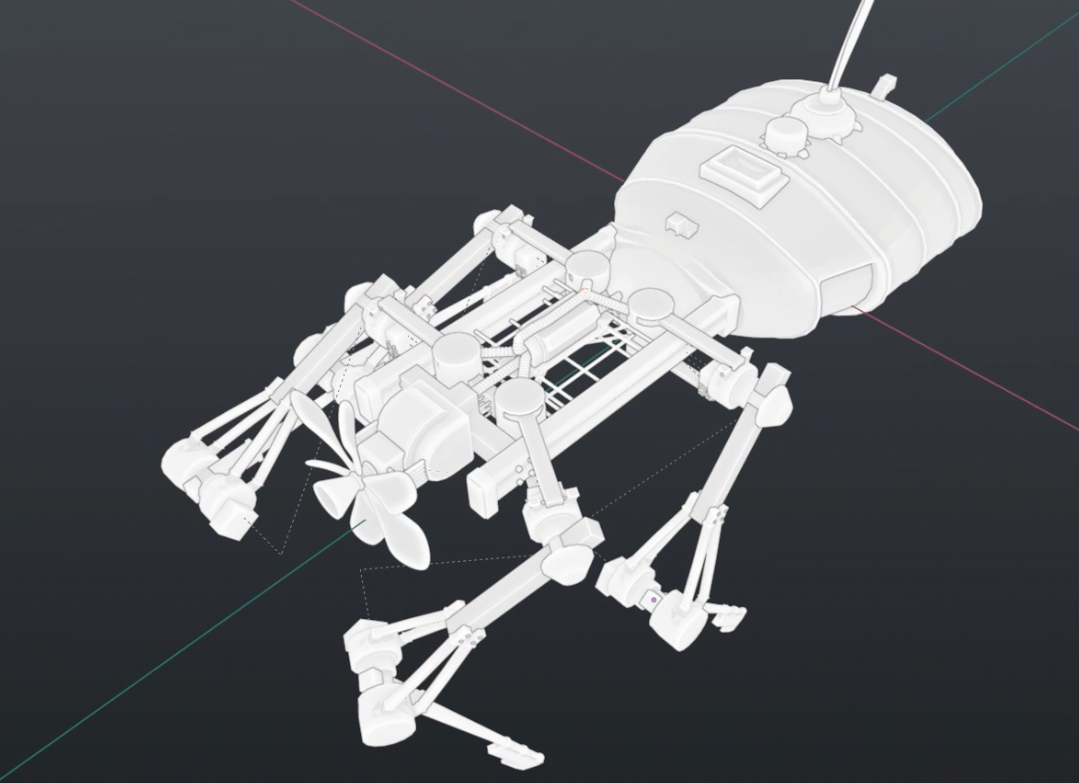
@Minamookevlar I followed your joint suggestion pretty closely:
wow, you’ve been busy the past 12 hours…
neat to see the “real” vs the concept drawing, btw. i have much more a sense of the overall, now (which… dur, it was "concept…)
suggestion - on the curved surfaces have faceting, add more resolution?
Hard-surface modeling like this is pretty fast for me, it’s the texturing, composition, lighting, and other artistic elements that usually takes me a few months ![]() I do want to get faster at that stuff generally, though, I’d like to be completely done with this project by the end of the month
I do want to get faster at that stuff generally, though, I’d like to be completely done with this project by the end of the month
Yeah, I will do that for sure. Also, the auto-smooth is just solid preview- for texturing, I shade everything smooth, even hard-surface stuff like this. My texturing process doesn’t work well with auto-smooth
Ahhhhhhhh, ok. I do the complete opposite, so hadn’t thought of that approach/pathway towards final.
I’m going to DM you, it’s easier and I don’t miss your edits that way ![]()
The sumbarine looks great! I noticed thorn said “neat to see the “real” vs the concept drawing…” but what does he mean by the “real” is it based on a scifi show, real submarine, or a 2d drawing? Also, it seems that you kept all your components in separate pieces, is there a reason for this, because it seems that it would be easier to just join them into one object. I am new to blender, so for me, it seems convenient to just join the pieces when done with modeling. I could see how you could parent them, but it just seems like an unnecessary hassle, is this a major trick I am missing, or just personal preference?
Keep up the good work,
-Julian
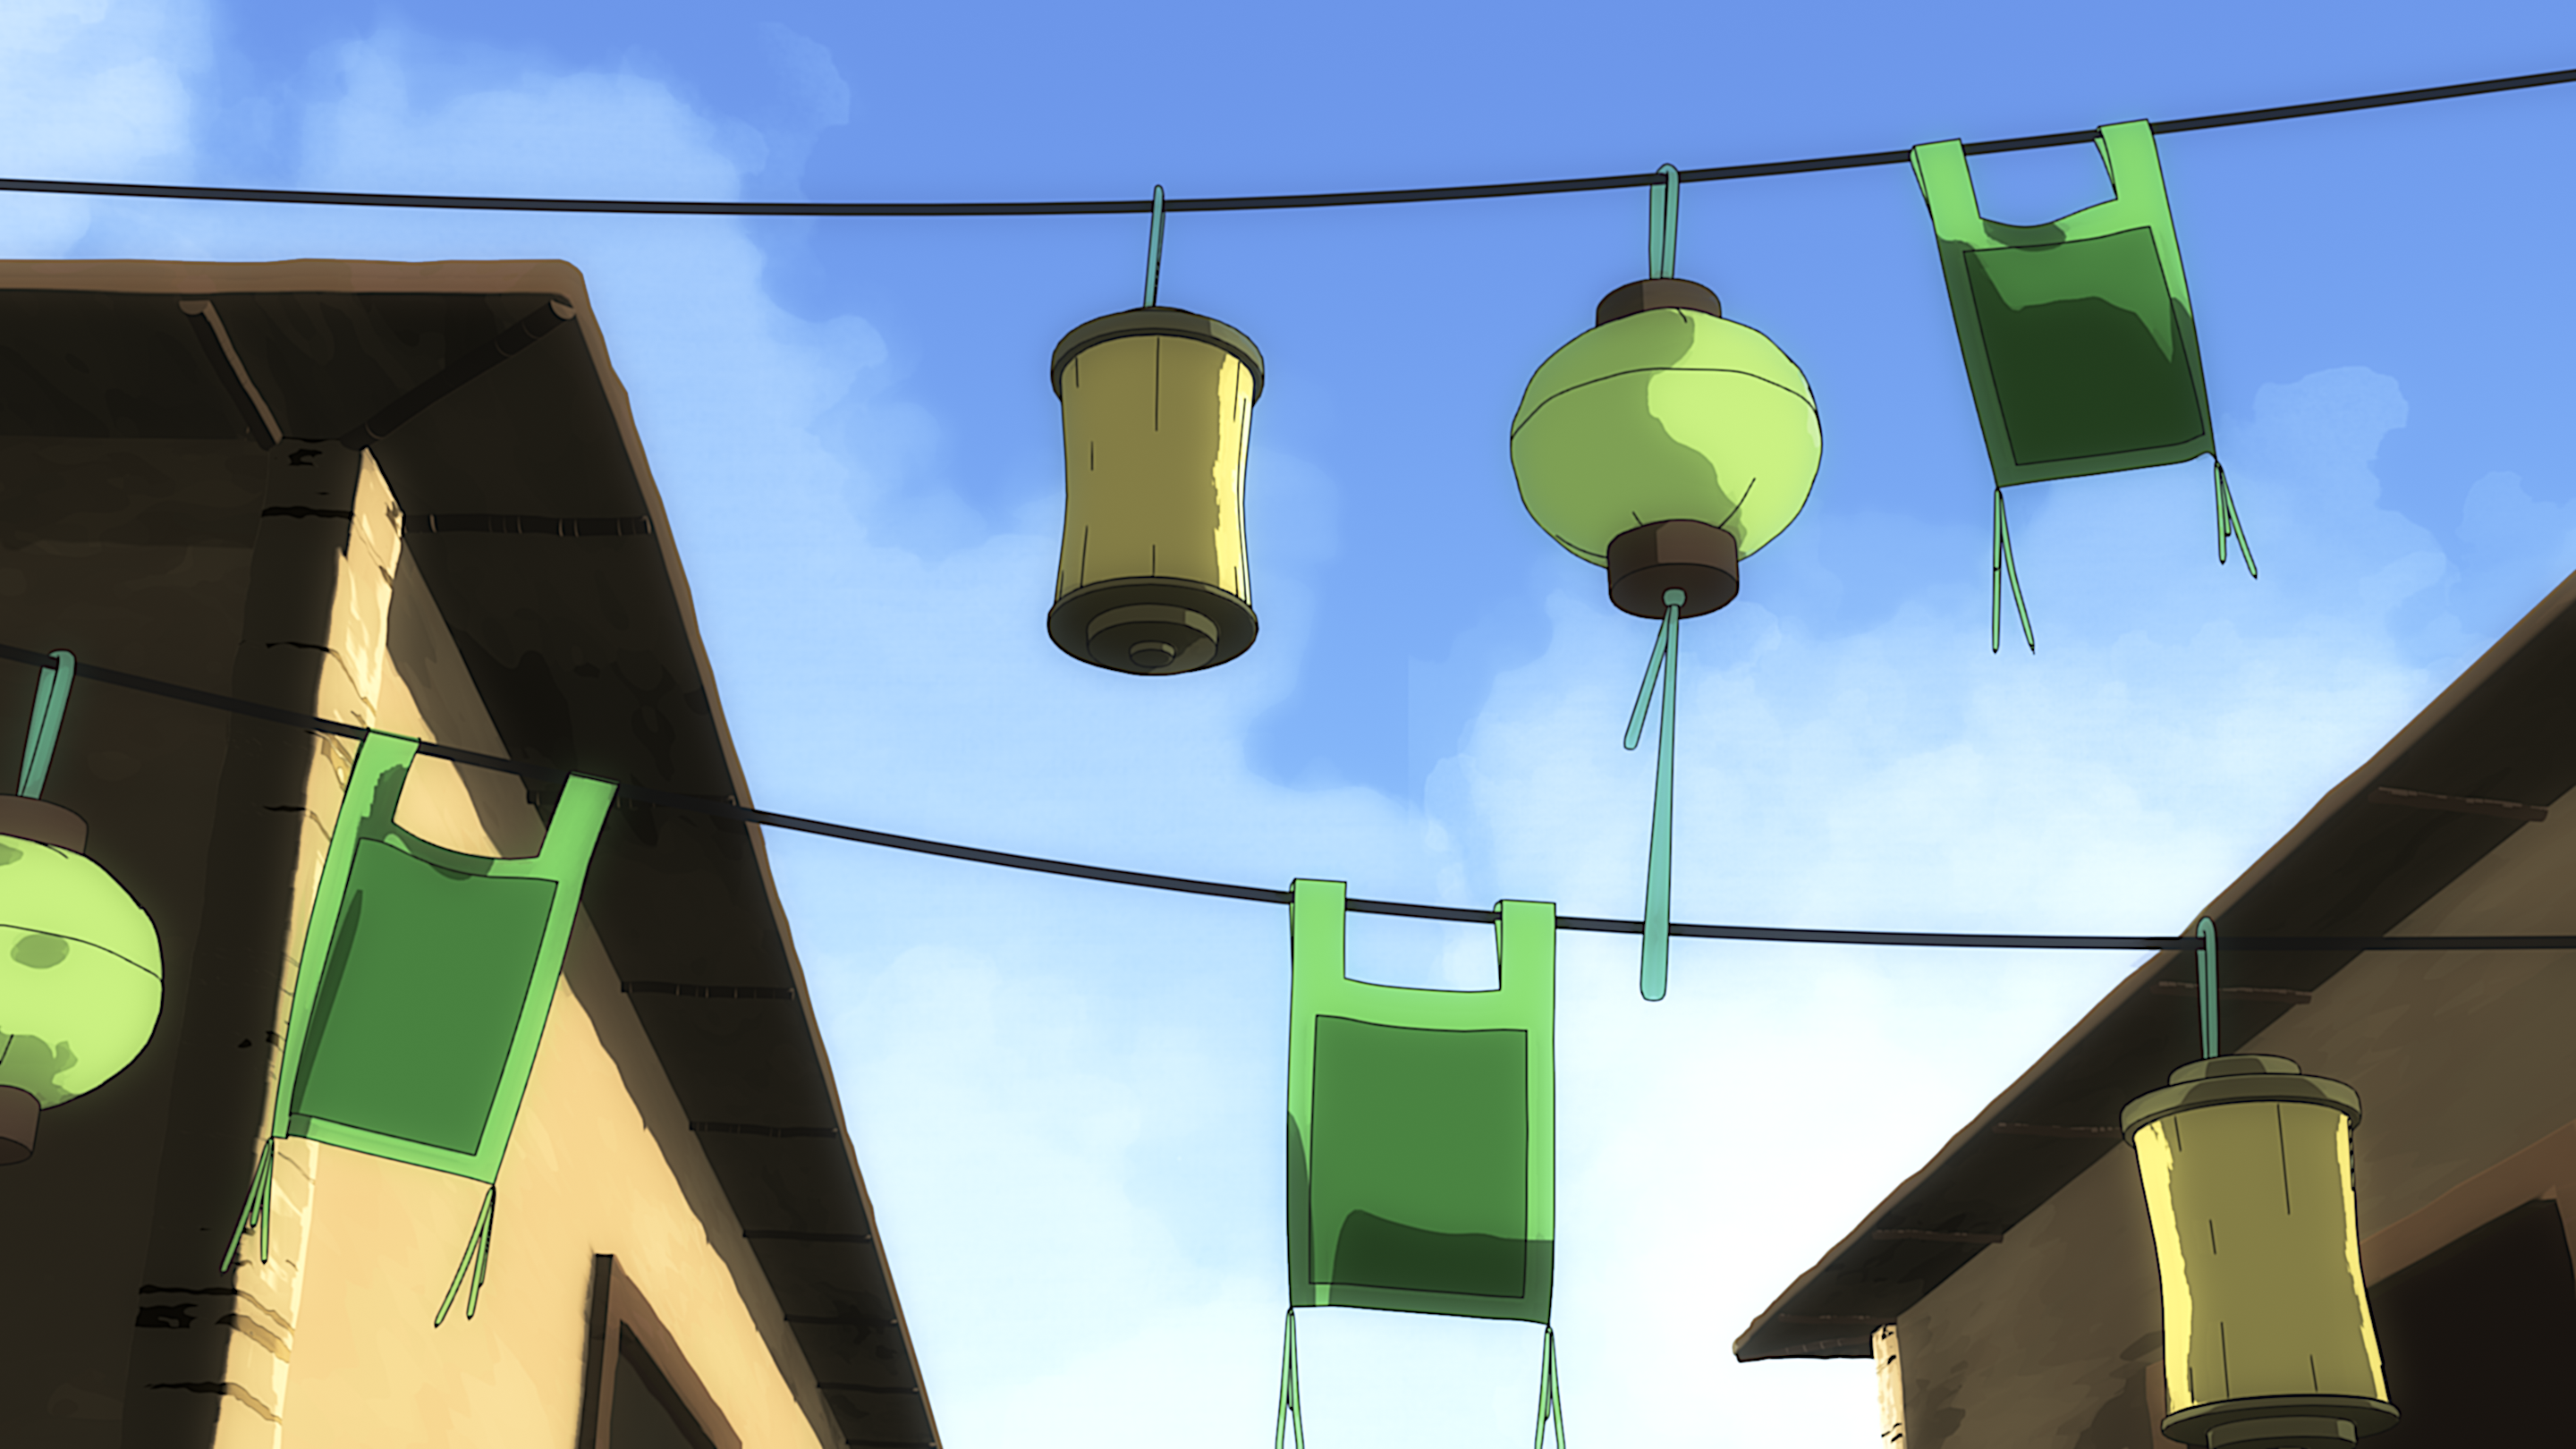
It’s based on a concept drawing I did, which you can find here:
I should have linked that earlier, my bad.
I have a few reasons for leaving things separate- it makes it a lot easier if I realize I don’t like a part, I can just re-model it and hotswap it out. It also- for me- makes texturing easier- for my personal workflow, I tend to have a few different materials that I apply per part, I can just grab parts that need to be “RustyMetal”, Shift + Q, Assign Material, boom, now all my rusty parts are rusty.
Ultimately, if I was going to rig this, I would make it one object, but I really don’t want to rig it ![]() Moving the legs works just fine with just simple parenting, and I’m not going to animate it moving most likely
Moving the legs works just fine with just simple parenting, and I’m not going to animate it moving most likely
Working on the interior, here’s crab jail:
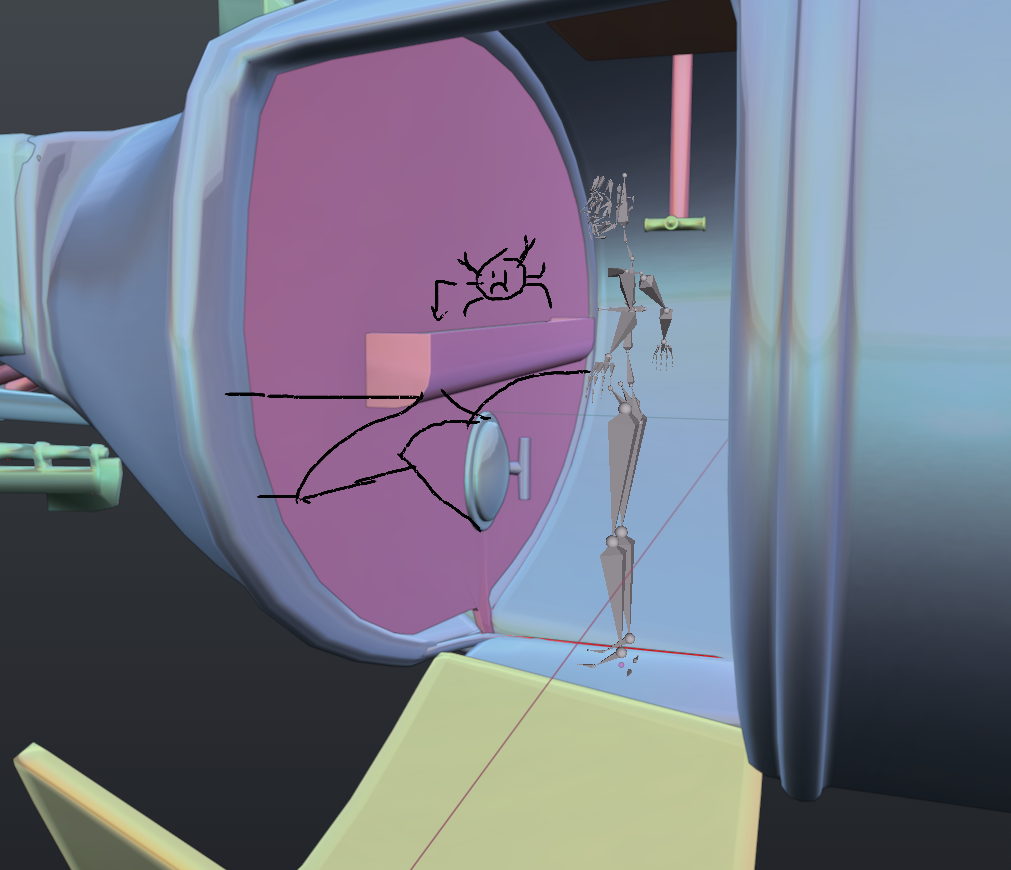
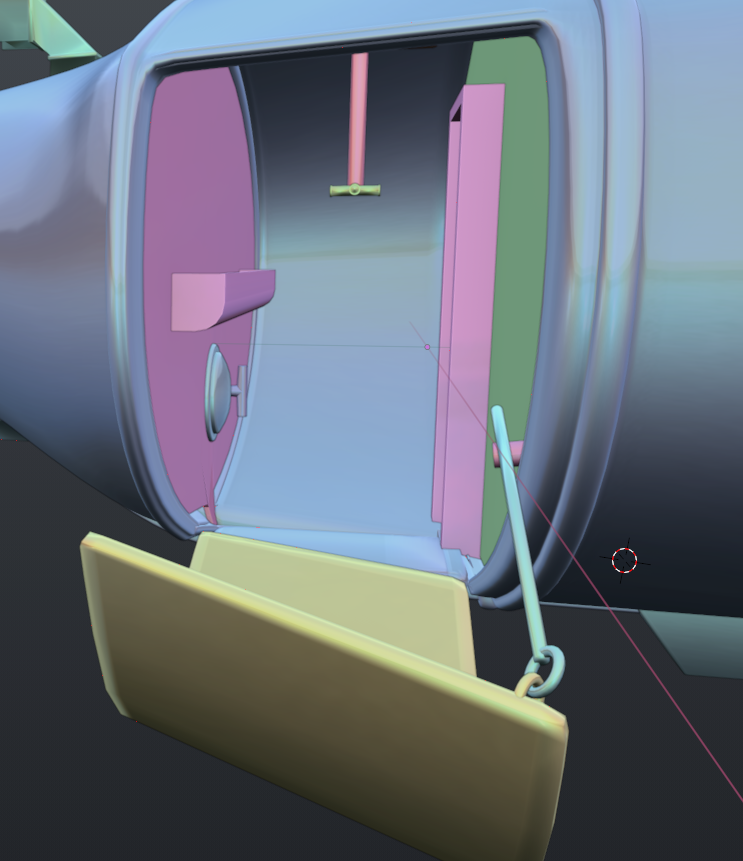
Crab goes in trough, goes down slide, slide has hole with another slide, hole goes to hatch. Open hatch, crabs come out. Seems simple enough.
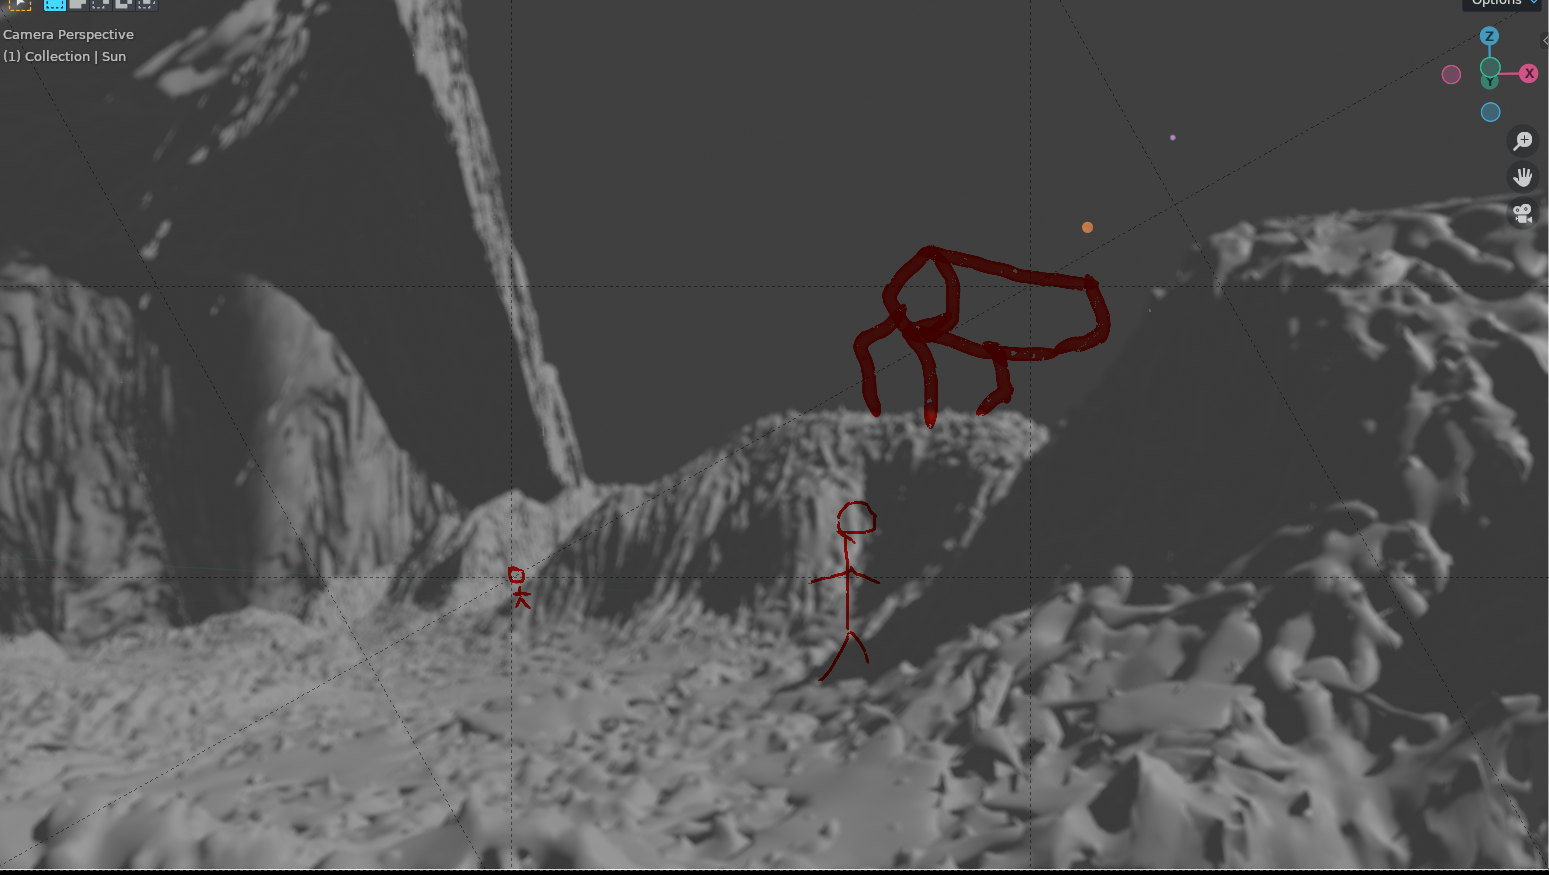
The area with the skeleton for scale is the water chamber- fishers come back from fishing, go in here, seal the door, the chamber is pumped full of air (and drained of water). There’s a breathing tube for while they wait. Once it’s dry, they can go into the main part of the submarine (to the right), which never has water inside (under ideal operating conditions, I suppose, although if water is in an air chamber, it generally means operating conditions are as far from ideal as you can get)
Ha ha, sounds like a cool animation, keep me posted.
I’m glad you liked it!
And that looks really nice. Kinda like a sea spider.
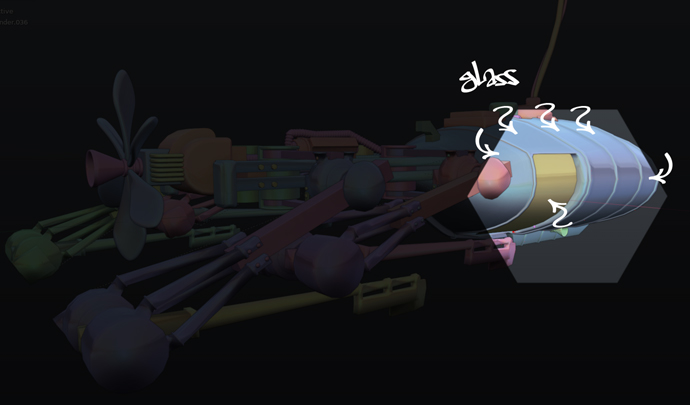
Glass sections on the hull/abdomen structured with some serious gauge steel strapping might be sausome sauce!
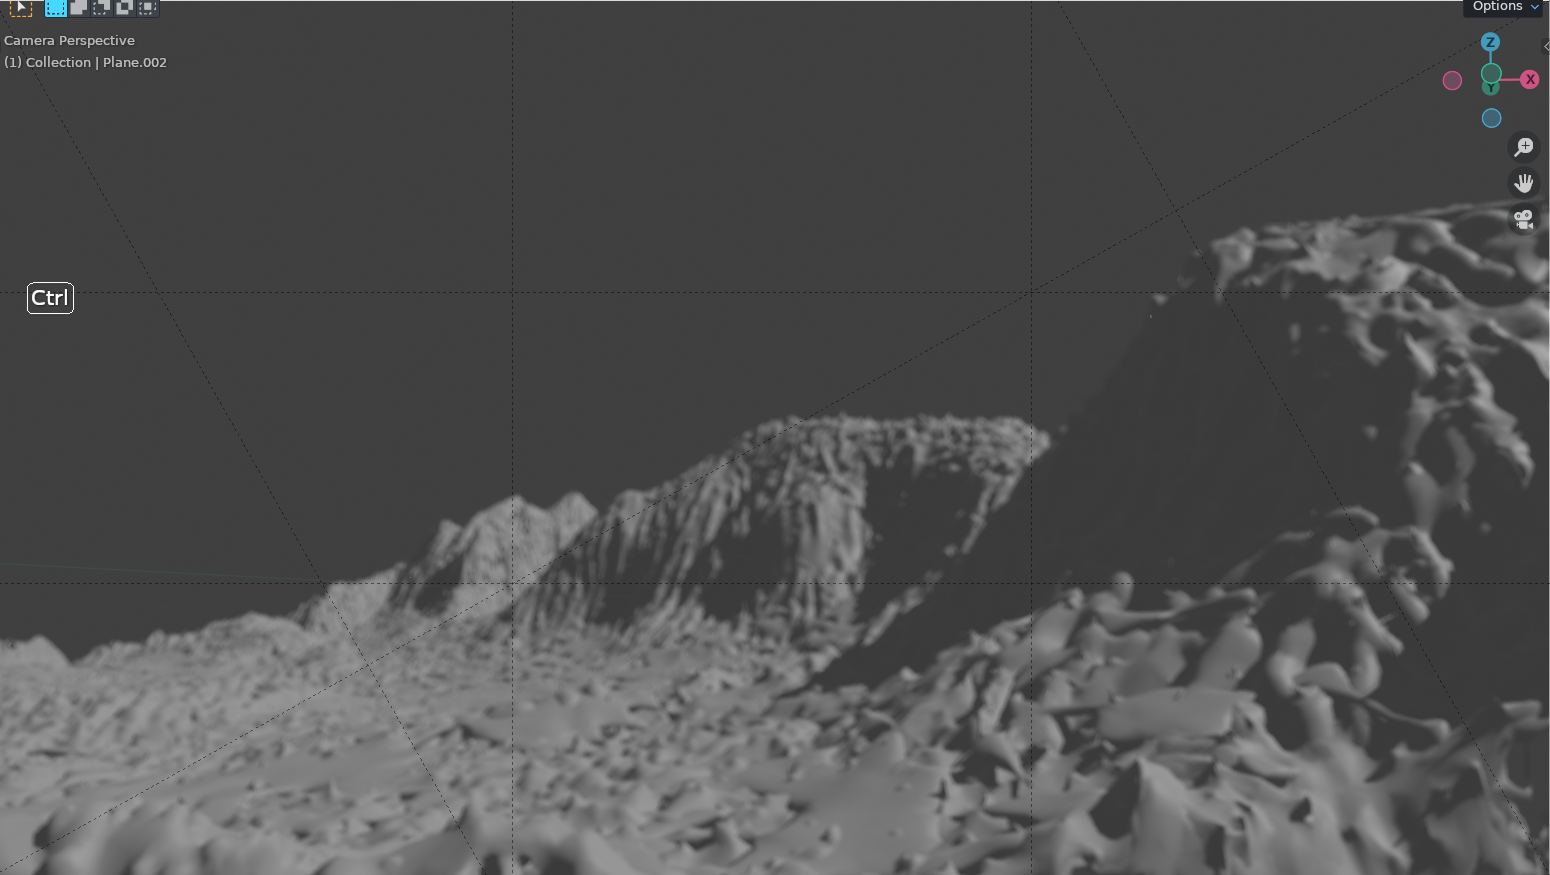
Working on ocean floor and composition- I do have submarine updates as well, those are down a bit- thoughts?
My original sketch was this:

I could also get rid of the overhang:
I’m not great at this, so I welcome feedback ![]()
- Yes!
- No!
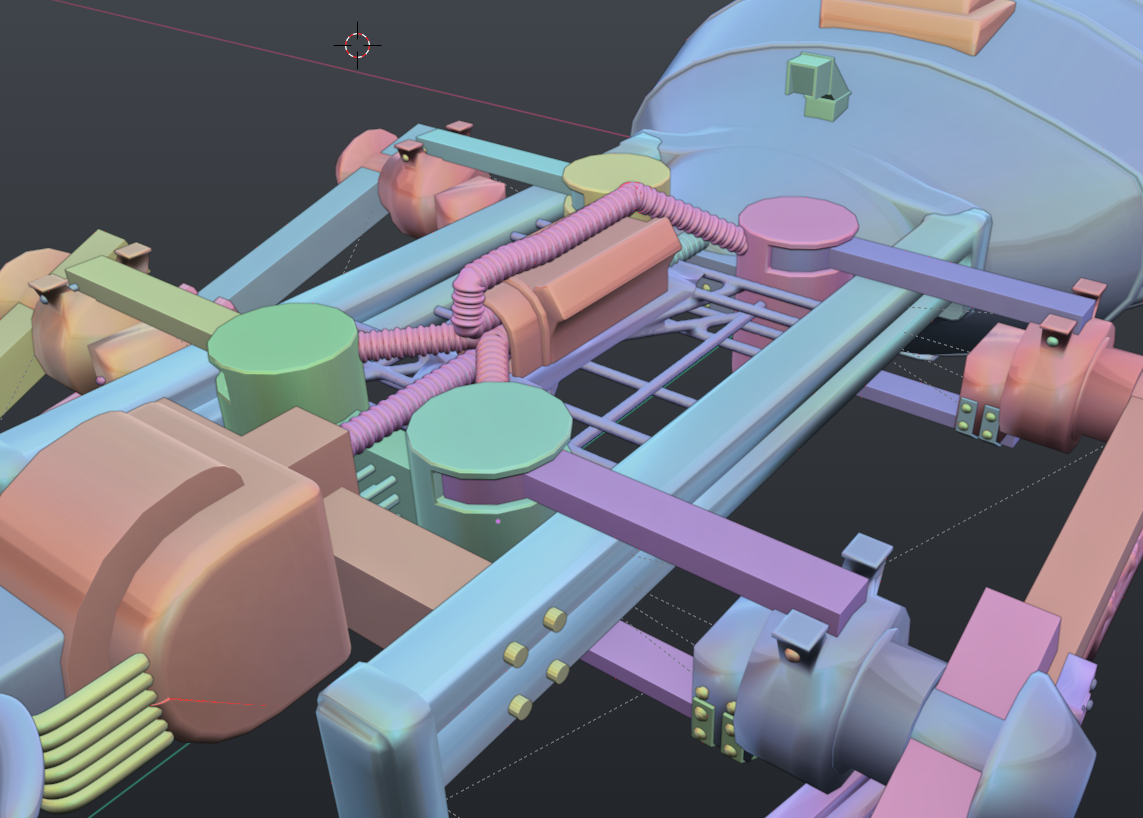
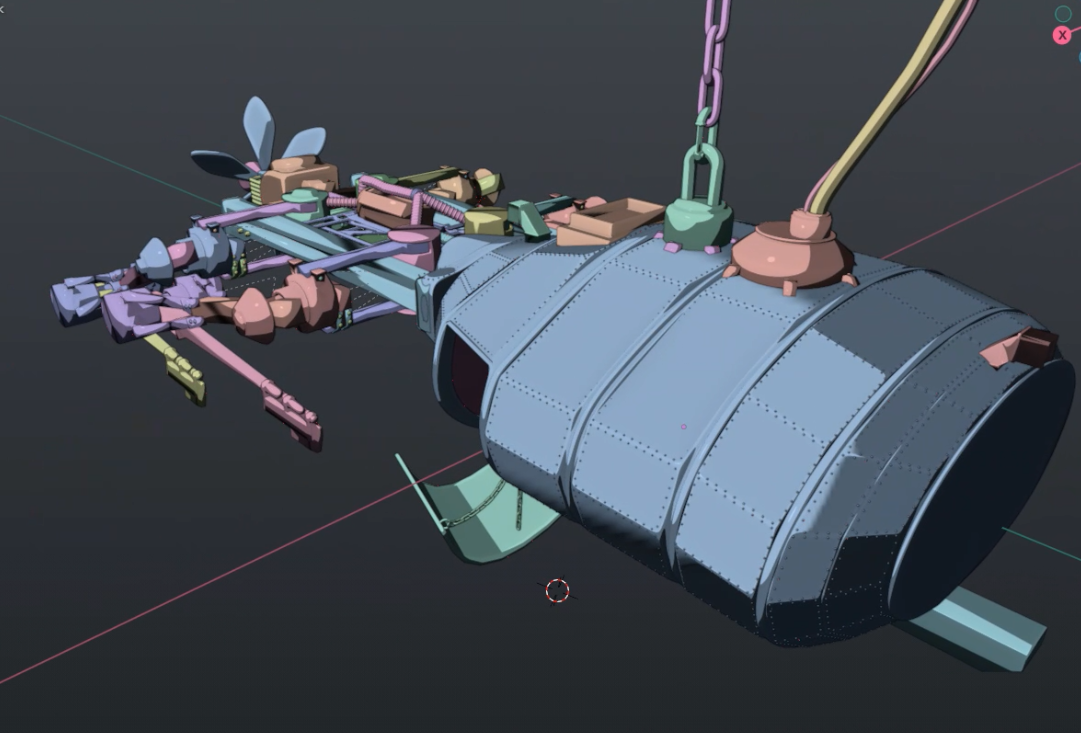
I paneled and riveted the submarine:
I’m curious, how did you make the floor? Sculpting? I think it looks nice.
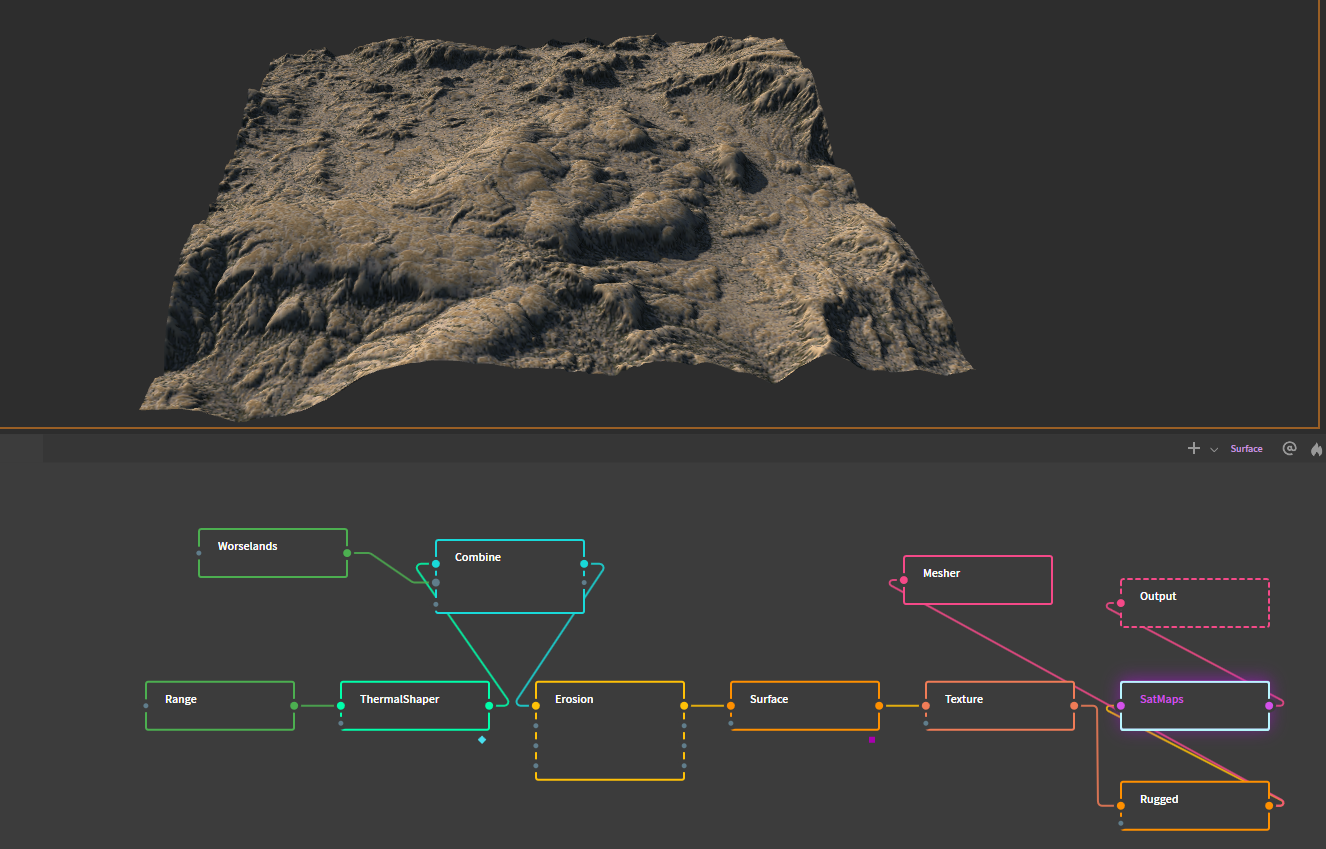
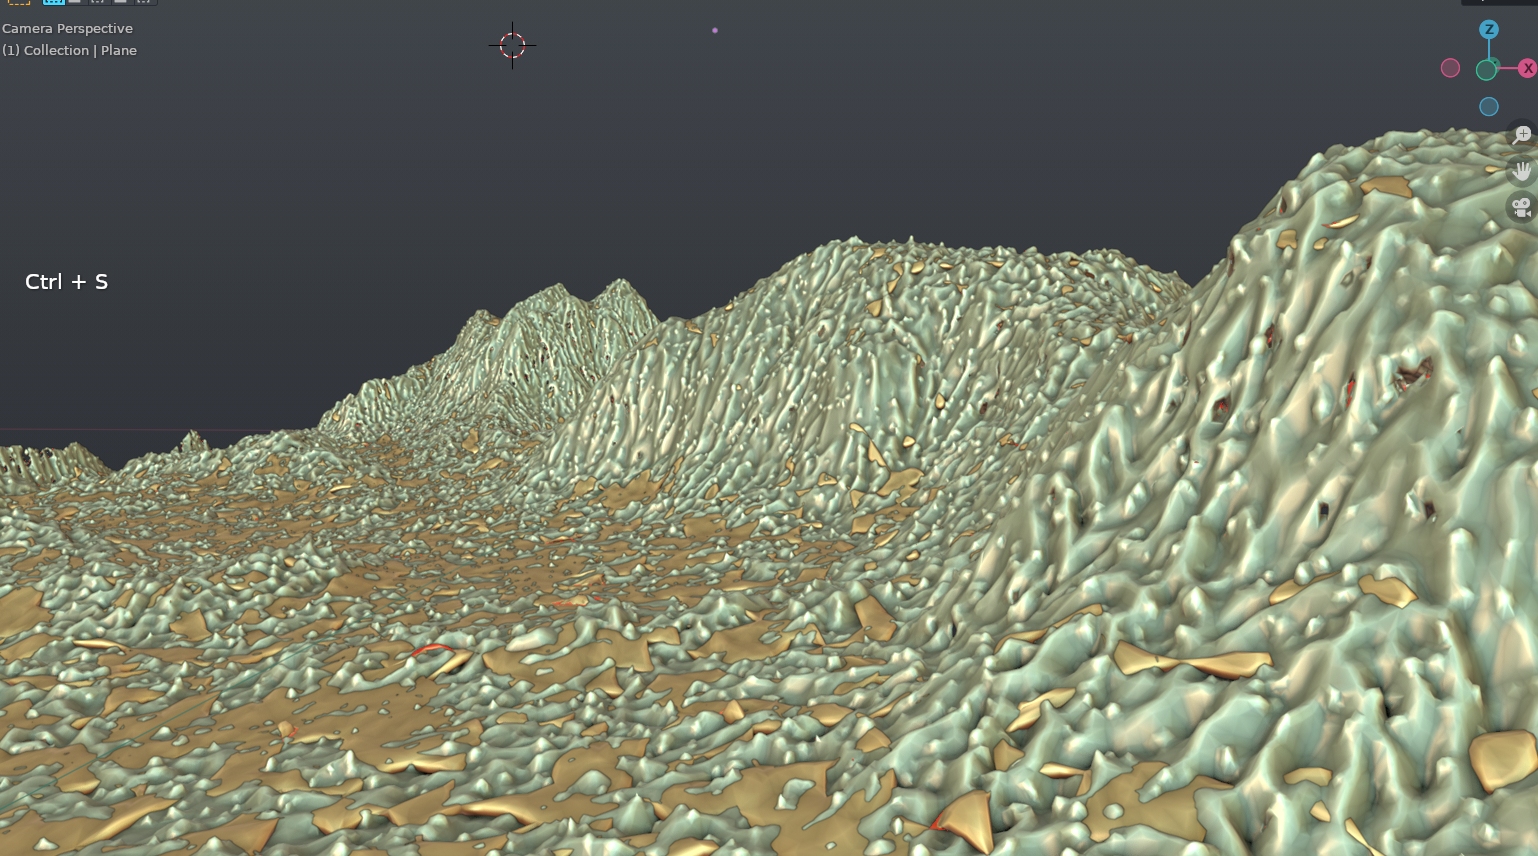
I used Gaea:
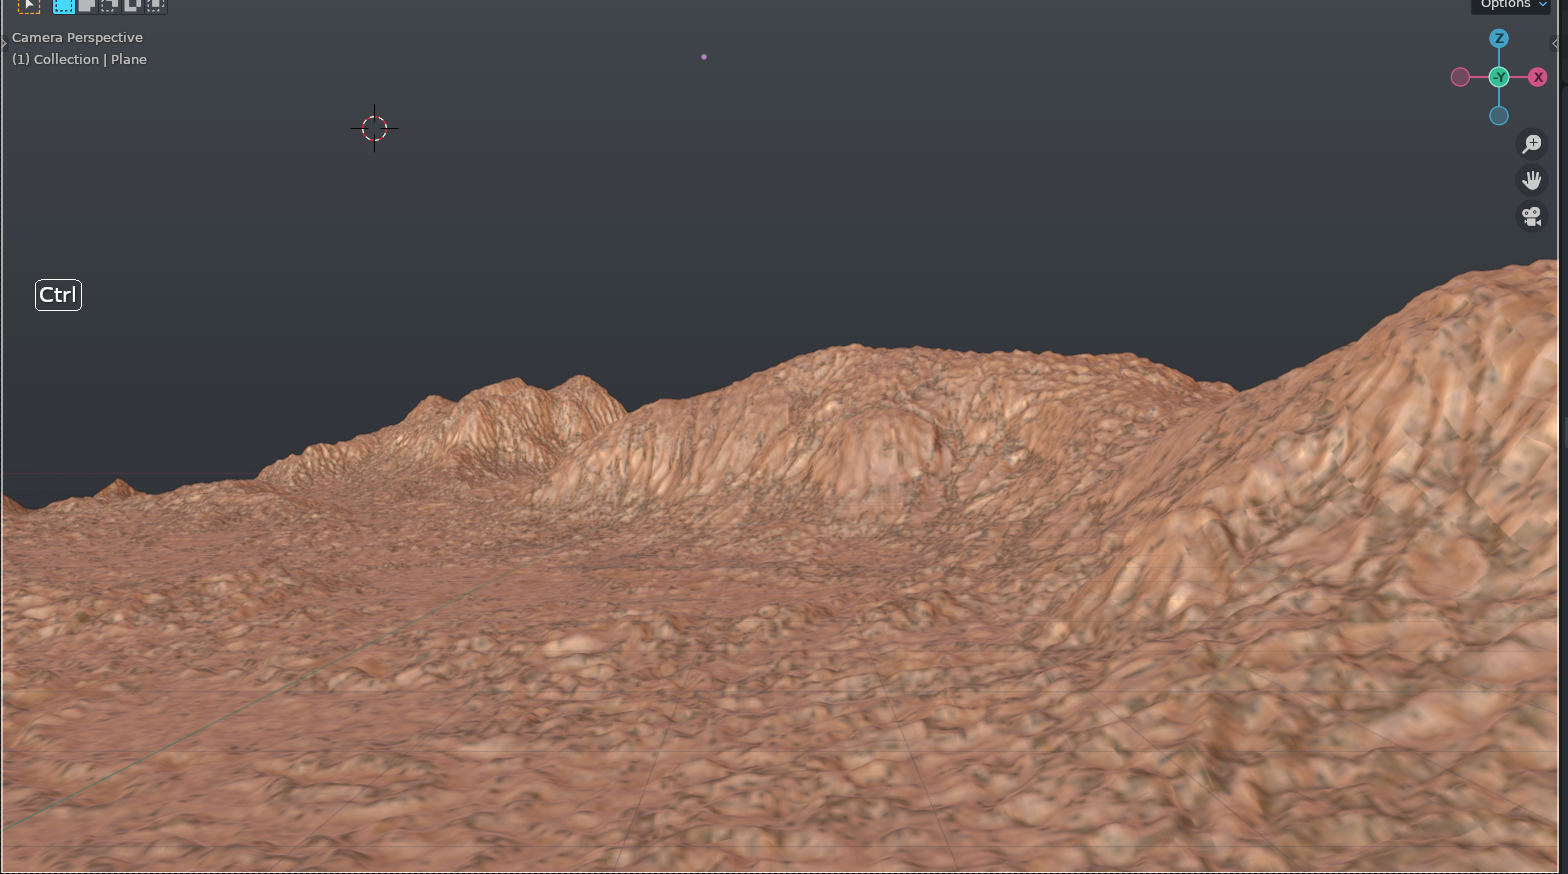
Then I brought it into Blender:
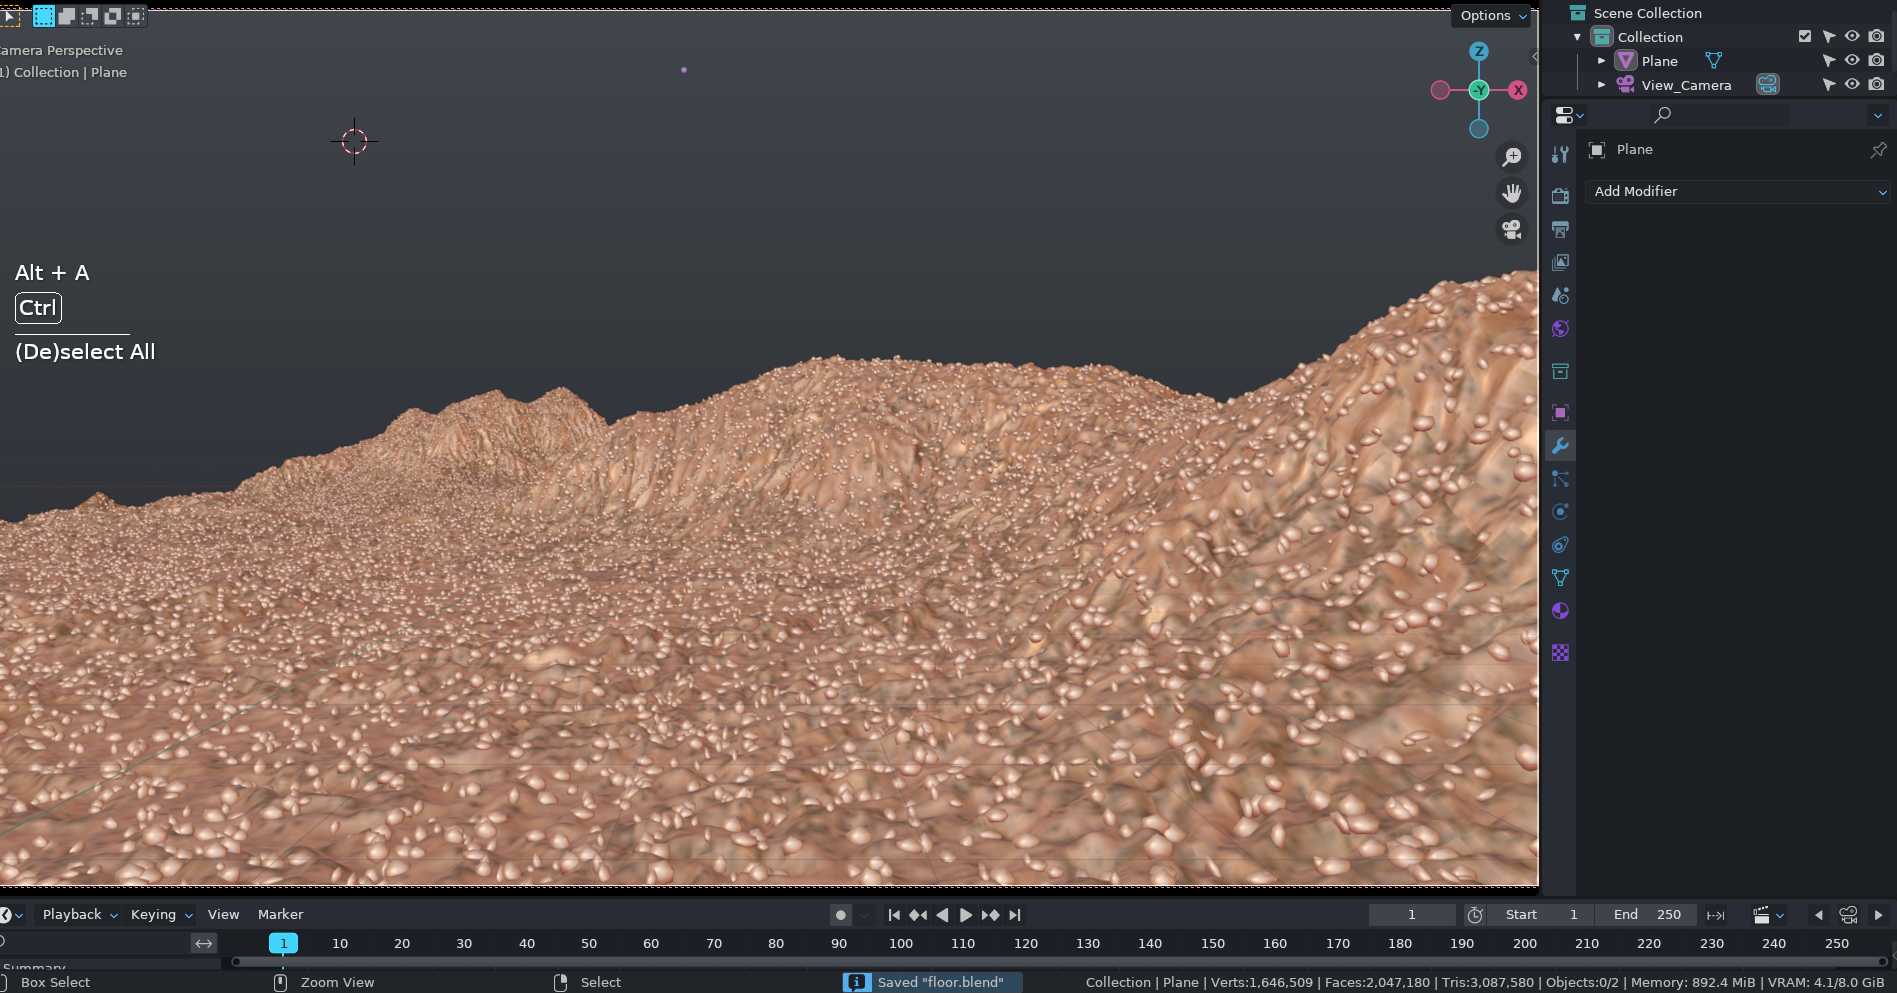
Instanced millions of pebbles:
Remeshed to remove sharp edges:
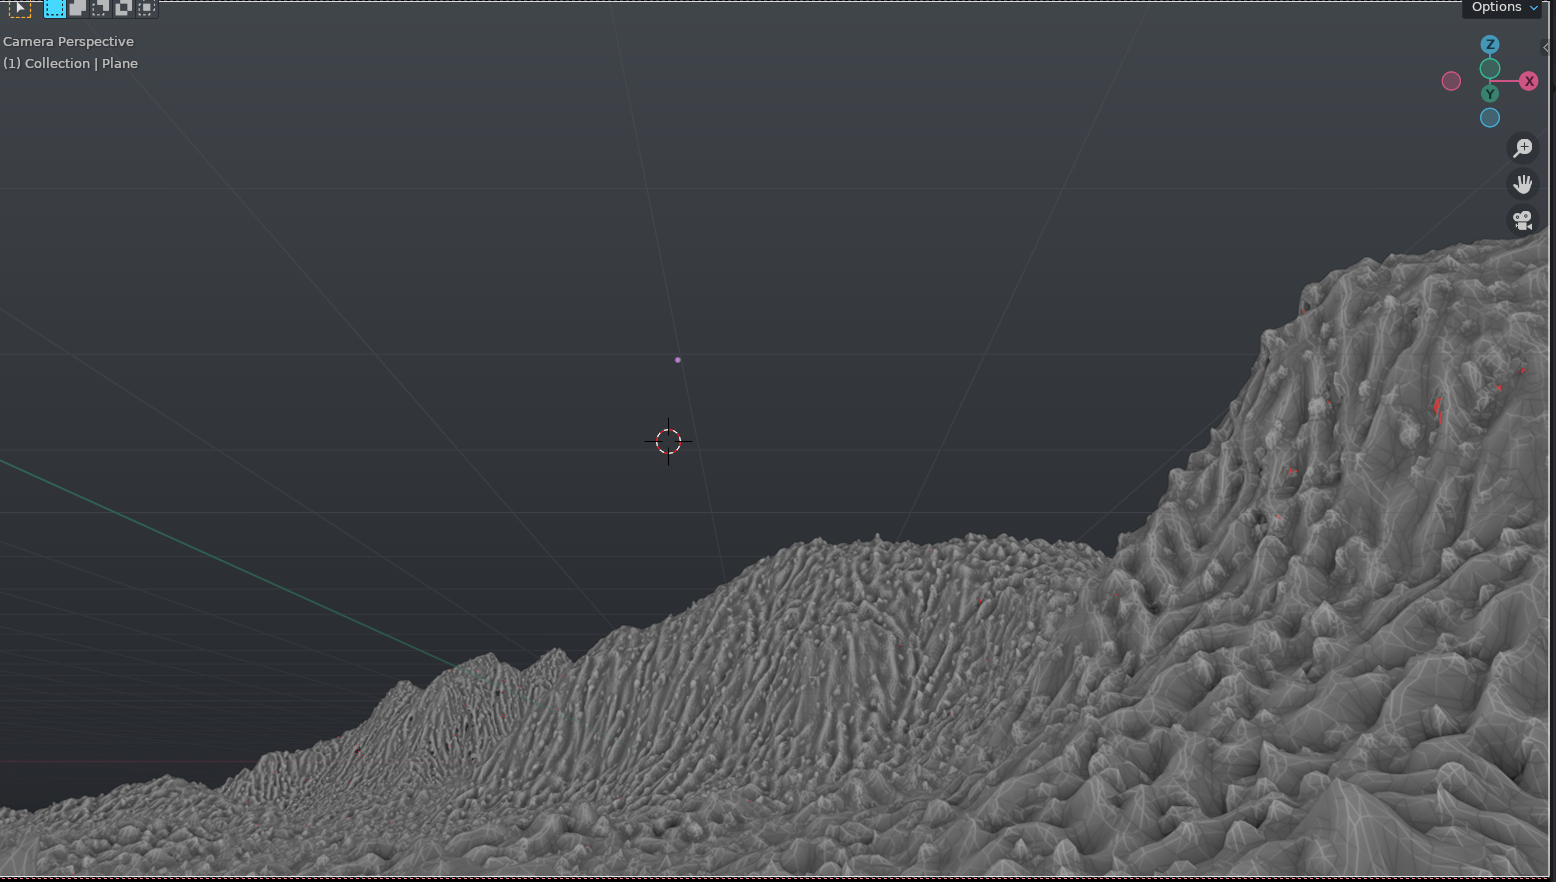
And used geometry nodes to add sand deposits on flat places:
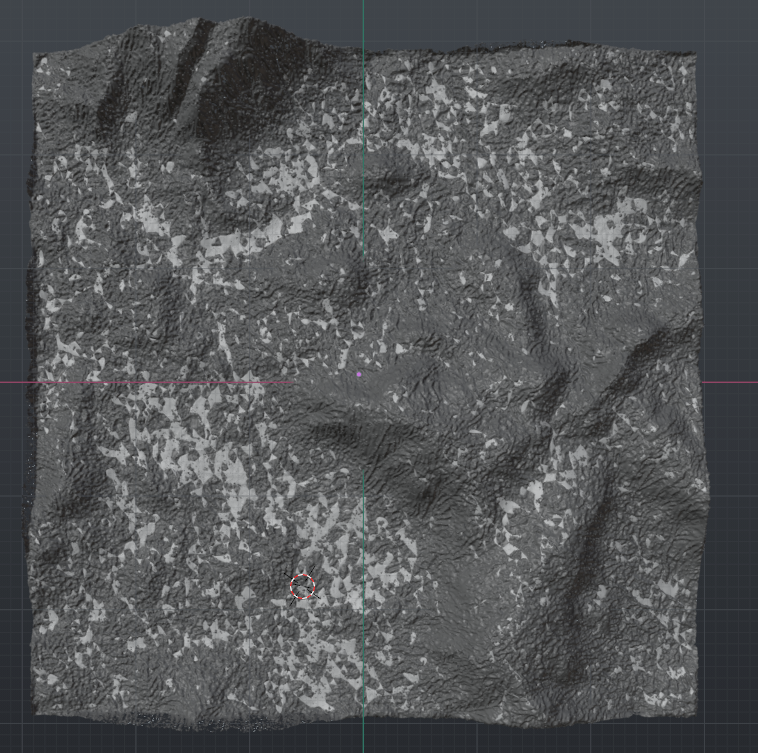
Side-note: I’ve only been able to export workable heightmaps from Gaea, whenever I try to use the mesher, I just get a useless doormat with no information in the Z axis outside of a clamped range:
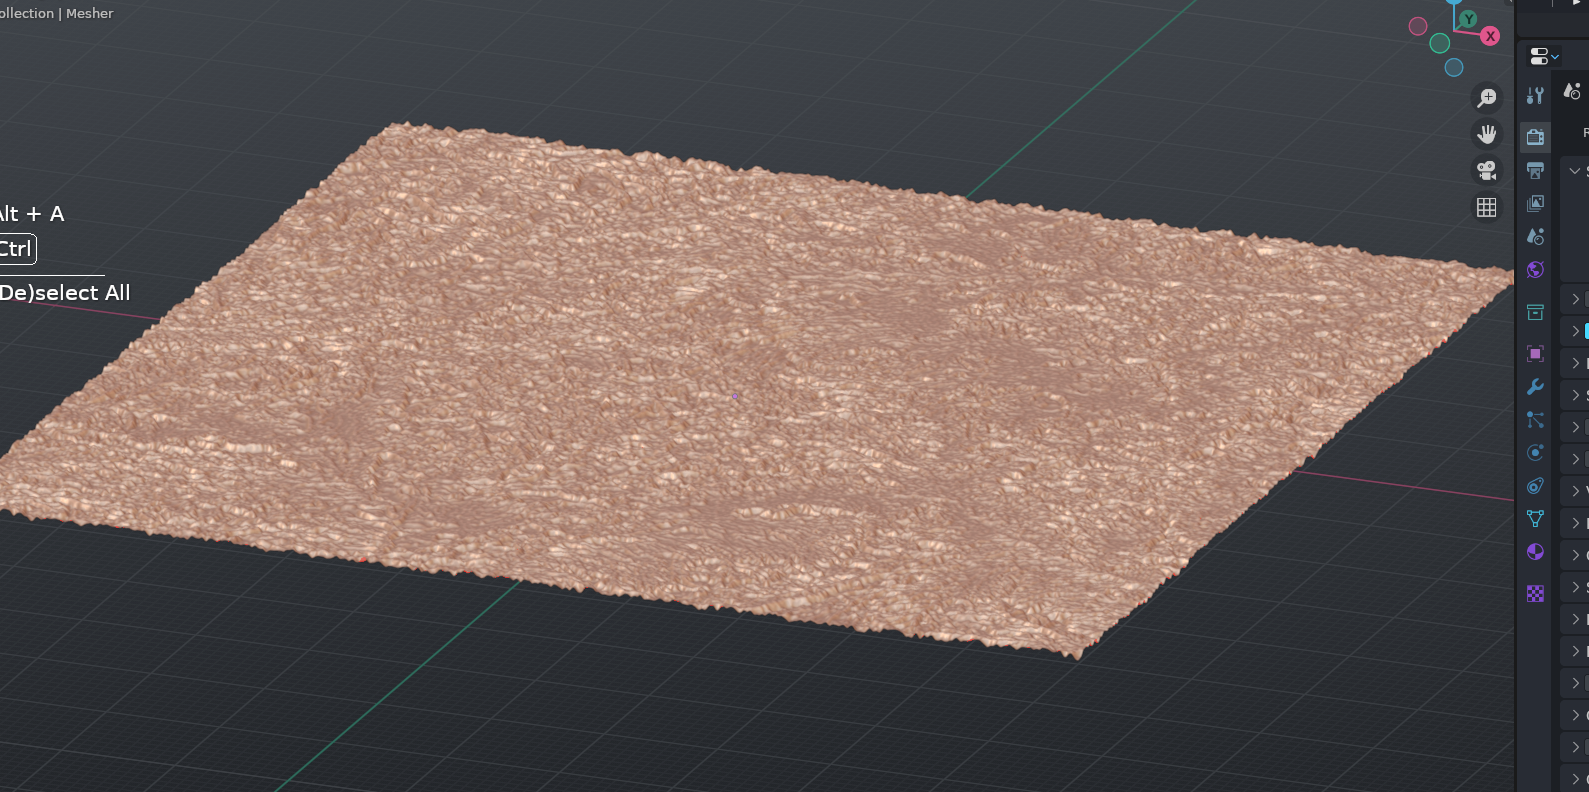
If anyone knows how to use the Gaea mesher with Blender, please share your wisdom! (also please vote on the poll in the post above, thanks ![]() )
)
I don’t know how to use the Gaea mesher with blender, but for stuff like that I use the A.N.T. landscape add-on that works within blender, and you can get it through editing your preferences and then enabling the addon. It is very useful, and then to use it, you can add it like a mesh. This is a video that might help:

Quick tip:
If the default isn’t working for you browse the Operator Presets tab at the top after you add the landscape, and you might have better luck with a different preset than the default.
Happy Blendering ![]() ,
,
Julian
I use ANT sometimes, I just prefer the node-based workflow of Gaea ![]()
ETA: With one vote for Yes and one for No, I’m not sure what to do with the overhang… hopefully more people vote (hint hint ) ![]()
I just wasn’t sure whether you were aware of that addon, because from what I see, it seems most people aren’t aware of the internal addons blender has, and instead just import stuff from the web.
Best,
Julian
Nice process, but is it to scale though? ![]()
Just kidding, that was a problem for me with terrain. It actually looks very nice.
Depends on how it’s going to be shaded in the end, I guess ![]()
If it’s a low-frequency / solid shape in the background, I think it might look nice.
As it is, it seems to confuse the composition, I think…?