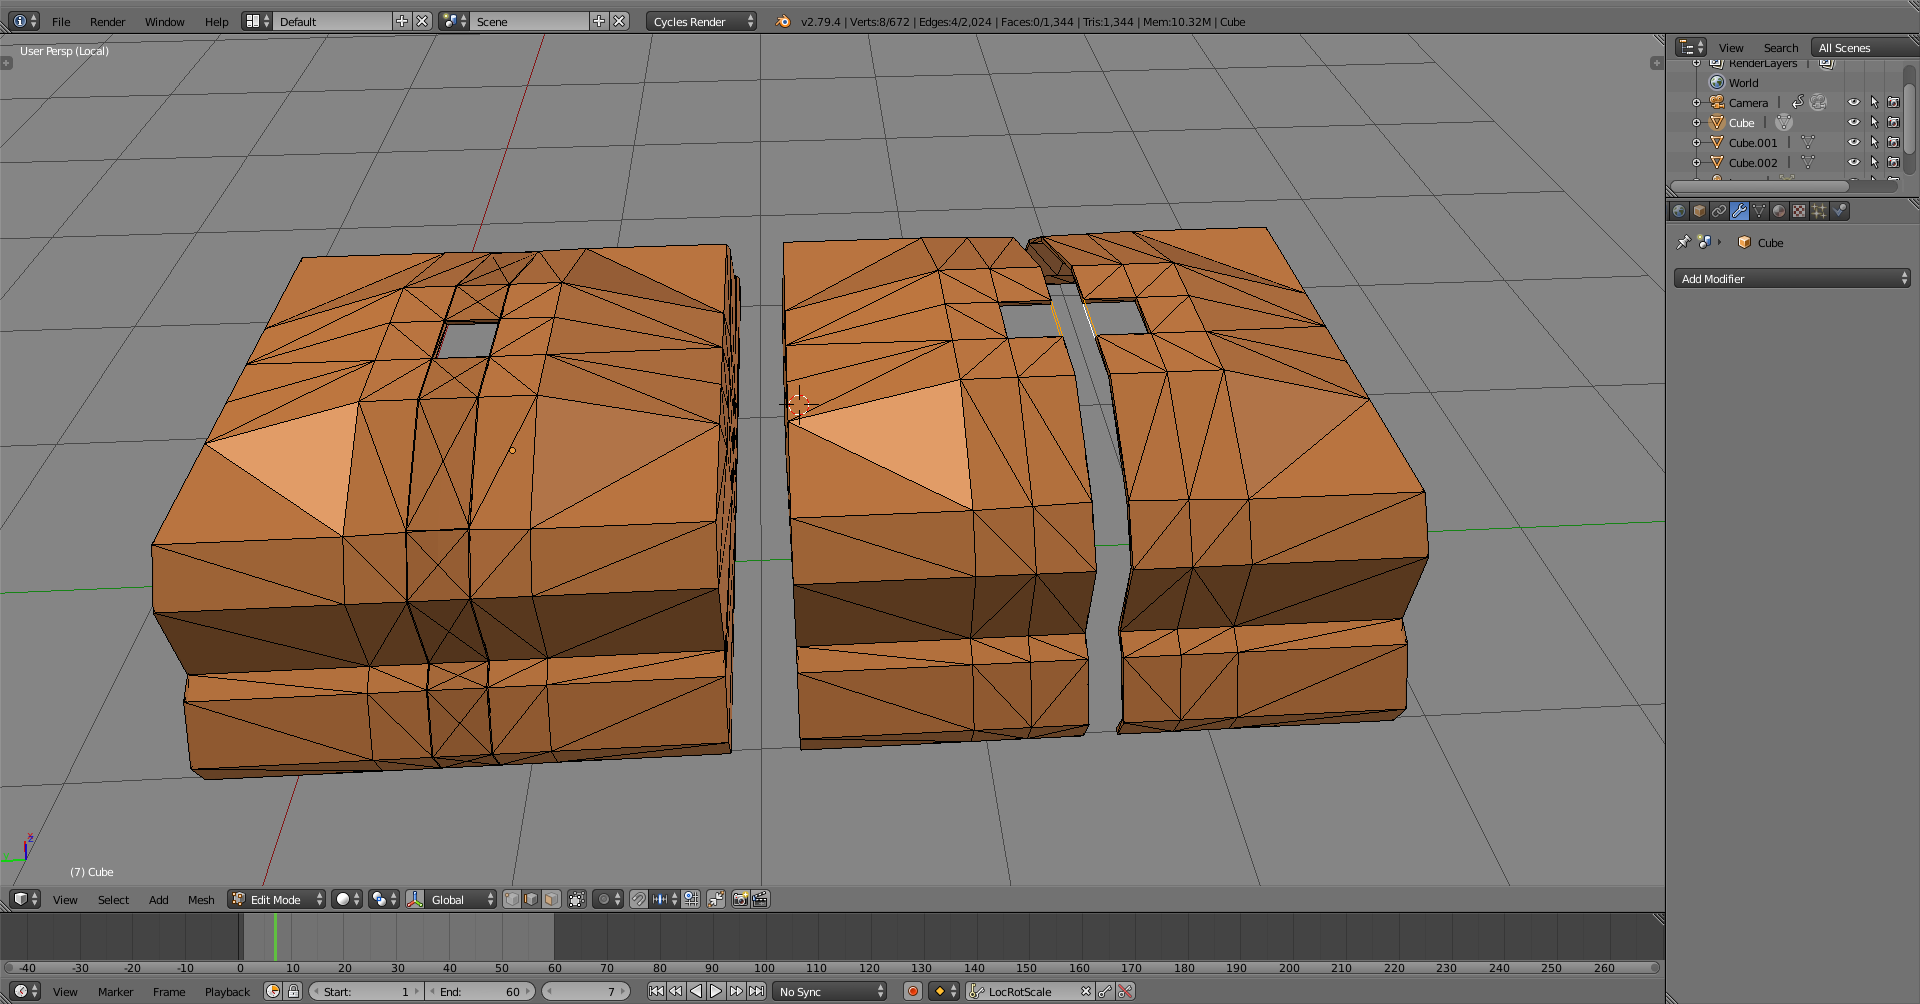
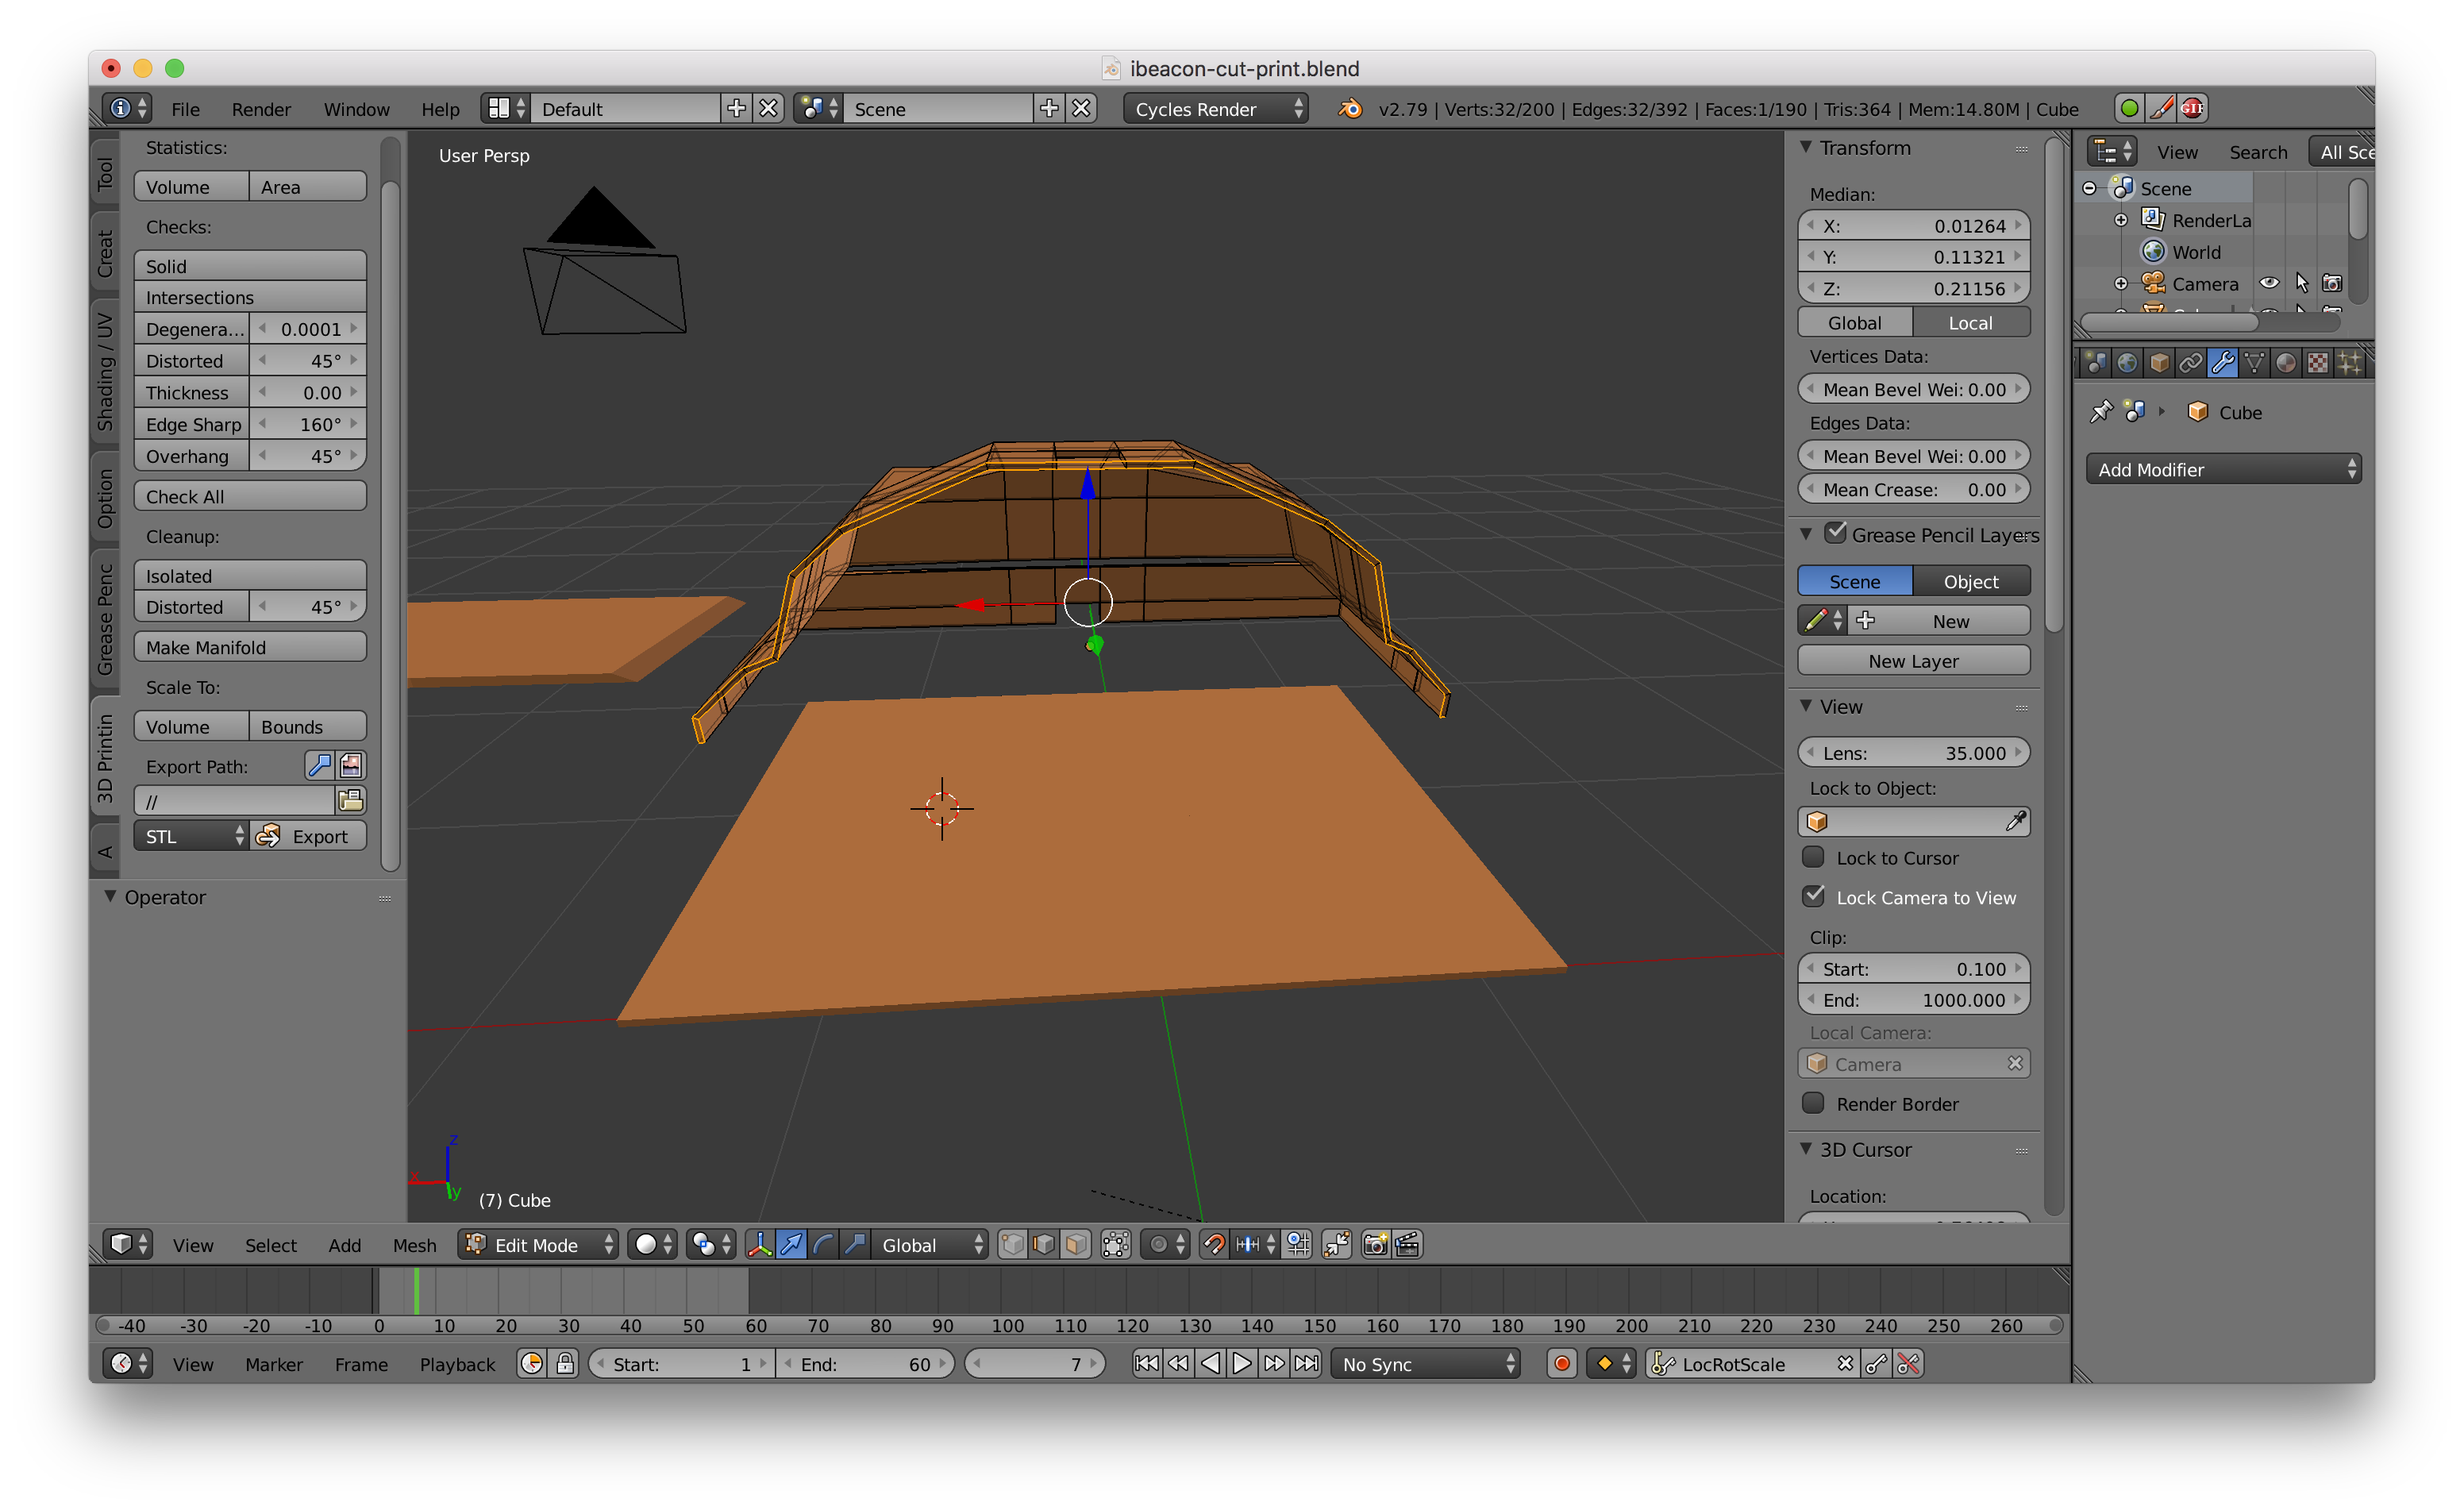
Hi, I modeled this object in Blender and I cut a hole in it. I’d like to 3D print the object with the hole on the top but whenever I import it to Slic3r to see if it if my model is being read correctly the model is displayed without the hole.
here is the .stl file
and the .blend file (I can’t upload files here since I’m a new user for now)
seems like reusing this filehosting service caused my post to be marked as spam. Wondering when the file upload limitation will be removed from my account so I don’t need to use any 3rd party service.
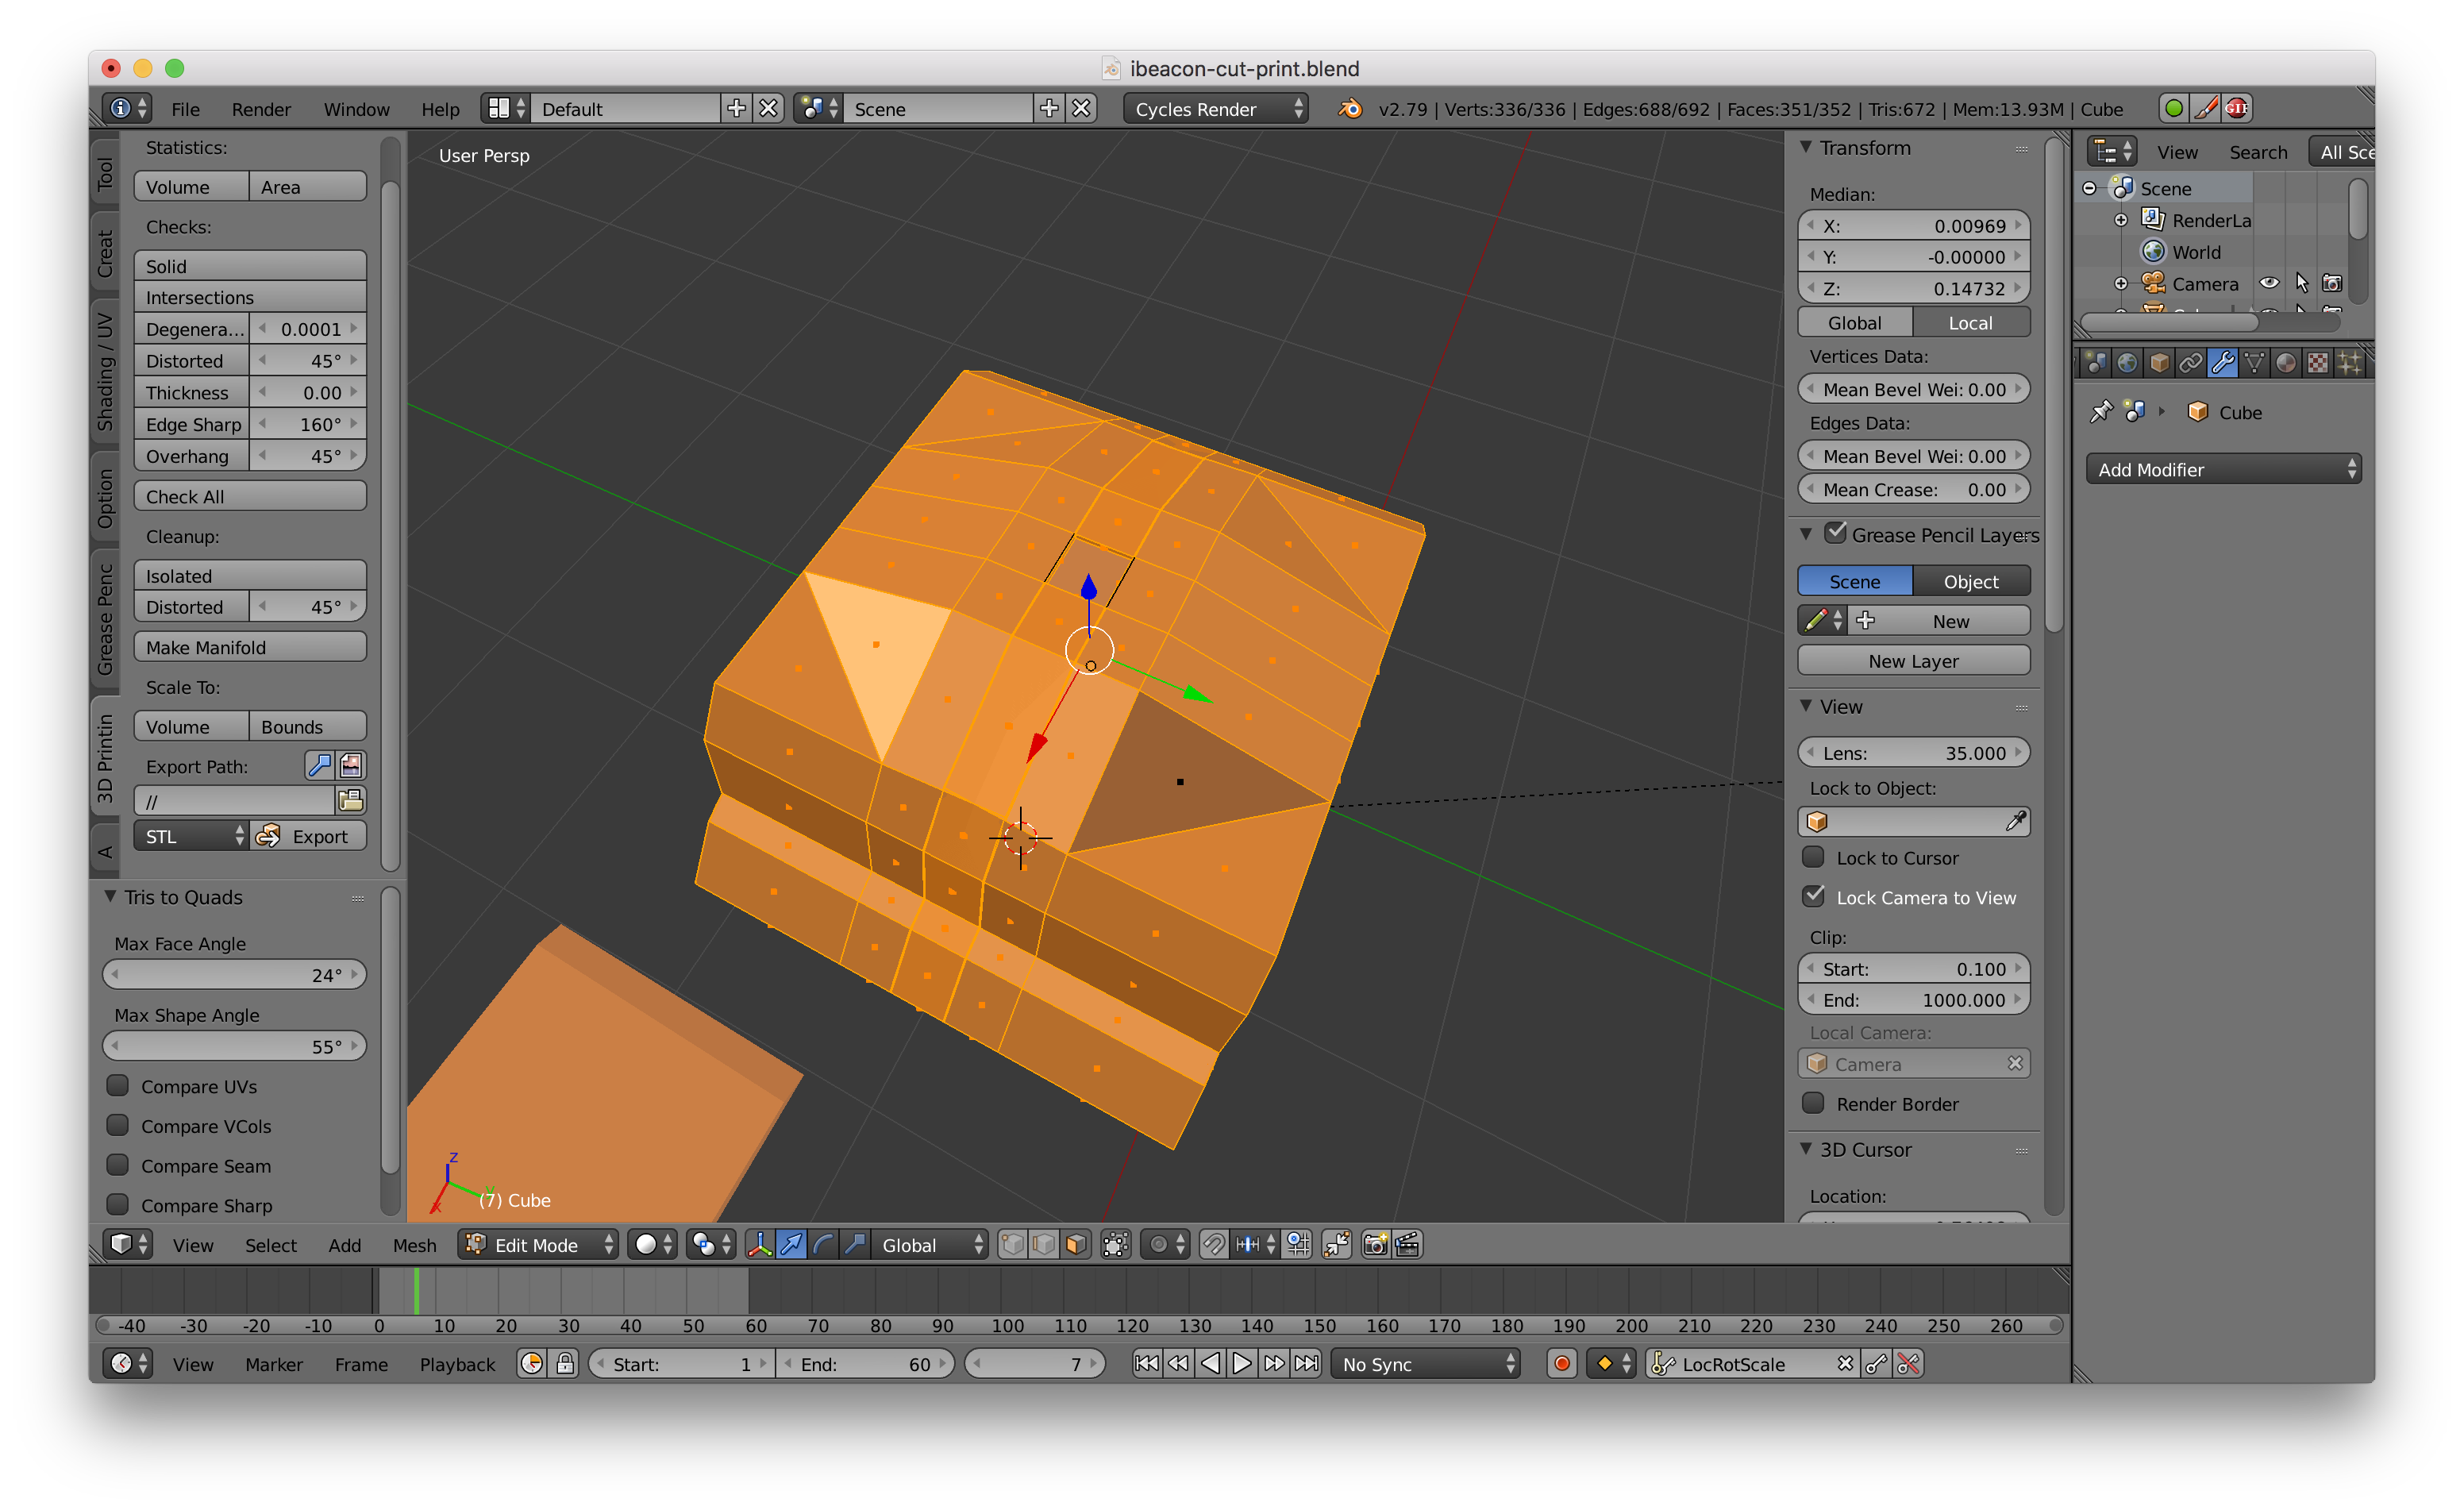
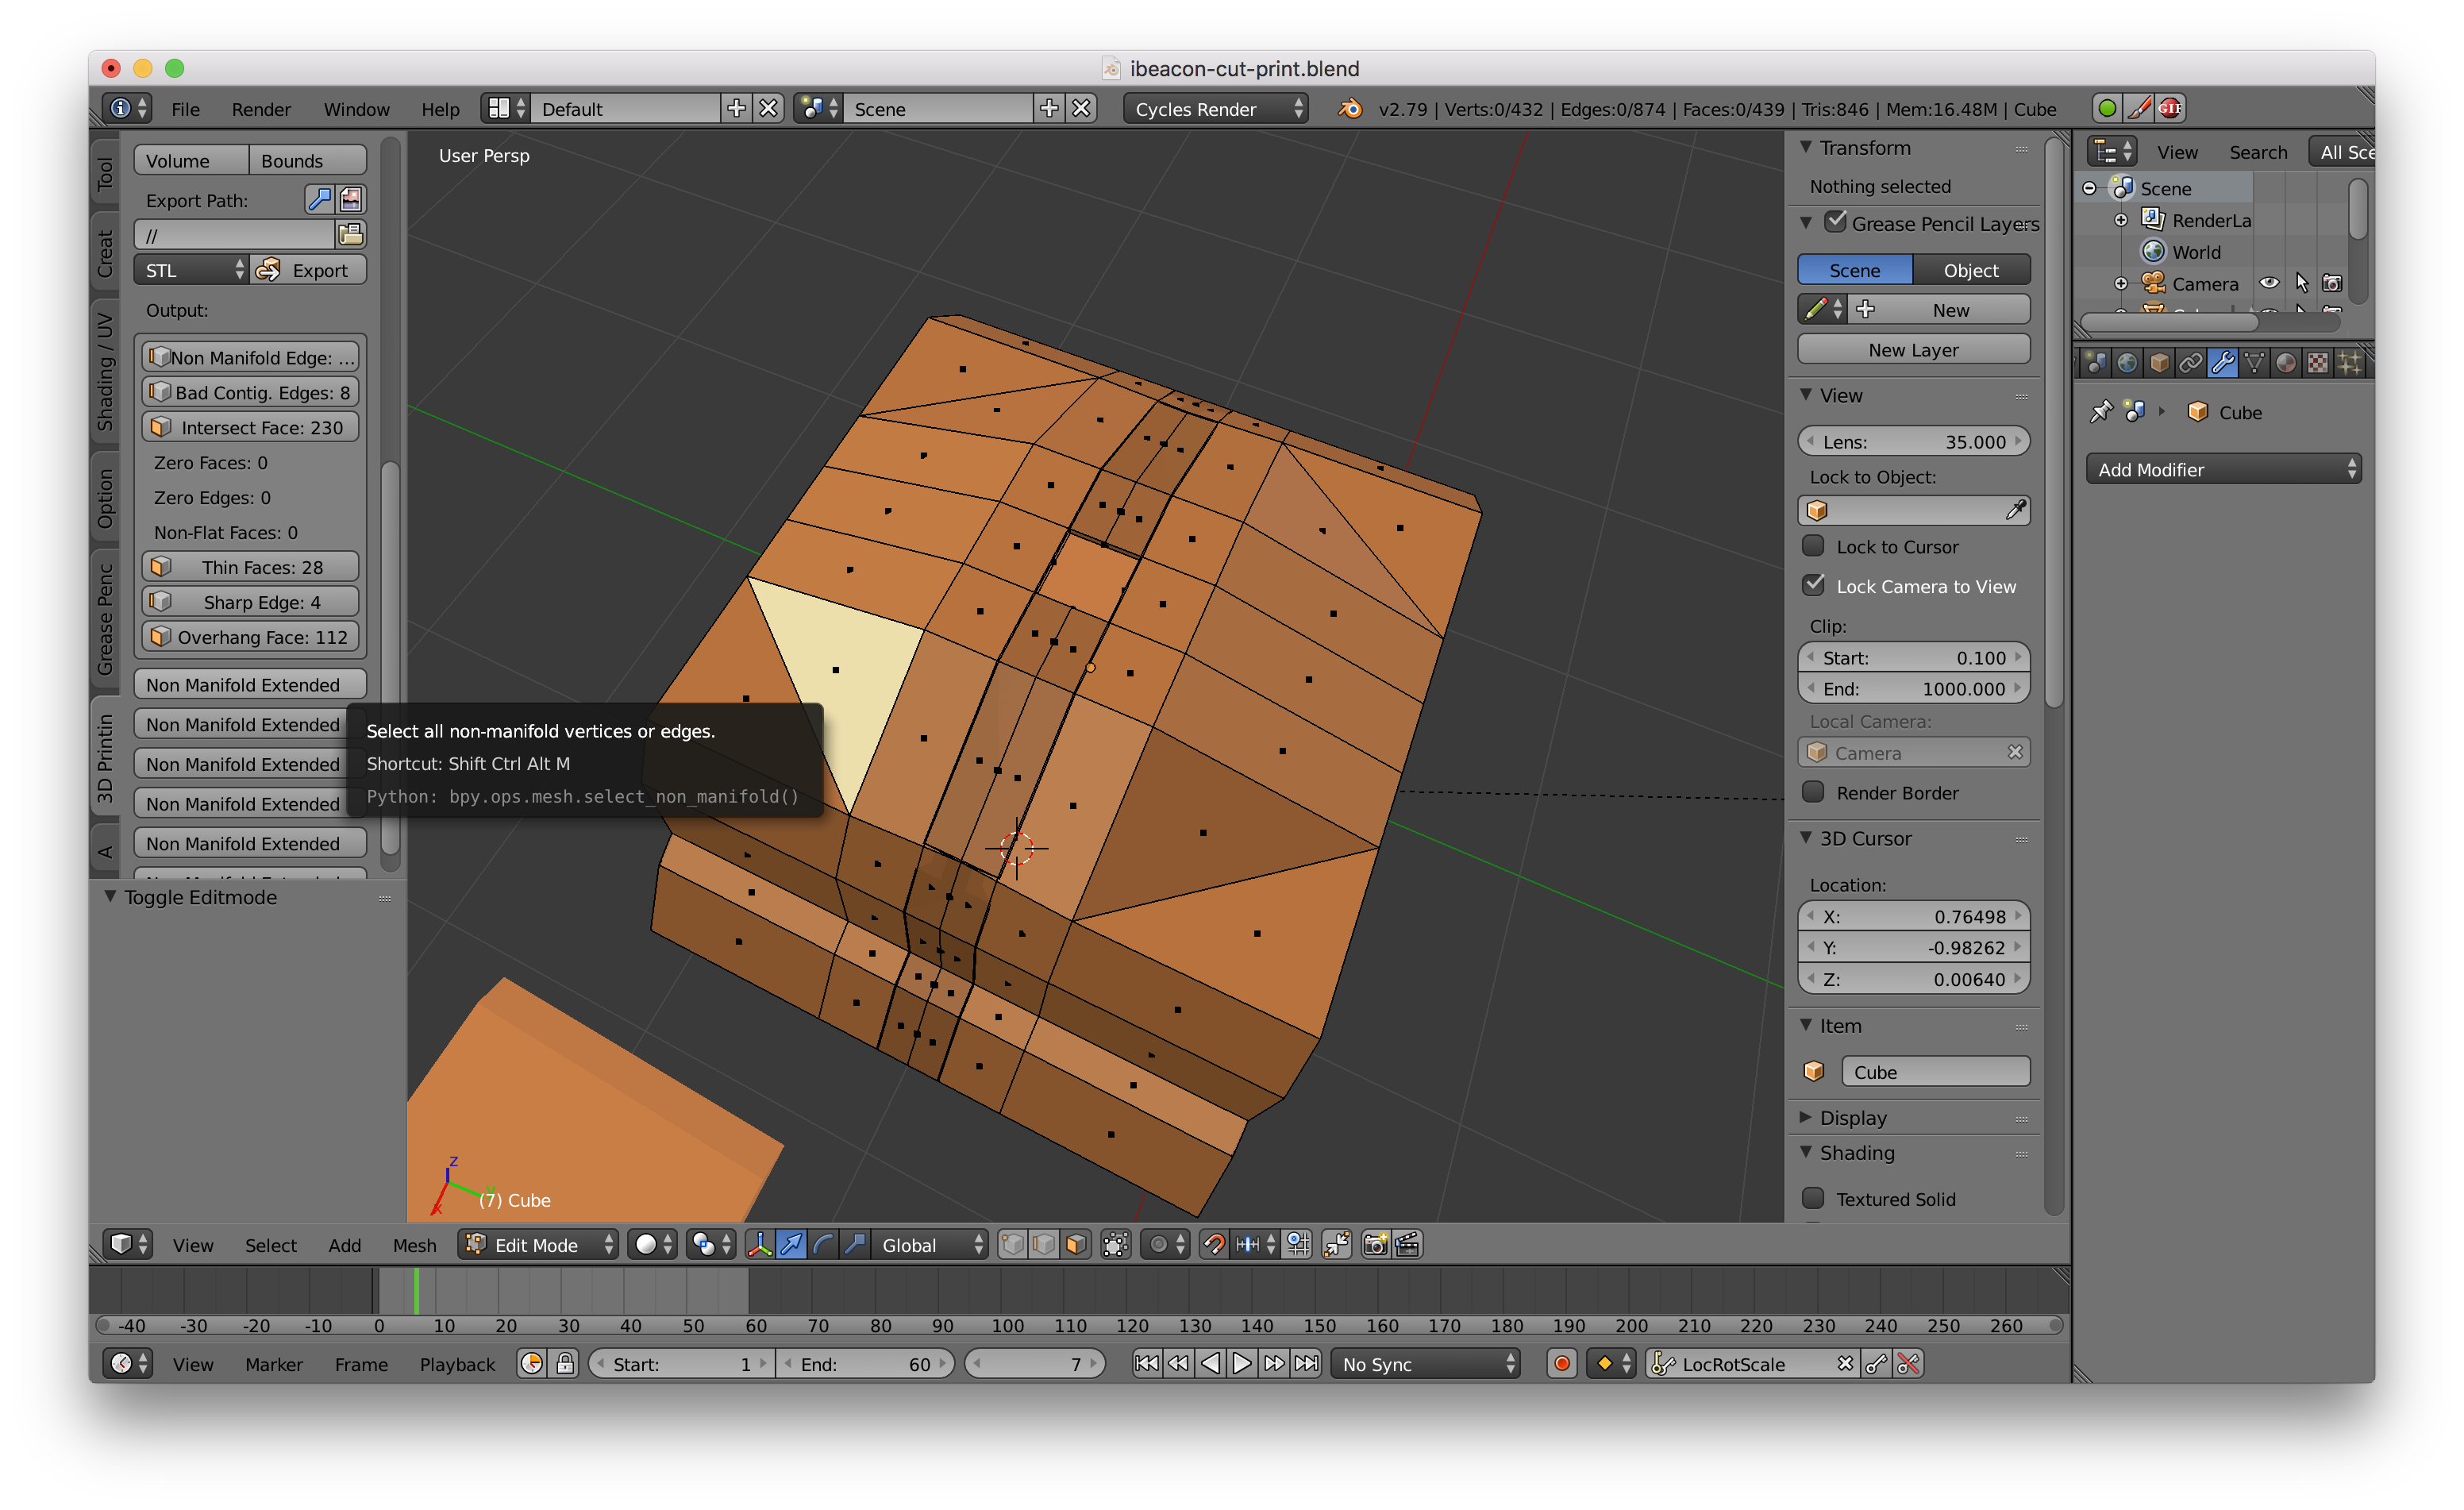
You have created a non-manifold mesh and the slicing program probably corrects it automatically. It’s non-manifold because you’ve opened the surface, and it now has open edges.
This is polygonal modeling, which is surface type modeling paradigm. What it means is that you’re supposed to model a surface that confines a solid. The surface itself has 0 thickness. For example:
A glass has one surface, it’s the shape of the form that holds the liquid
Same with a coffee mug with a handle
If you didn’t have the hole in your original, you’re describing a solid block which the printer would print as solid block of plastic, unless altered in the slicer
If you don’t have a hole but put another surface inside, opposite of the original surface, you’ve described a hollow object
Adding the hole connects the two surfaces in a hollow object with the hole walls, so it’s one continuous surface again. It’s the form that holds liquid if you pour something in, just like a glass.
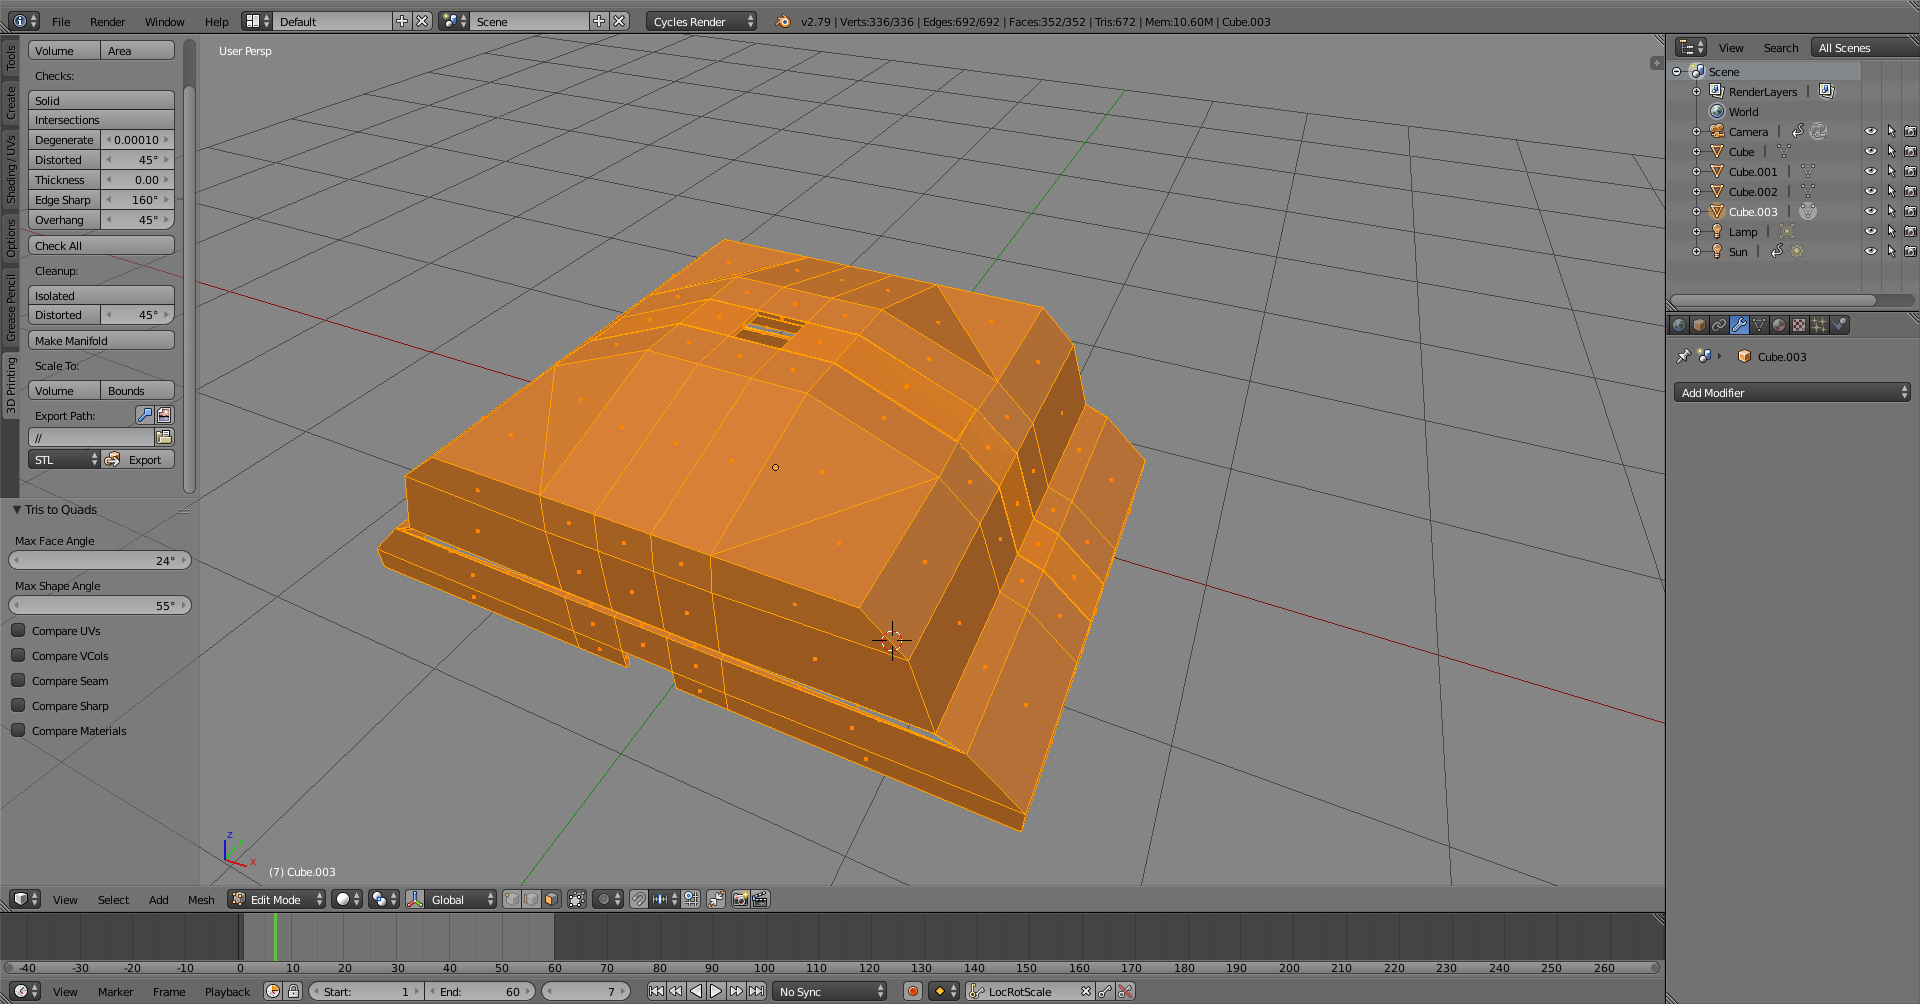
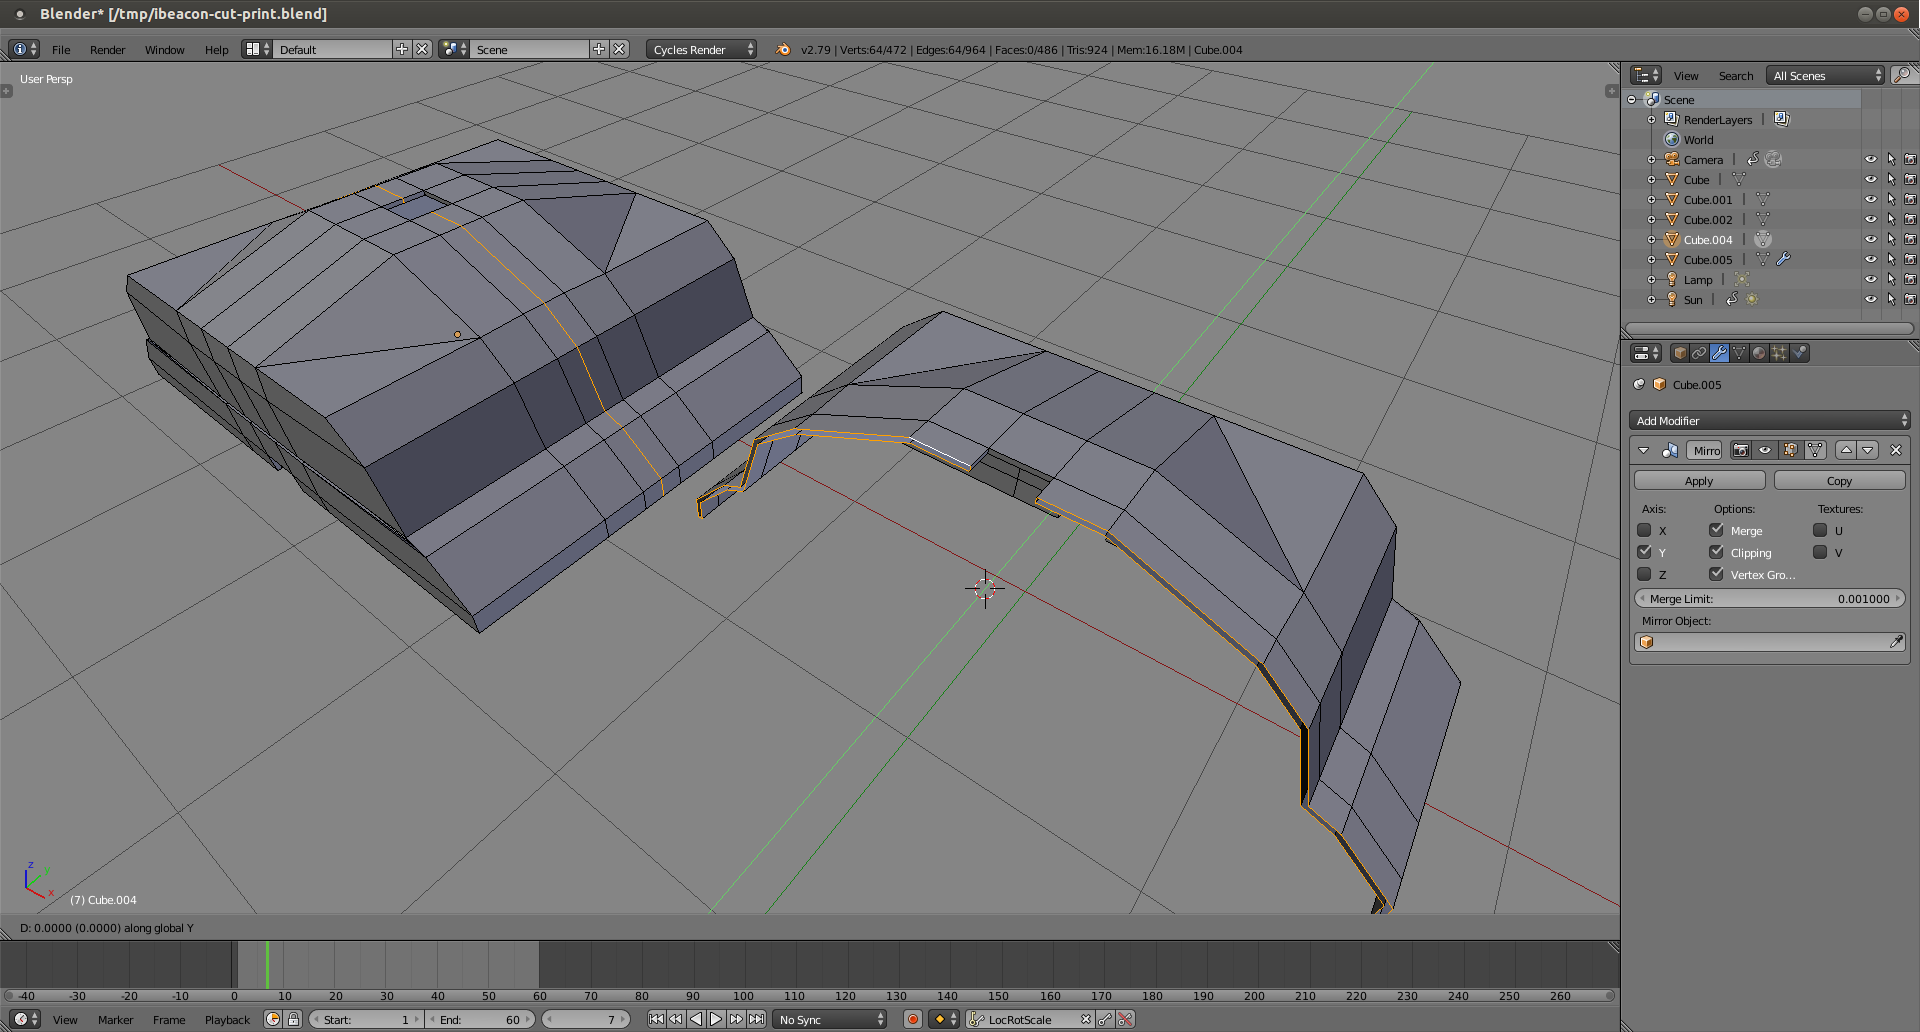
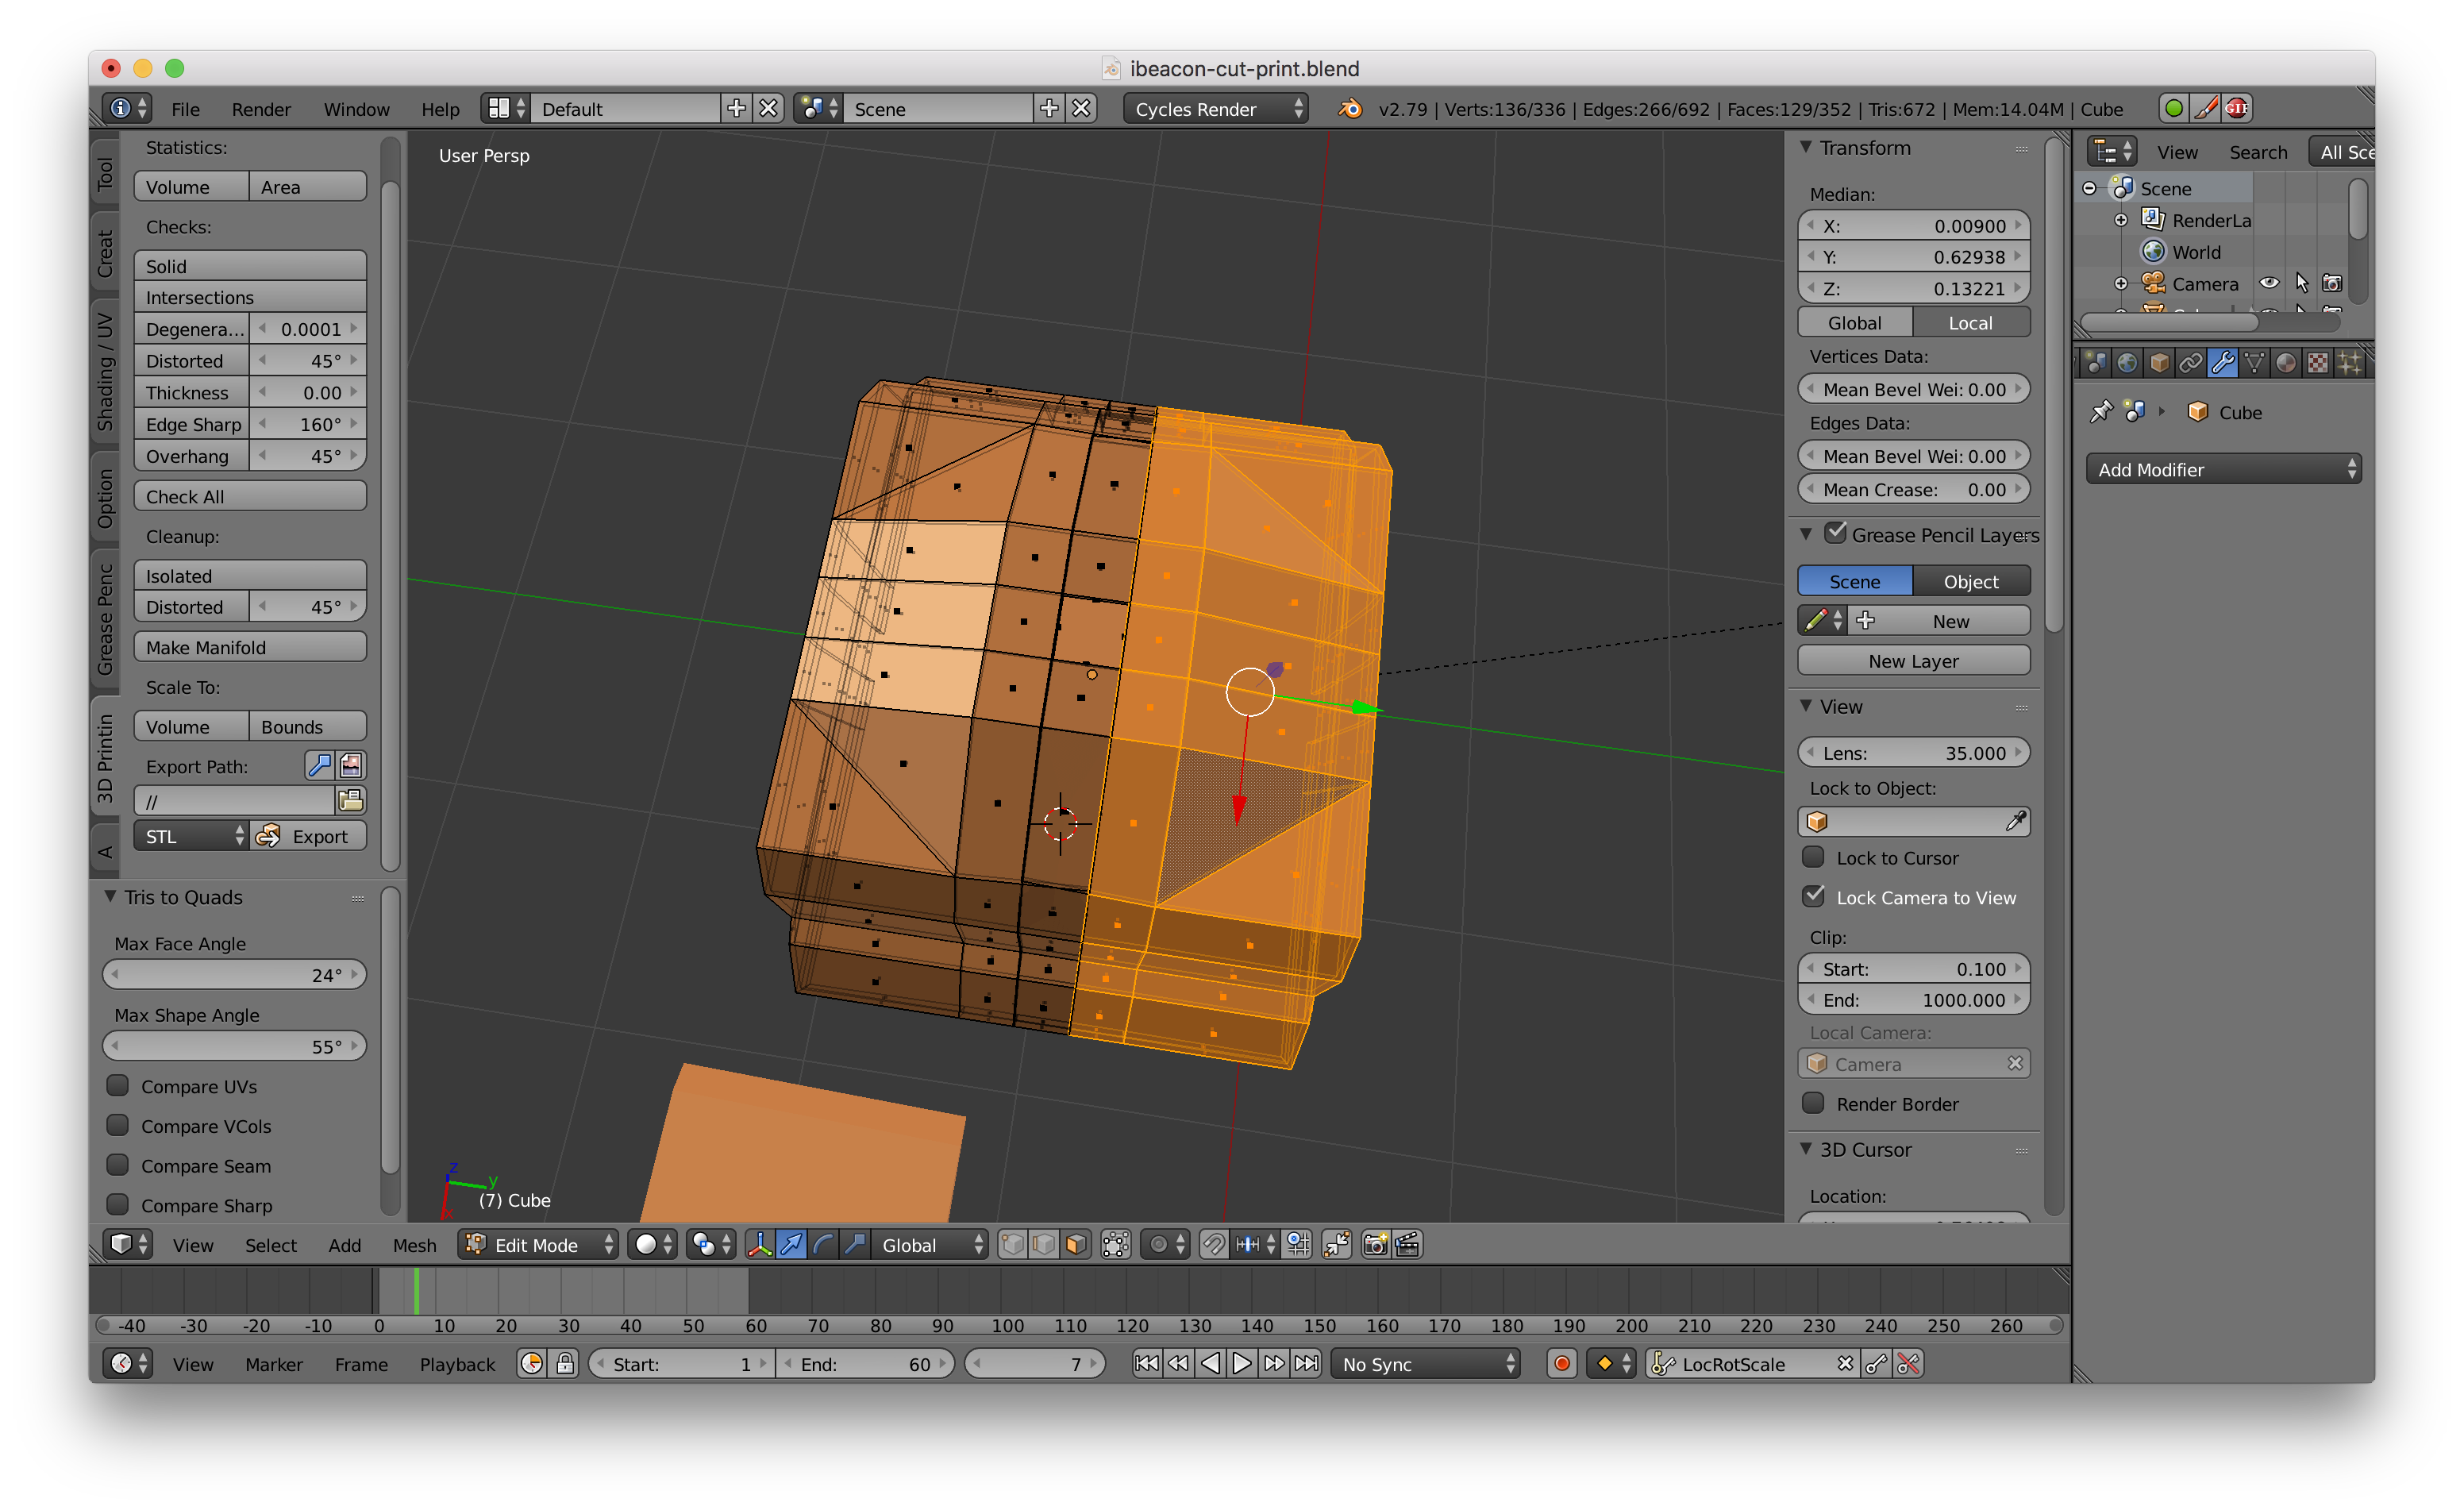
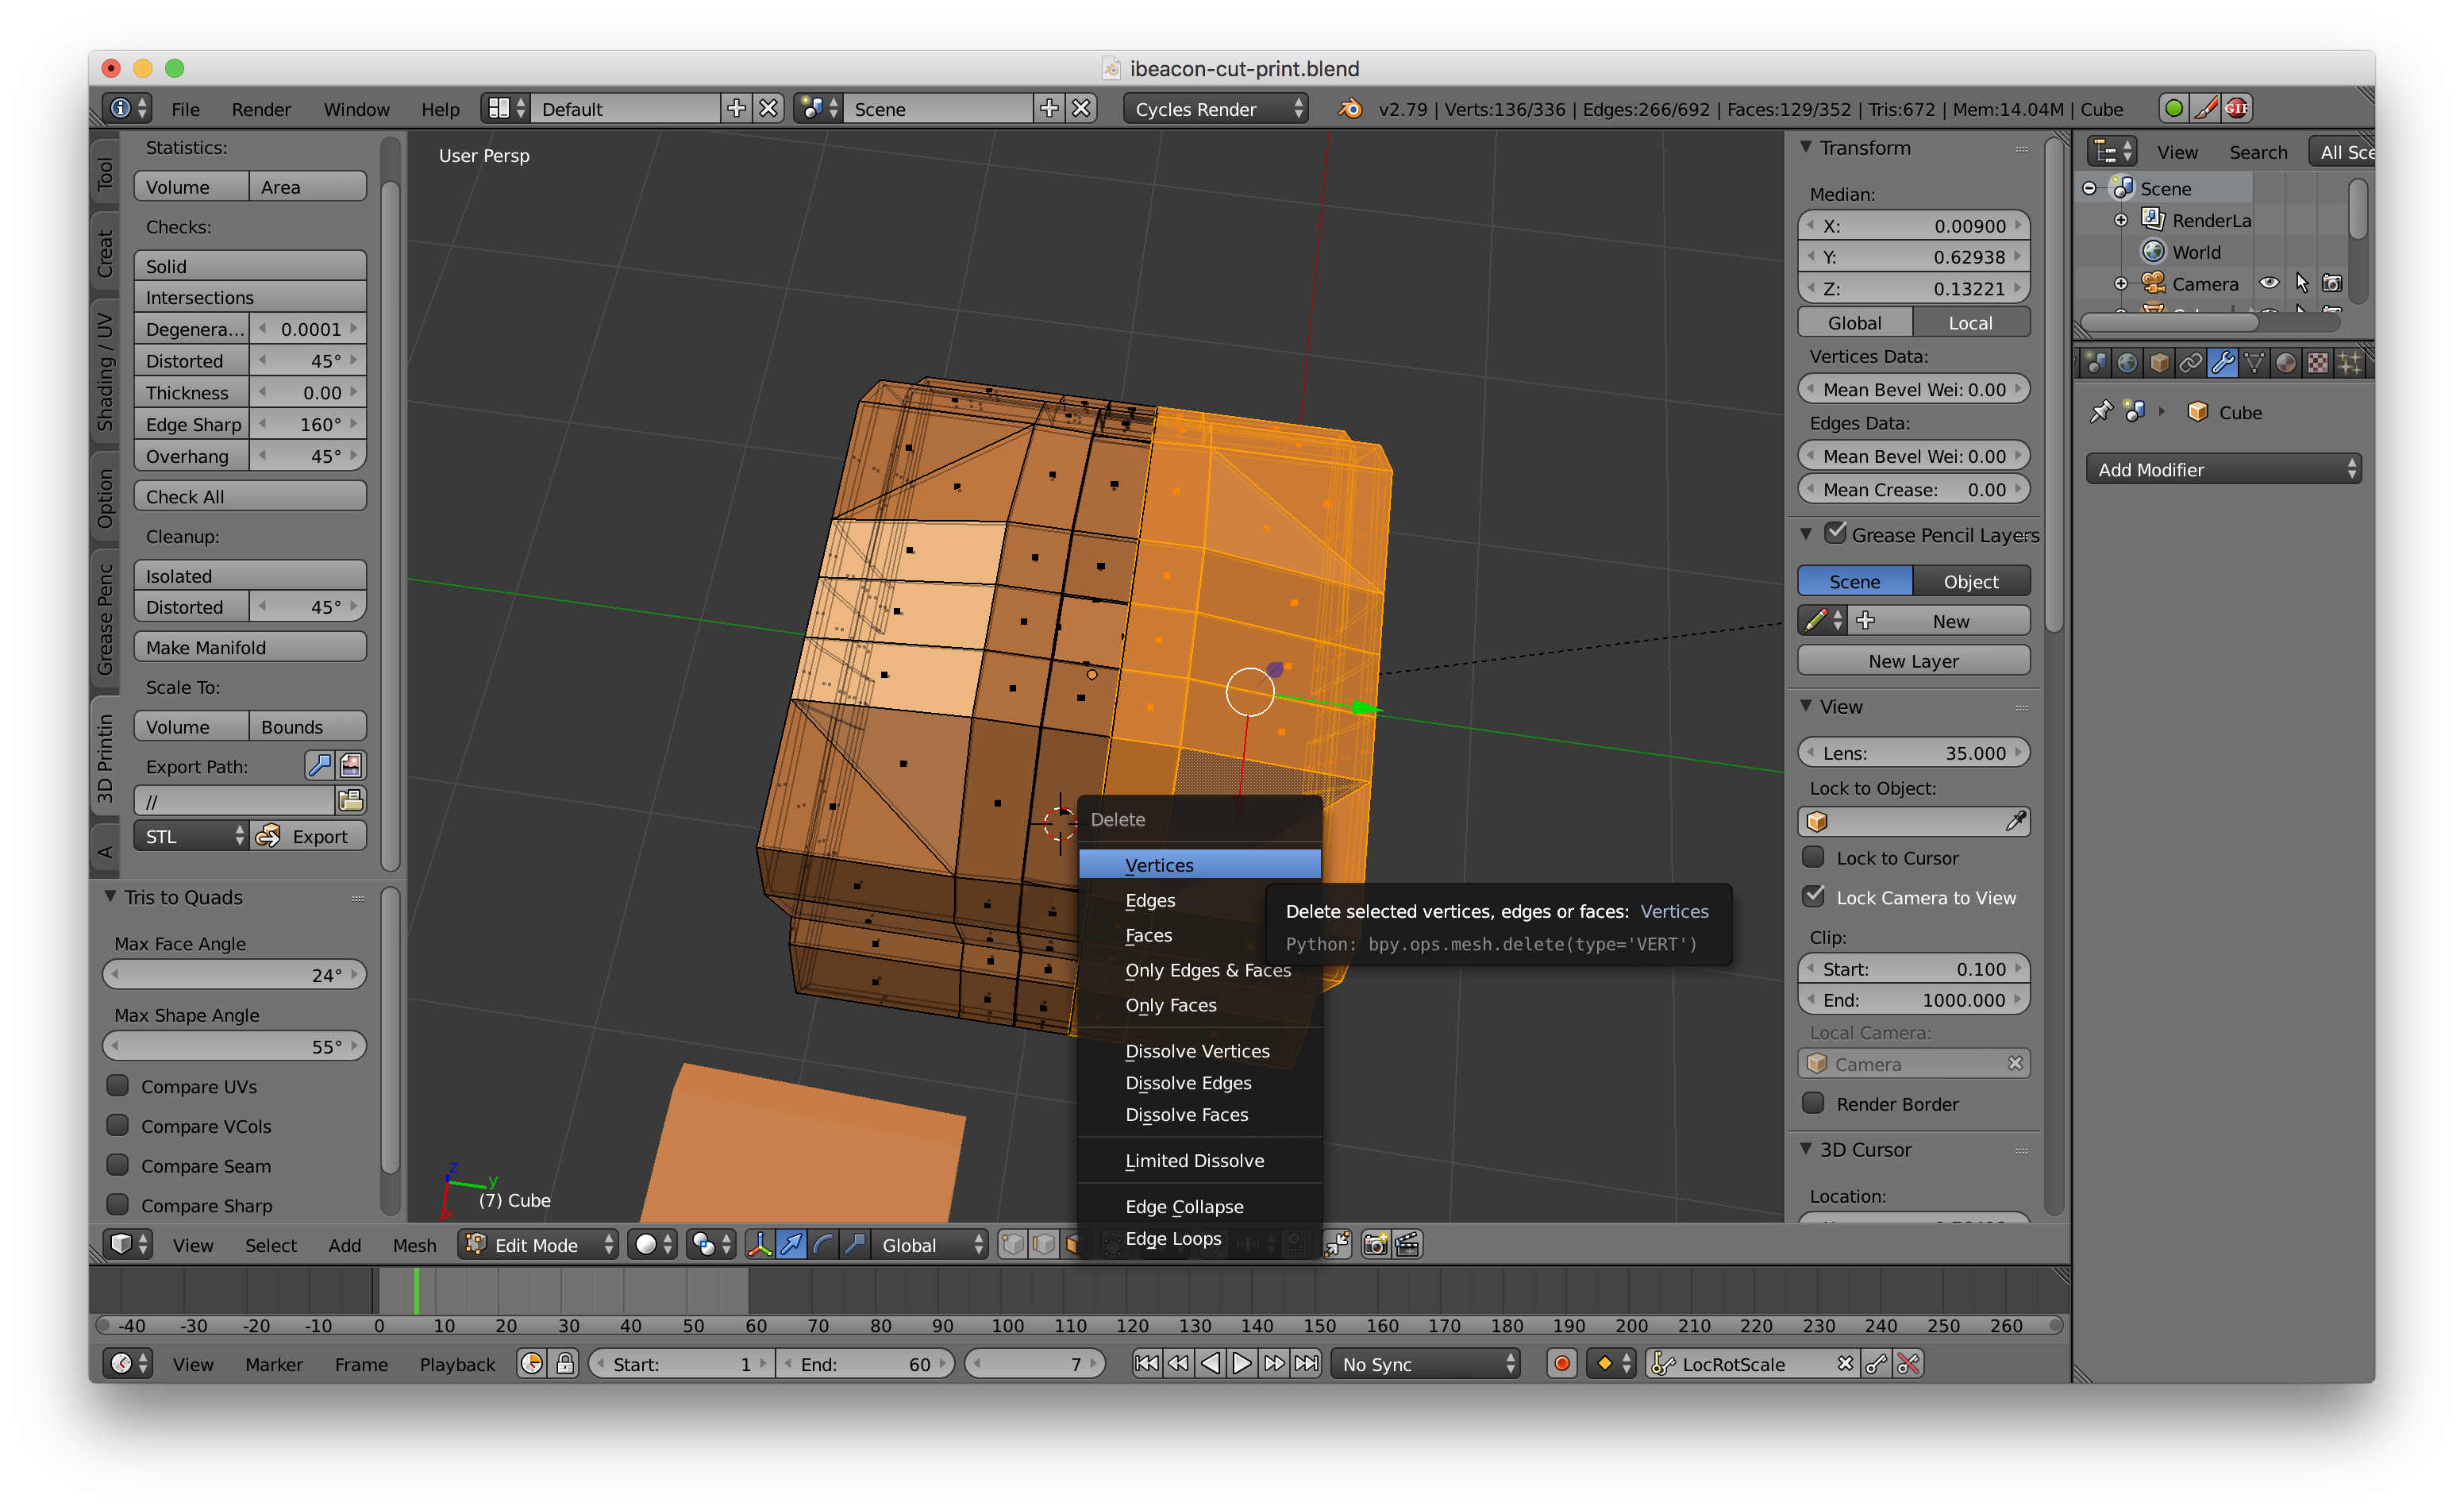
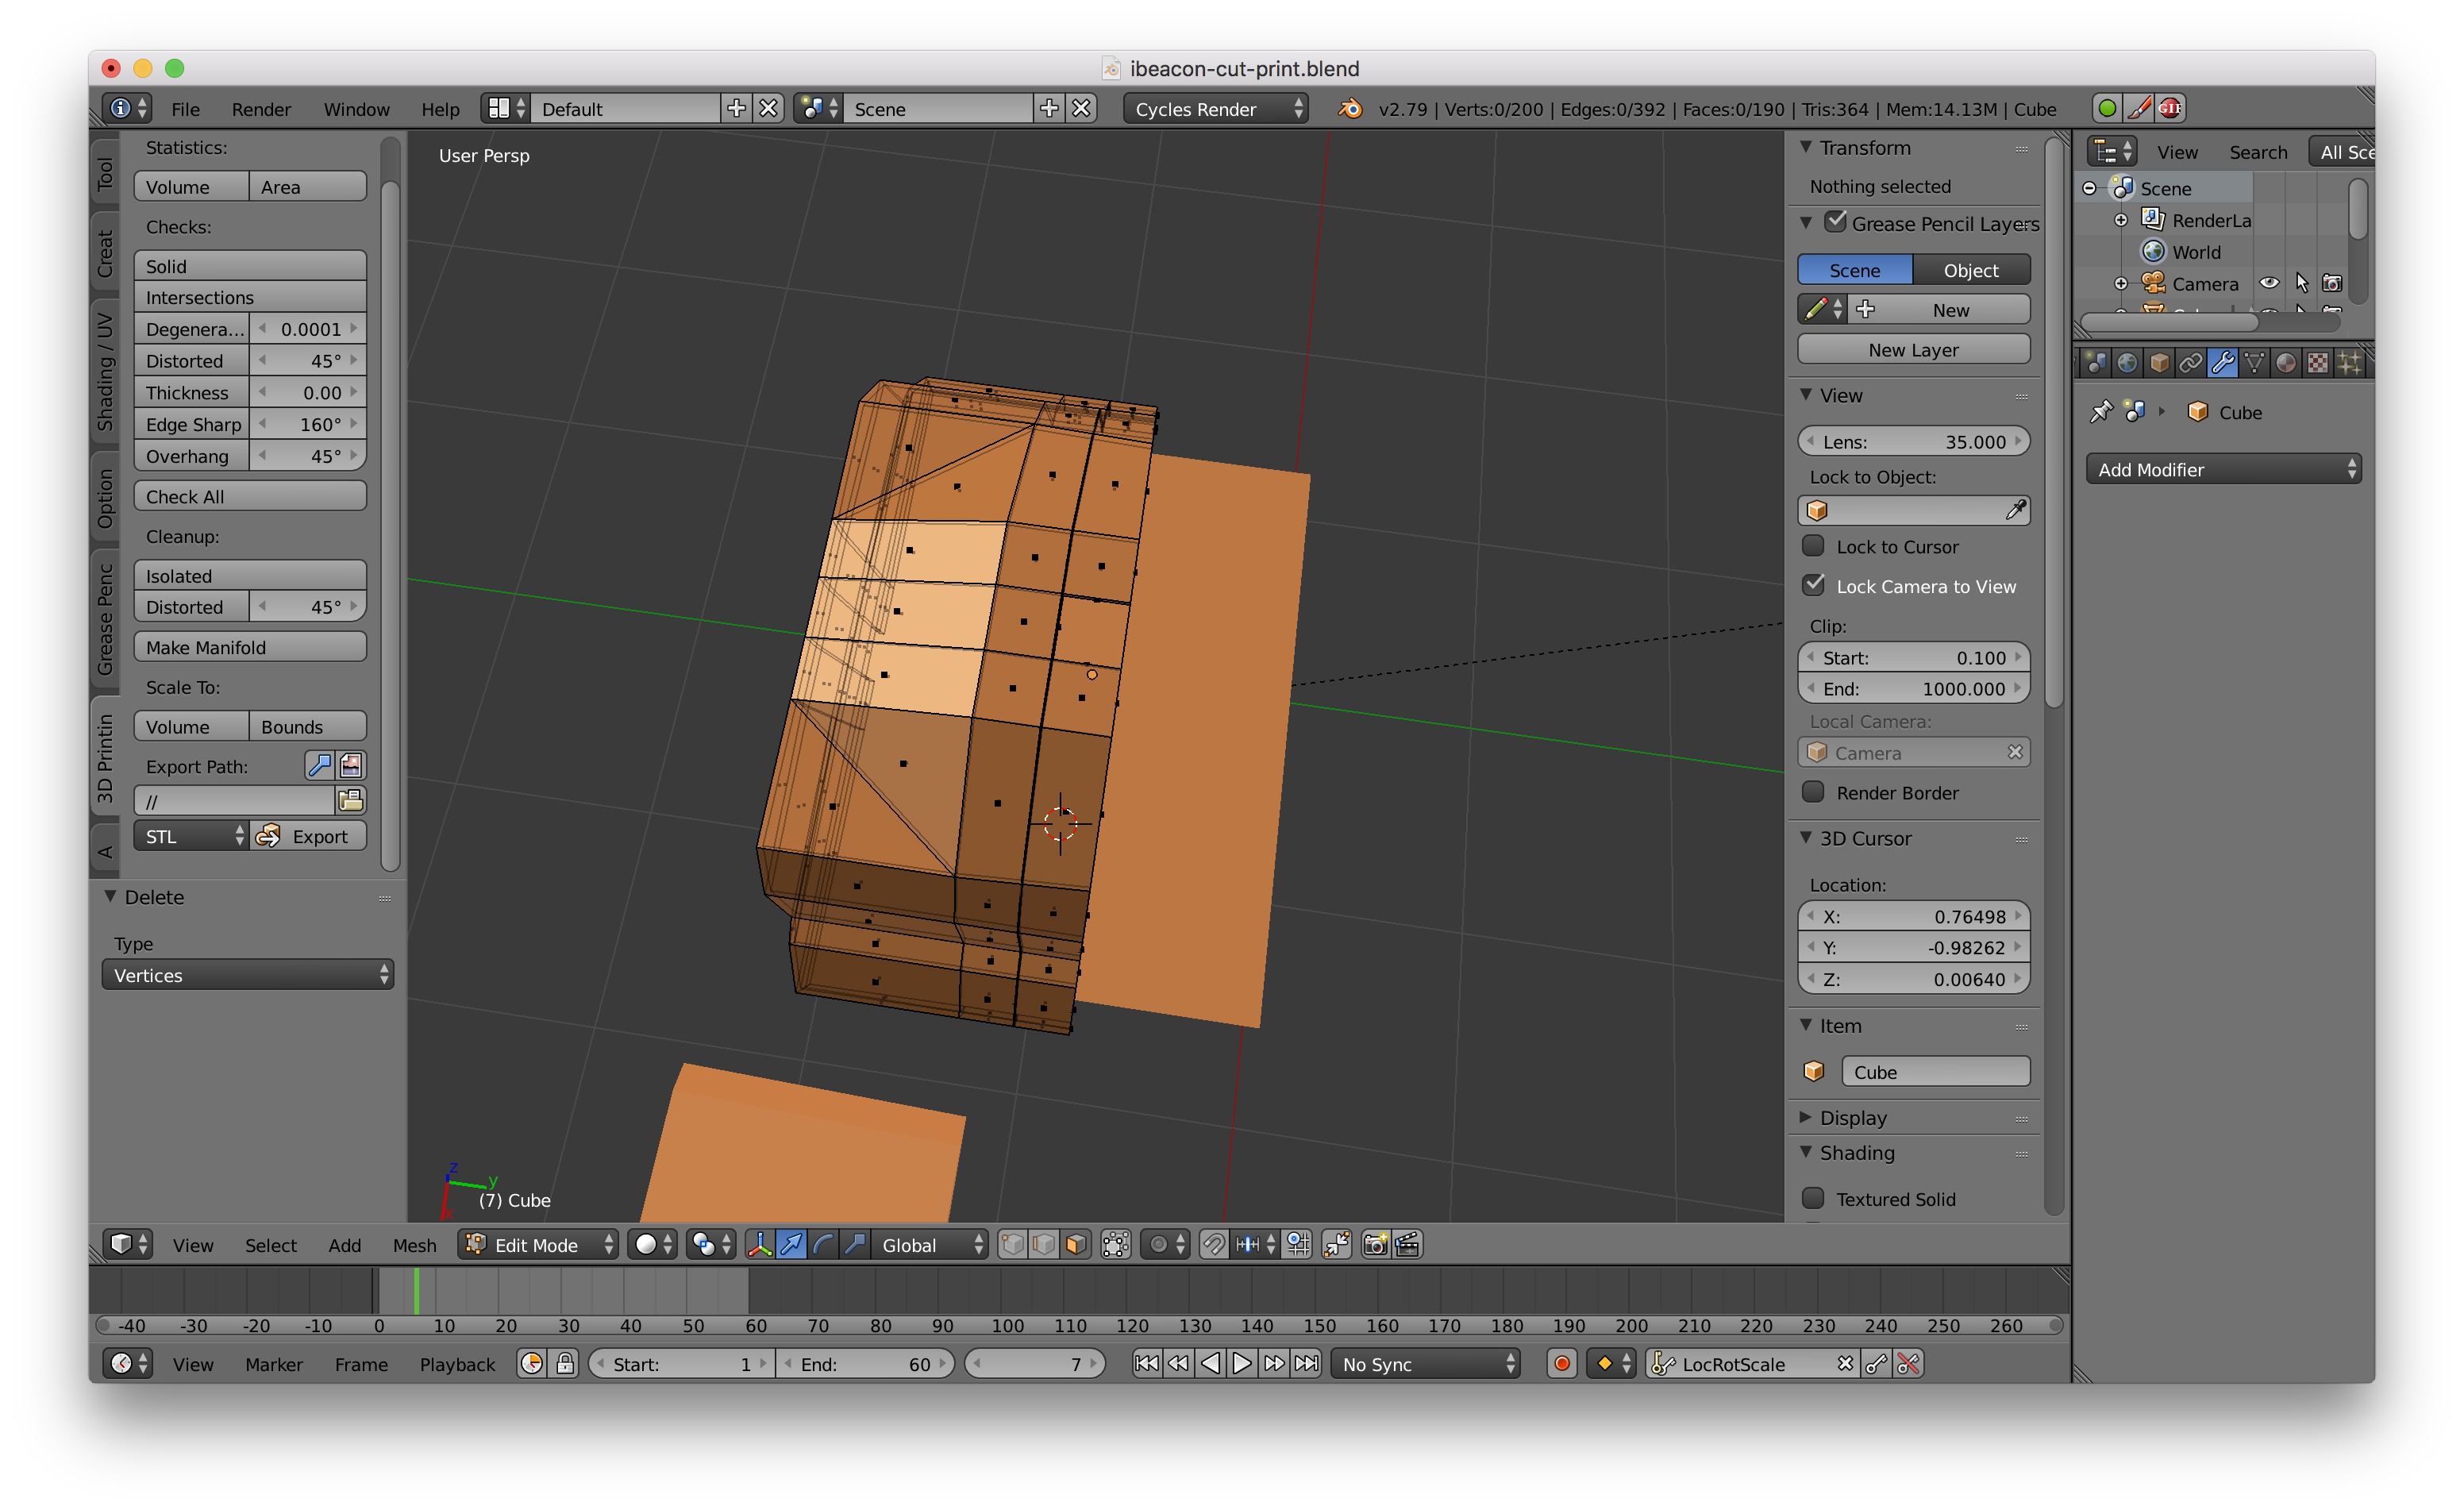
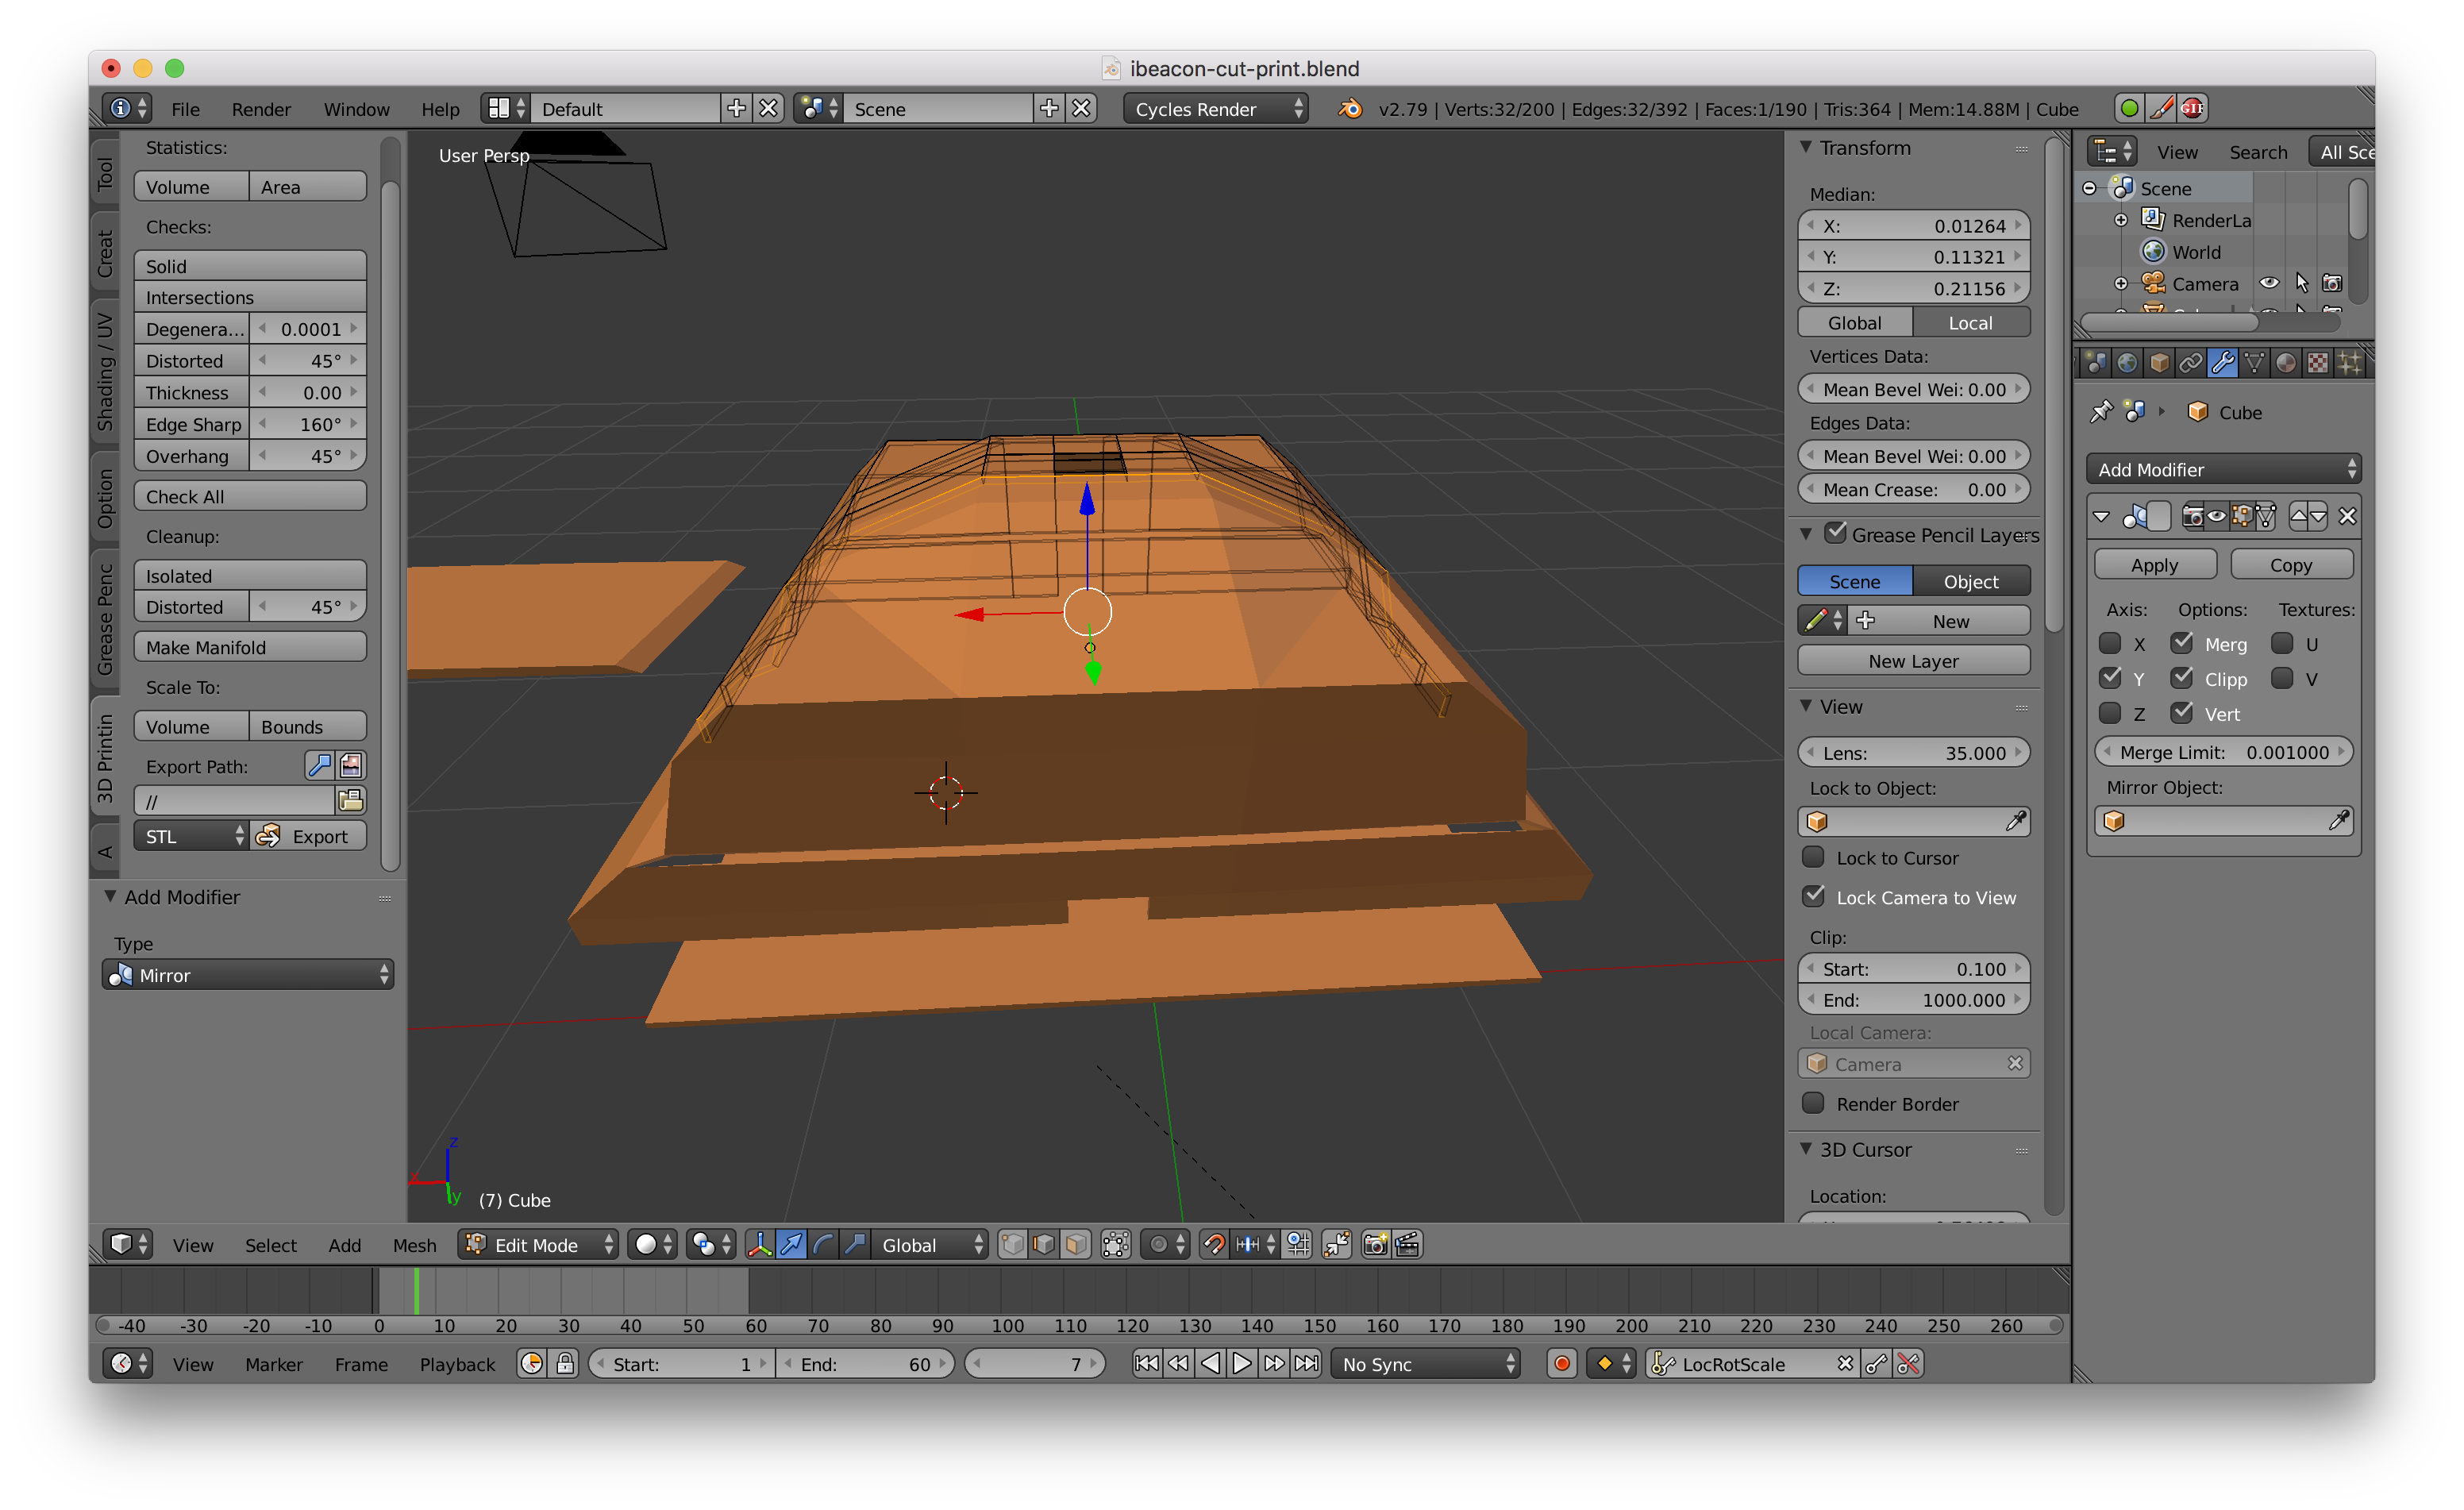
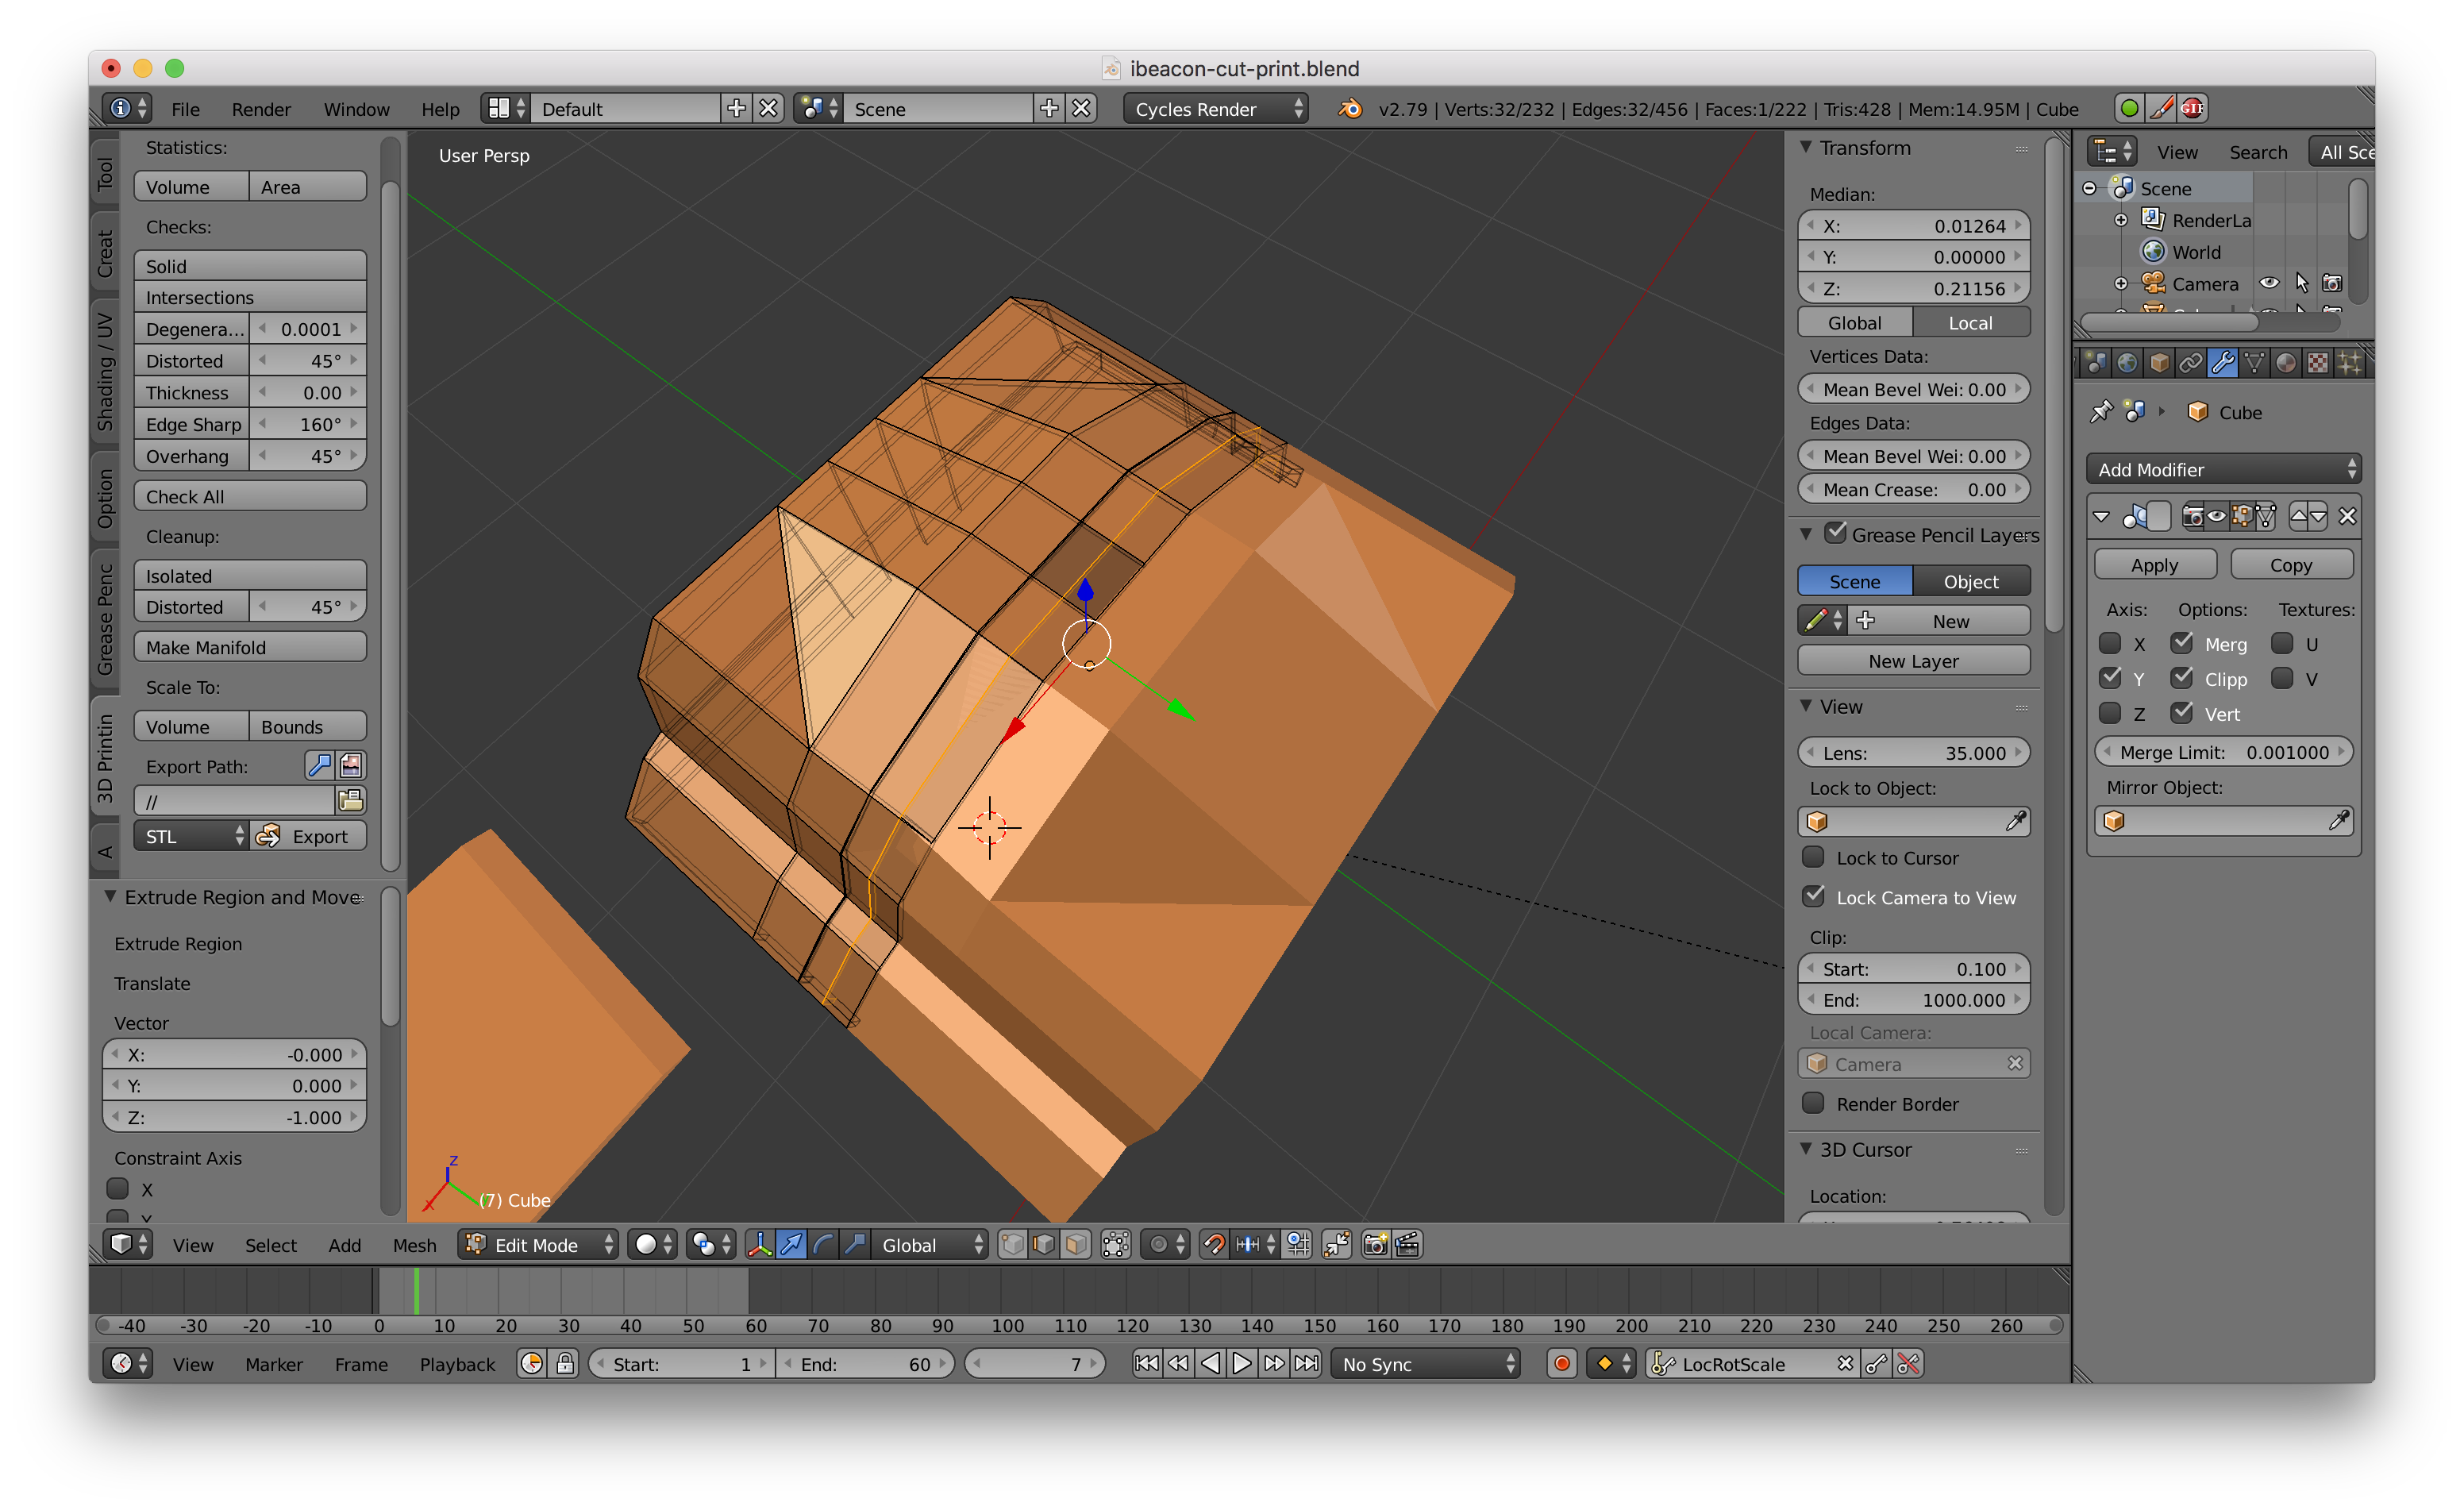
What you need to do is add thickness so that there’s an inside surface, and surface for the hole. Easiest way to do that is with a solidify modifier. Put it after mirror if you want both, modifier order is top down.
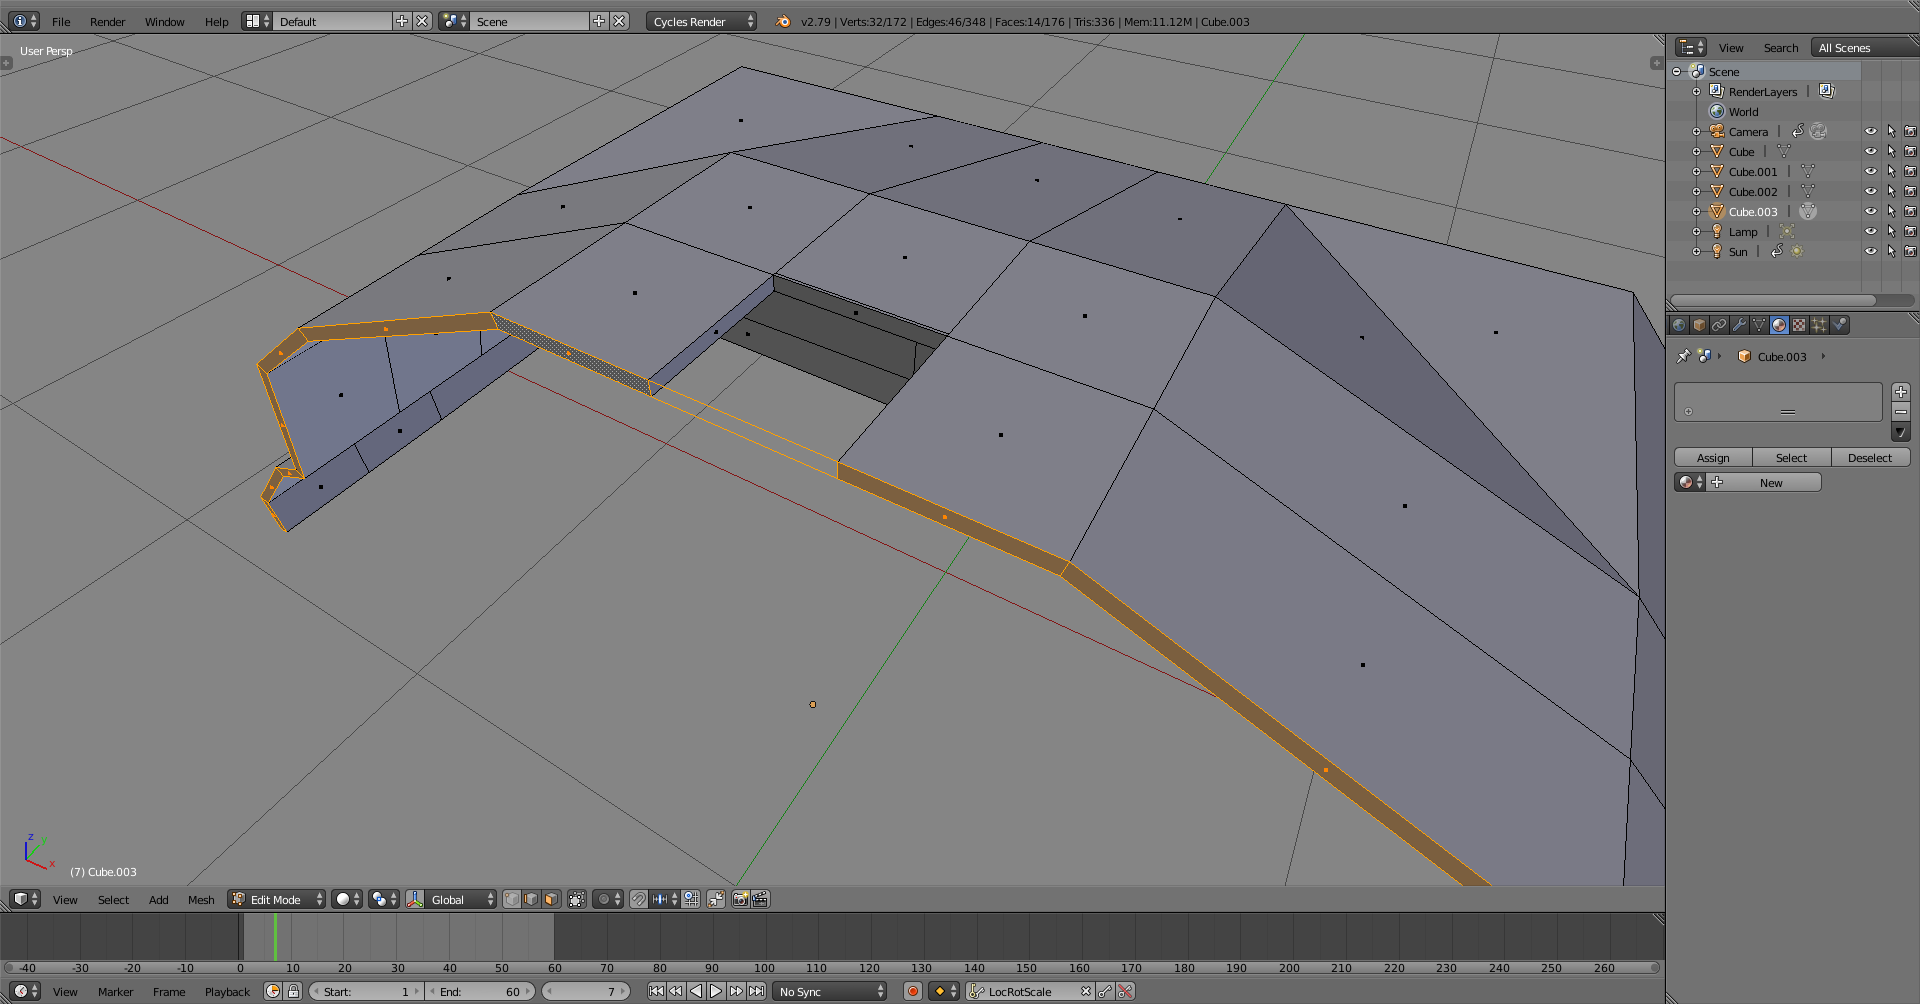
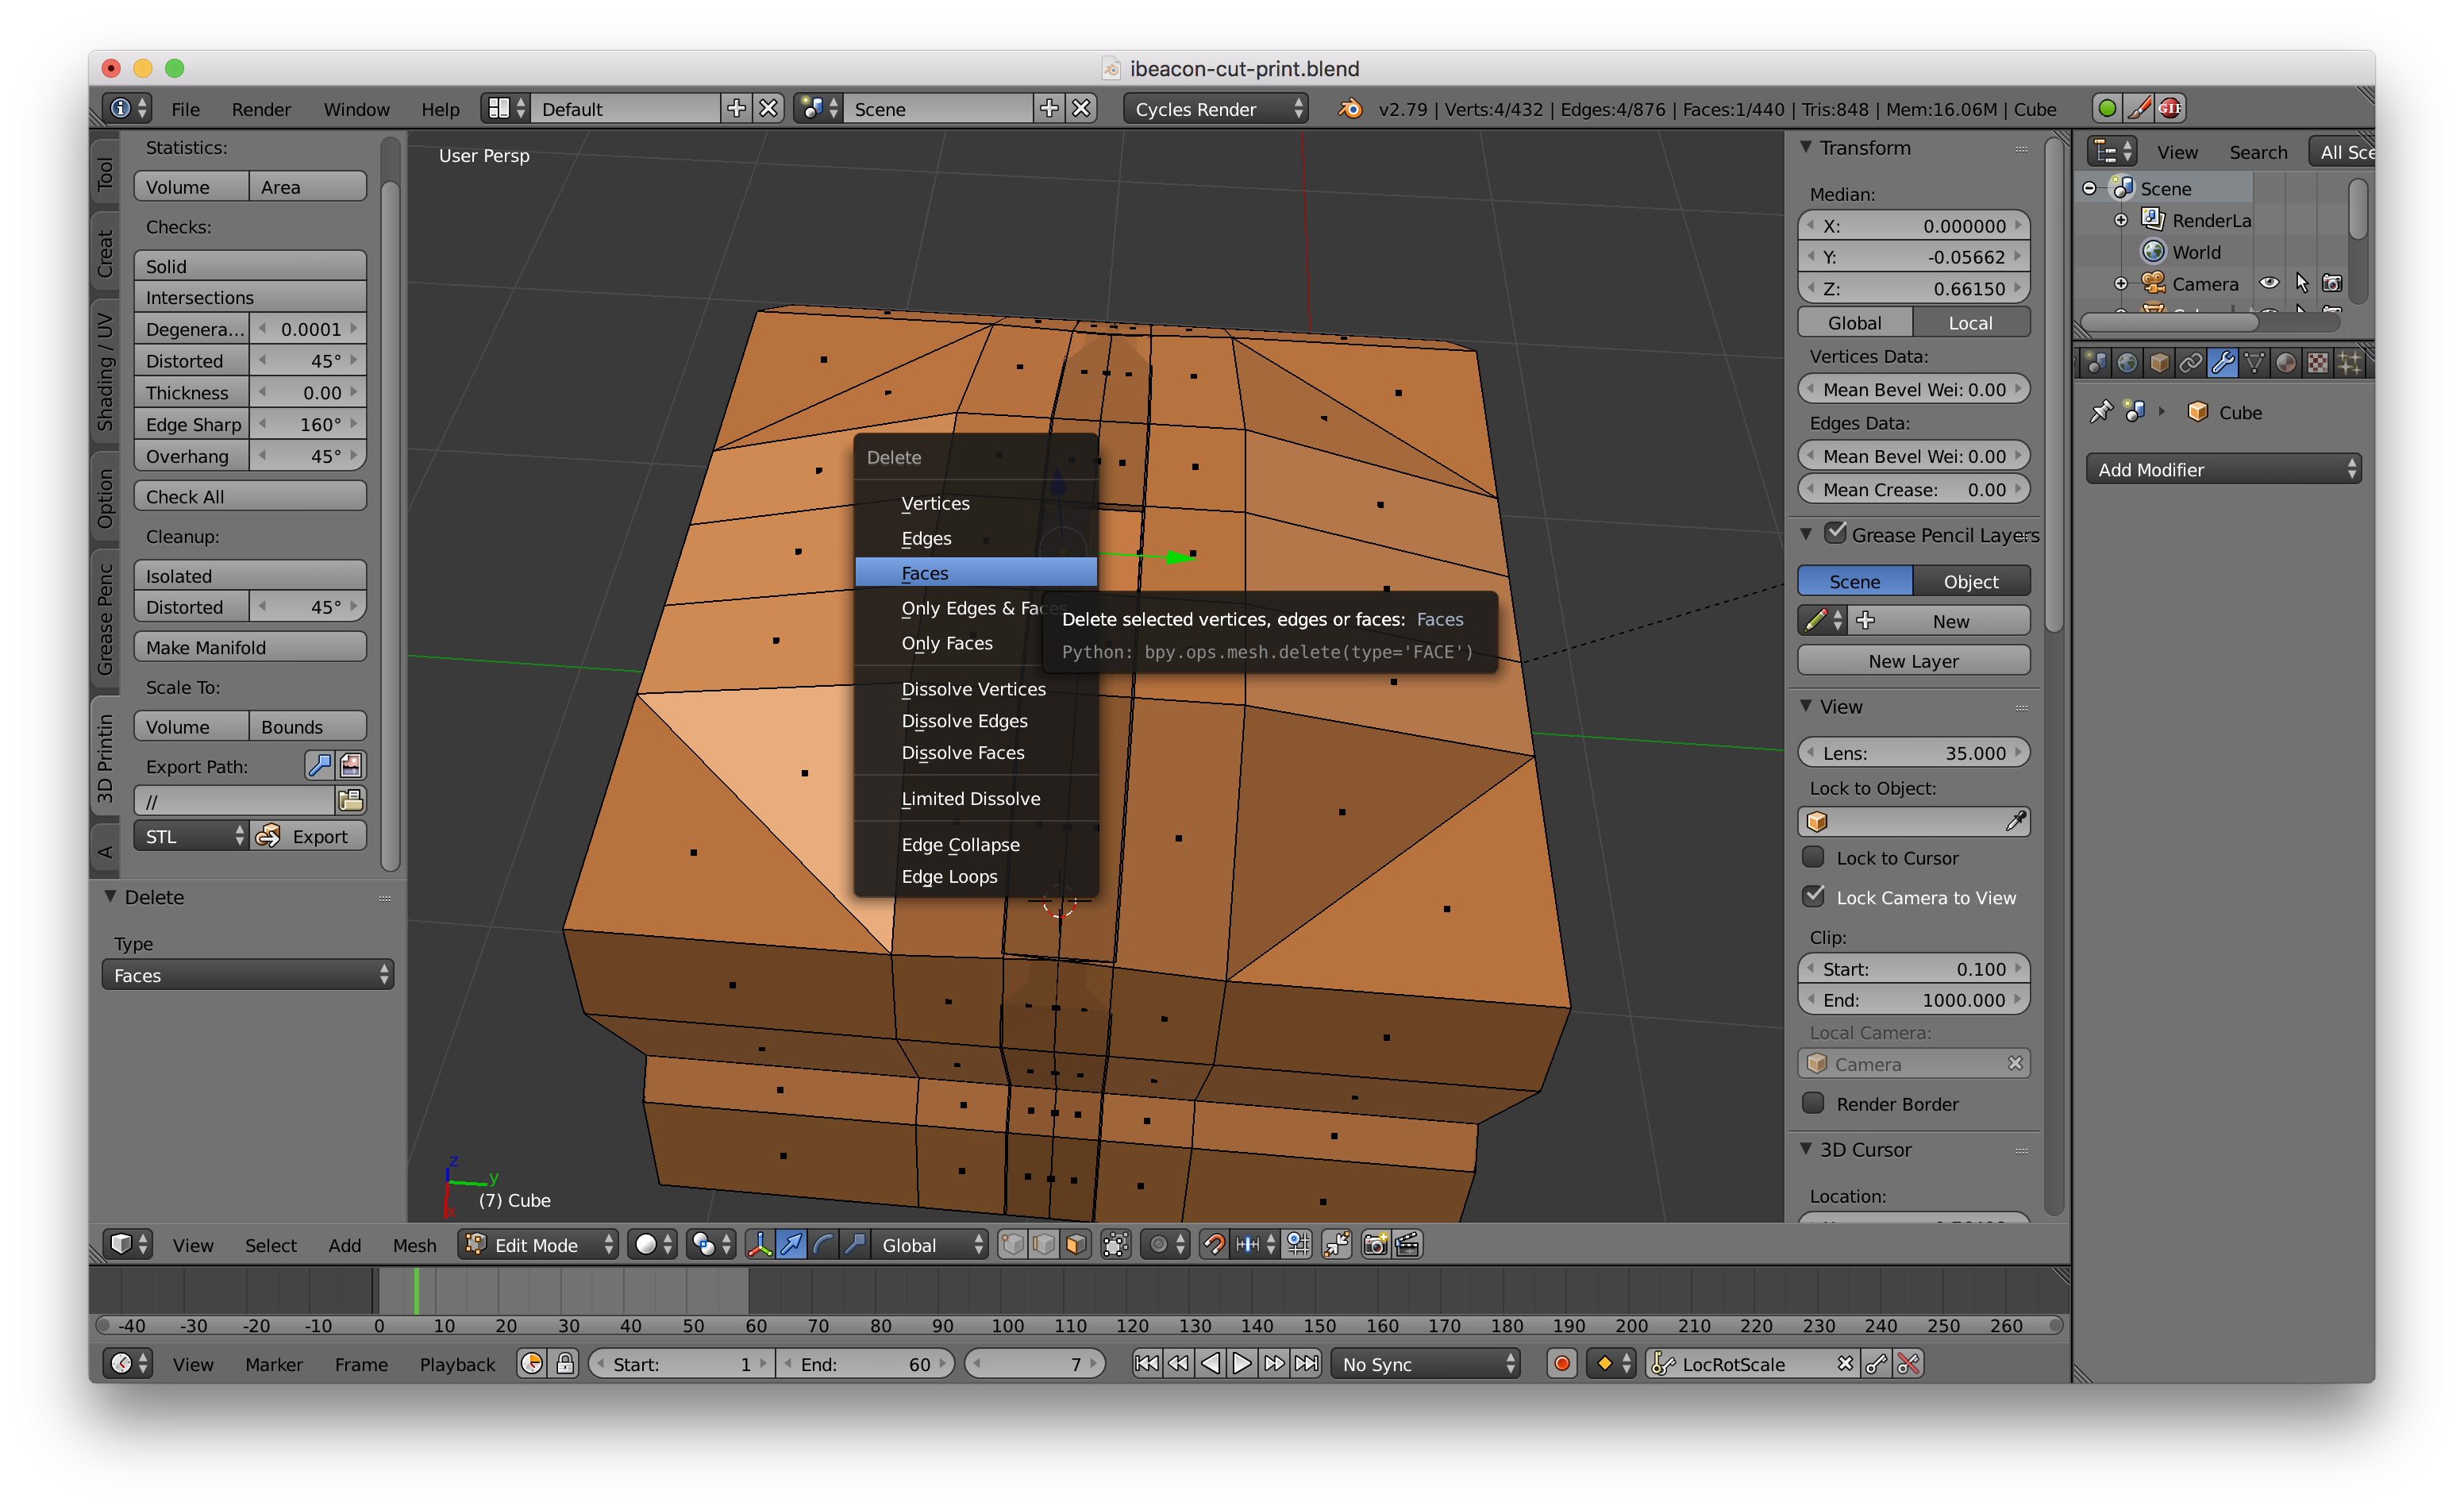
With both, automatic triangulation and triangulation in export might fail to make clean results. It has done so in your .stl, pointed with the white lines. Both can be fixed by adding triangulate modifier. You don’t have to apply the modifier if you do that in export options.
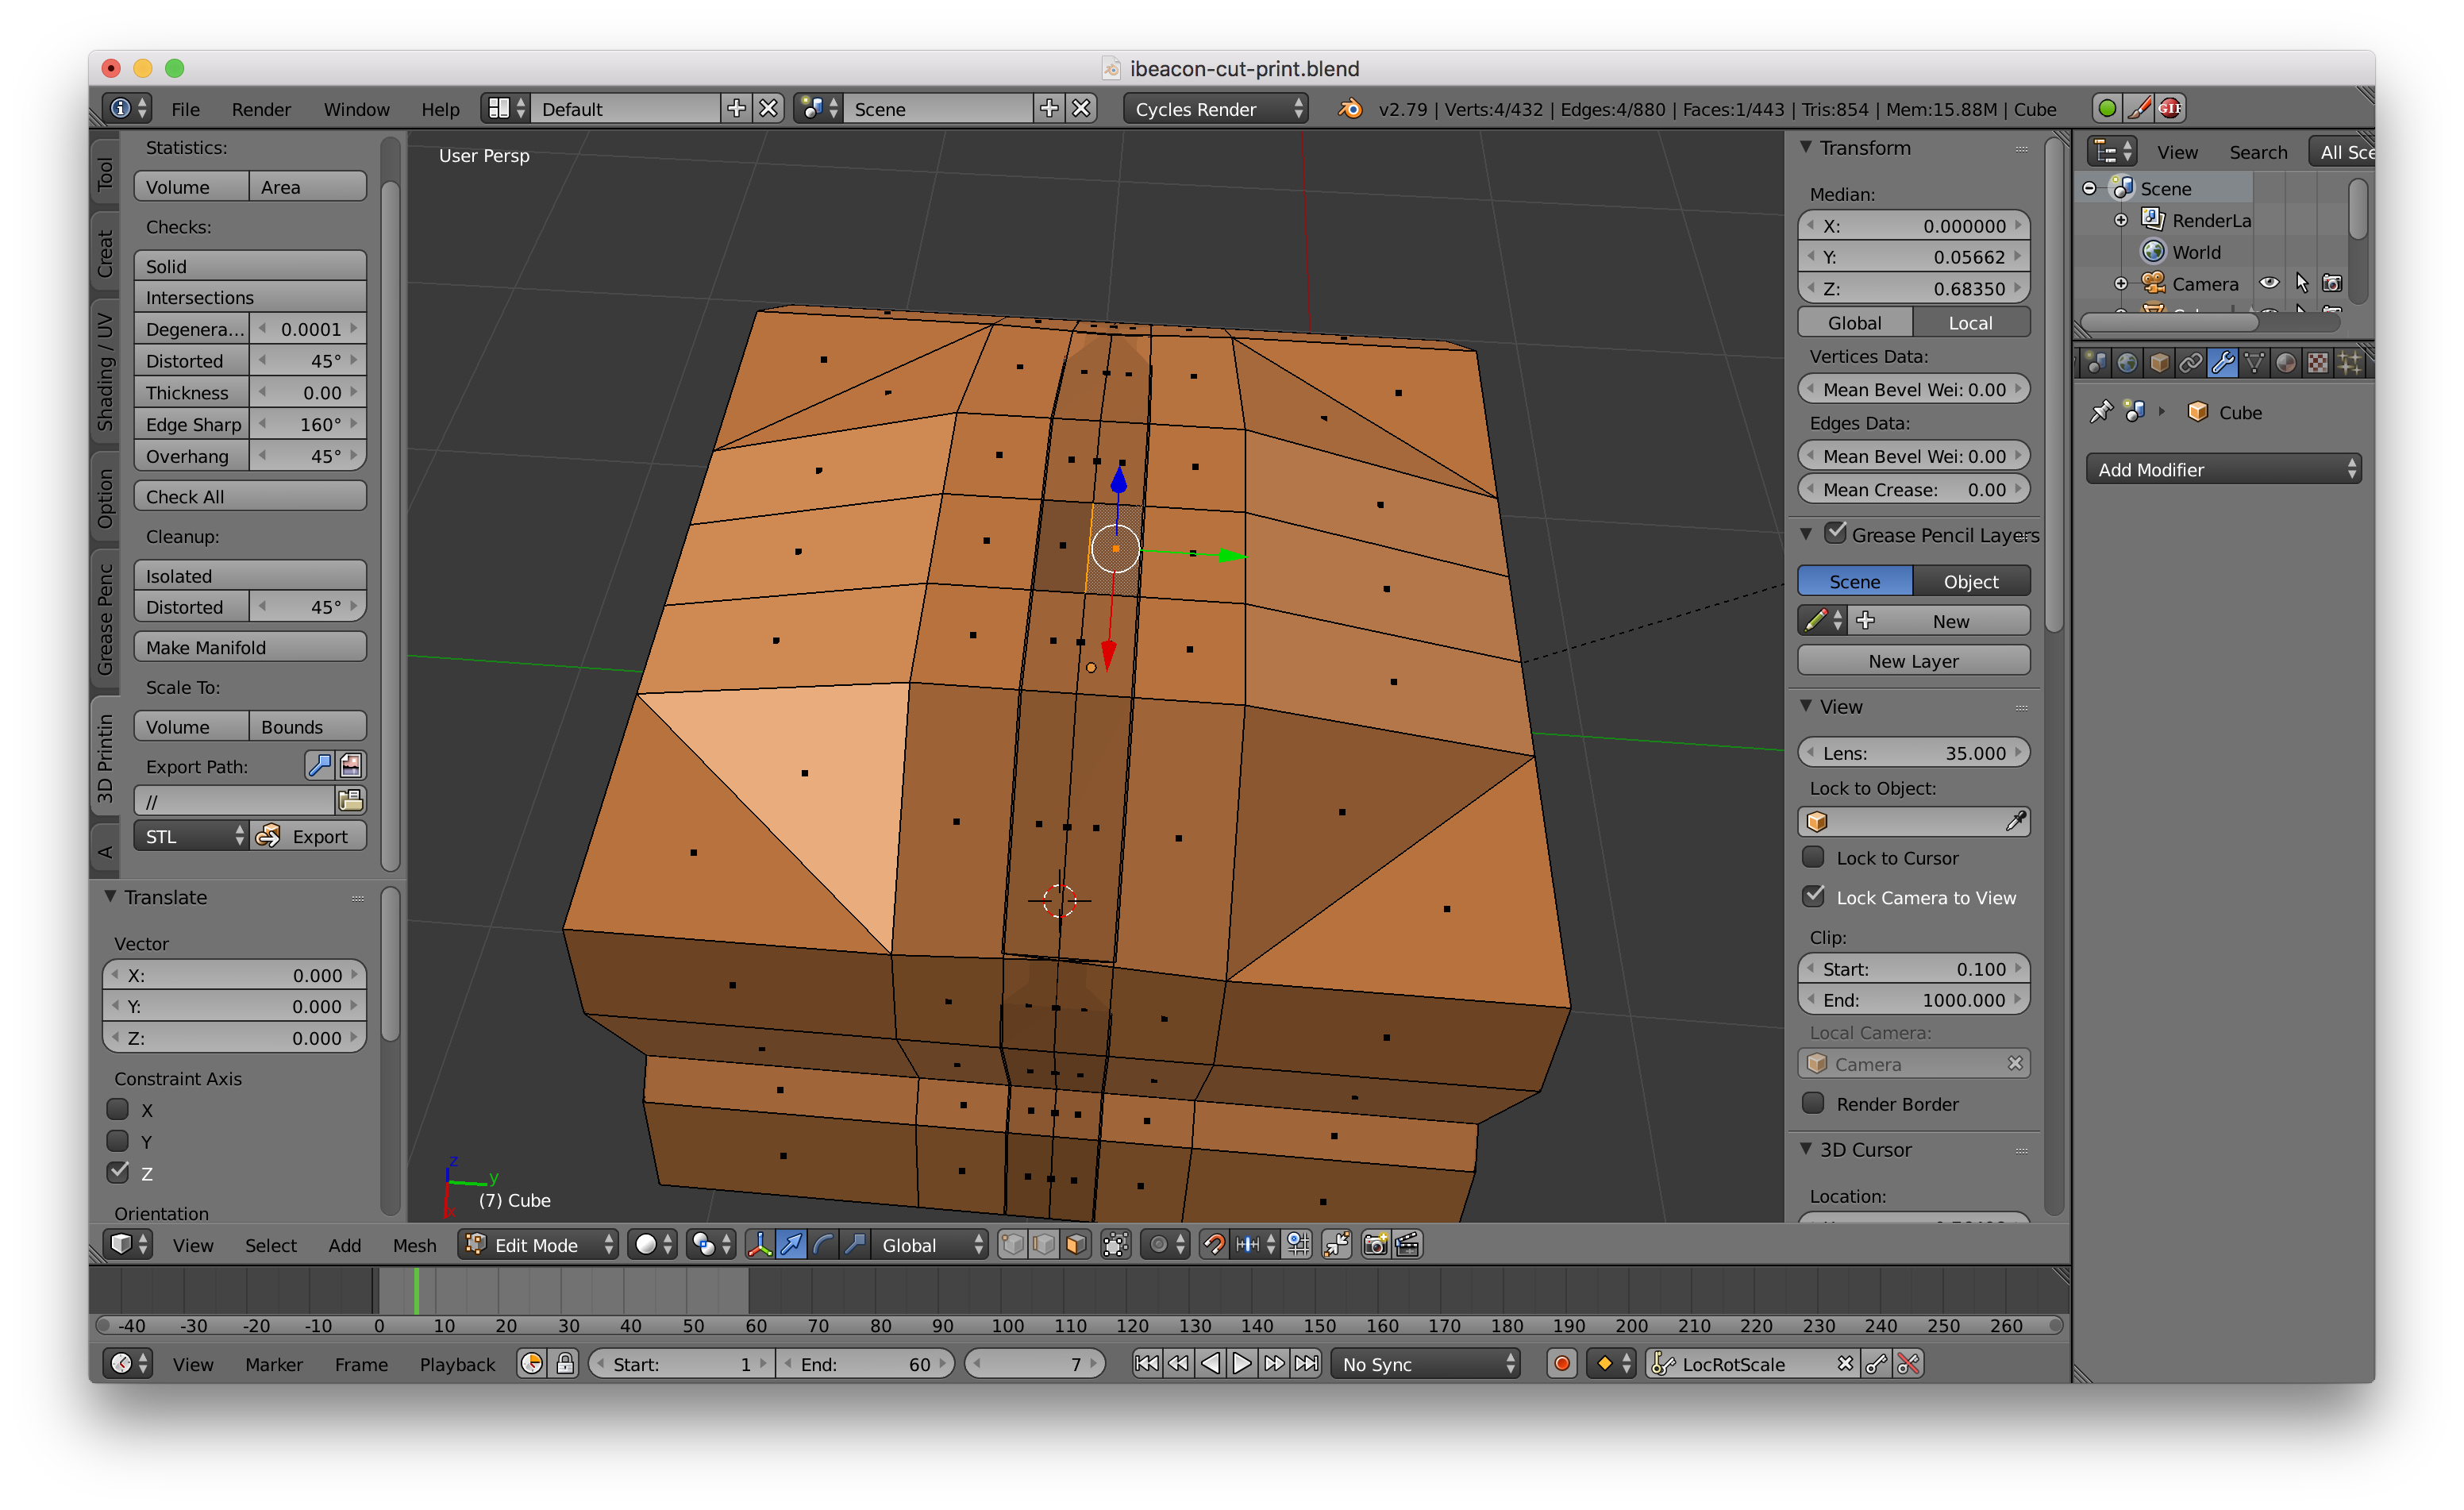
You could also select the concave faces and mesh menu → clean up → split concave faces. Then select the non-planar faces and ctrl+T to triangulate. More destructive way but works.
Amazing. Thank you so much for such a great explanation. It seems to have worked : )
I tried it again with a version with more cuts but it didnt work this time. Is it because the cuts are too close to the edge? forum seemed to mark the other filehost as spam https://upload.cat/42ceede615be5e76
did the model in your screenshot have the mirror,triangulate, and solidify modifiers already applied? How could I properly connect a mirrored object so there are no edges without faces?
wow that’s amazing! thank you so much for taking all this time to explain it all so thoroughly. Making a video was seriously next level thank you so much!