99* Days of Blender

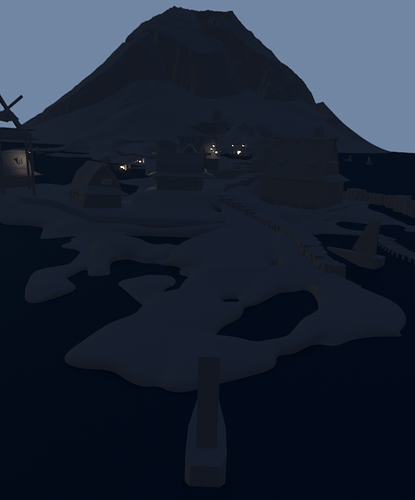
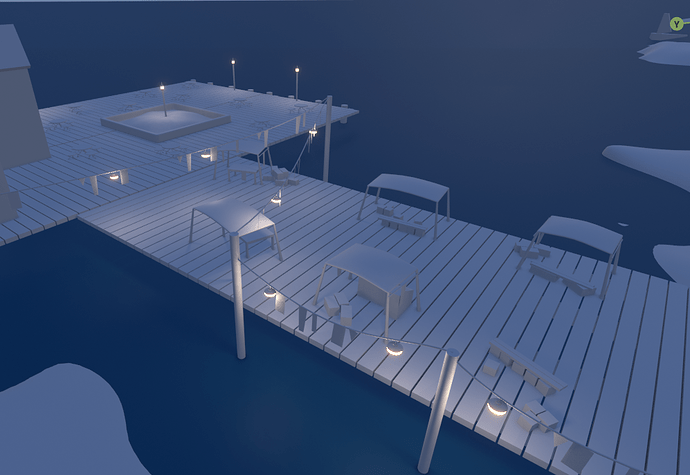
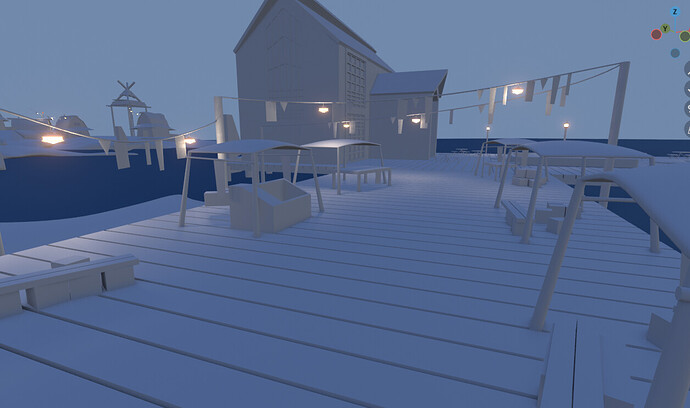
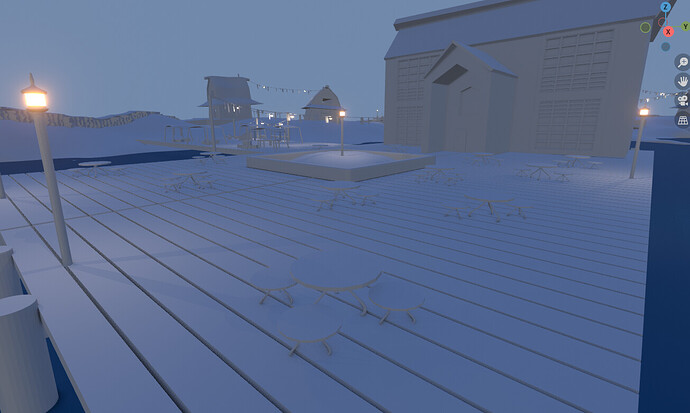
This doesn’t warrant a part, but I caved in and added some point lights. Guys, it’s so pretty!


Even without any texturing at all, this is already a beautiful scene. I am delighted. Maybe even ecstatic. Either way, this is dope.

On the flip side, my computer isn’t loving this number of point lights- I’ve dropped from realtime in rendered view to 17 FPS. Which admittedly still isn’t bad for 12 point lights. We’ll see what happens when the whole island has them :grimacing:

3 Likes

It’s lovely. Very atmospheric!

2 Likes

I wasn’t planning on using dusk lighting for the final renders, but I’m 100% sure I’m going to get some dusk shots now. Since I want to use this as backgrounds for animation, it’s probably a good idea to have a few different shots at different times of day…

Right now, I’m thinking a full day night cycle, round of shots every three hours. For each third of the island, 5 wide shots, 5 middle shots, 10 close ups- for a grand total of 180 animated renders. To leave myself wiggle room, I’ll probably do 30 seconds per render. And they’ll need to be at least 4K for zooming and panning… let’s say 5760x3240.

Grand total of an hour and a half of 5760x3240 footage … ooh boy, I might need to buy a new hard drive just for this :sweat_smile:

Ultimately, I’m not planning on rendering anytime soon, luckily. Once I’m done with everything except texturing, this is going on the back burner for a long time. This is high stakes enough that I’m going to spend a long time practicing texturing and improving my painting skills first.

So long story short - soon, probably after tomorrow, I’ll be back to doing perspective studies, and you’ll see this again in many months :slight_smile:

2 Likes

Oh, you have real plans for this, it’s not just a composition study that grew a few geonodes tentacles! Cool!

2 Likes

Day 18 - Say Goodbye to the Island!

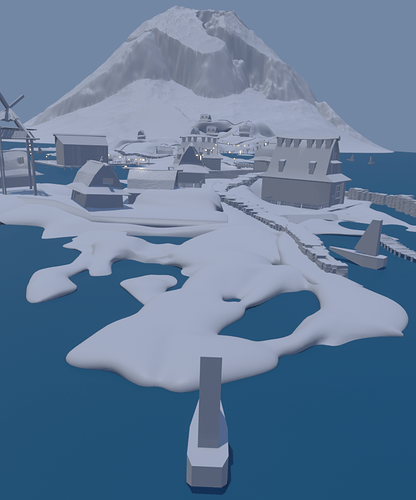
But first, a bunch of pictures:


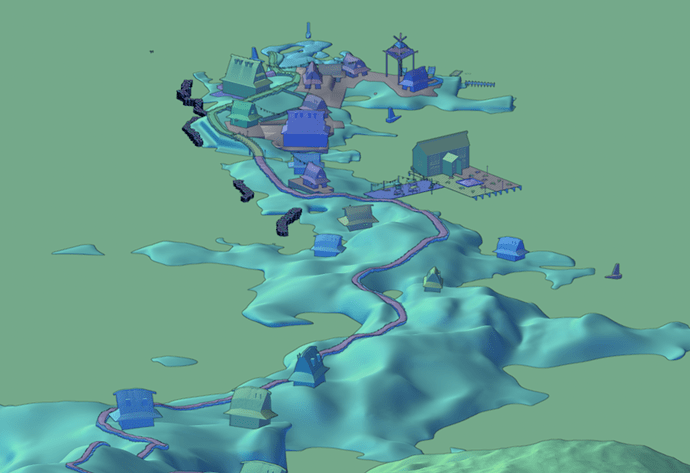
I added the rest of the houses and a boardwalk with a nice little open-air market and a restaurant. I’m having a lot of fun thinking of what should be added, and where.

Things I’ve Learned Today

The limitations of my computer, more than anything. With 28 point lights + depth of field, I can squeeze out 6 FPS in Rendered view in the Viewport. It’s not real-time, but it’s not terrible. Now I’m just waiting for Eevee Next so I can double that FPS :grin:

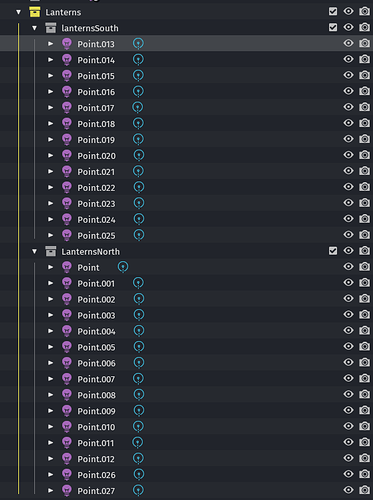
Initially, I couldn’t get more than 12 point lights without freezing and my VRAM filling up completely. It turned out my shadow settings were set to 4096 and high bit depth- dropping them to 2048 and turning off high bit depth reduced my VRAM usage by four times. I could probably go up to 50-60 point lights now, without worrying about VRAM, but I doubt I’d get even 1 FPS at that point. I’ve split my lights into three groups for that reason- since not all of the lights are visible at any angle except the super wide angle, I can disable two of the three groups per render and save myself quite a bit of time in the future.

Why goodbye? There’s so much left to do!

Read more

There is, it’s true, but I’ve detoured much more than I intended to with this scene. I need to get back on track with my learning. Right now, I’m mainly just having fun- and I have learned a lot about geonodes, but I’m at the point where I’m not challenging myself, I’m just doing what I already know how to do.

There’s nothing wrong with this generally, but I specifically want to improve in Blender over these 99 days, so this is going on the backburner.

Don’t worry, I will come back to this later :slight_smile:

Want a closer look?

Read more

I’ve decided to share my scene, in case anyone wants to take a look around. (I recommend Walk Navigation). However, I am duty-bound to warn you, hypothetical reader… do not undertake this adventure lightly!

There are 2.1m polygons, 28 point lights, and the file (compressed) is 100 megabytes. Uncompressed, it is 237 megabytes.

I have a very good computer and I can only get 8 fps in Rendered View (with all the lights enabled). I can usually get 20-38 with fewer lights turned on. Consider yourself warned, should you choose to download this file.

Also, please note- this will only open in 3.4 alpha, due to some geometry node setups.

https://we.tl/t-i15kn7wlRj

Music

Walk The Moon, one of my top favorite bands

4 Likes

Yeah, go ahead, make it tempting to download 3.4. I need to establish a multi-Blender setup anyway if I want to keep up with forum questions. Surely if I can load a 300mb+ scene to help somebody find a problem which turned out just a filter left on, I can handle this. Surely. It’ll be fun just to try, and hey, I haven’t had to reboot in 2 days!

This scene turned out really nice. It’s probably a good idea to let it sit a while completely independently of learning goals; some distance always helps with seeing problems and possible improvements. I really like that there are so many vantage points from which to get interesting views.

2 Likes

If your computer crashes, you have my sincere apologies :wink: I would highly recommend turning only one of these sub-collections on at a time:


I labelled them North and South, but I didn’t think to check that against the sun direction, so there’s a good chance they are in fact not north and south :laughing:

Thanks! I agree- I need to step back from this and get a fresh perspective again in a few weeks or months

1 Like

Day 19, Part 1 - A Nifty Little “Handpainted” Trick

I am specifically planning on doing two parts today because what I’ve done this morning was more of a quick little sidebar. An important one, for sure, and I did learn a lot from it that will help me in the future. But it also took like 15 minutes, and I can do better than that :stuck_out_tongue:

Anyway, I tried out a tutorial from Lettier:
https://medium.com/@lettier/how-to-create-hand-painted-textures-without-painting-aa7374fef815

It’s been on my list for a while, ever since I’ve seen some of their work in Blender. This tutorial is unique in that it ventures into two of my uncomfortable places- Medium, which is in my experience 75% recycled corporate garbage from LinkedIn, 15% crypto shilling / 5 Side Hustles No One Has Ever Thought Of Before That Will Make you 1000 Dollars Every Time You Sneeze!, and 5% hidden gems of incredibly useful content.

My other uncomfortable place is that this tutorial uses AI to help with the “hand painting” process. I want to make it clear now that I have nothing against AI as a creative tool, and it saved me hours of work today. I’m a fan, in other words, as long as it’s used in certain ways and in certain bounded parameters. But that’s for a different topic :wink:

Enough faff, I’m going to show you what I did and then talk more:

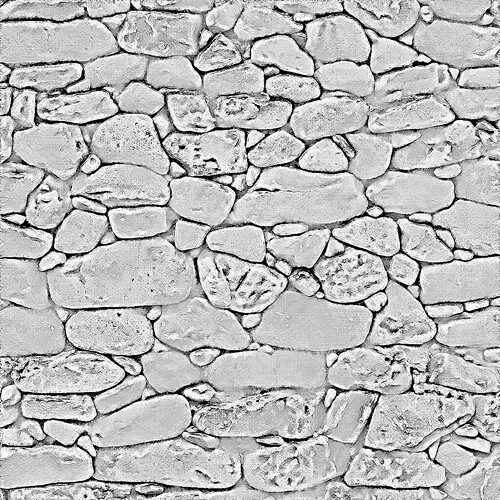
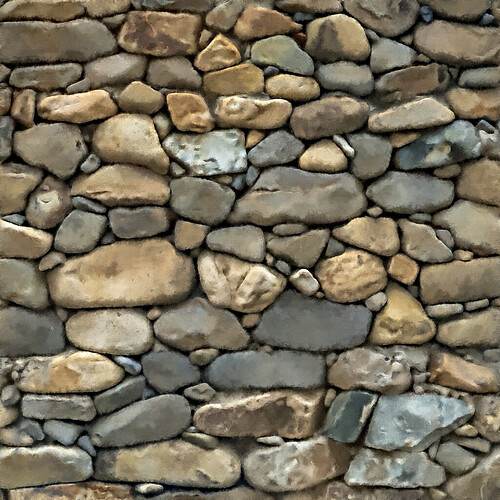
This is my “hand-painted” texture I generated from this stock image:

And I’ll be darned, it actually looks halfway decent :grin:

This tutorial isn’t as simple as you might be thinking - no typing “handpainted, stone wall, stylized, painted, painterly look, brush strokes, seamless, trending on ArtStation” into a prompt bar somewhere was involved :stuck_out_tongue: What was involved was a fairly interesting process of image manipulation involving working with 8 different layers and quite a number of different filters.

I’m not 100% sold on the style, but for what it is, it was fast and easy :person_shrugging: And I’m not currently in a position to be quibbling about style, as I haven’t fully grasped what I’m looking for stylistically anyway.

Long story short, I’d recommend this tutorial. It’s clearly written and easy to follow.

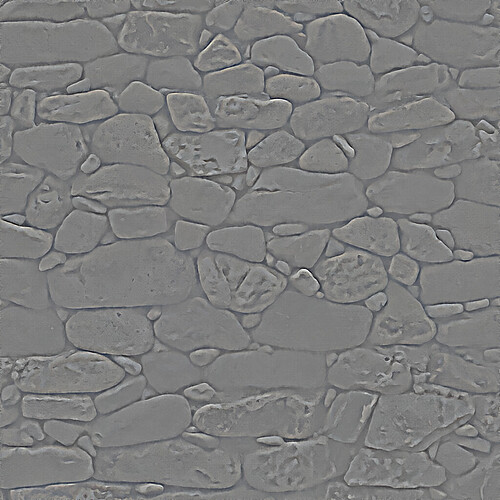
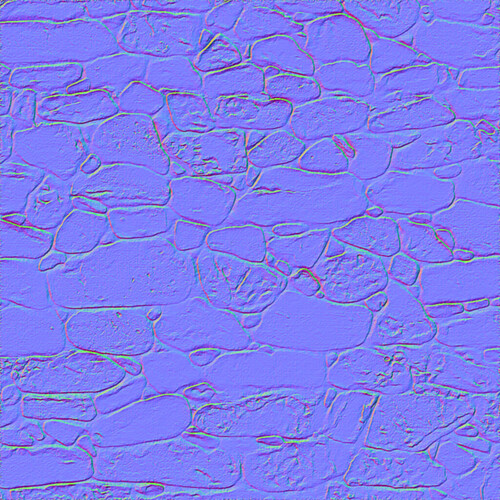
Here are all my textures (1k, seamless) if anyone wants them. They’re CC0, use them freely if you so desire:


This afternoon, I’ll probably be doing another perspective study, and then hopefully something else as well- something new and (presumably) completely unexpected :slight_smile:

6 Likes

Since you can dial in the amount of stylization there’s a lot of room to play, isn’t there? This version still looks a bit too busy for me to register as properly “handpainted”, but that seems easy to change.

I don’t see where there’s any AI involved (just glanced at it quickly; hurty eyes)?

1 Like

To a point, yes. This process, while cool, encapsulates one of my big problems with AI- despite the promise of unbounded potential, you’re actually quite limited. In this case, I spent a good chunk of time adjusting the parameters of the “Brushify” G’MIC filter, as well as the “Smooth Brush”, but I couldn’t quite get what I was looking for. I tried lower levels of business (that can’t be right… busyness?) as well, but that just had the effect of looking blurred.

I don’t know that I would use this technique again, ultimately. It was cool, and it got decent results, but I’m not happy with the level of customization available.

One thing that worked very well that I would use again was the “Make Seamless (Diffusion)” filter. My original image is not seamless, but my 3D render is using a 2x2 tiled grid on each side, and I honestly have to squint to tell where the seams are.

It’s not AI in the flashy trendy sense- it’s neural processing like Photoshop has had for a long time. I don’t know exactly how G’MIC works, but all of the filters are using some kind of “artificial intelligence” somewhere :slight_smile:

1 Like

Thanks for the textures!

I like!

1 Like

At this point, the term has already been generalized to kingdom come. You can pretty much call anything that’s both artificial and dumb “AI”. :stuck_out_tongue_winking_eye:

3 Likes

His mossy stone wall looked pretty good. And especially so if one can actually paint (which I can’t) and fix it up afterwards, then this looks like a good head start. It probably depends a lot on the base texture and its lighting.

I wouldn’t call this AI because that would muddy the waters too much – it has nothing to do with machine learning and neural networks (Photoshop’s neural filters might be a different story; I haven’t kept up with them since they went entirely to the dark side). G’MIC (unless it has made sudden immense advances recently) is just straight-forward mathematical image processing. The limitations you run into are limitations of those algorithms.

2 Likes

That’s a good clarification, thank you! If I was less lazy I’d edit my post so it doesn’t say AI anymore, but that sounds like a lot of work :wink:

1 Like

Day 19, Part 2 - The Church Mouse

Hahaha. I love the optimism of past me. But here’s the other thing I said I was going to do:


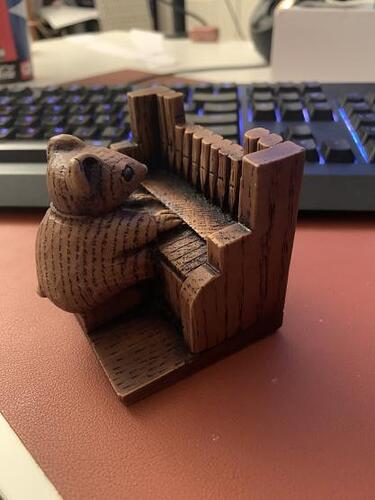
When I was at Westminster Abbey recently, I got a little resin-cast church mouse playing the organ at the gift shop. I’m not usually one for knick-knacks, but Westminster Abbey was a profoundly important experience for me, I play the organ and love anything connected to it, and it was really cute:


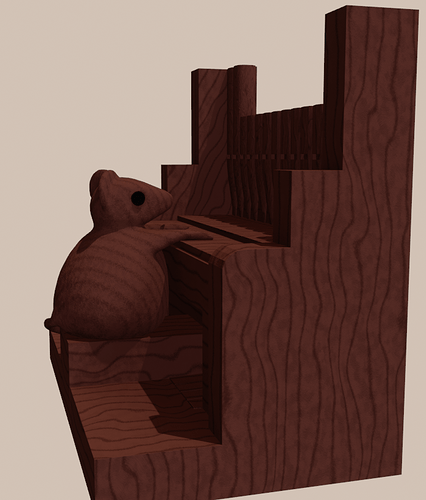
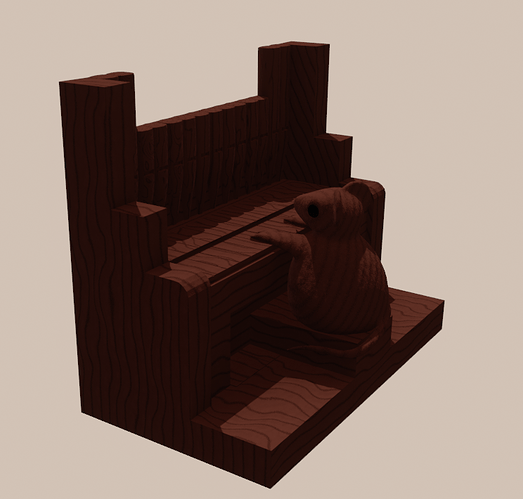
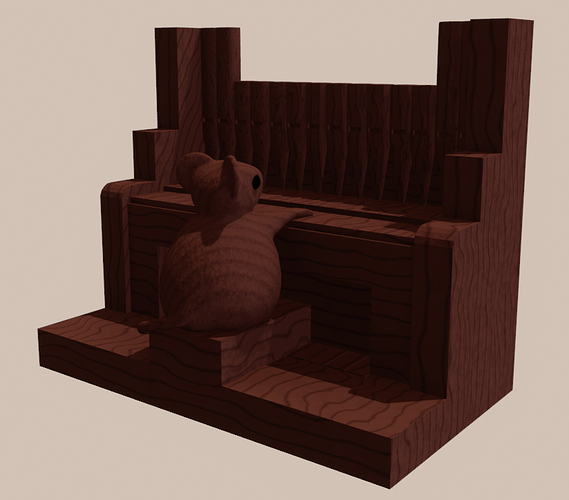
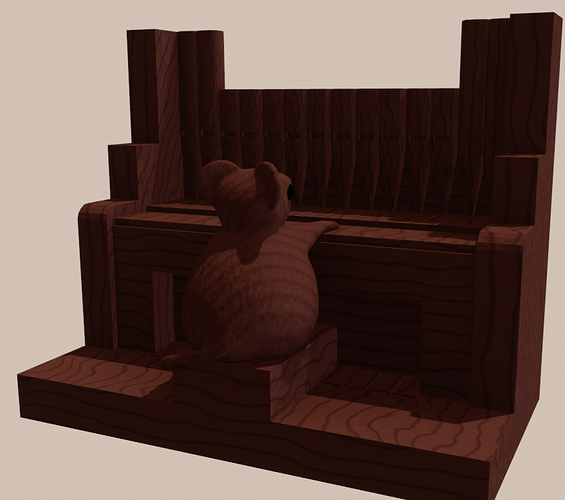
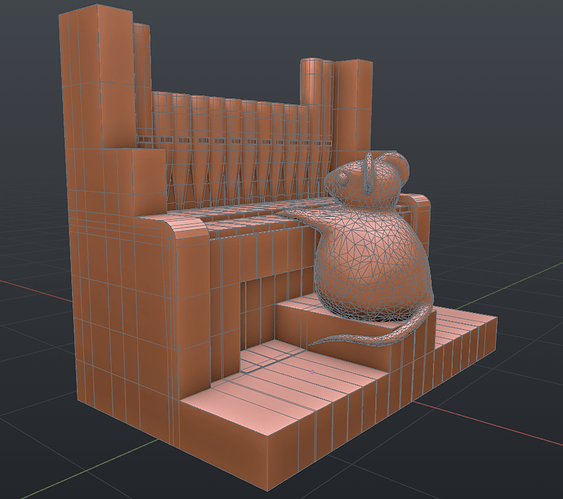
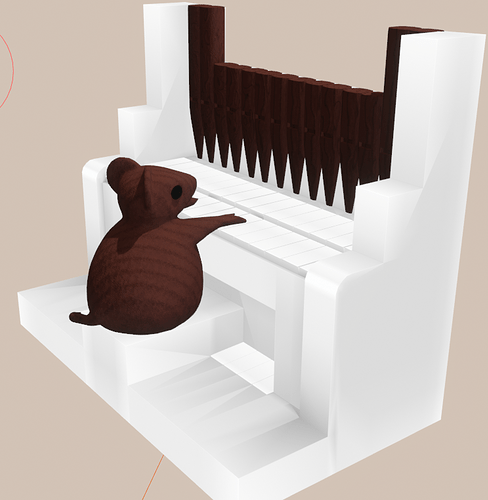
So, today, I made it in Blender! I quad-modelled everything except the mouse. I also added pedals, because it’s silly to have an organ with just two keyboards. The mouse I made from primitives and then remeshed + smoothed in sculpt mode. All in all, my modeling here is top-notch.

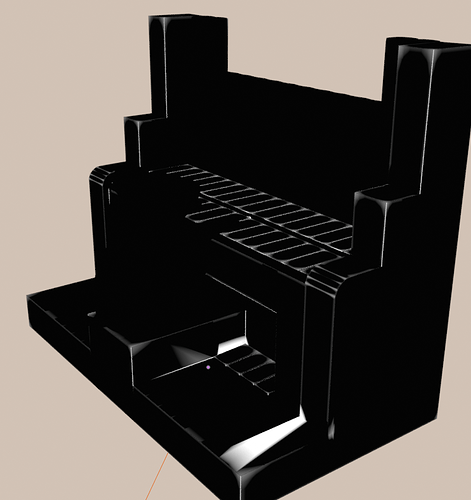
My texturing… I didn’t put a lot of effort into it, since it’s late and I want to go to bed, but I definitely did not do a good job. I baked an ambient occlusion map and I tried to bake a pointiness map, as you can see on the original that there’s a lot of pointiness, but my pointiness was a complete mess of triangles and nonsense. I don’t really know Cycles, so I don’t know what I did wrong. Either way, the lack of pointiness is a huge weak point here.

If anyone has any suggestions for better texturing, I would love to hear them. I know mine is terrible here, I’m just struggling to understand how exactly to fix it :slight_smile:

Music

Some of you are about to get mad at my phrasing here, but I was feeling in a mood for oldies, so I turned on U2 and the Pet Shop Boys. I’ve alluded at my age, I’m not particularly shy about it, but if you haven’t been paying attention, I might be younger than you think :wink:

What I learned from this

I am trash at texturing. But I already knew that :laughing: One very specific thing was the rounded corners- those aren’t beveled, I modeled those by hand, and the topology for that was very intuitive and will for sure be useful later:

8 Likes

Awww, cute memento, cute model. Glad you got to see Westminster Abbey!

I’ve done exactly one shader with pointiness plus AO, and while it came out pretty nice, I didn’t bake maps. This looks like it might use the same principles – if you want to see it, I can share the file.

Not I. I mean, you are a whippersnapper, but the really famous U2 and Pet Shop Boys stuff counts as oldies for me too. Sure, they’re still active, but their early days were 40 years ago!

2 Likes

I’ve used Pointiness before to good effect- something about this model very specifically is making the calculations very unhappy:

I also tried the Dirty Vertex Colors trick, which had equally bad results:

Clearly, I’m missing something big, but I truly have no idea what that is :thinking: Ultimately, I have to decide if I want to go down another rabbit hole of attempting to figure out realistic texturing or not. I’m leaning towards not, at least for now, because it doesn’t really have a place in my current goals, but I would like to revisit this model someday and get the texture perfect.

In this case, I’d be interested in seeing your file, but I don’t think your shader would work with such incredibly flawed data as I’m getting here :grimacing:

I could say far more than I should about this - I’ll save it for a private message to spare the rest of my readers :laughing:

Time is so weird. I heard a youth calling Crank That (Souja Boy) a “vintage song” a while back and became acutely aware of the absolute nonsense of time and our singular unimportance in the grand cosmic scale. To most of you, that song would be considered extremely modern- to me, it’s nostalgic, a throwback to my younger years, and to the youth, apparently, it’s vintage :person_shrugging: It’s truly fascinating how individualized the perception of time is, it’s not something that can be quantified in consistent, spatial, terms.

That’s enough philosophy for right now, though :wink:

2 Likes

What a lovely mouse :heart:

Hmm, I suppose this result makes sense considering topology…? It looks like it just paints all vertex corners of the pointy vertices white. It probably would’ve been a different story on remeshed object :thinking:

3 Likes

Ohhhhh… wait a minute… I forgot that Pointiness requires a high-density mesh…

:man_facepalming:

You’re a genius. That is exactly what I was looking for. Can I hire you to hover near my ear 24/7 and tell me these things before I spend two hours trying to figure them out myself??? :wink:

New Texture:

6 Likes

Looking good!

While it’s not directly related to the material, one thing I noticed that would immensely help would be to soften the edges a bit. After all, no edge in real life is perfect and infinitely sharp.

You could try using a bevel modifier, but since it’s made out of wood, I’d recommend going into sculpt mode and using the scrape brush to give the edge some artistic imperfections.

3 Likes