Hello there Blender community. I got stuck at this and I will be super grateful for any tips for solving this.
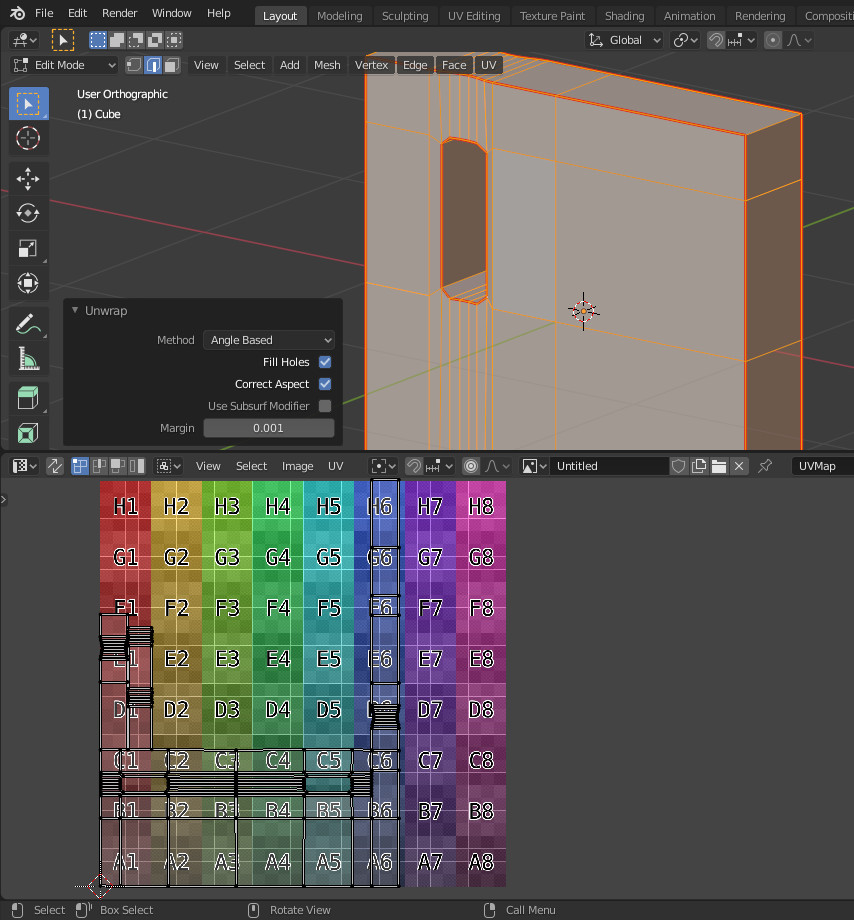
For an animation, I’m making a simple interior with a baroque window in a wall with a recess in it. I made it by using two bool objects, one for the hole and one for the recess. But from there on, I’m not sure how to process it best so that I can get a good quality UV map for the front side of the wall, which I plan to texture in Q. Mixer. So far I can’t manage to create UV maps that don’t stretch and turn around the window hole of the model. Screenshot 2021-05-20 012623|394x499
All the attempts I tried were either by applying modifiers and then trying different seams and adjusting the UV mesh, but because the recess needs quite a sharp outline, the inside of it needs to be quite hi poly while the rest of the wall can be just flat in the model. I will use Octane and have the edges smoothened by the texture, so I hope the very sharp edge without bevel will be just fine (also because the texture shoudl have soem displacement and normals to break it up a bit). I was also thinking of trying to increase the poly count of the wall to fit the polygon size of the polygons in the recess, but that feels wrong.
One thing I wish I knew how to avoid is subdividing the boolean objects before applying the modifier instead of being able to make it all in more low poly, then keep the edges sharp as an edge, but have them smoothened as a curve. I can imagine this is not really possible to achieve when the goal is a unyfied mesh for UV Maps?..
I also tried to retopo the model with Instant Mesh, but that gave me lot of holes around the recess. I don’t think I can model the wall from scratch and get such a clean and sharp result.
I’m not quit sure why to use another app (first search of Q Mixer gives the same crazy results if search for blender without “3D” ). Well maybe mark some seems at the window edge and right-click “UV Unwrap Faces” or just type “u”. there are lots of tuts out there (i’m not making fun of you).
This would probably cause seams to be too apparent with displacement map but you can’t avoid this by changing uv map, or it would be distorted.
You may want to generate your maps on tri-planer projection (that’s what it’s called in substance painter, I don’t know much about Q.Mixer) instead of just using a 2d map or uv projection. Seams should be much harder to notice if you use a 3 dimensinal projection for textures.
I meant Quixel Mixer for substance texturing. I tested seams around the window, but it still gives me a result where the scale of the texture and its deformation is very different on the wall and in the recess. The recess shape I use is rather different than the one in your screenshot since it has an arc on the top and there the texture kind of turns around the window hole.
I think I will try to cut a horizontal seam in the recess as high as possible before it starts arching and then see how much that helps. But I feel like there must be an overall better workflow for this kind of geometry?
Okidoki, thank you! I think I can’t express how frustrated this issue has made me. I already spent few hours trying stuff and looking into UV mapping tuts to see if there is something I’m missing to little effect. I will try it with the same seams as you did and hope it will make it happen.
Just to be sure, you applied both the boolean modifiers, but not the subdivision, right? I plan to add that one later and set bevel weigh on the edges.
I didn’t used a boolean just modeling to show that the edge of the window can be marked as seam and blender will “respect that fact” while unwrapping. If you want a smooth texture match on the edge you have to be sure that the edges have the same length in UV-space. Of course this is some annoying work but has to be done correctly but it isn’t witch work or rocket science
(I even don’tknow why to subdiv? to make it “smooth”; maybe just smooth shading is enough)
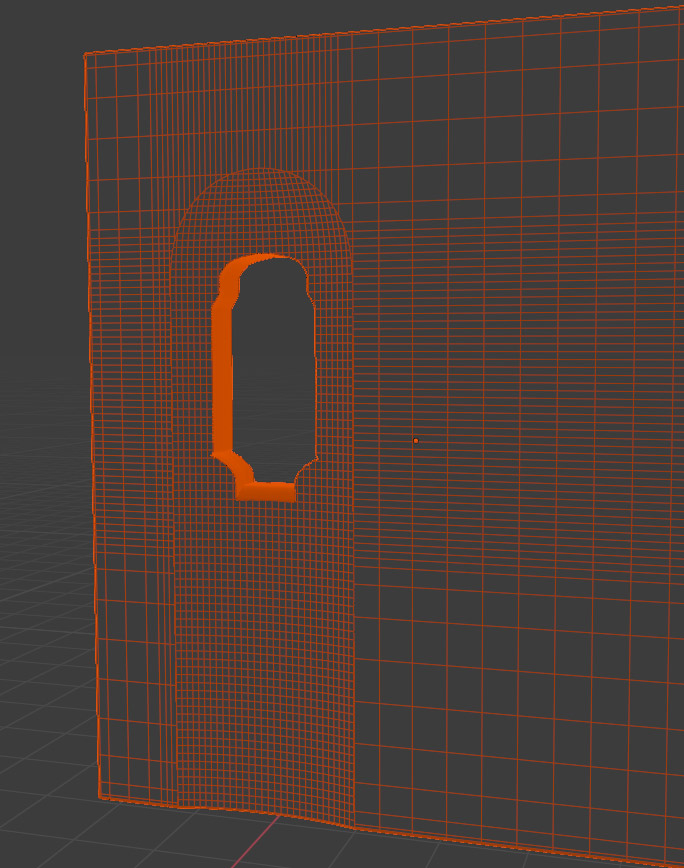
Ok, I will model it anew from a single cube and see how well the arc will represent then. I’m not sure I know how I could tell Blender to smoothen the curved arc and keep it as a sharp edge at the same time, but it might be wort the test… like in the picture here. Since I will map a flaky wall texture, the actual edge doesn’t need to be super clean. A bit of irregularity would even be a good thing Thanks!!
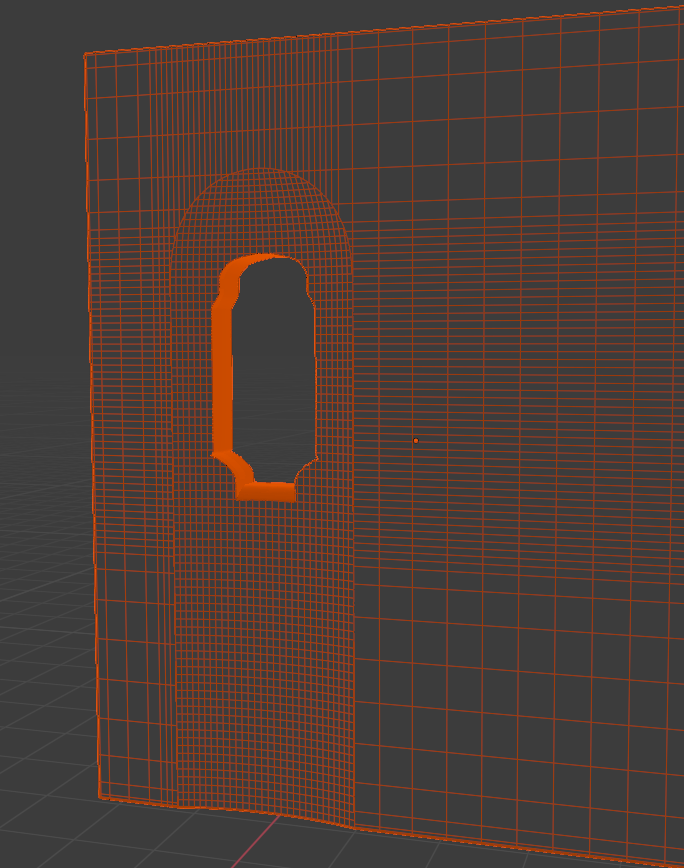
Kaboom! I figured out I can achieve smoothing of the curve simultaneously with keeping its edge sharp by using creases. I transitioned to Blender just three weeks ago so I was trying it with weight etc before, which didn’t work, but thanks to the hints here I learned several new things at once. Thank you community!
I will use Octane and have the edges smoothened by the texture, so I hope the very sharp edge without bevel will be just fine (also because the texture shoudl have soem displacement and normals to break it up a bit).
Because then i would have told you:
Sometimes for smoothing or hardening edges a subd isn’t needed, edges can be creased and different weight can do the trick.
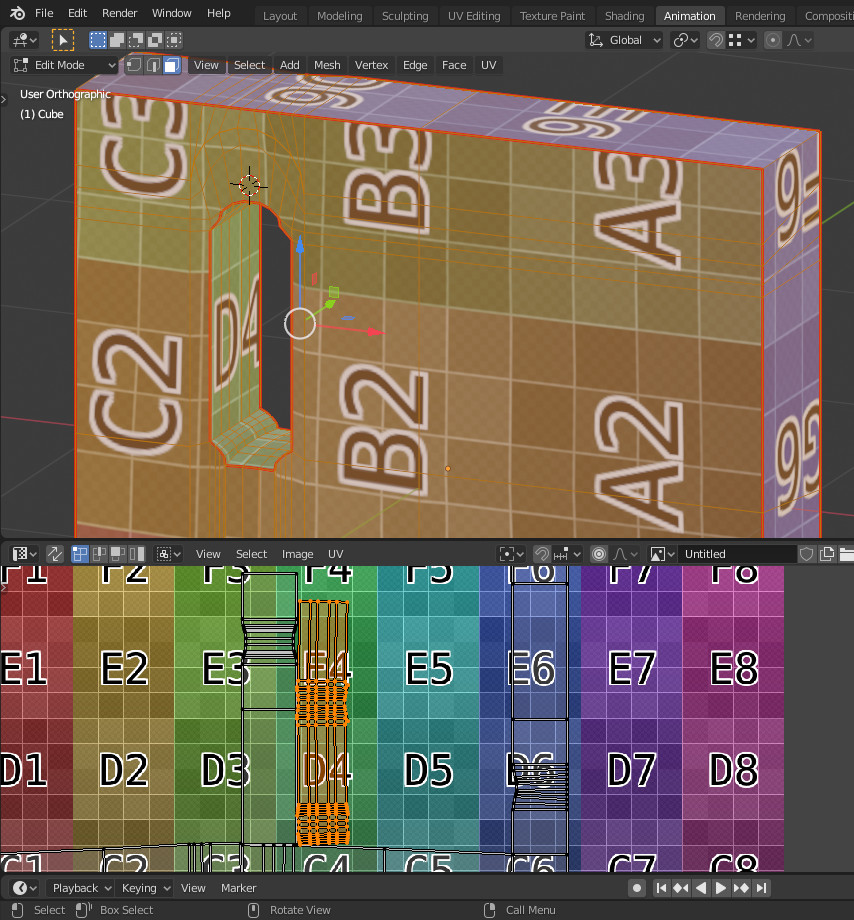
Ok, and here one last bit for any other beginner reading this. The projection was still a bit stretched and I only later realized it’s because how Object vs Mesh scaling works in Blender and that I have to apply scale on the object level to get it to 1 only after which I will get my texture square…

