Most of the finished projects that you see used some basic workflows to produce the results. These workflows are all “5 minutes to learn, a lifetime to master” kinds of steps so don’t expect perfect results your first time out.
- Accurately model your object
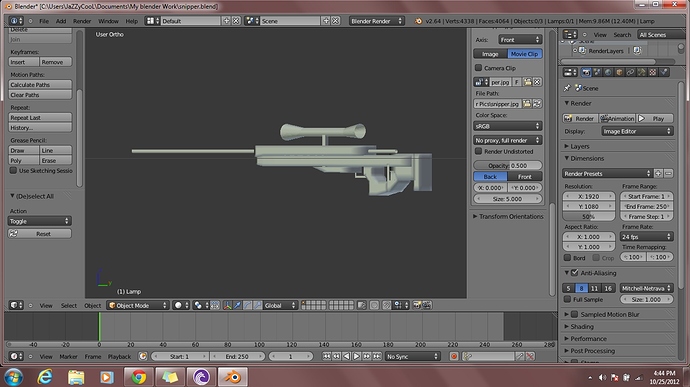
You need detailed reference images from at least the top + side and the more reference images you have the more data you have to work with. If you have top + side + back + front + bottom etc then that is all more data that you have.
You basically “trace” the images with polygons from each angle that you have a reference image. So you trace it from the side then go into the top or back view and adjust the polygons that you just added to match that view as well. You will probably find it helpful to add some faces and get them setup in all the views vs doing everything from one view then trying to switch to another view. This is an iterative process.
Part of this is fairly mechanical “tracing” of objects. The “art” (aka hard to master) part is controlling the topology of your object and knowing which parts to start with so you don’t make life hard for yourself down the road. The only two ways to learn that are to be a naturally gifted super genius or spend time modeling and learning. You don’t have to learn it all on your own, study other models that people have done and short-circuit as many of your own errors as you can.
- UV unwrap and texture or apply materials
You can improve the appearance of your models my applying 2D textures over the surface. Adding fine scratches, grease, dirt, etc is often added though texture maps. There are a variety of texture maps that are used for different purposes. Texture maps can be used to affect the color, angle, transparency, reflectivity, etc, etc at places inside a face.
Learning to UV unwrap is an “art”. You have to learn how to chop your 3D model apart so that you can make it flat without distorting stuff too much. Where you chop it takes some skill.
Generating and painting textures is also an “art”. You also apply materials to the object. You might have a black object. Is that black object made of velvet, plastic, painted metal? The materials and textures are what makes the differences here.
- Lighting + Rendering
When that is all setup, you then add lights to the material and “render” it. This is what does all the fancy calculations for reflections, refractions, shadows, normal maps, etc, etc. Setting up lighting is an art. Composing your scene into a good render is an art.
So based on what I’ve seen, I would recommend that you start with your reference images. How many angles do you have?


