Abandoned Dungeon - Blender 4.2 EEVEE walkthrough

Hello Blenderists!
Been playing around with the new EEVEE lately so I wanted to push it a little and test it on a complex scene. I have to say I’m pretty satisfied with the results, although there are some main issues, developers are doing an incredible job. I think in one year or so (hope before!) it will be ready to challenge Lumen, if it’s not already…

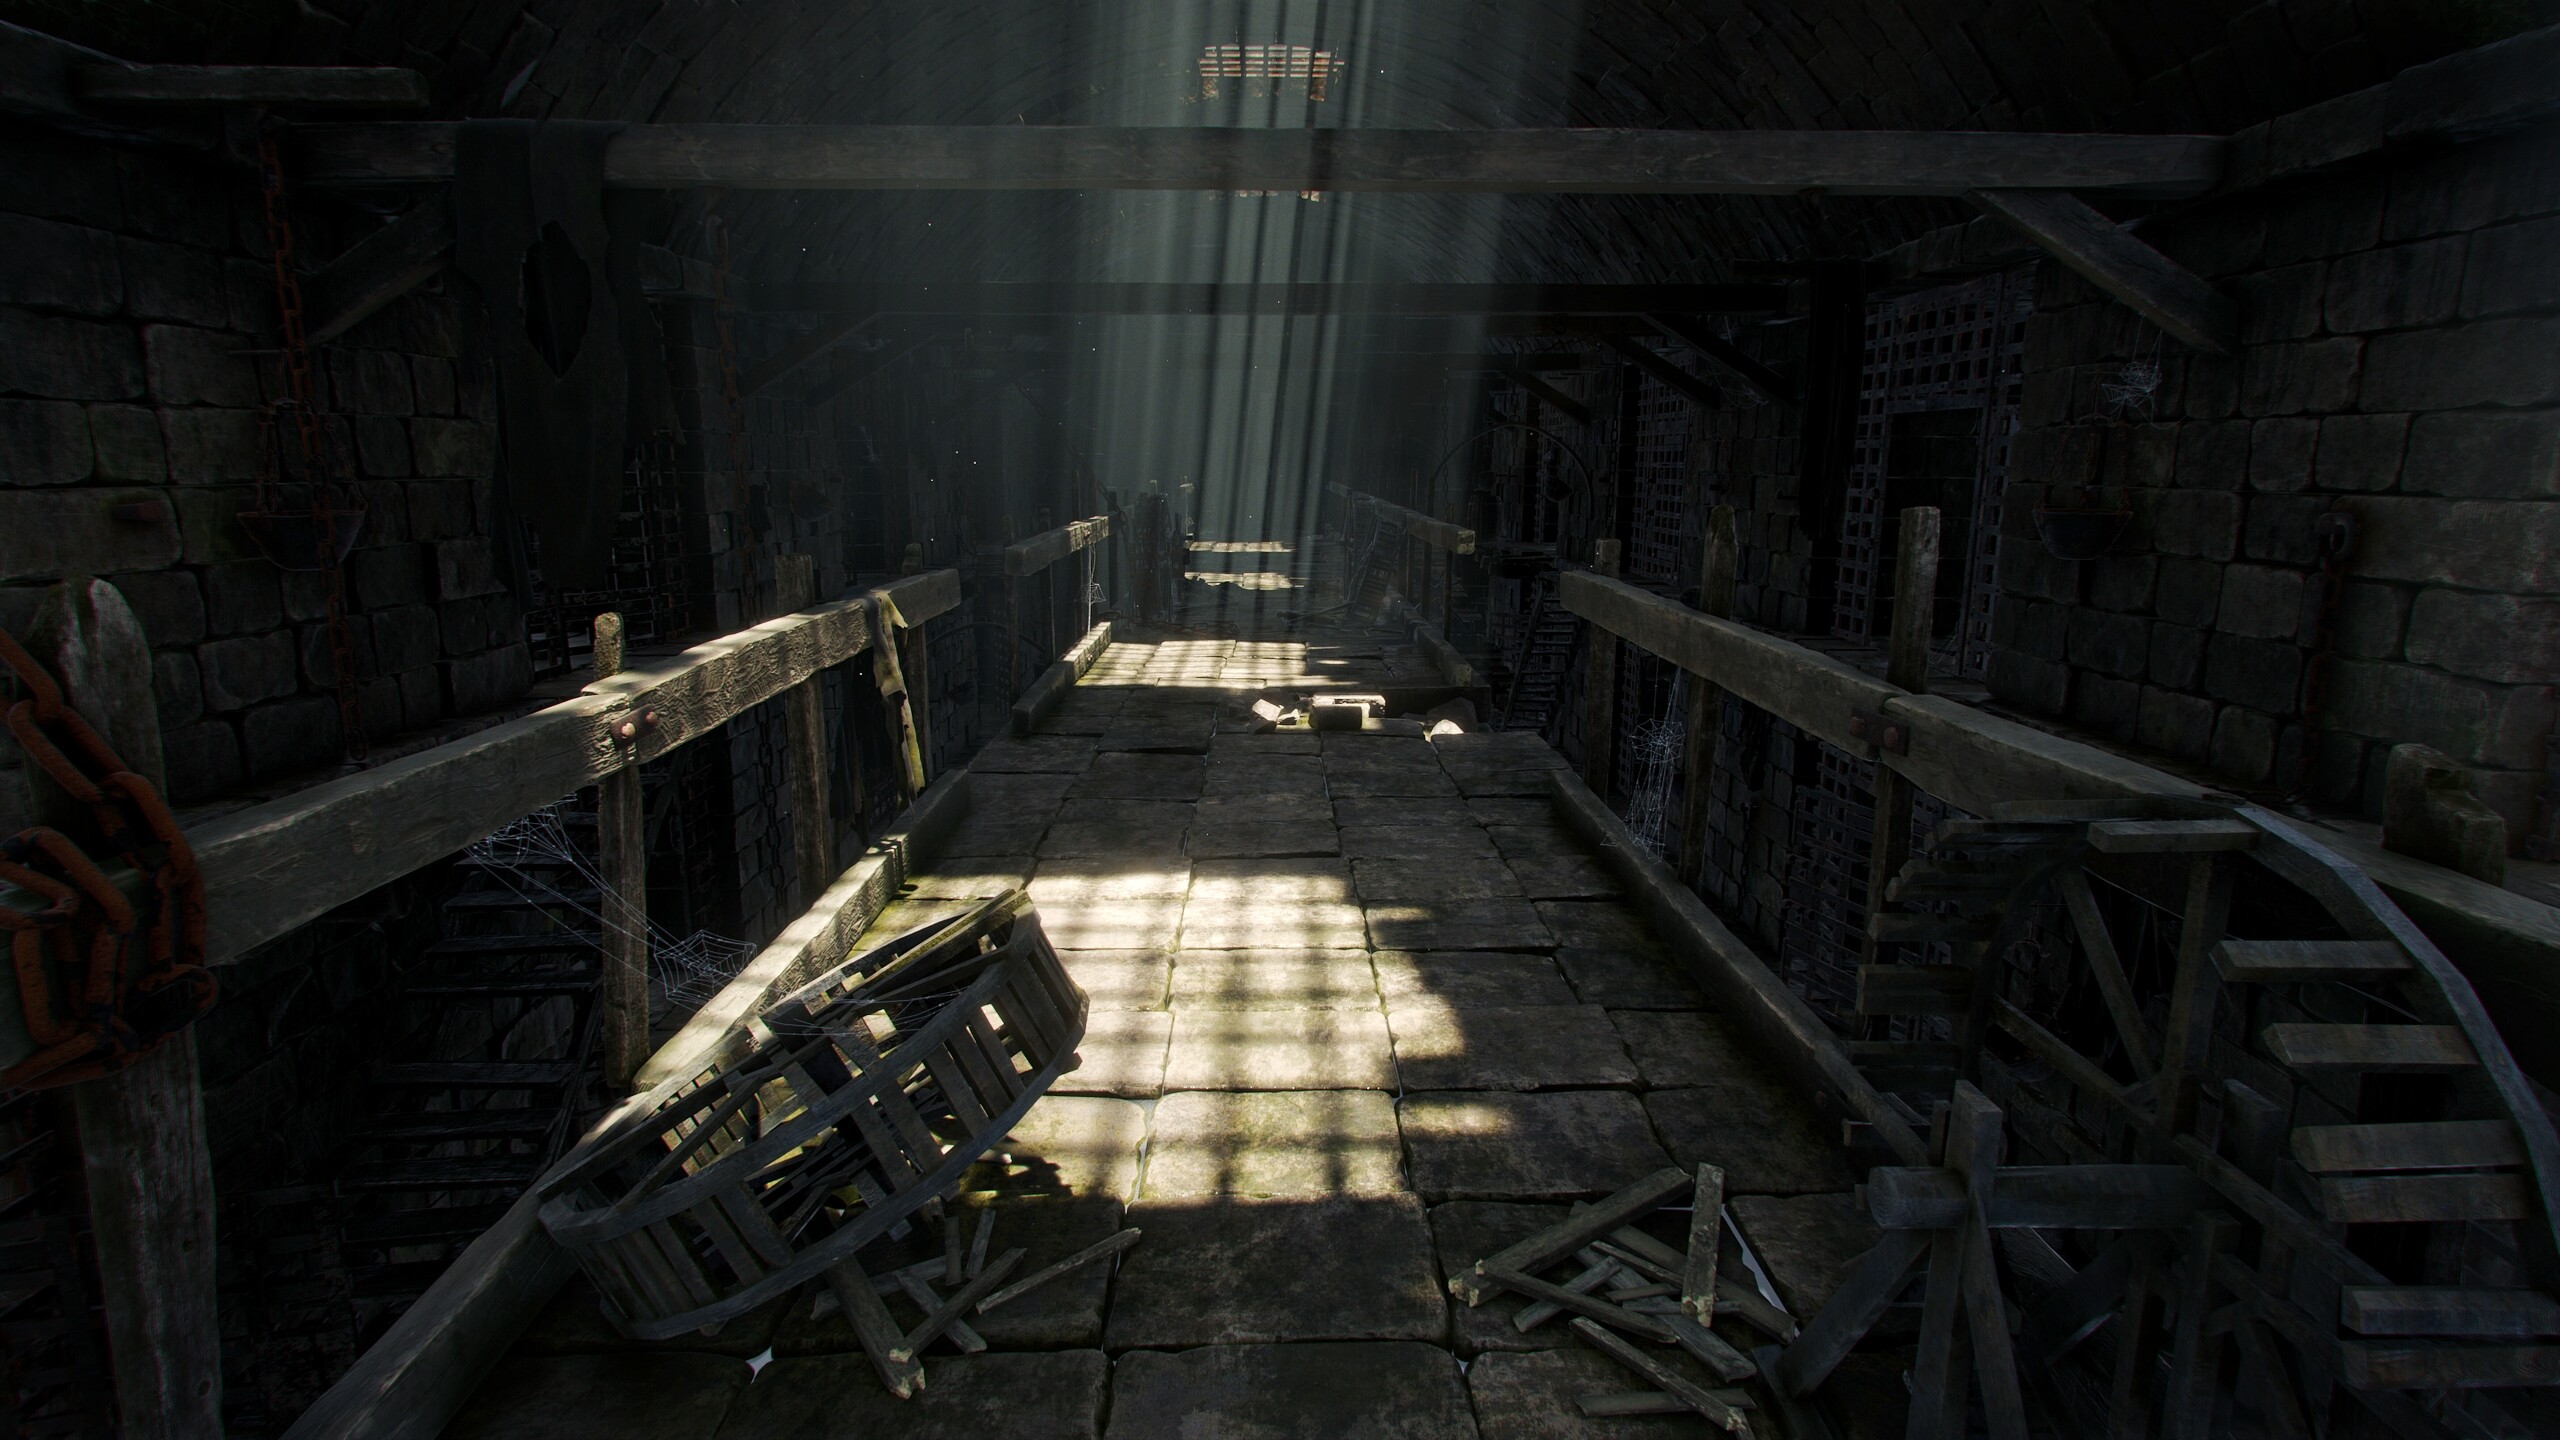
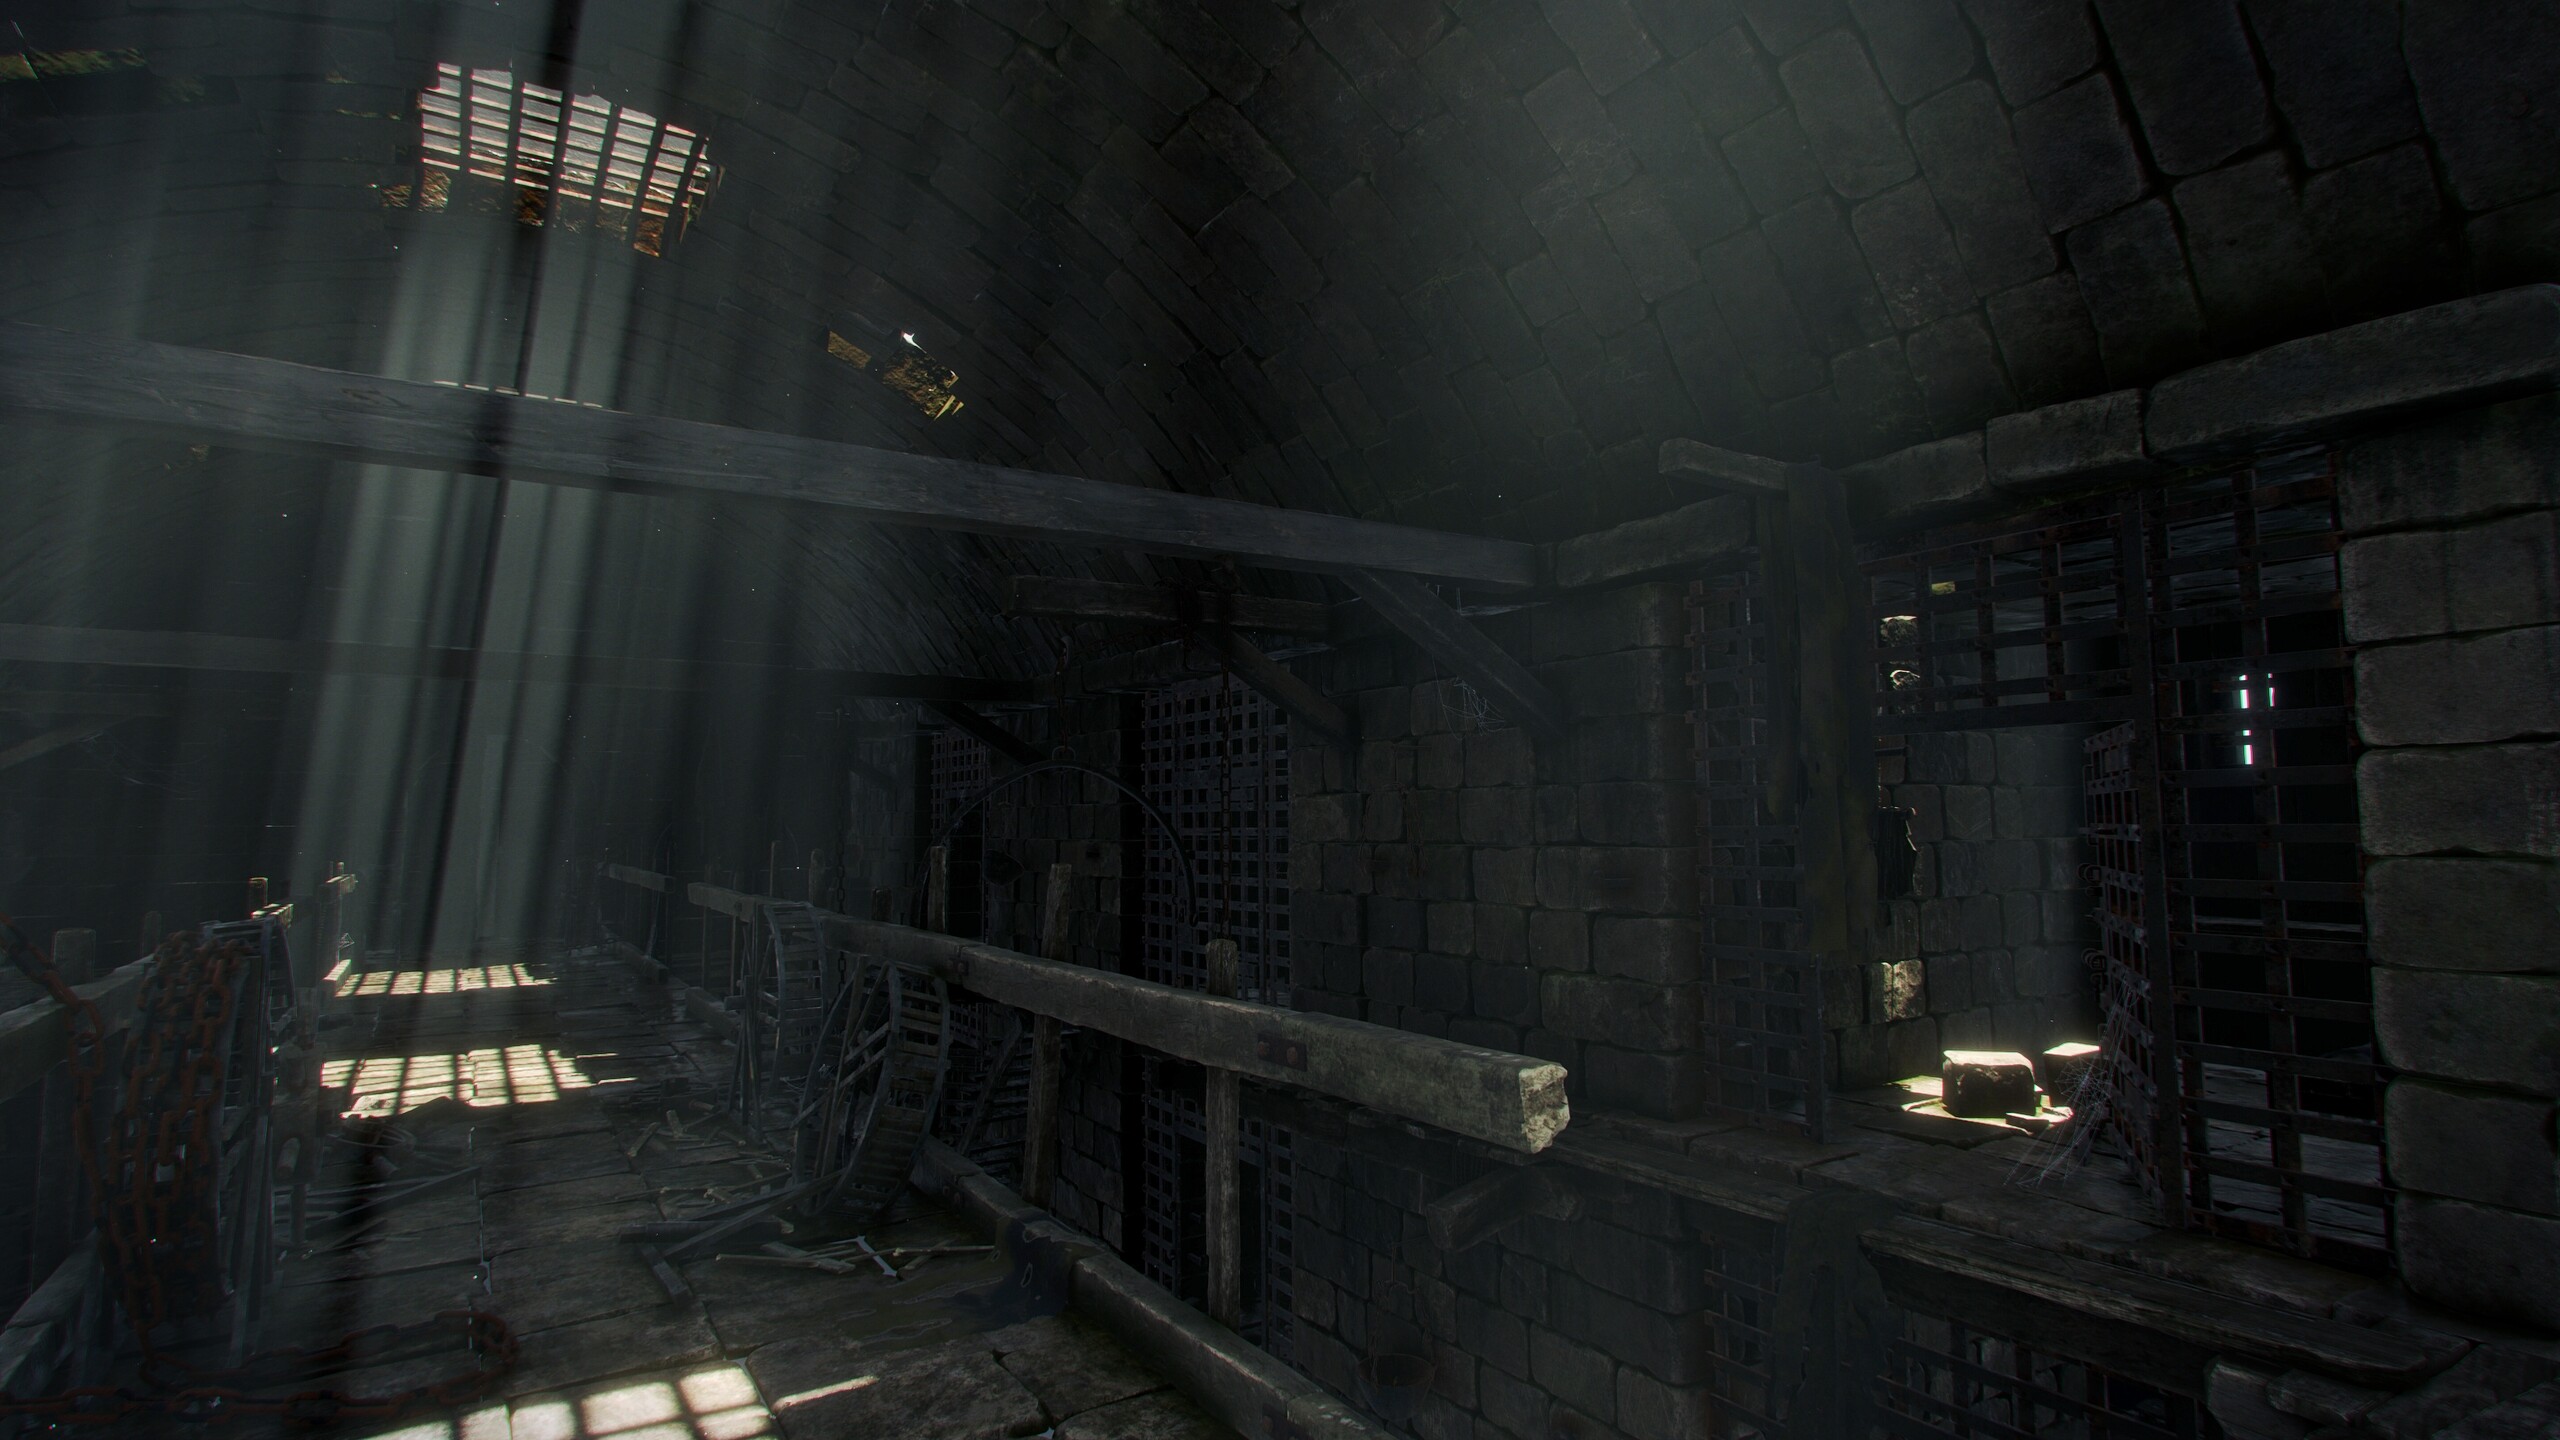
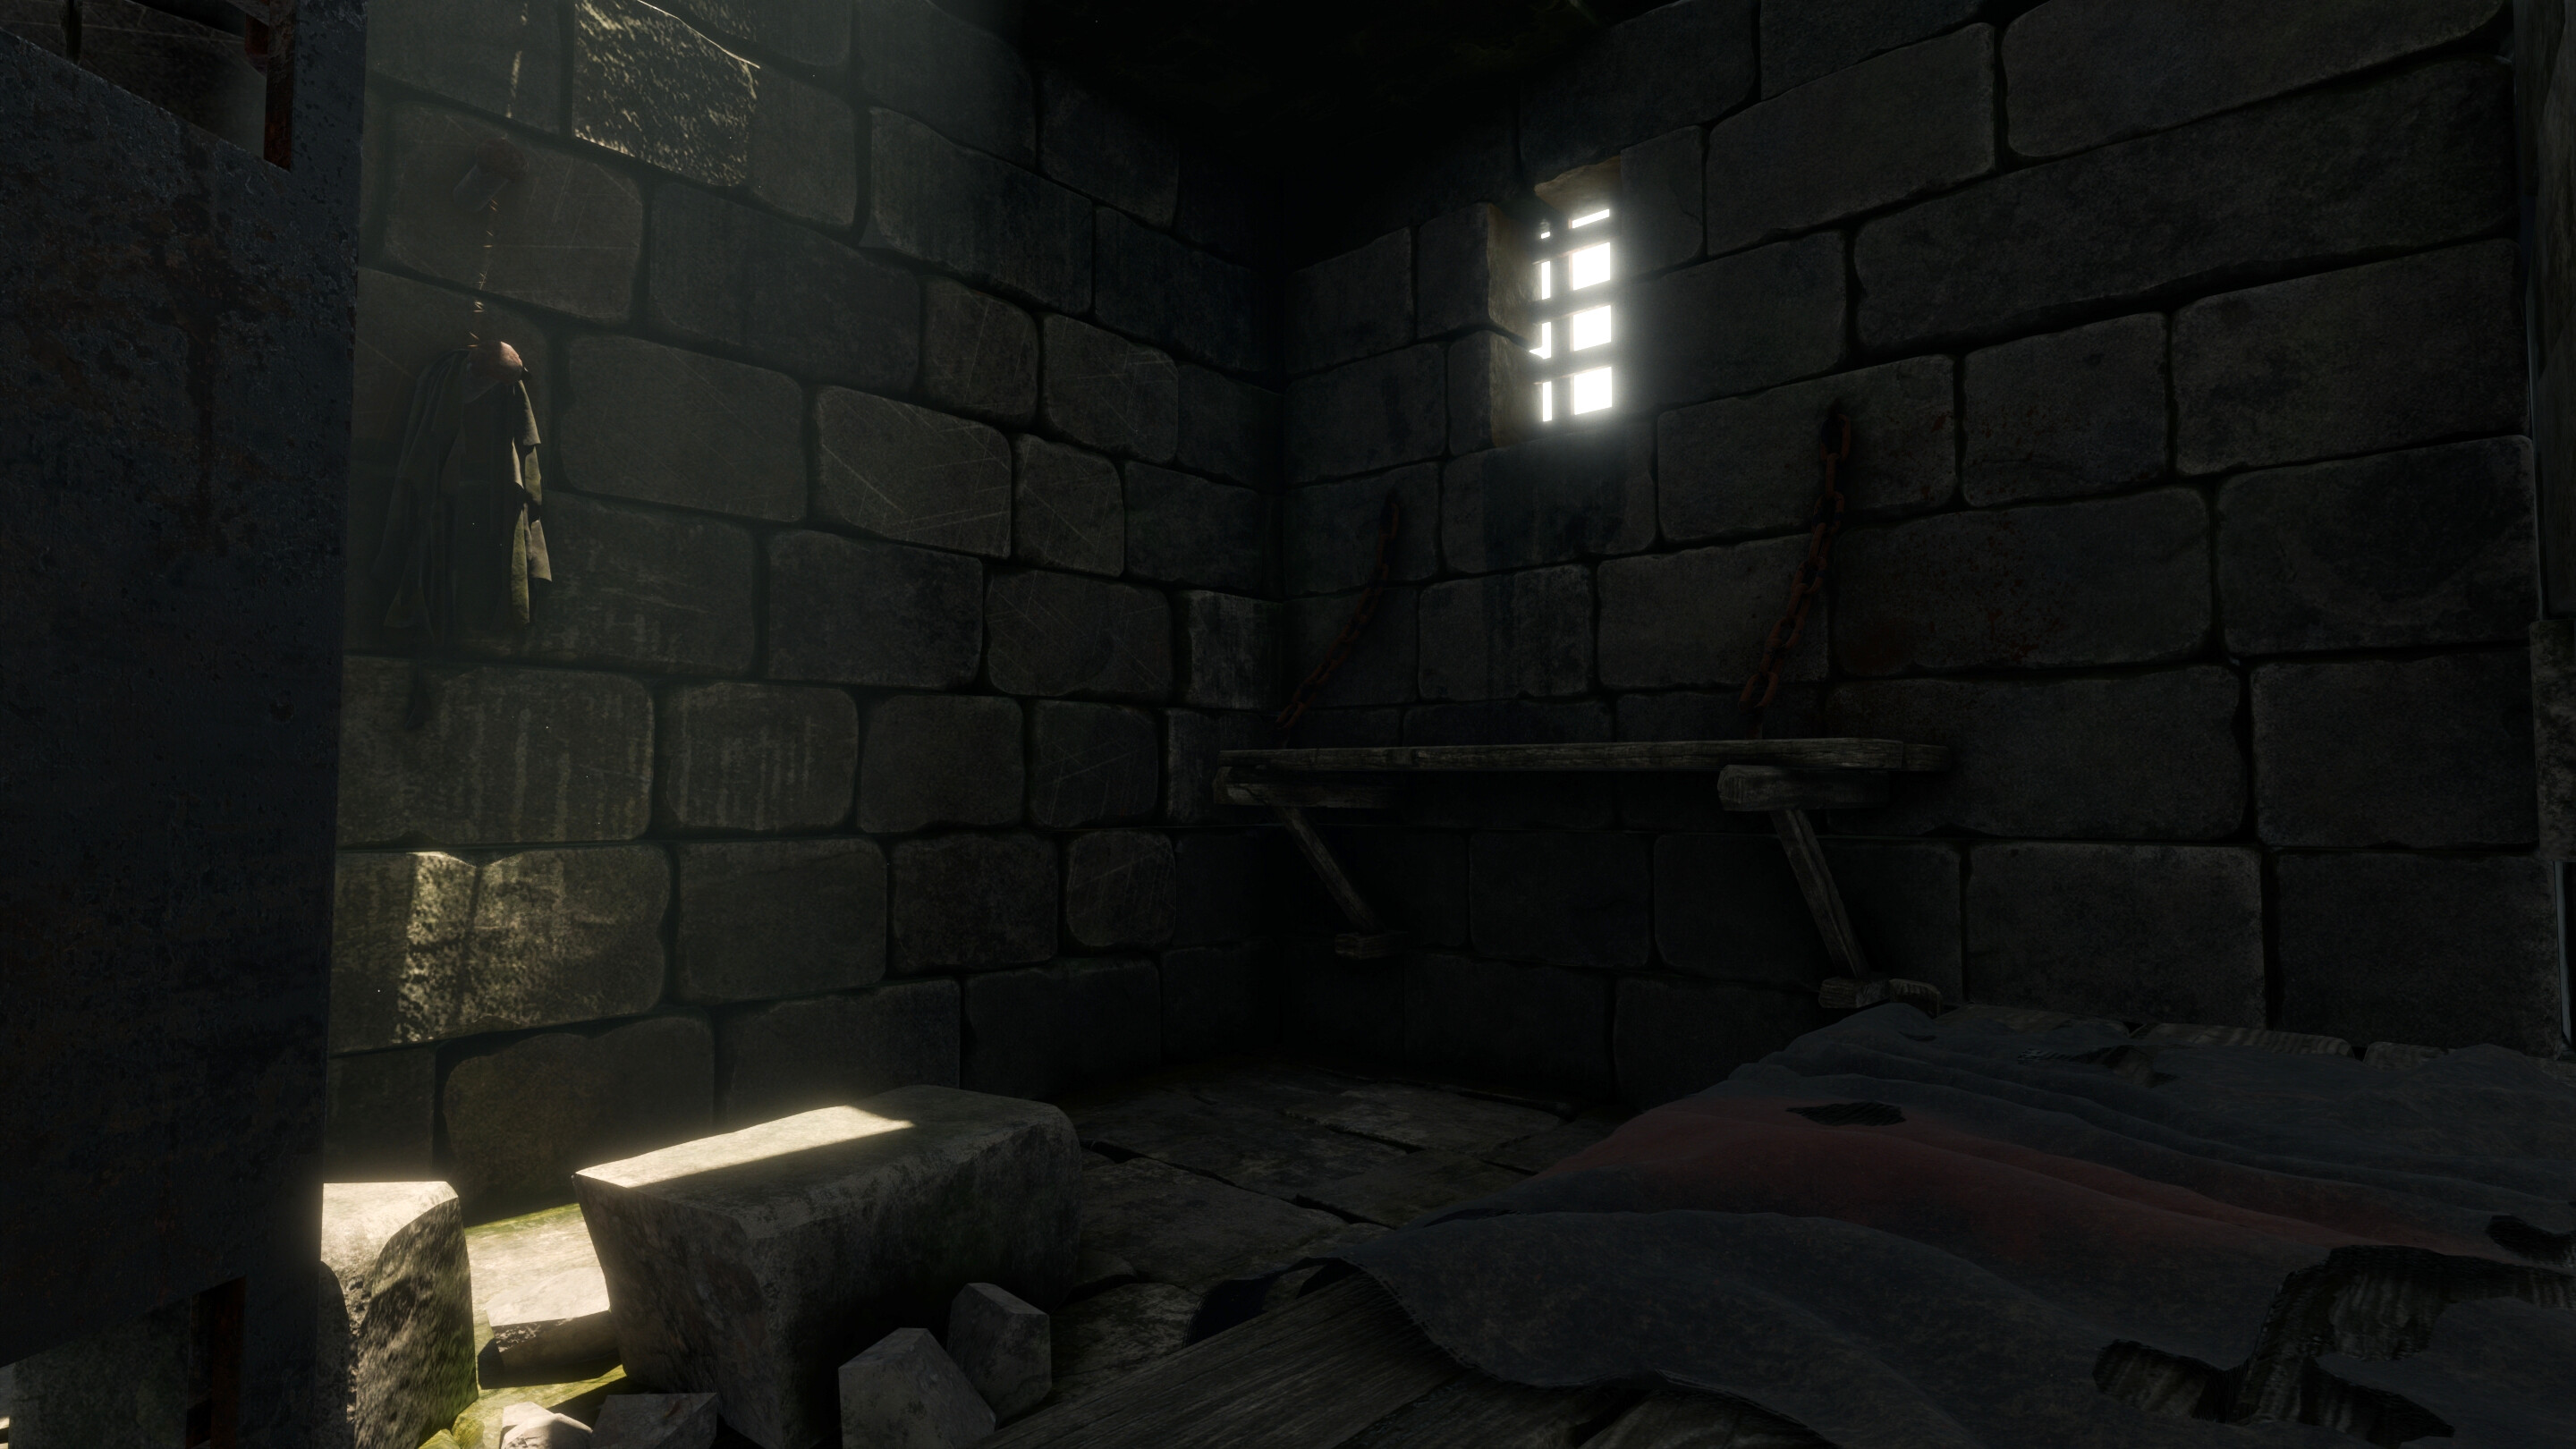
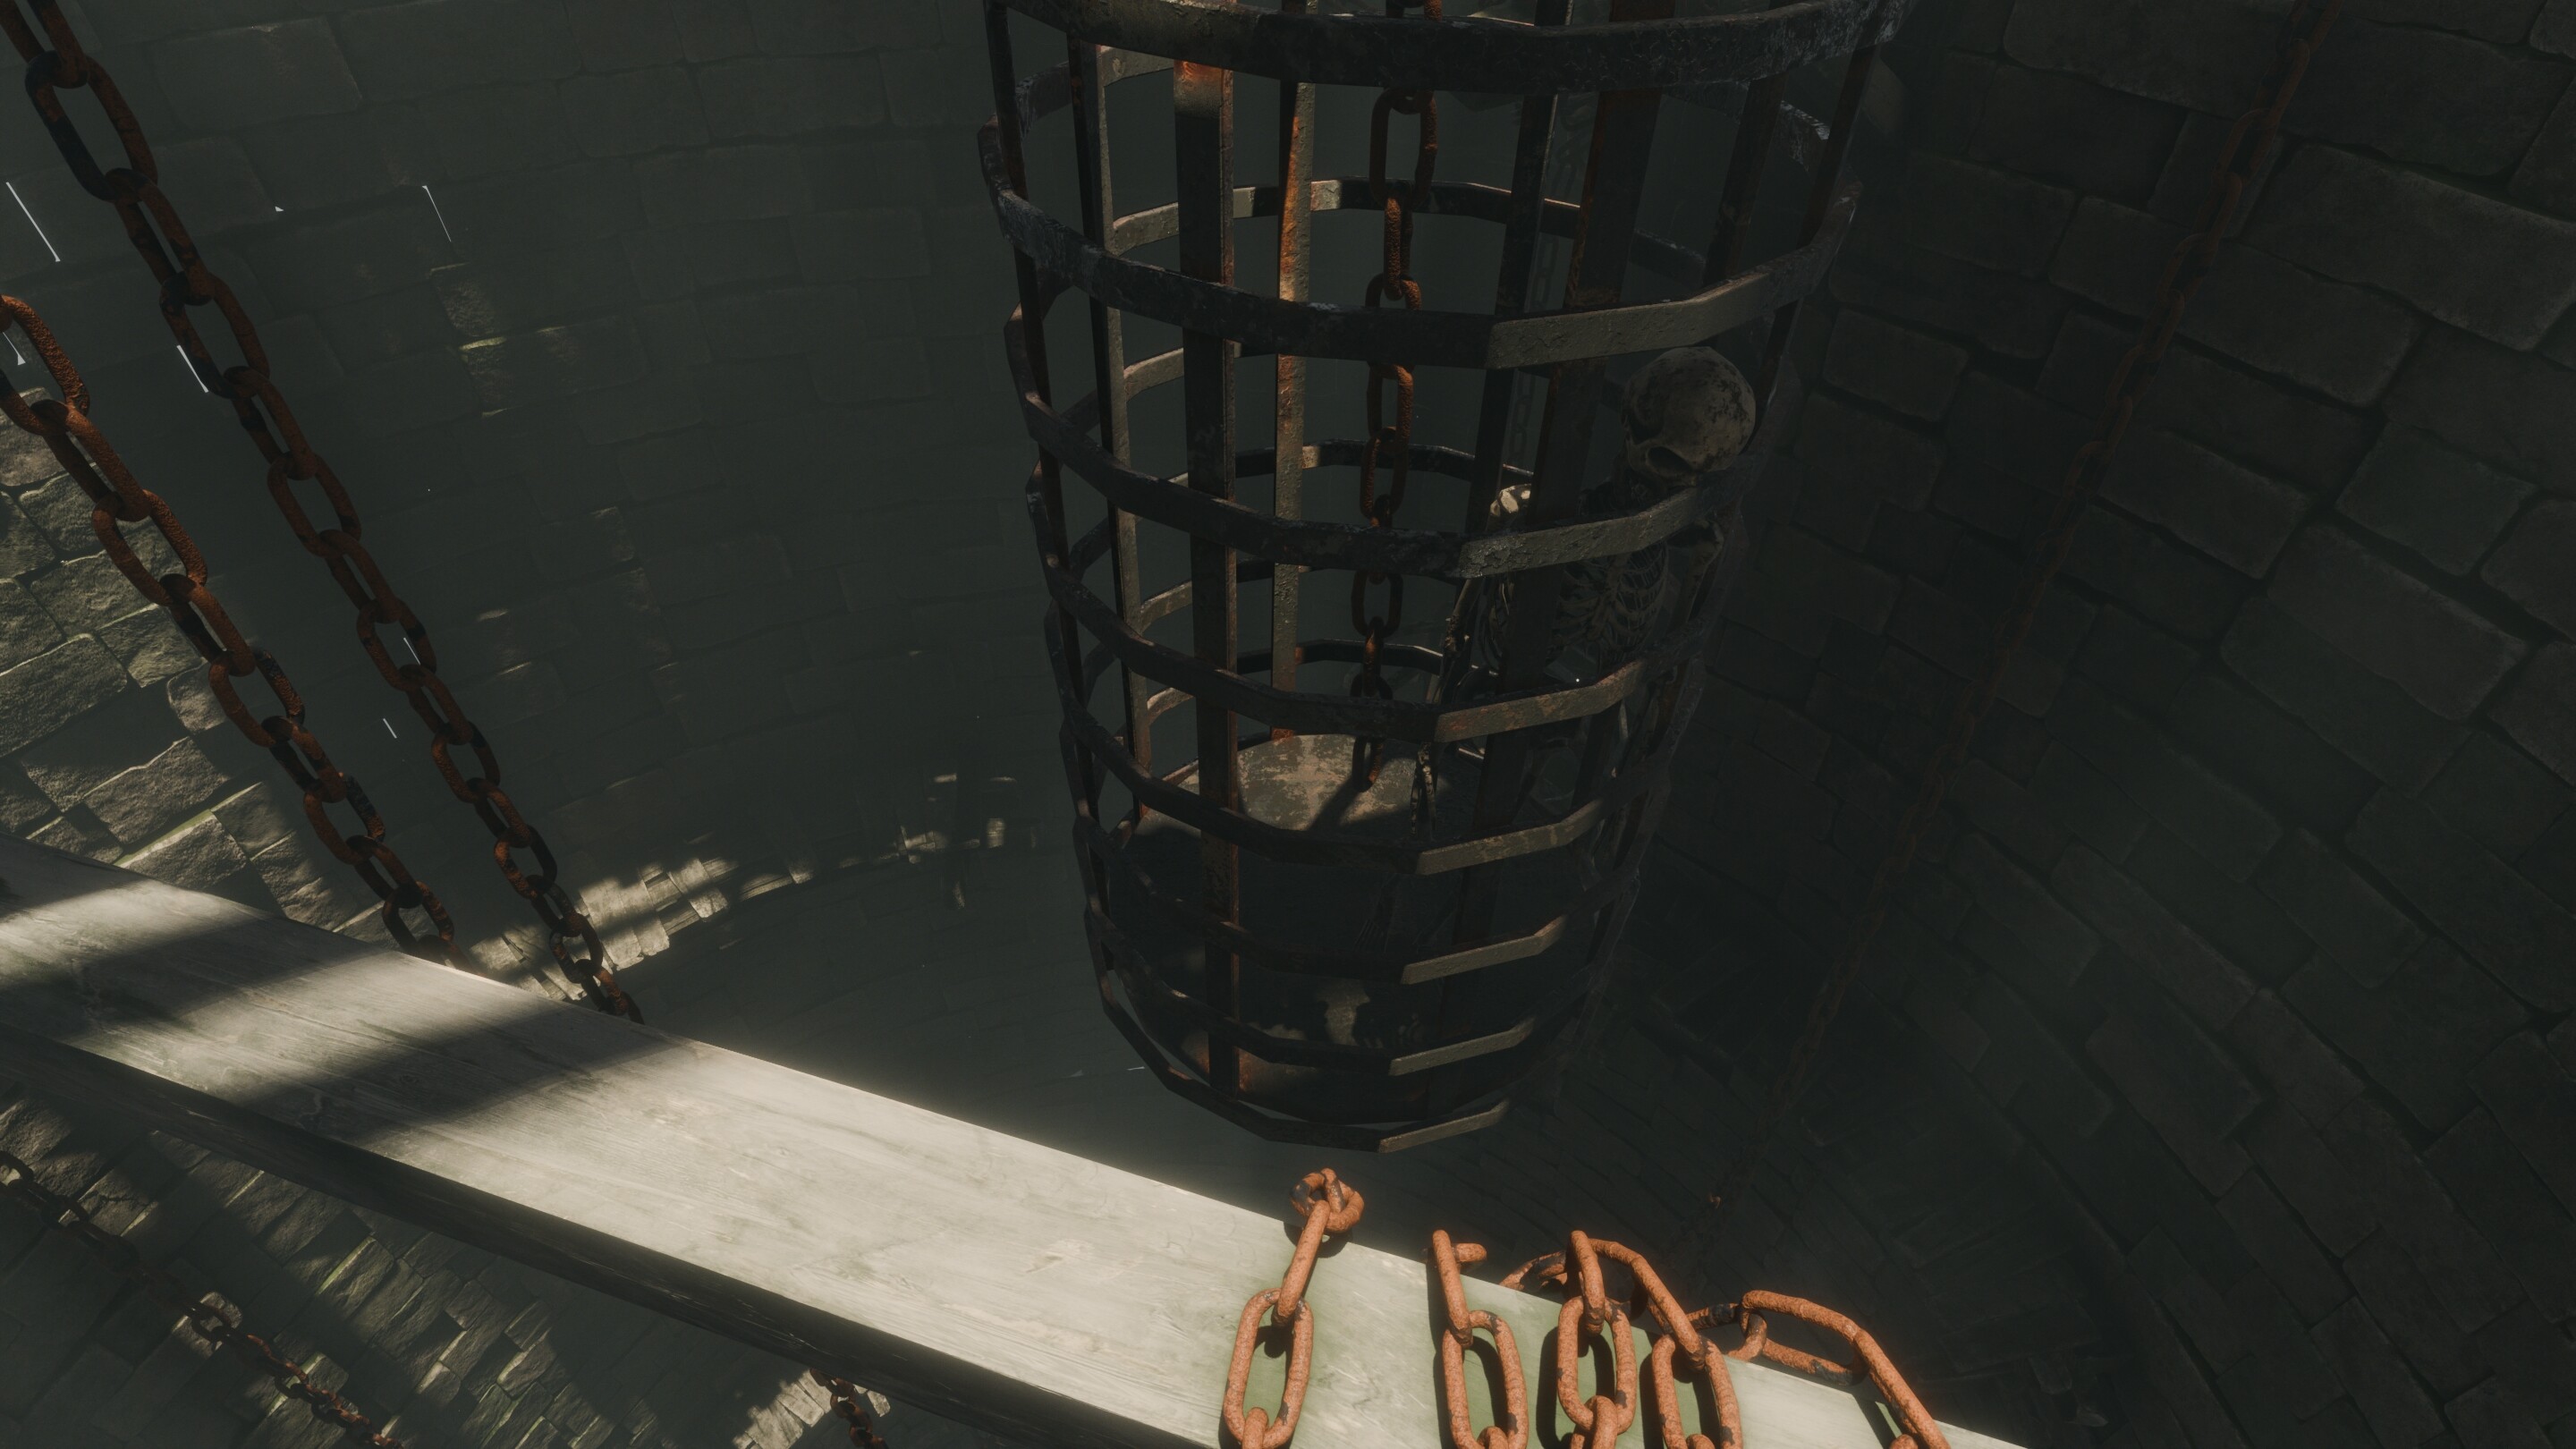
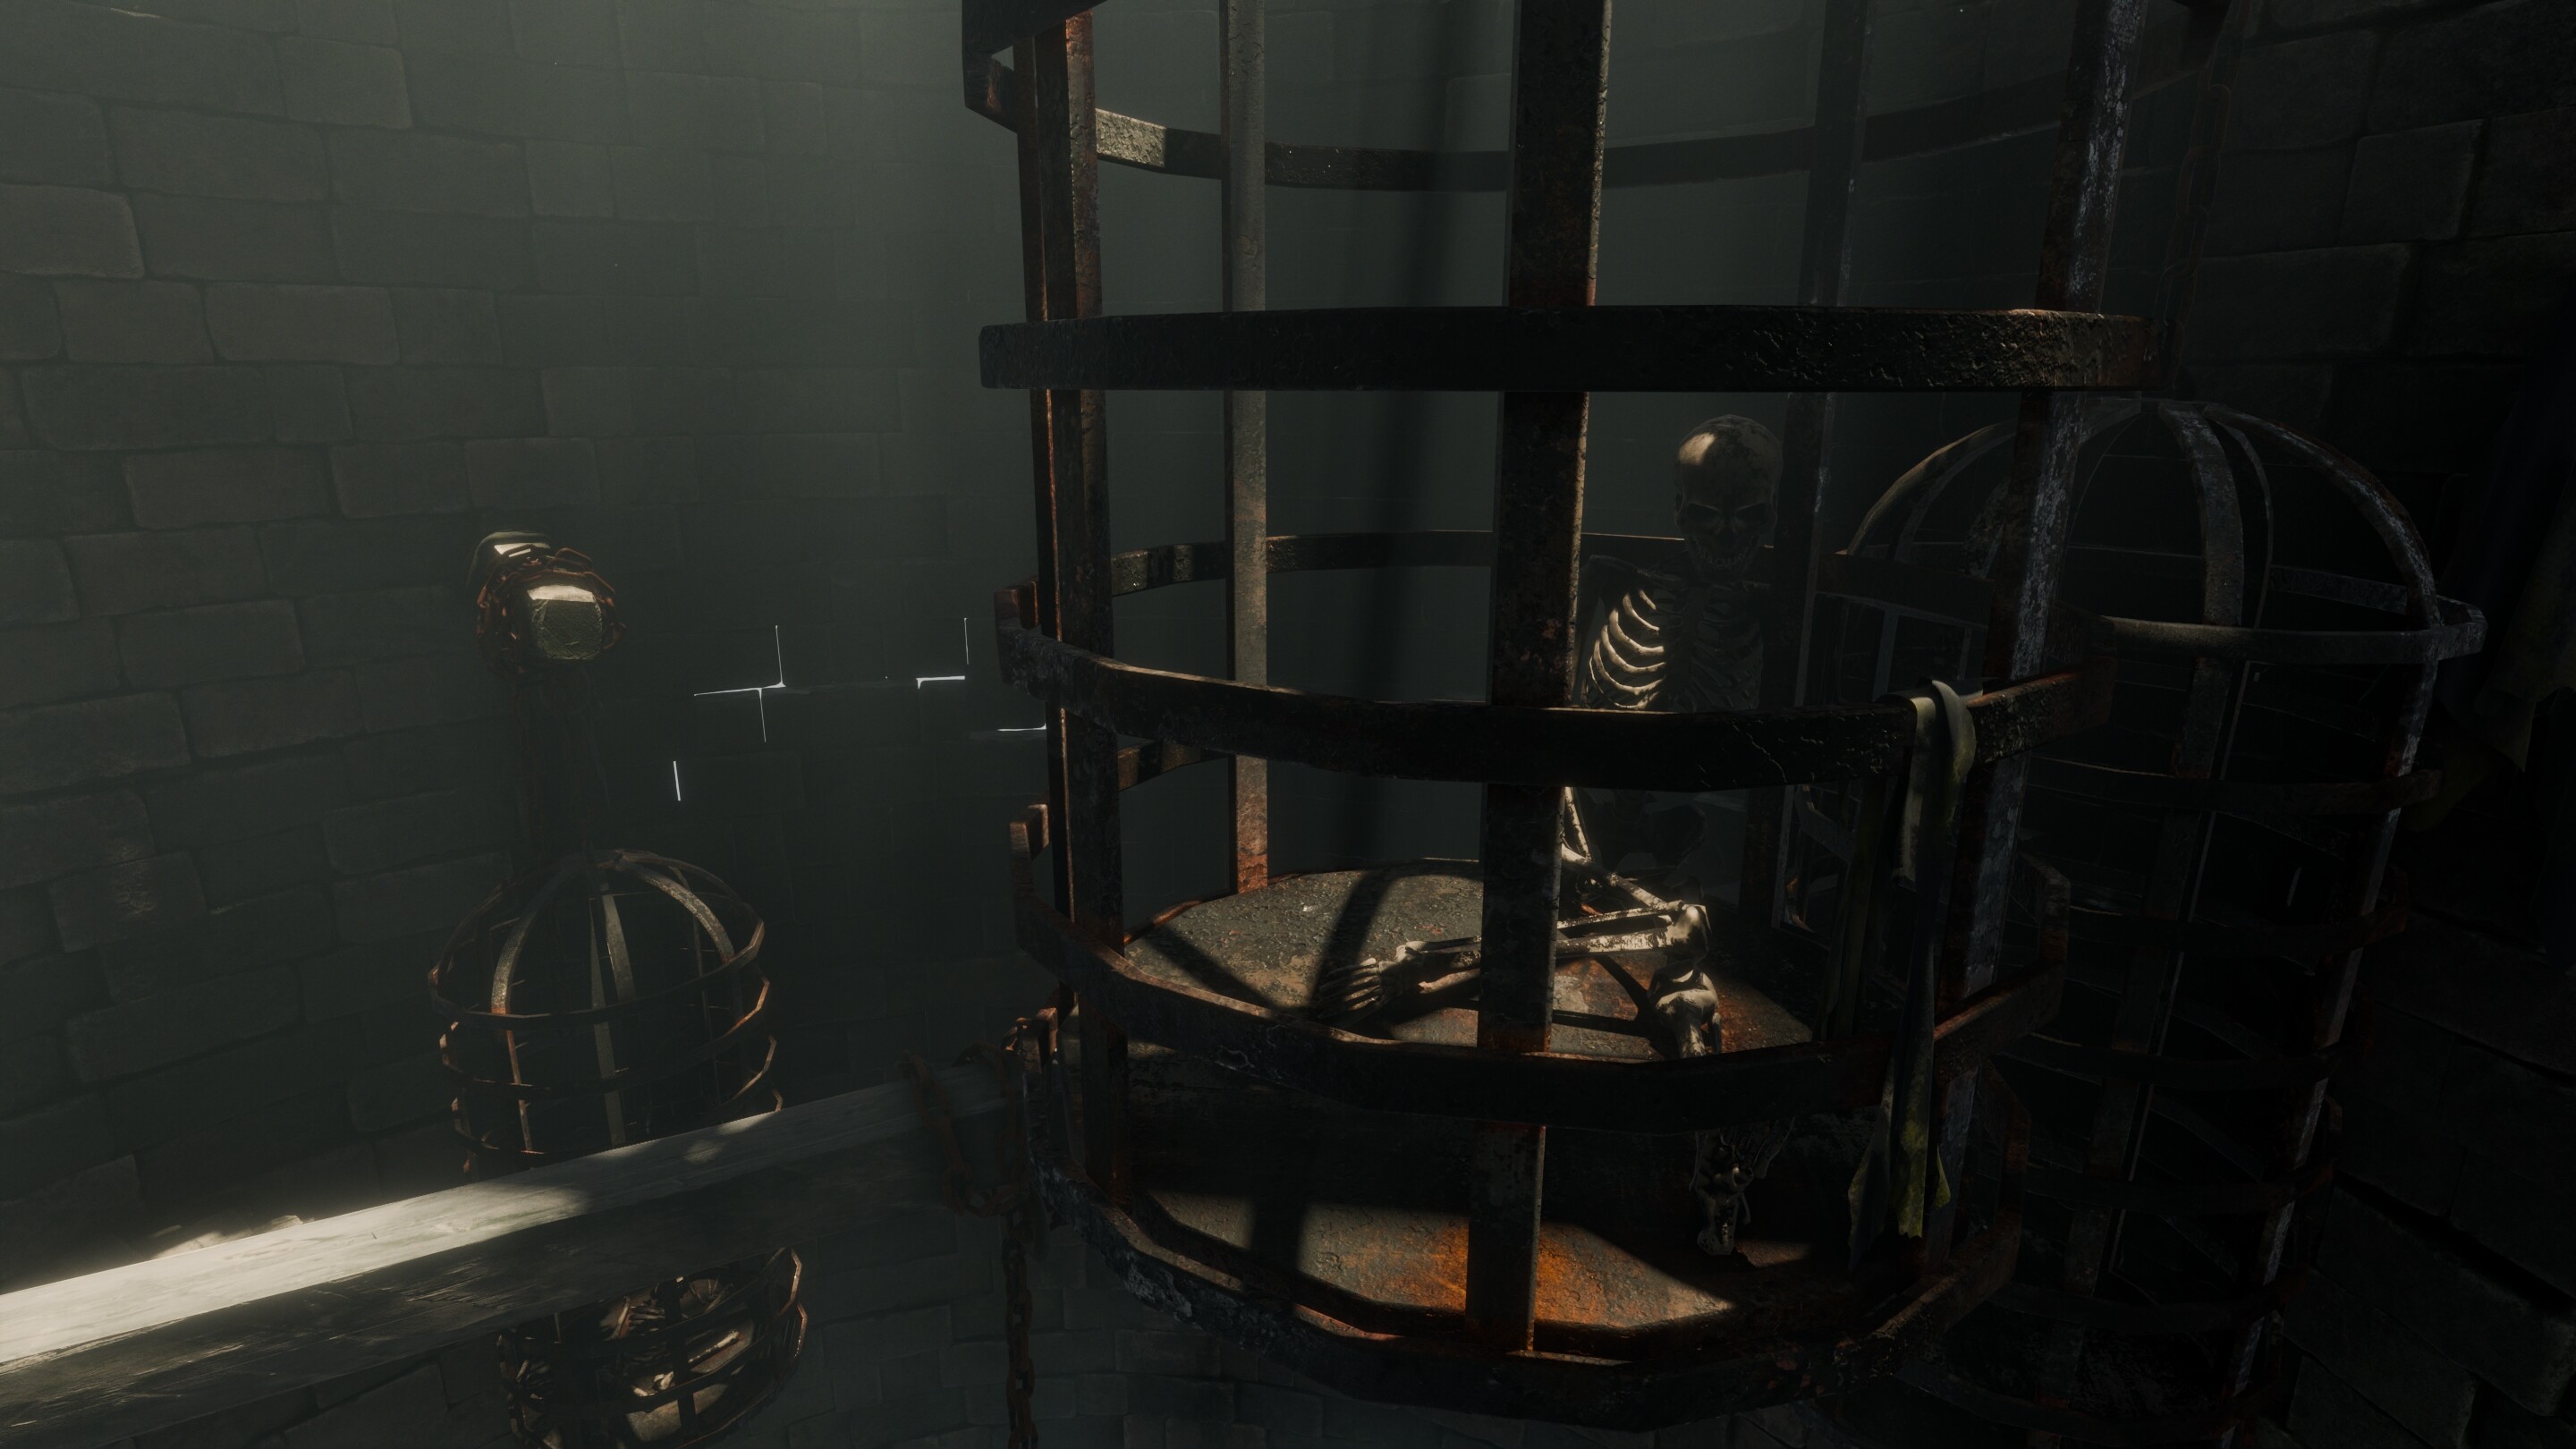
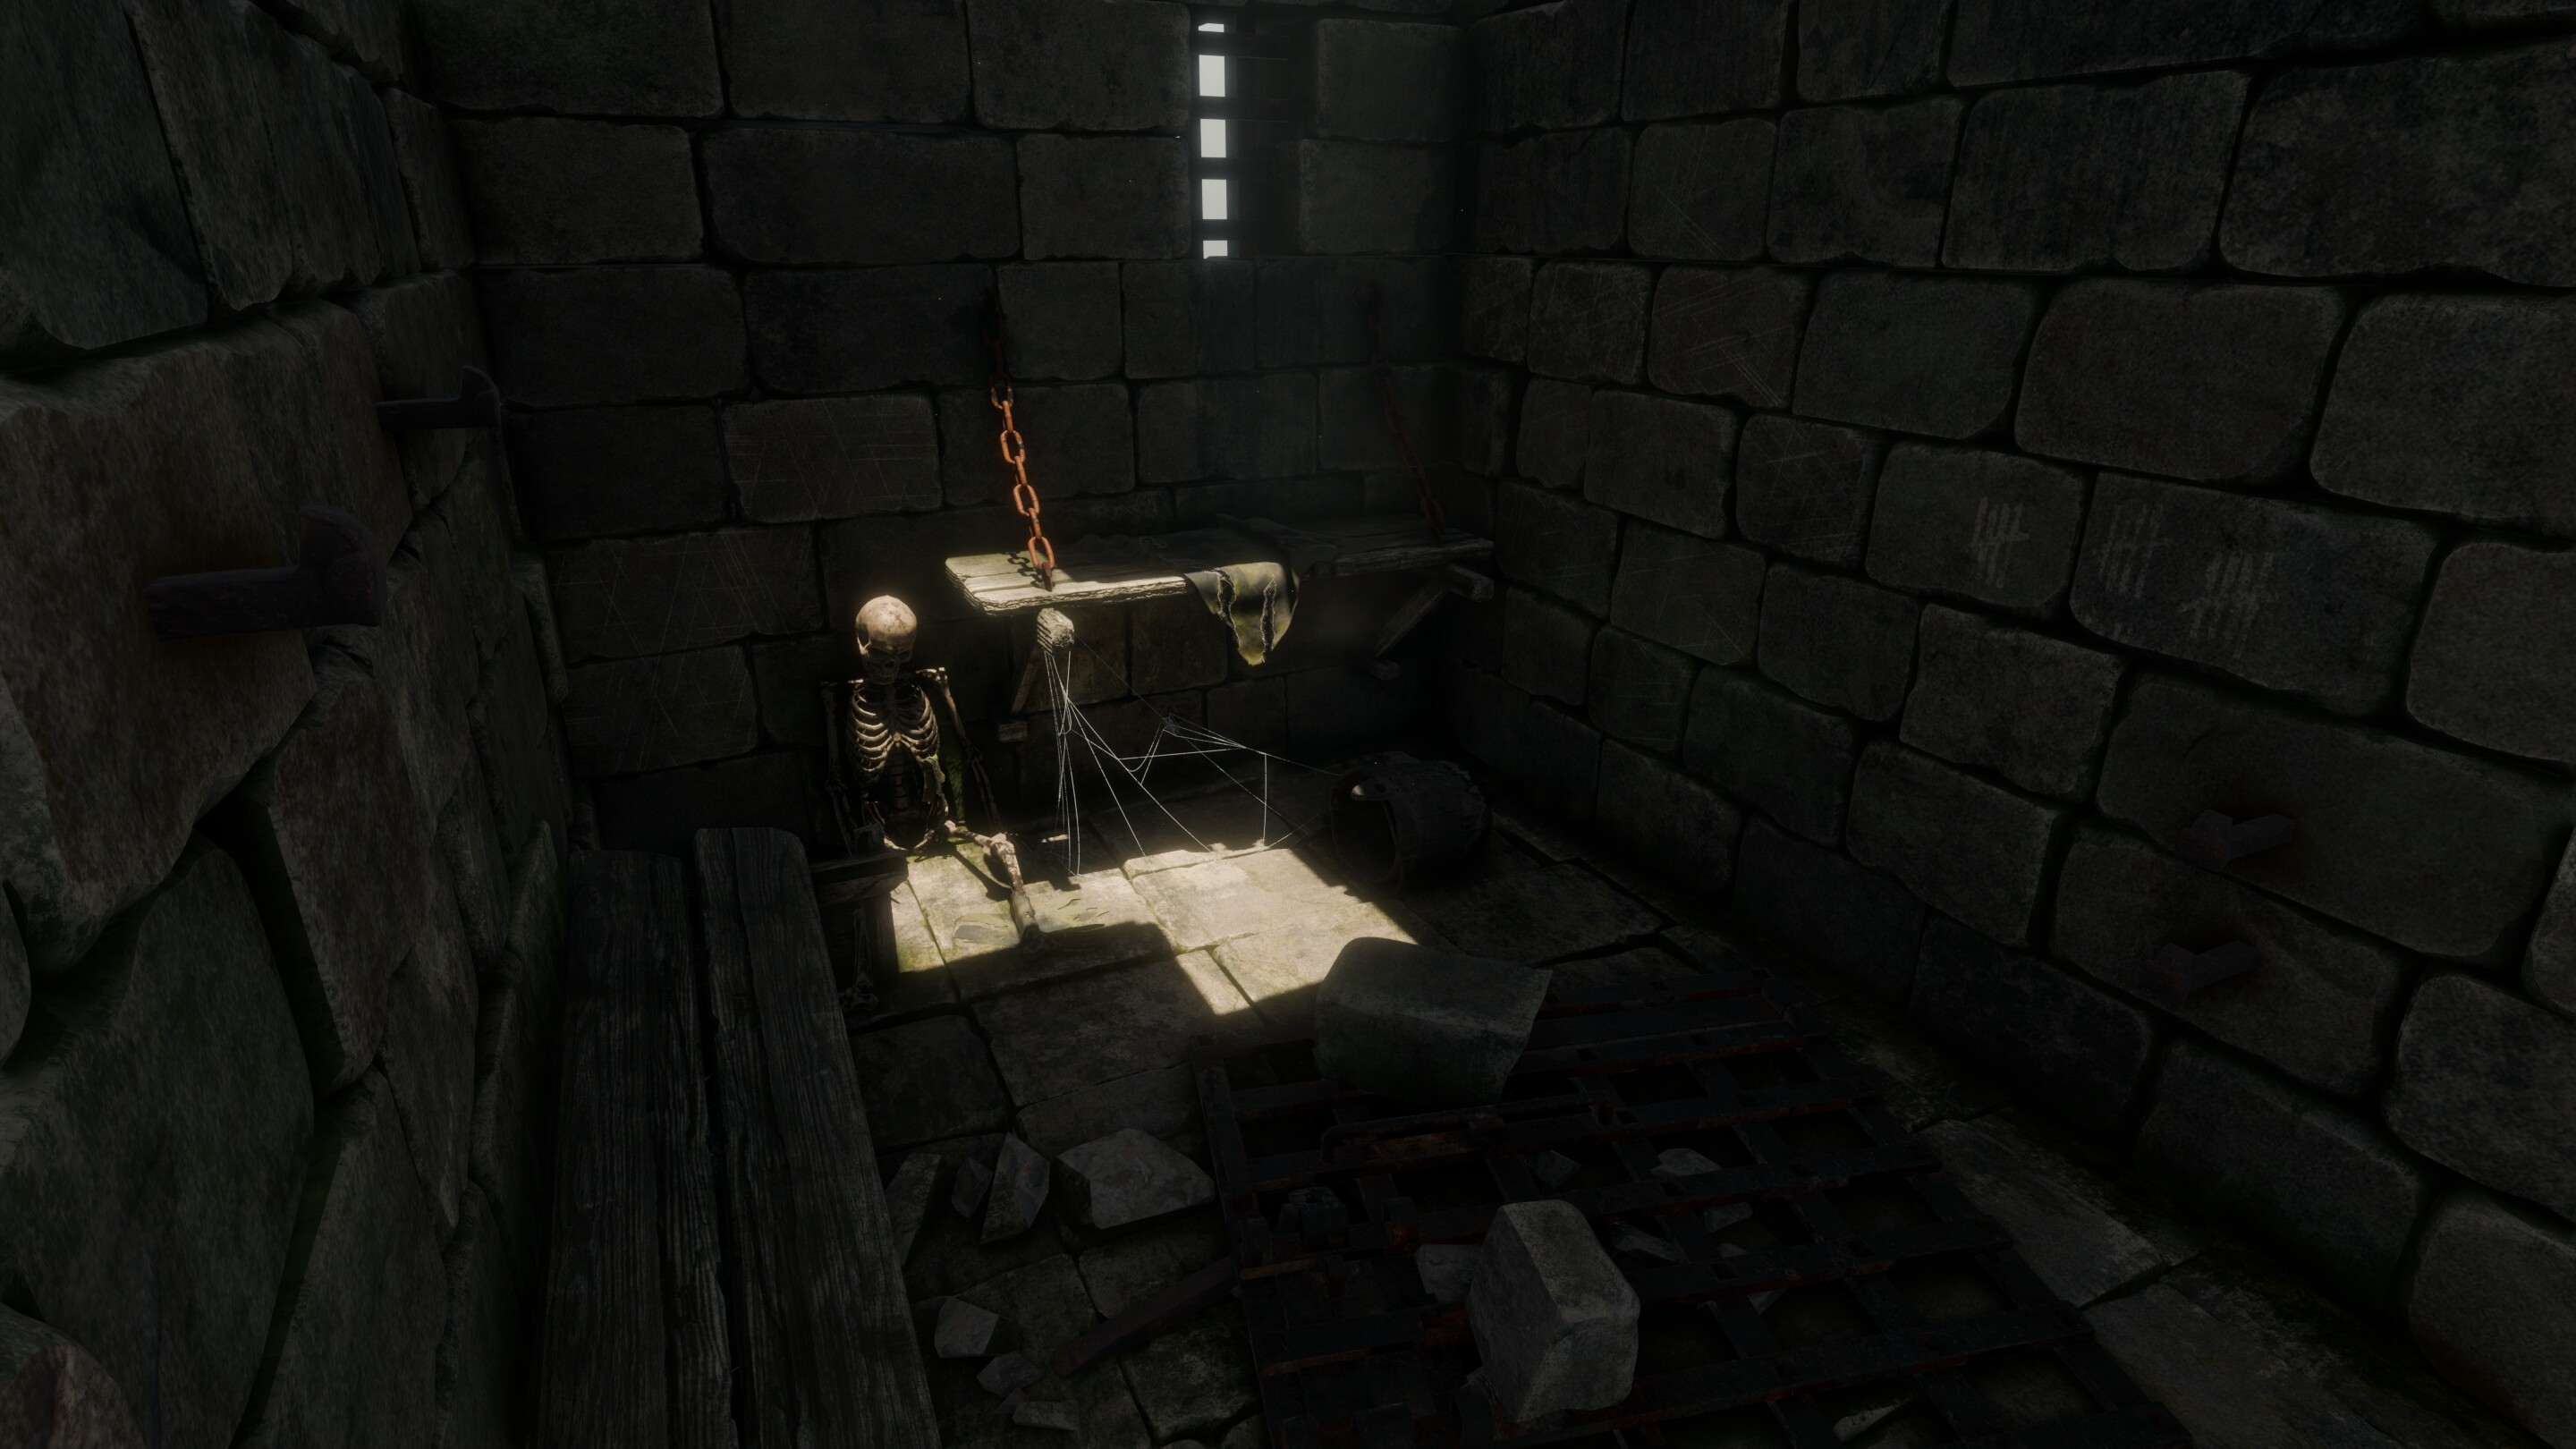
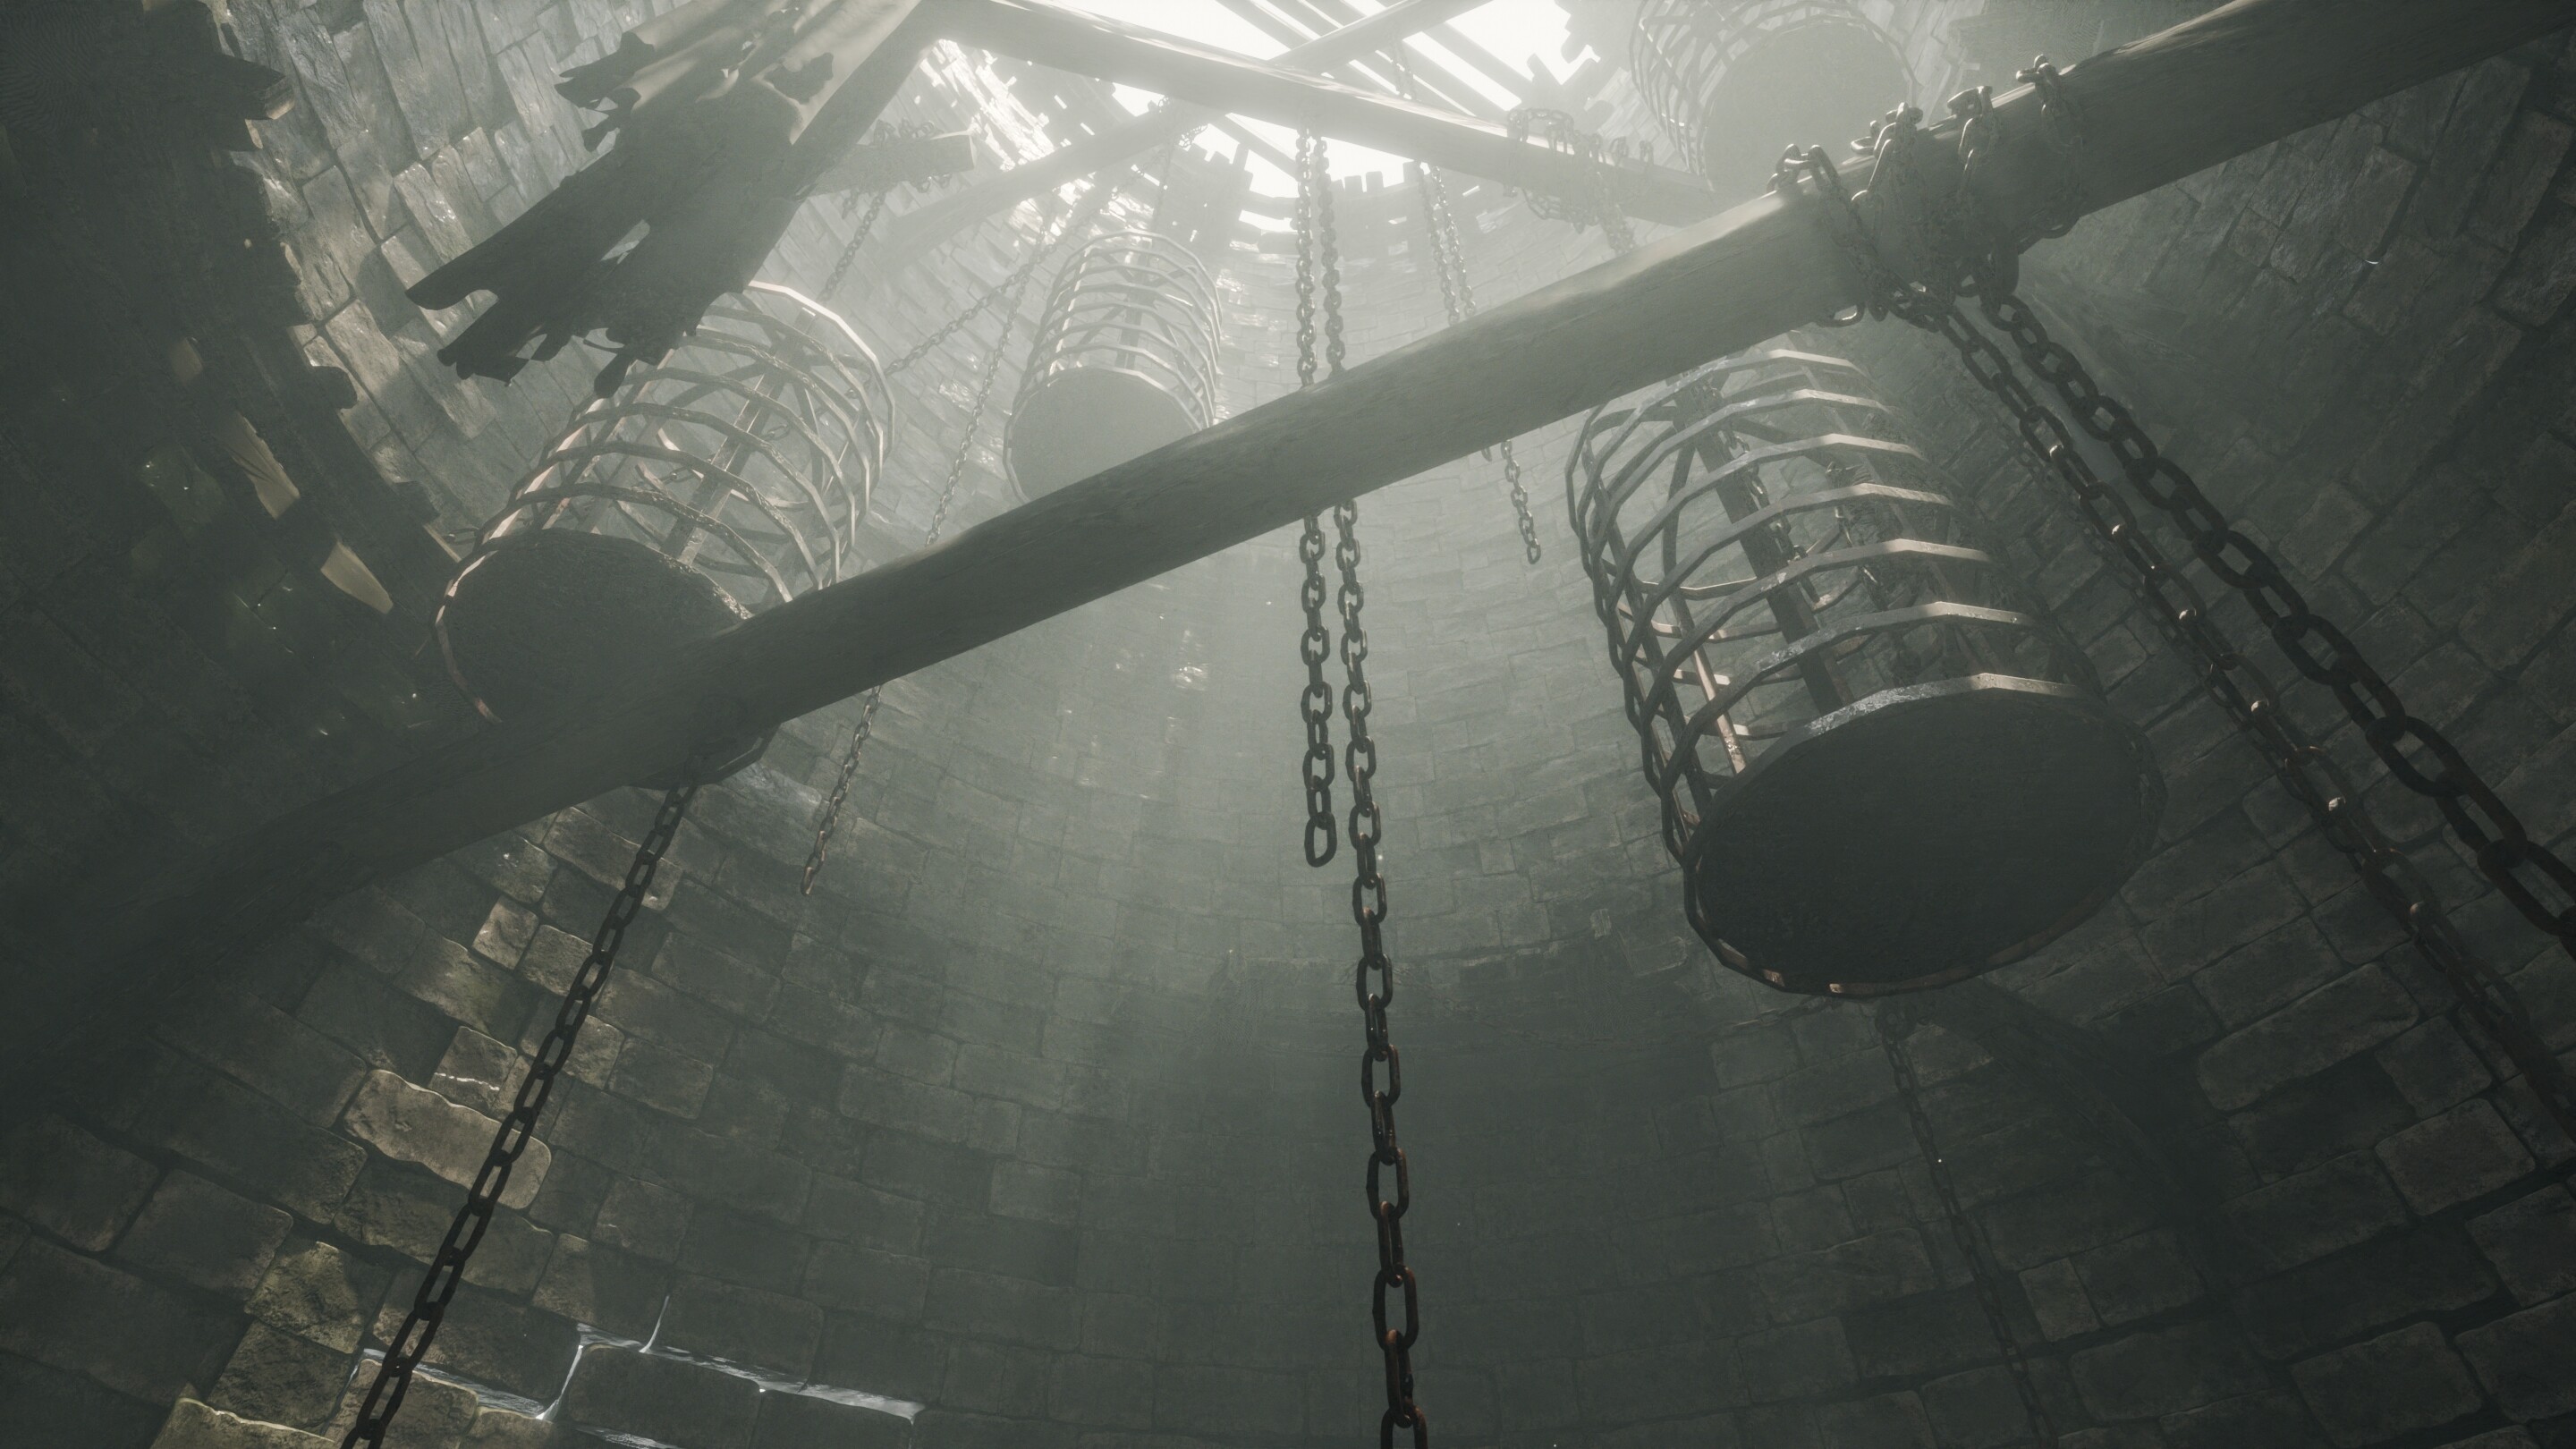
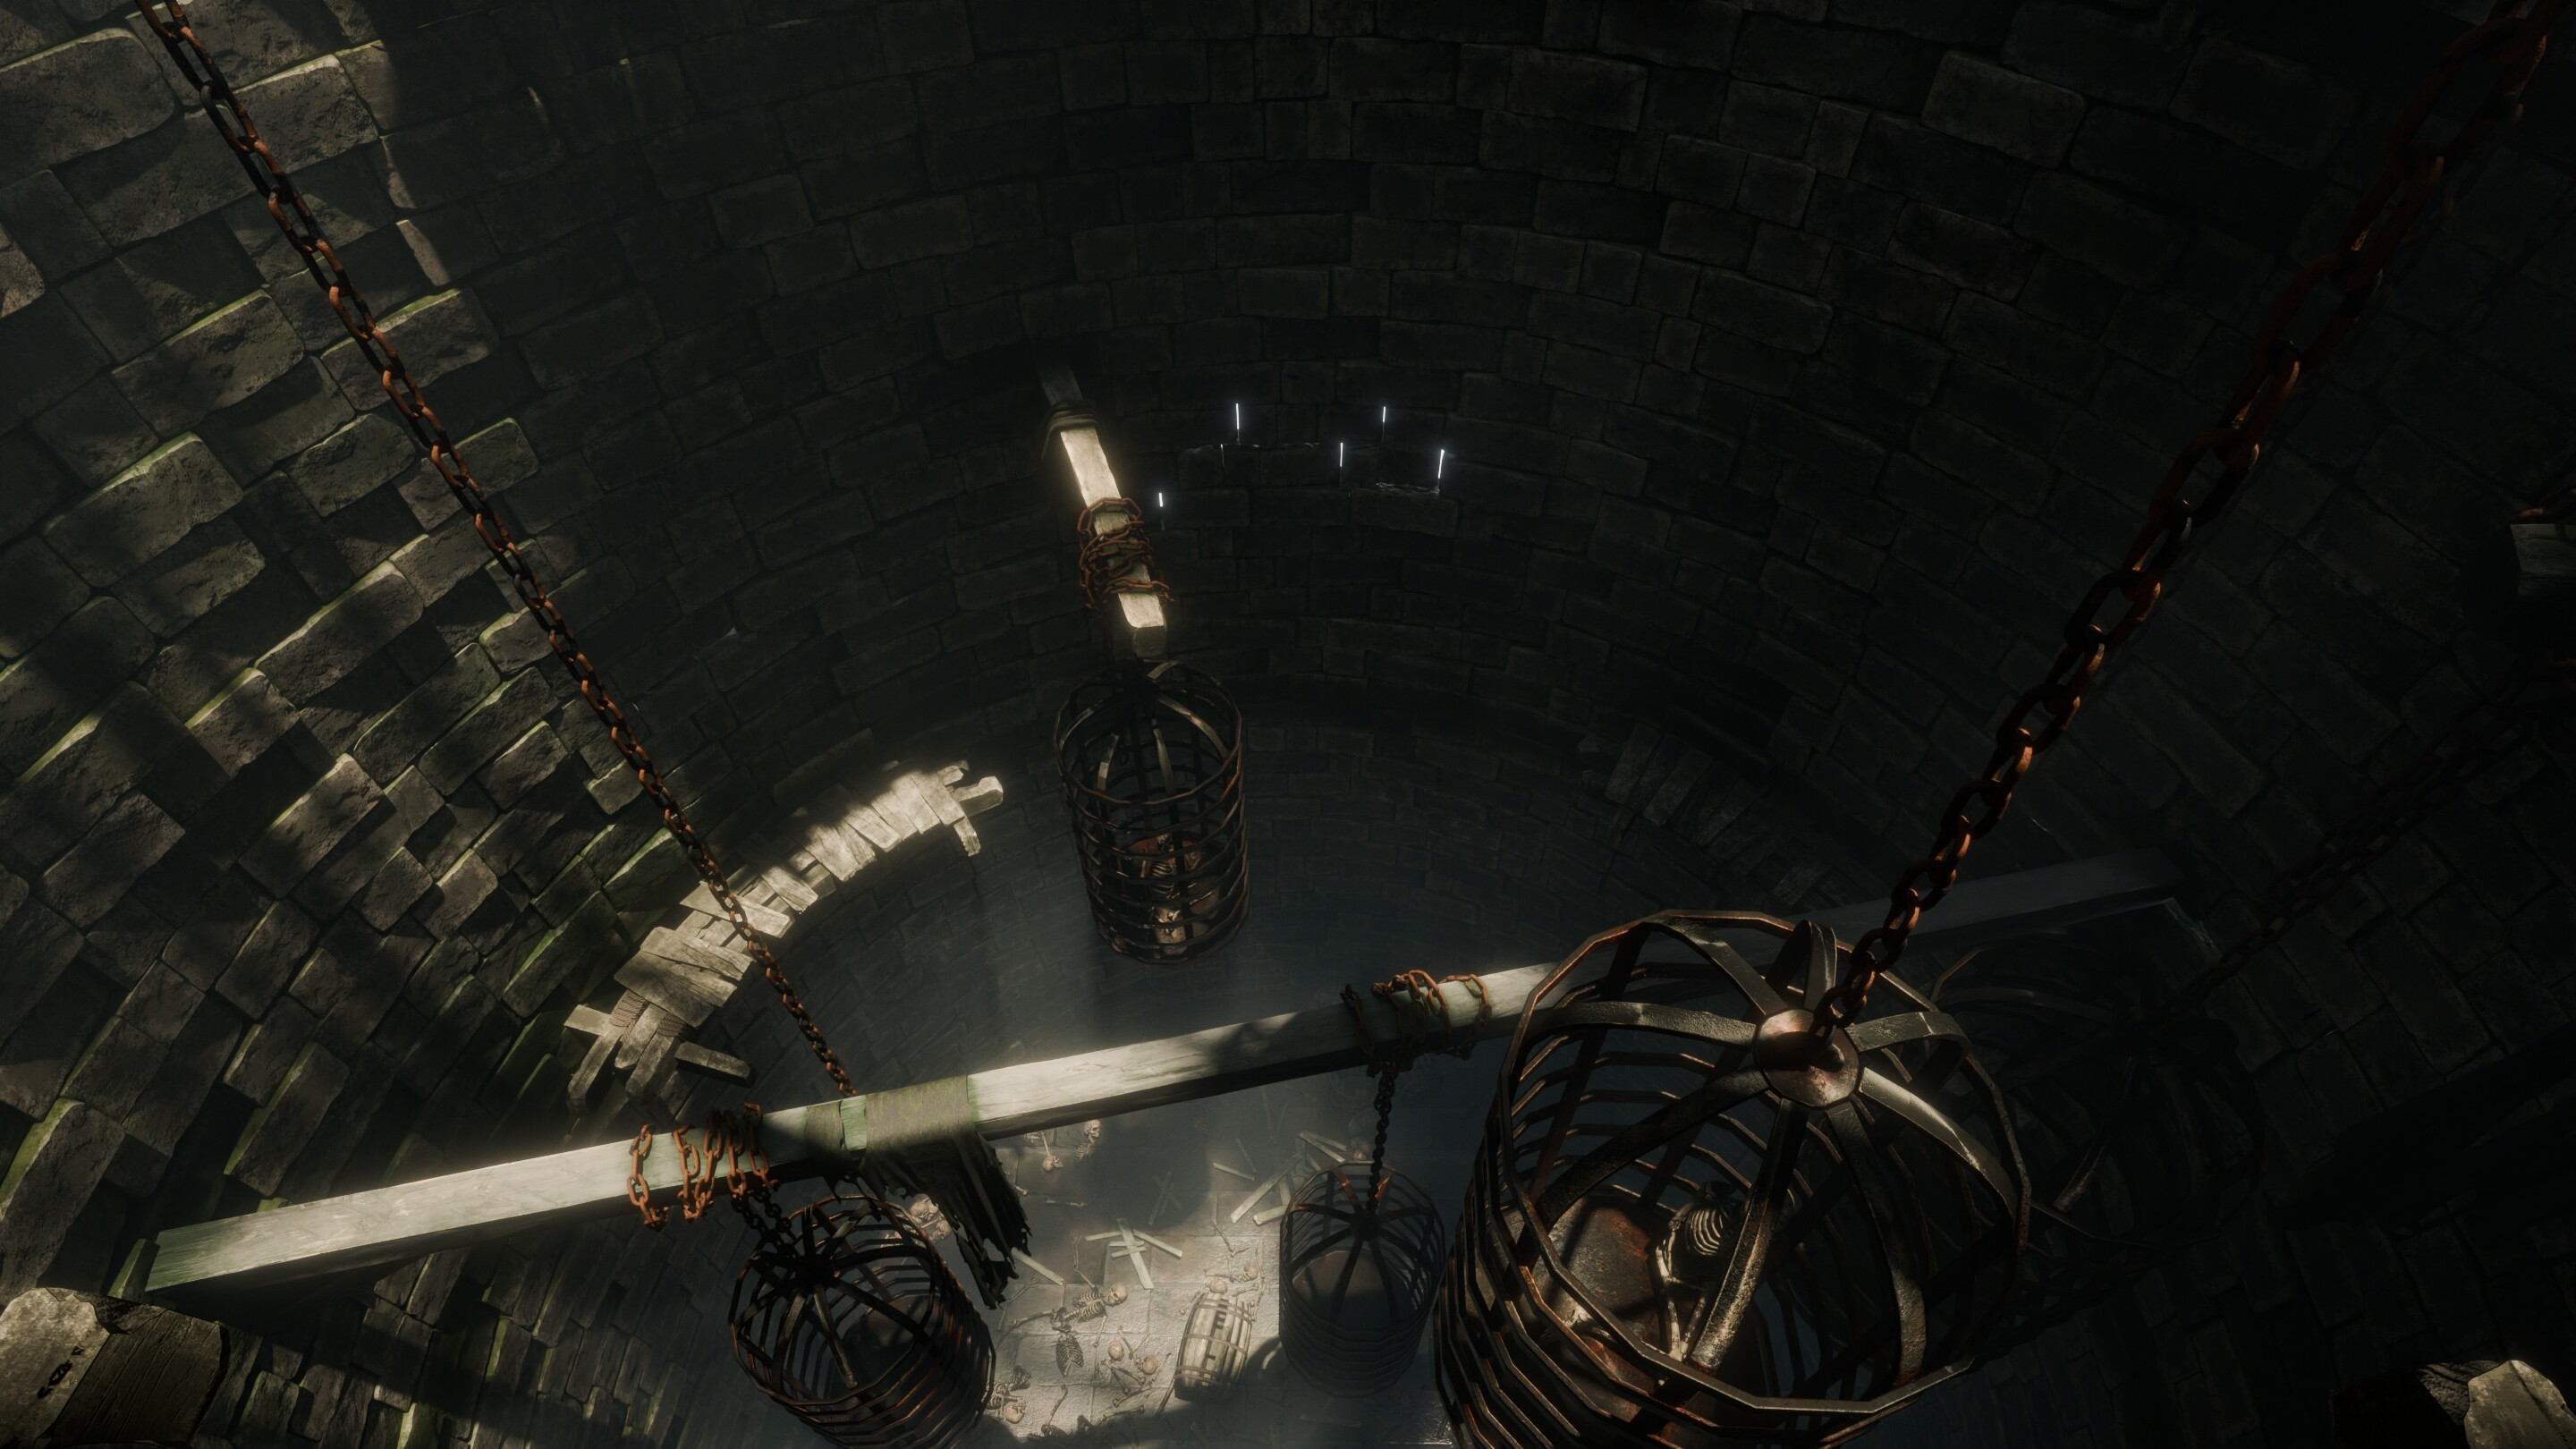
Modeled and textured everything except for the human’s remains and some of the wooden beams and boards which are Megascans. Inspired by RPG creepy games and movies, this is my (late) Halloween render! :slight_smile:
WEAR YOUR HEADPHONES FOR THE BEST EXPERIENCE :wink:

Hope you enjoy

The video is rendered in QHD at 100 samples on a 4080. Renders pretty fast but can be better.

Speaking of what can be better and what is already “next” level, I’ll go over some issues I encountered and what I loved so far. Also for the benefit of someone (maybe).

Raytraced lighting and shadows are just incredible, if just one year ago I wouldn’t have said it, now for realistic renders EEVEE can be used and abused. Just have to experiment with the various type of lights/settings and you’ll get really close to photorealism (realtime compositor is a big boost). Also down here I’ll throw some Cycles comparisons.
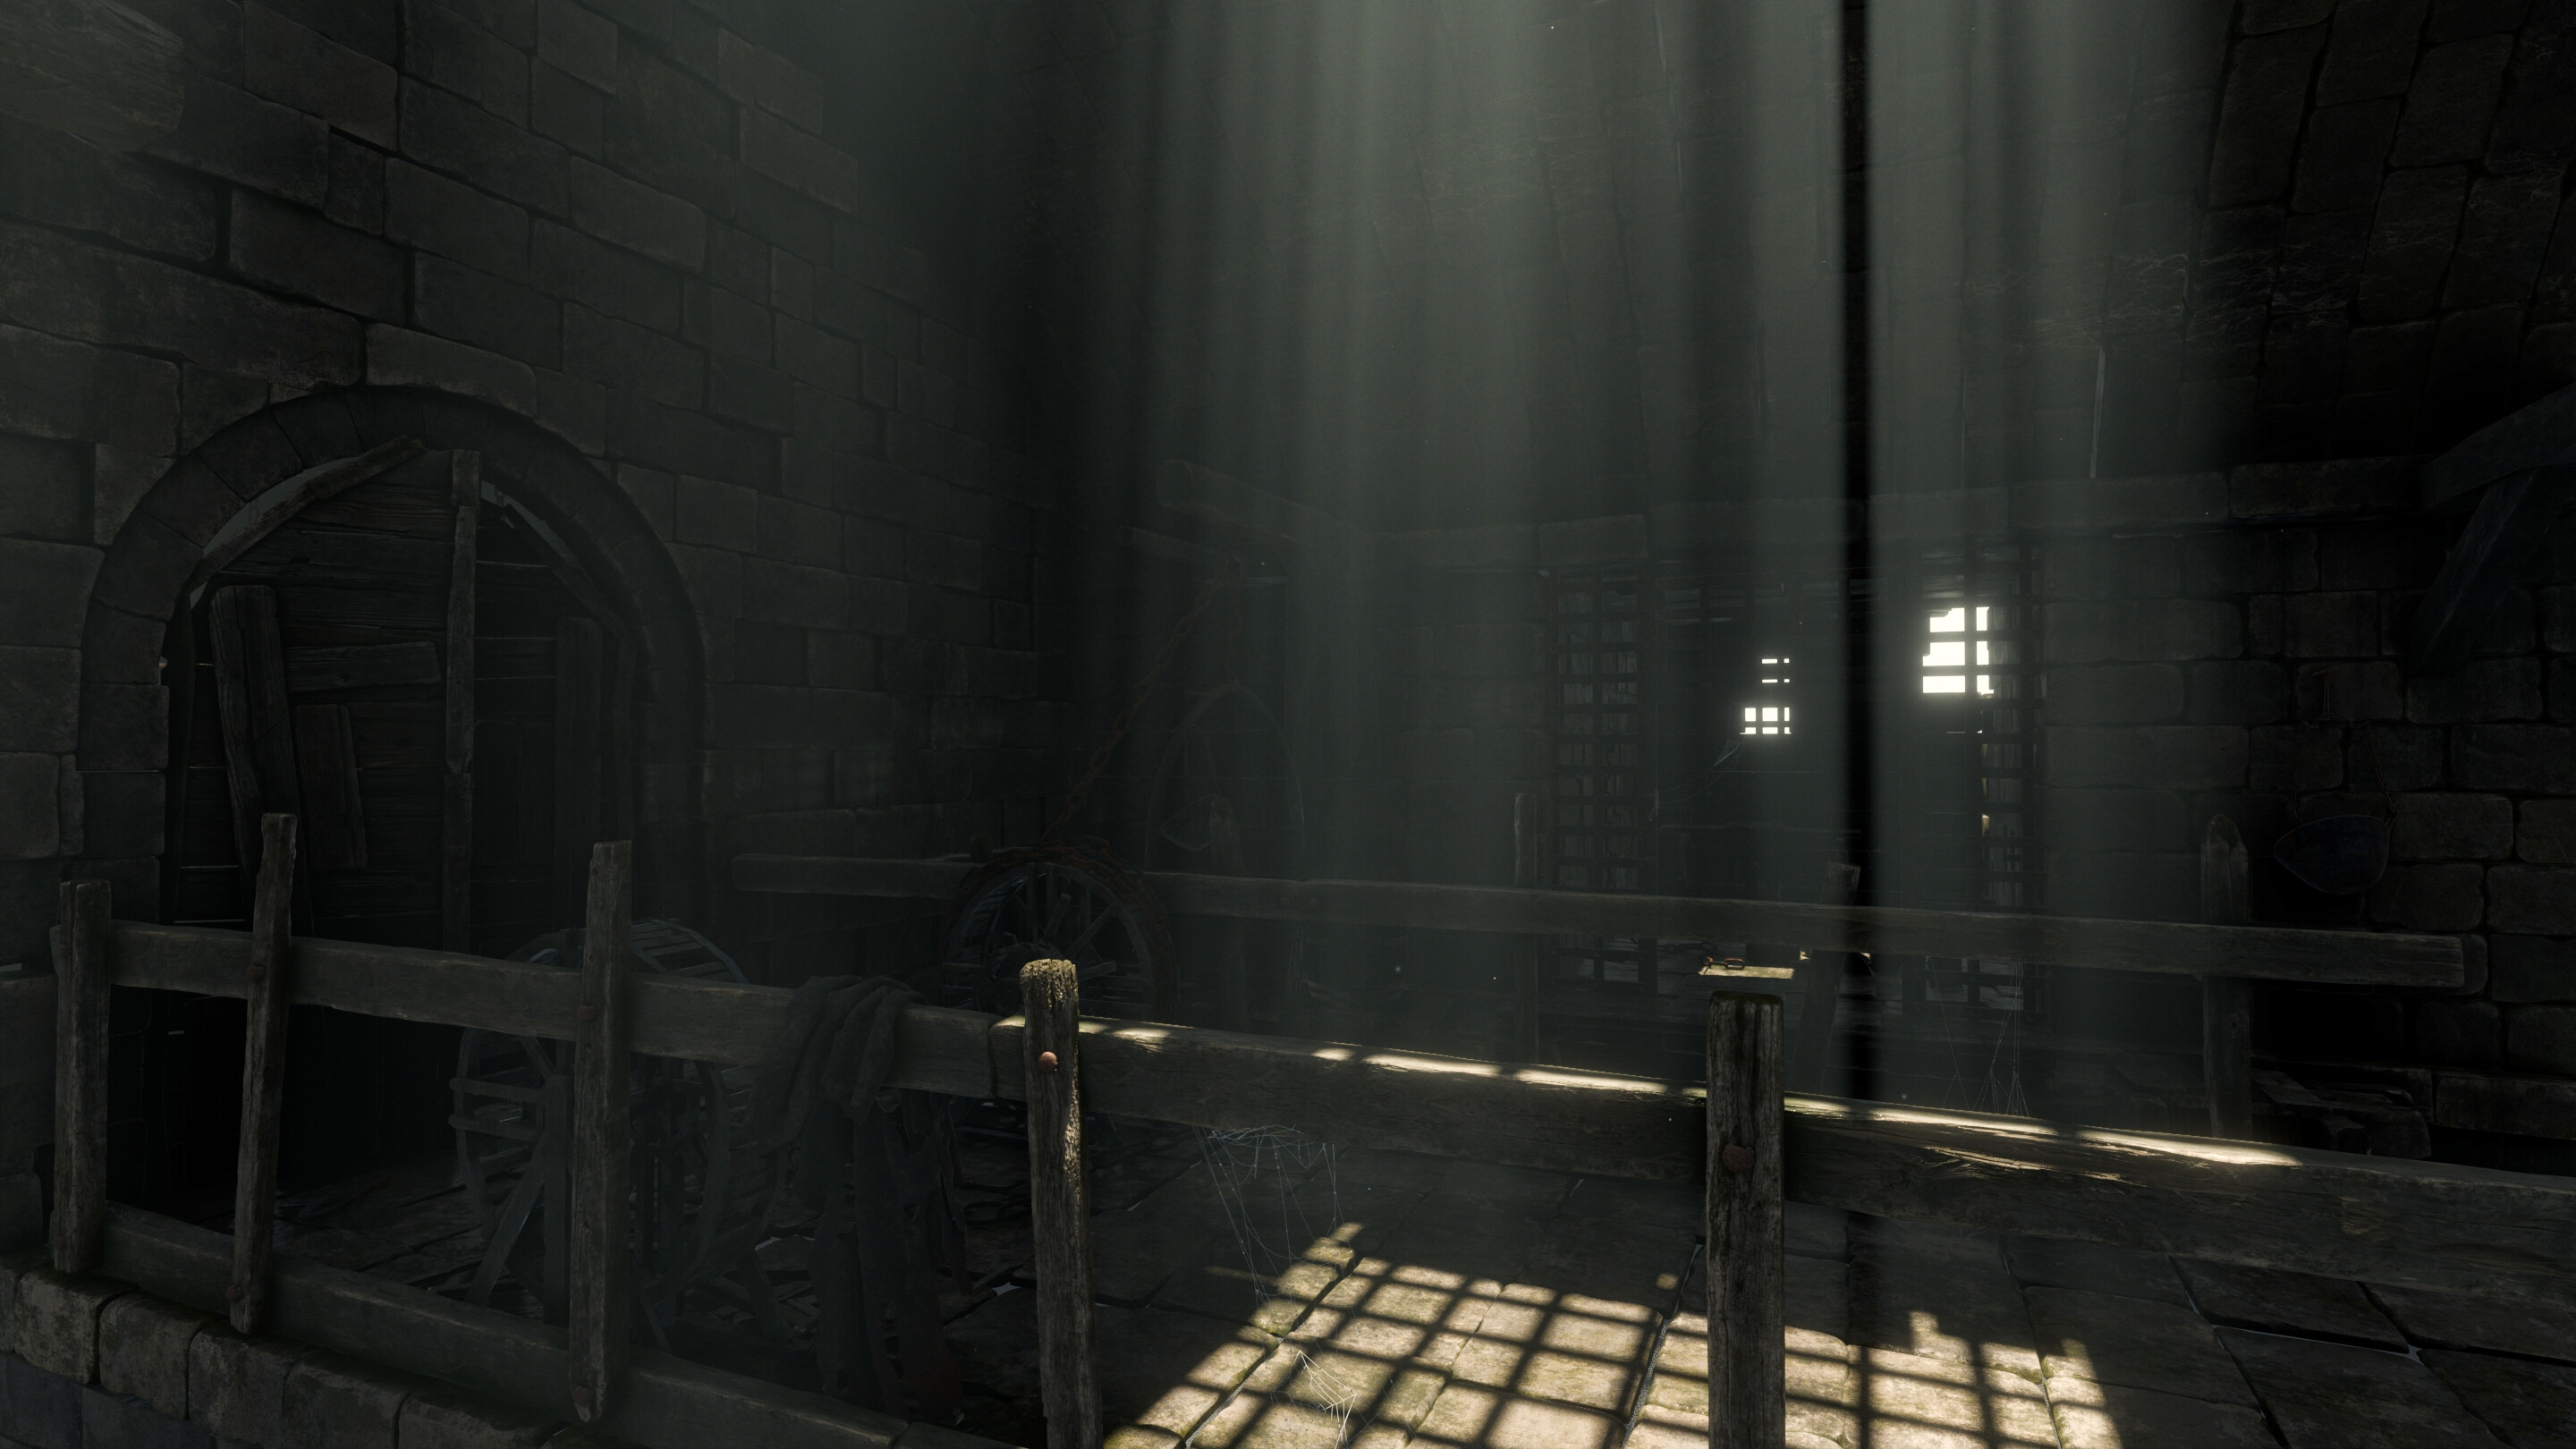
Main issue I found here, if you want softer shadows with the sunlight, having angle values different from the default can cause artifacts during shadow sampling when rendering animations (I had to re-render some frames due to this issue, which in the viewport is not quite detectable). There are workaround and anyway for still renders would be just fine. Volumetrics are improved and fast to render (used to be btw) compared to Cycles, a bit laggy in the viewport and samples are not to be abused here. Speaking of reflections also we are not quite there yet, but it’s the same with every render engine approaching to real time GI I noticed.
Big question, real-time? not really. I mean yes it is, but especially with scenes like this, with a lot of procedural textures, a lot (millions) of polys, and volumetrics, you have to keep samples low for a smooth viewport (duh) and anyway hitting play won’t even get to 24 fps (not even close) on a 4080. Turning off volumes would give a smooth viewport, but in areas with heavy procedural texturing everything will slowdown a lot.
There are issues with some geometries (flickering) meaning that if you have a lot of istanced objects, some will disappear in rendering, but I guess this is not (entirely?) depending on the renderer, because I encountered this issue also in solid mode while flying around. Well, devs, something to think about for the future. BUT, but, finally I can see in real time the same results of Cycles when texturing (AO, edges, displacement…)! And this is honestly huge.

What you see is all vanilla Blender btw, and this results, for me, by now are just very good and promising.

EEVEE/Cycles comparisons :arrow_down_small:


Cycles (QHD 1024 samples) takes obviously much more color (not actual light) from ambient lighting and also from secondary lights, but shadows are just fine in EEVEE finally.


Reflections are also much better in Cycles, but it is what it is for now I guess. I also had to crank up a bit the exposure with cycles to get roughly the desired look. On the contrary in EEVEE I had to underexpose just a touch.


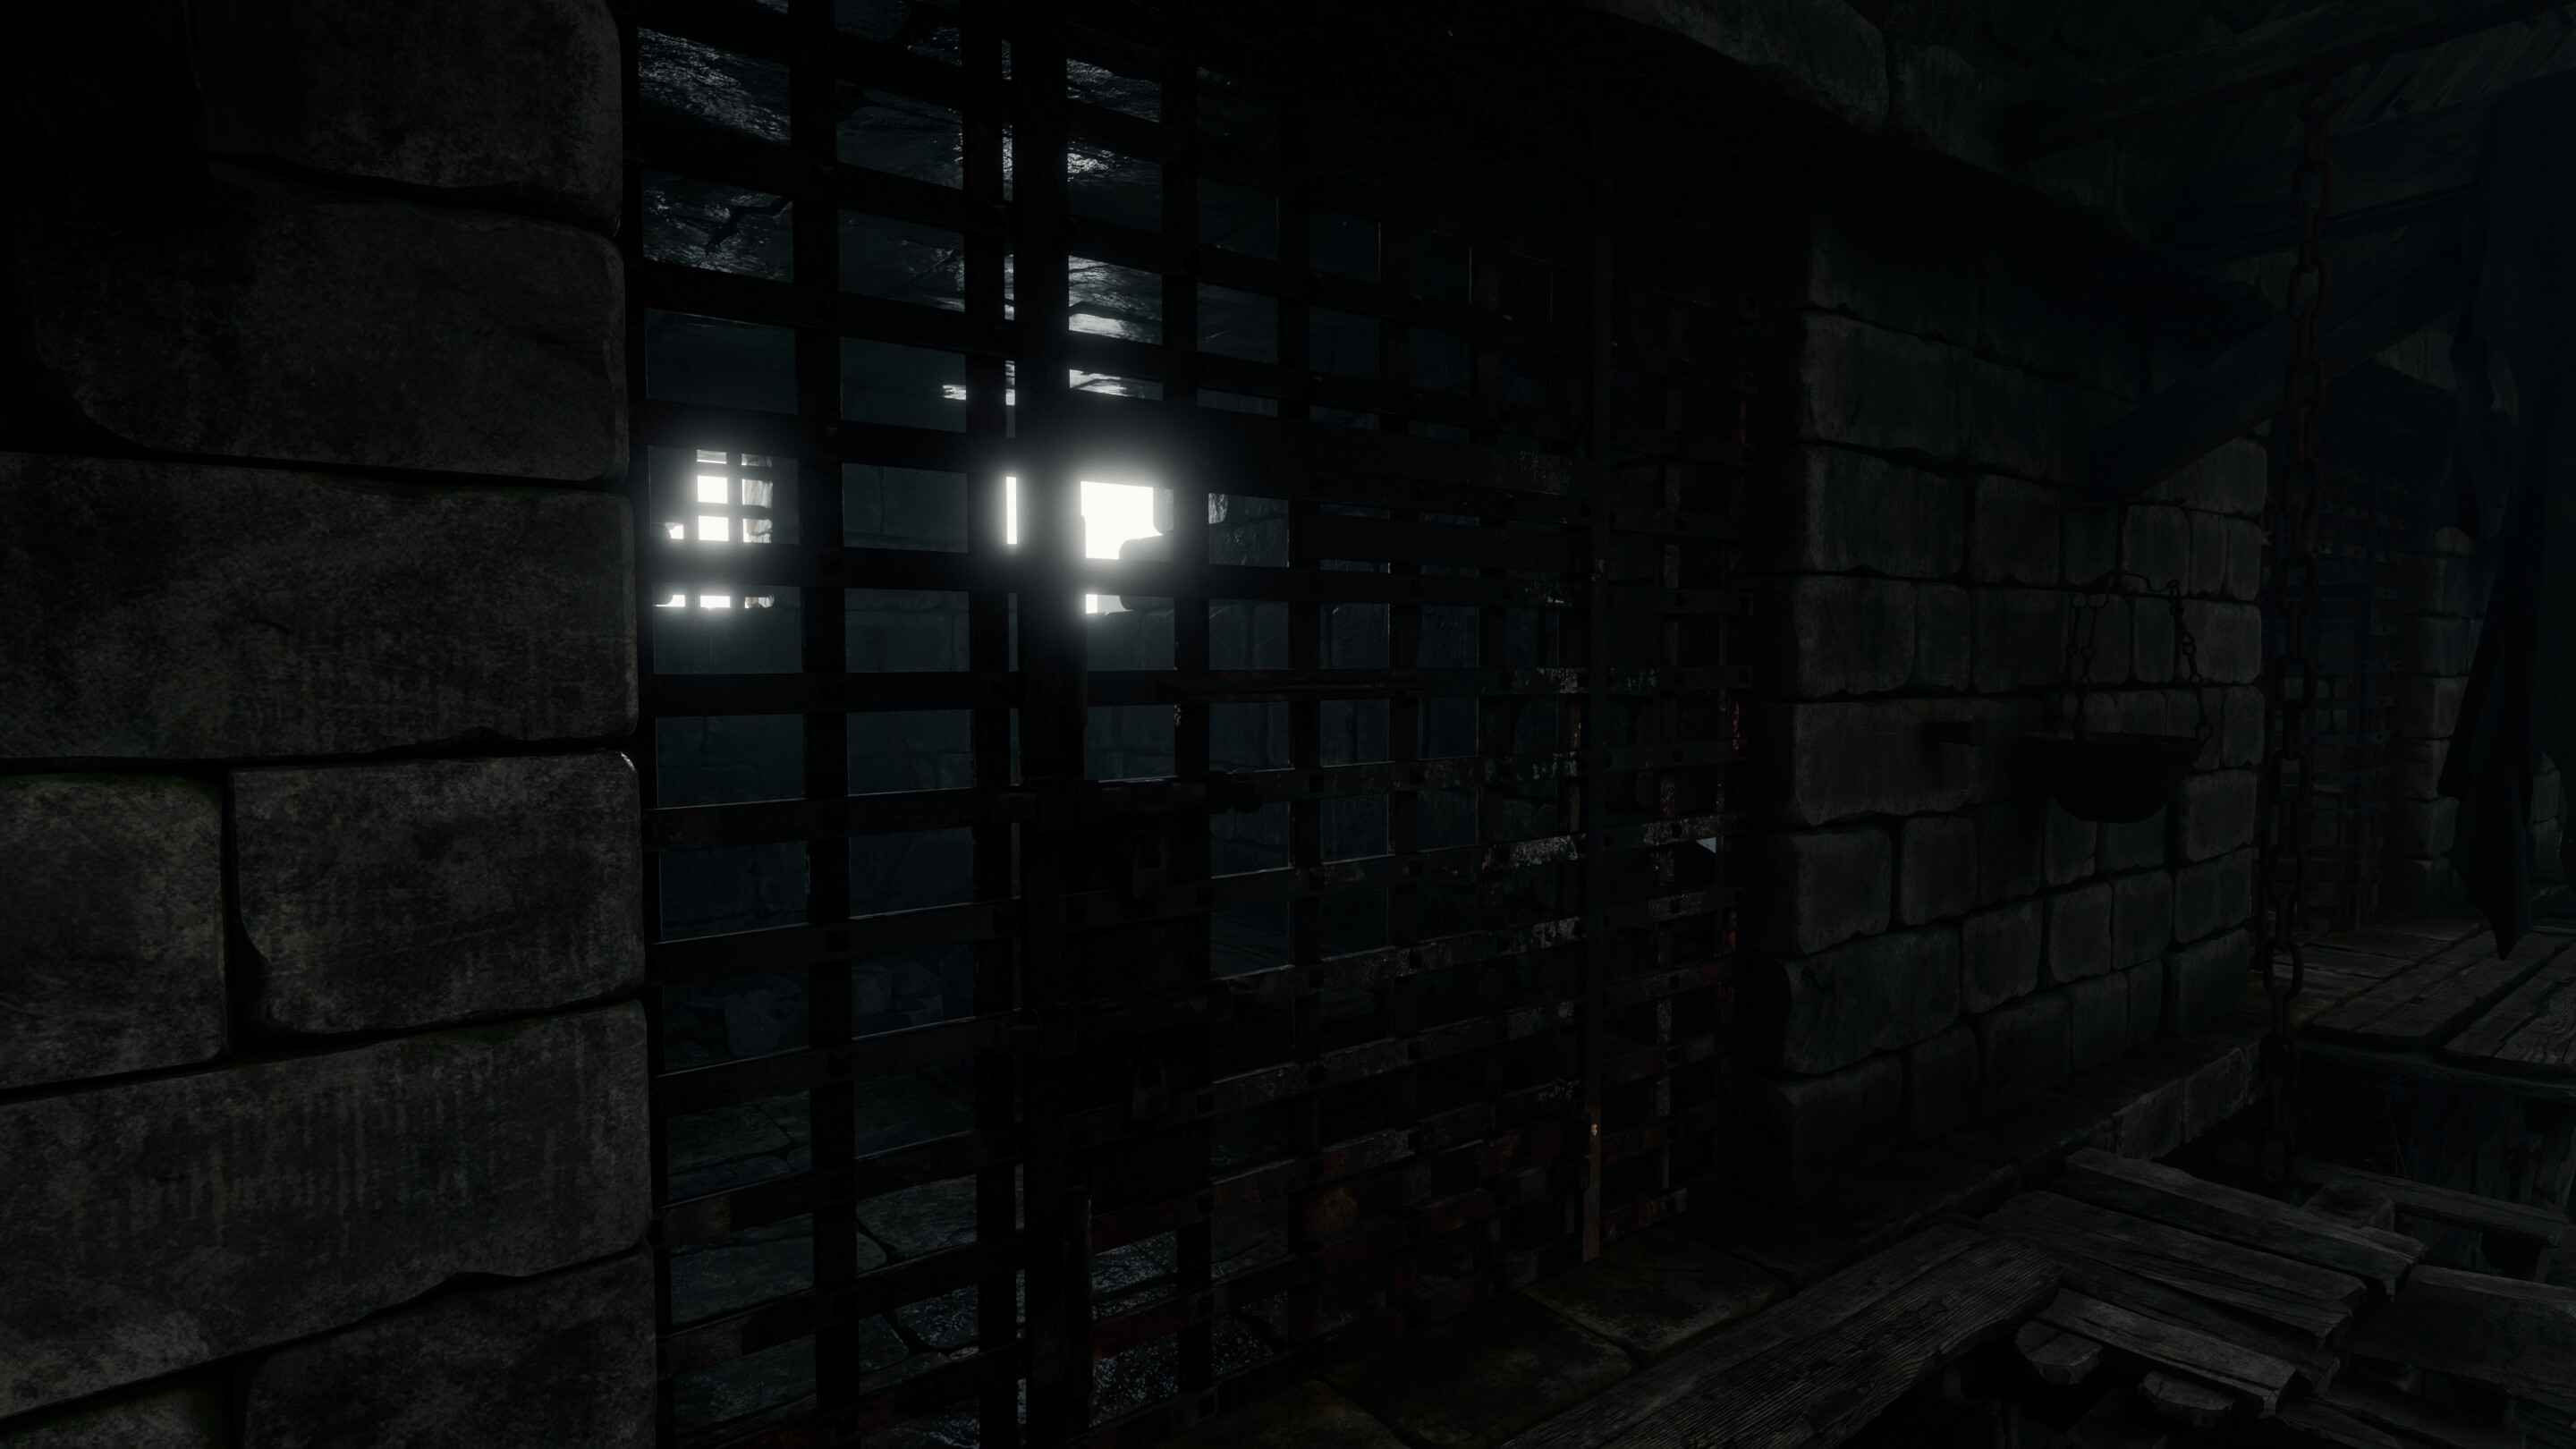
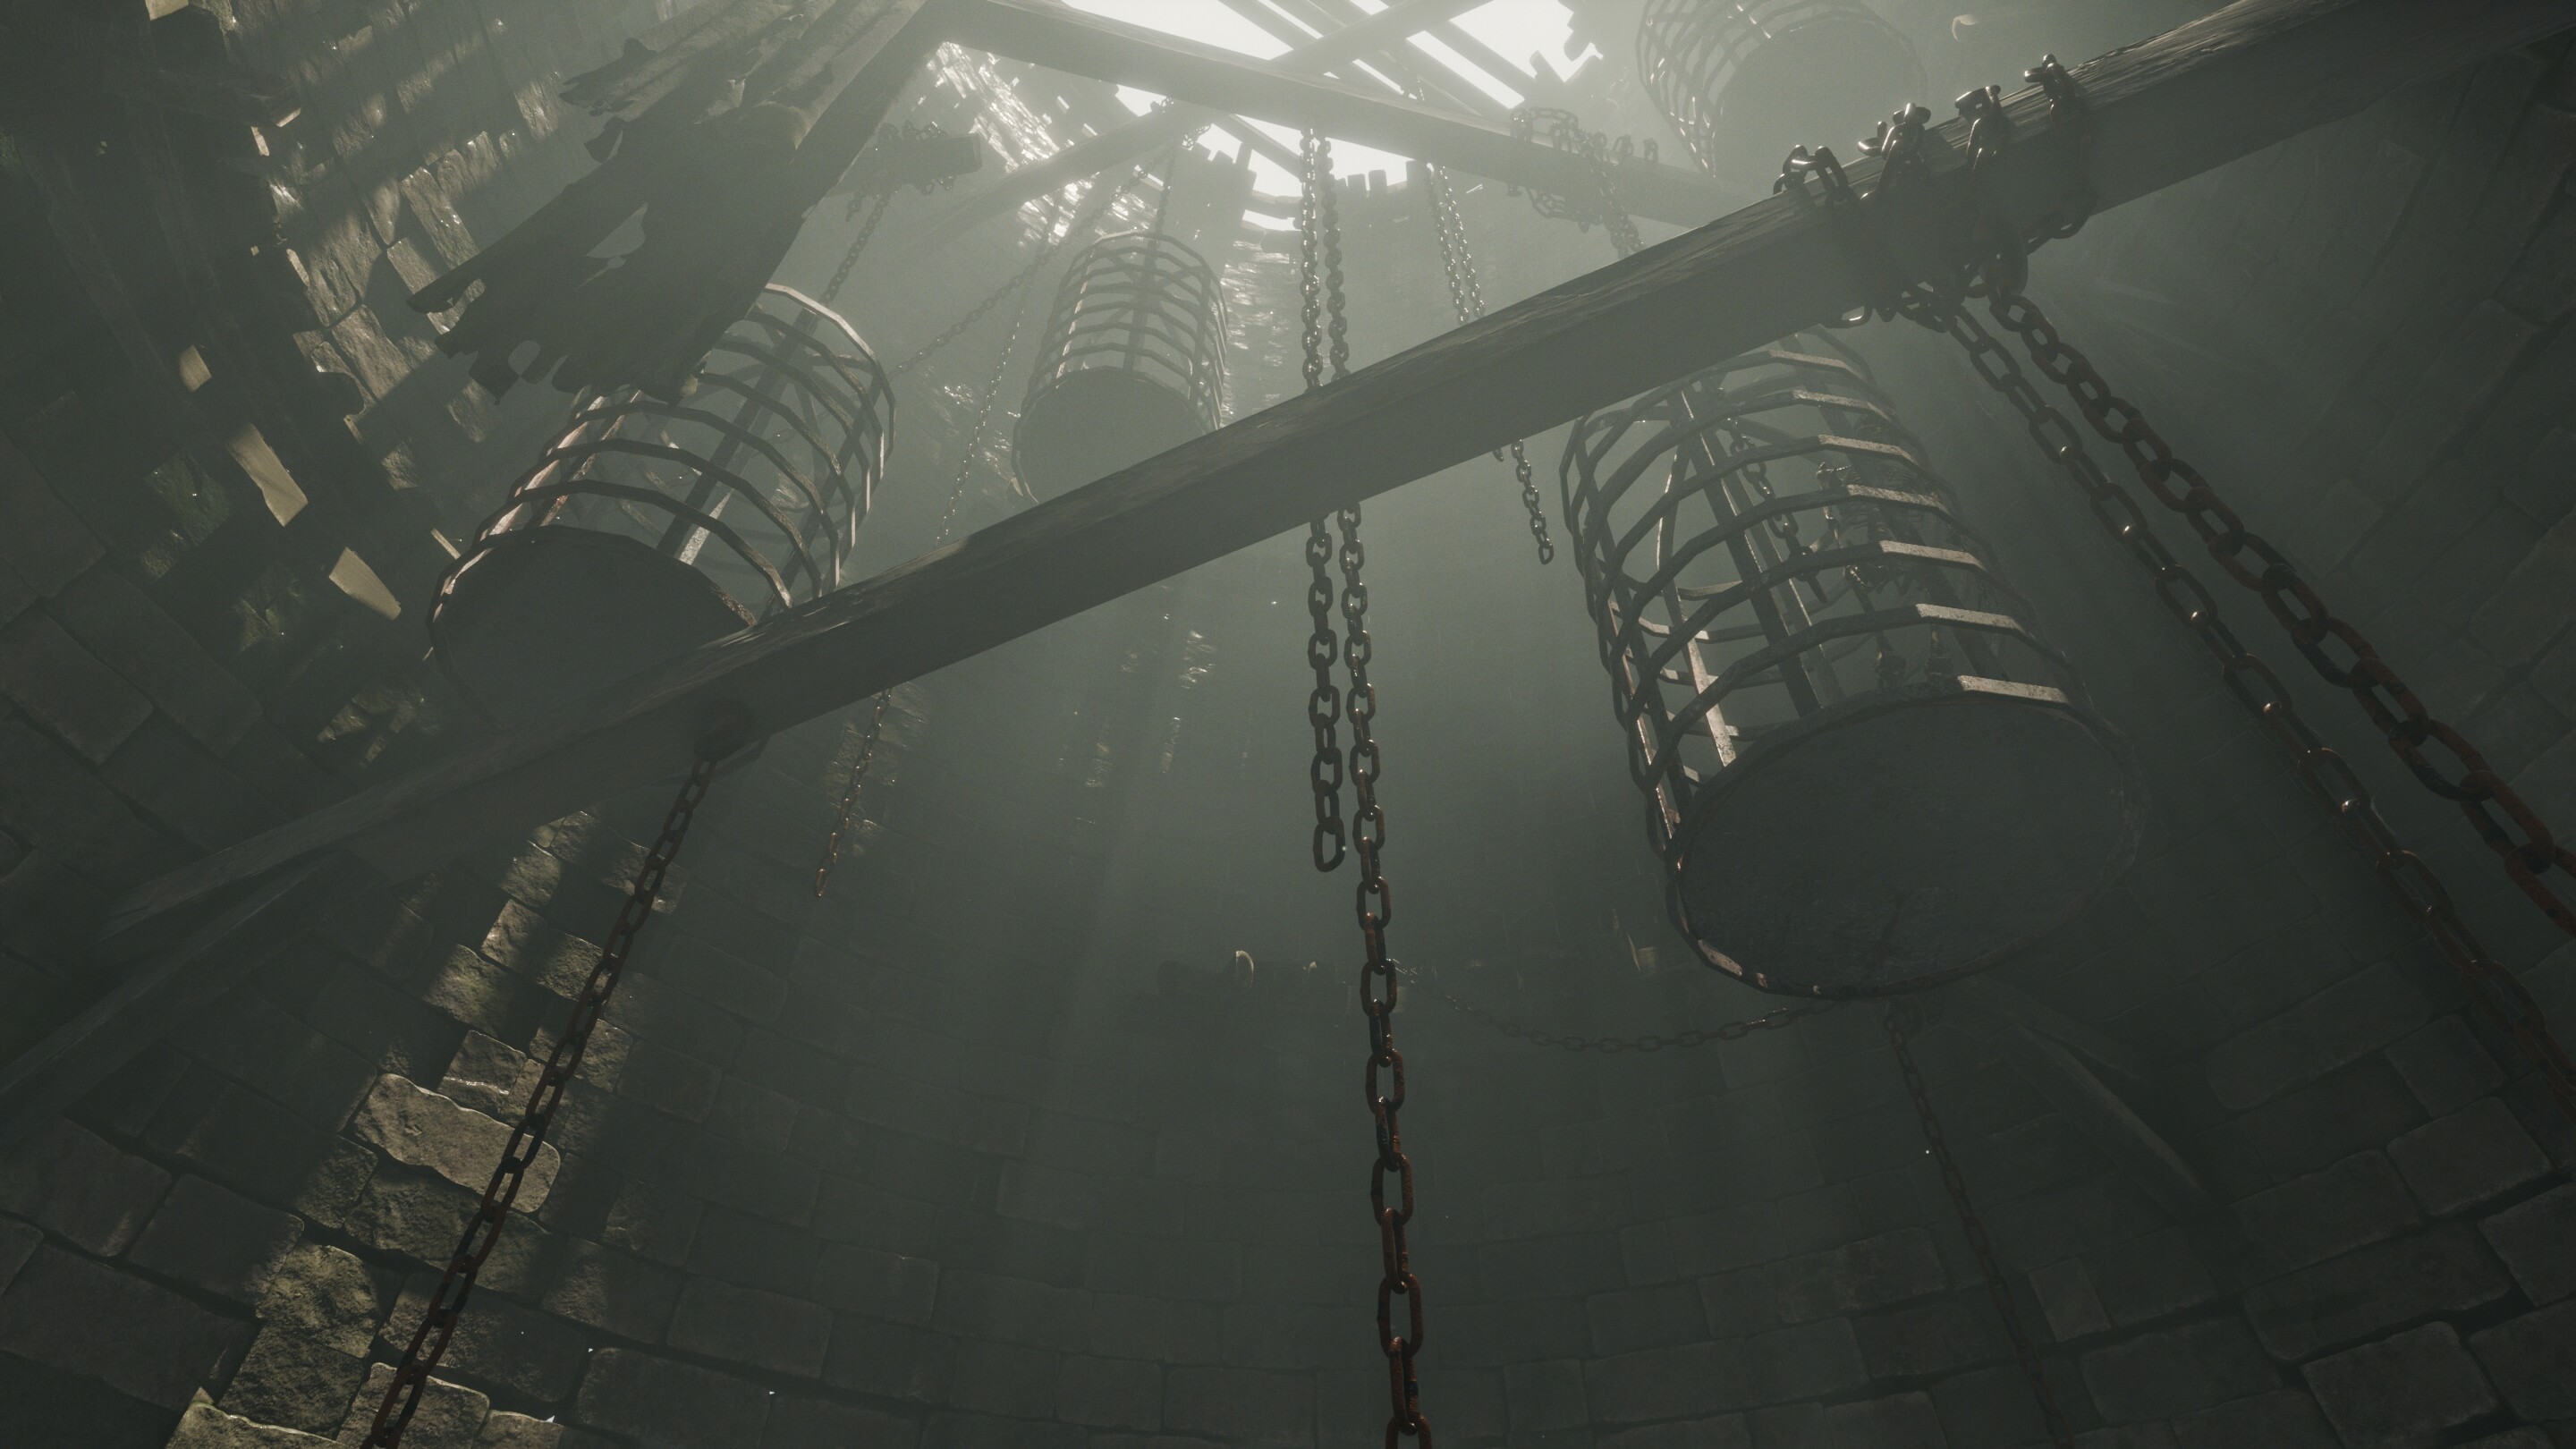
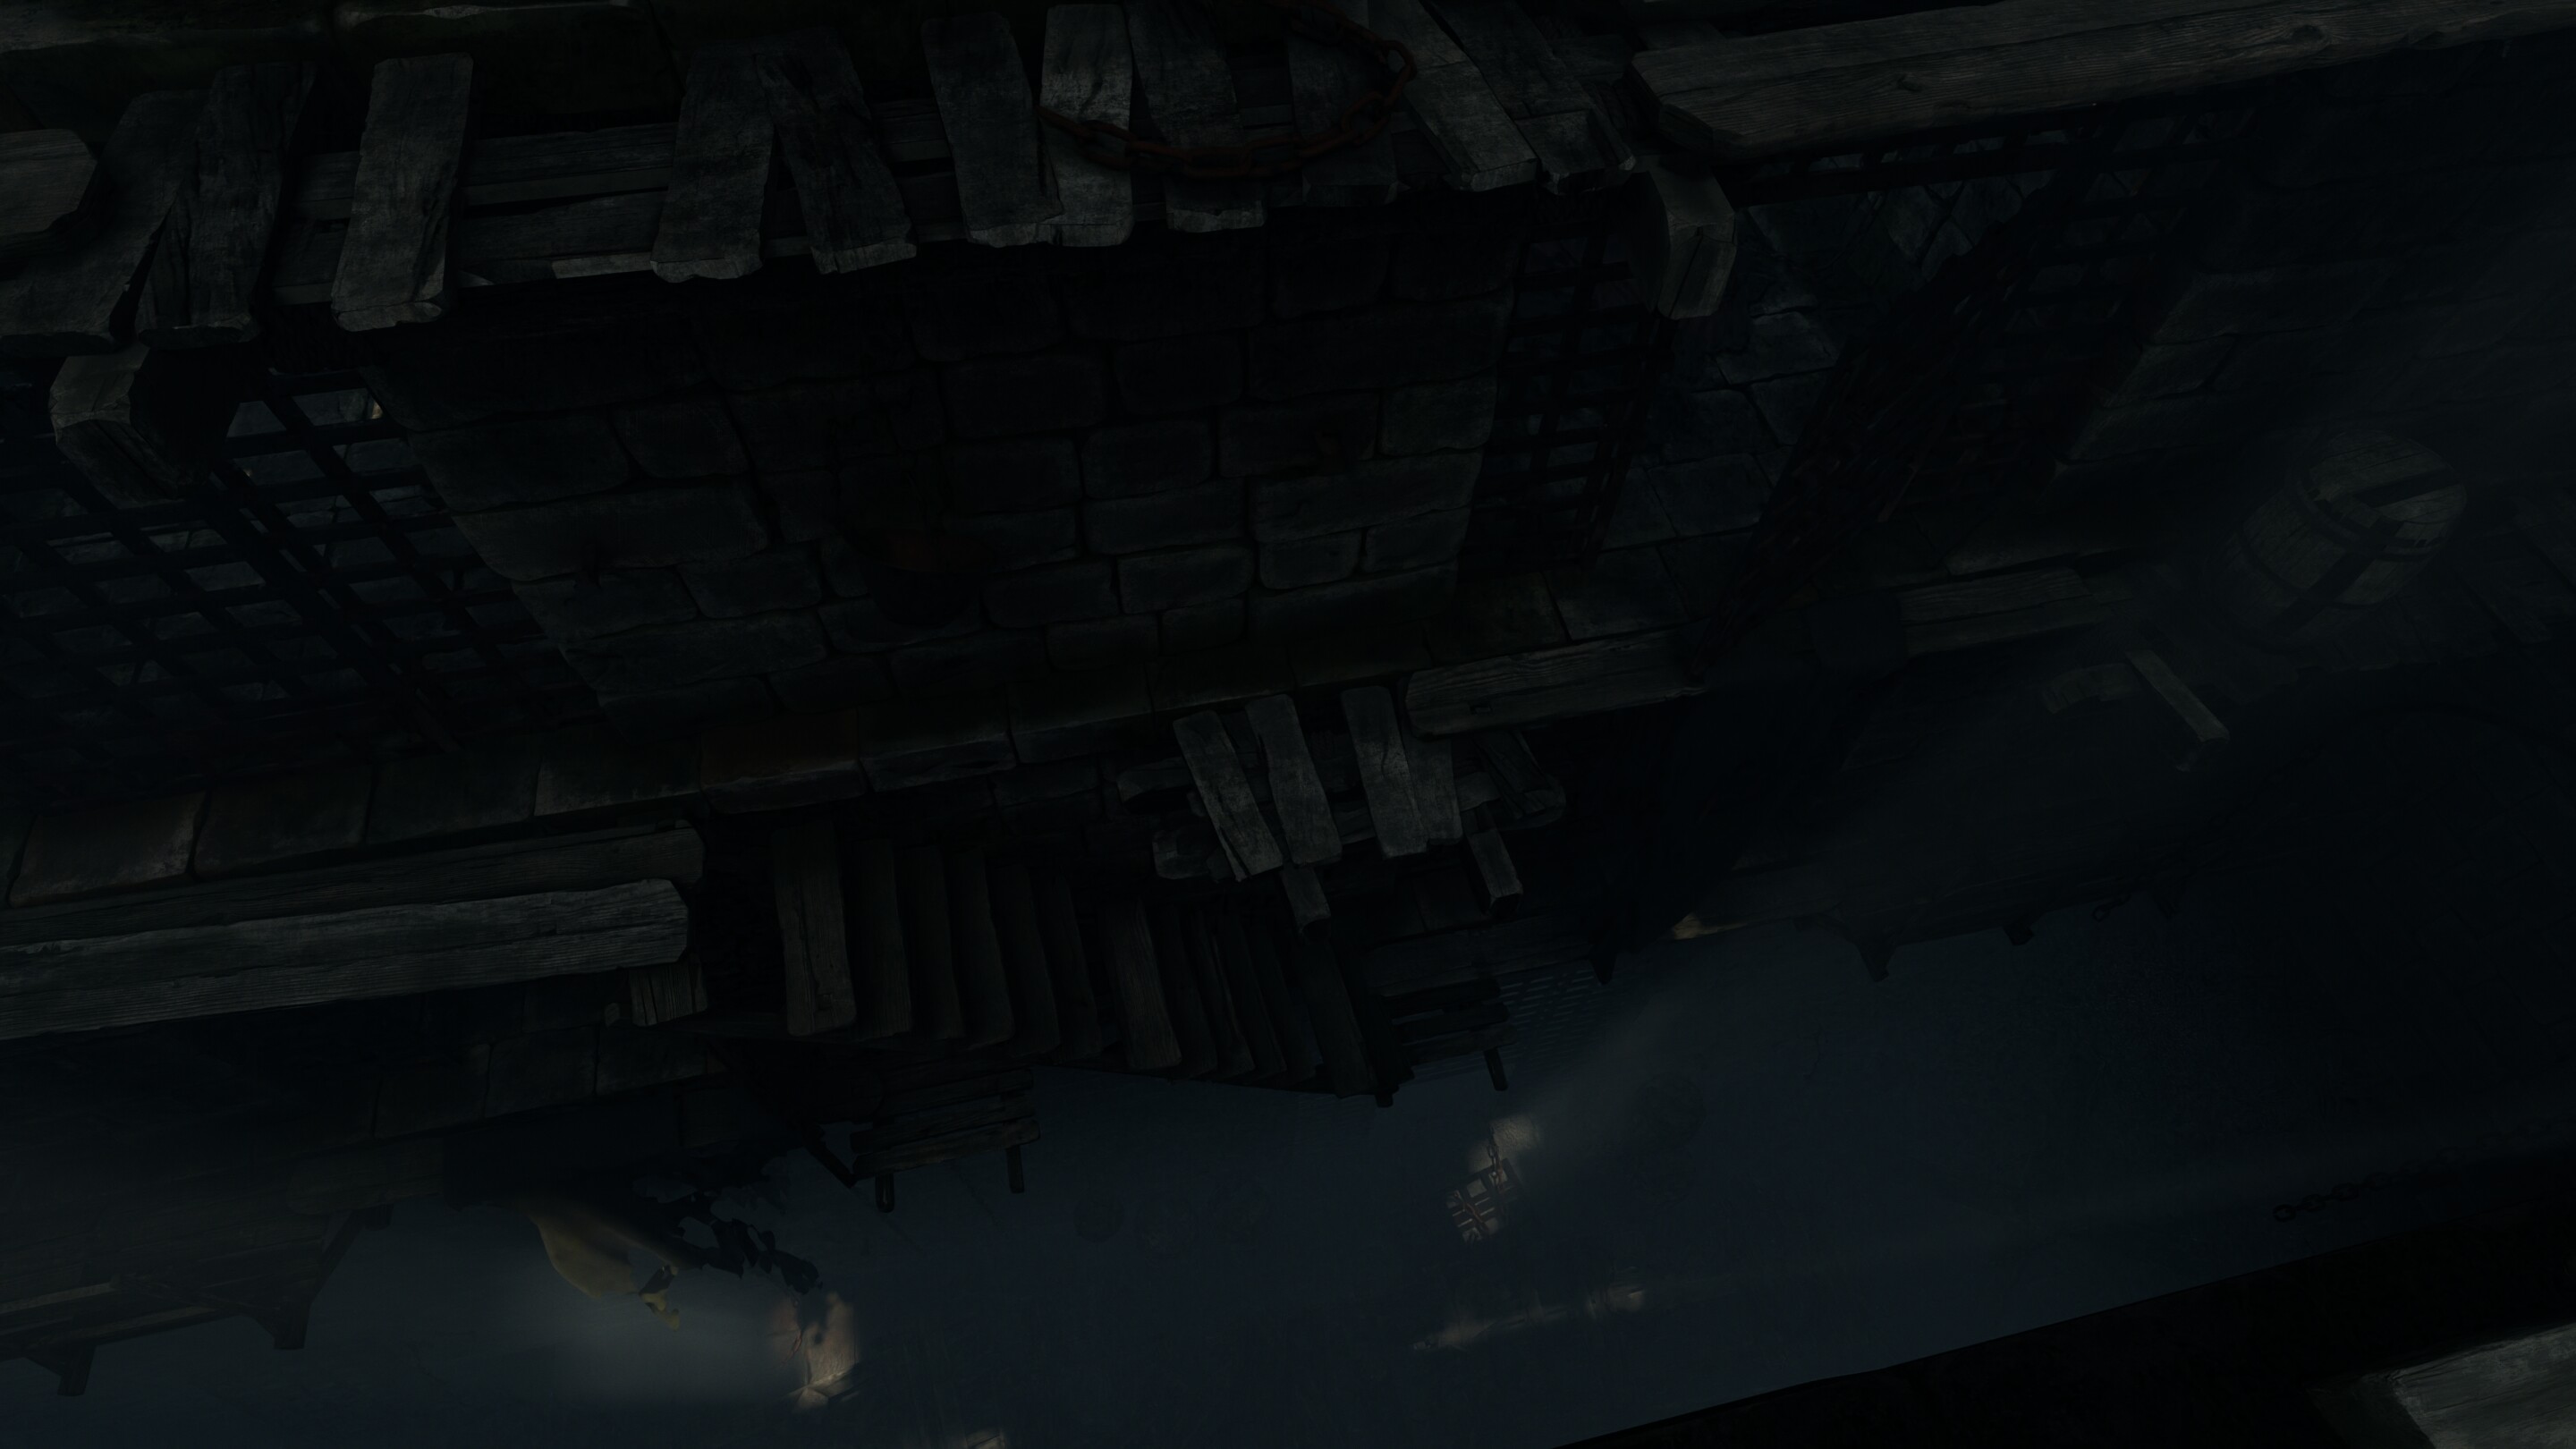
One thing I am really happy with is the wuality of textures behind volumes and in underexposed areas. In EEVEE these are mantained much more better than in Cycles. You’d have to render things separetely on the latter and then compose later (duh), but it was out of scope for this one.


Can see this better here, where also the noise produced behind heavy volumes in Cycles is important.


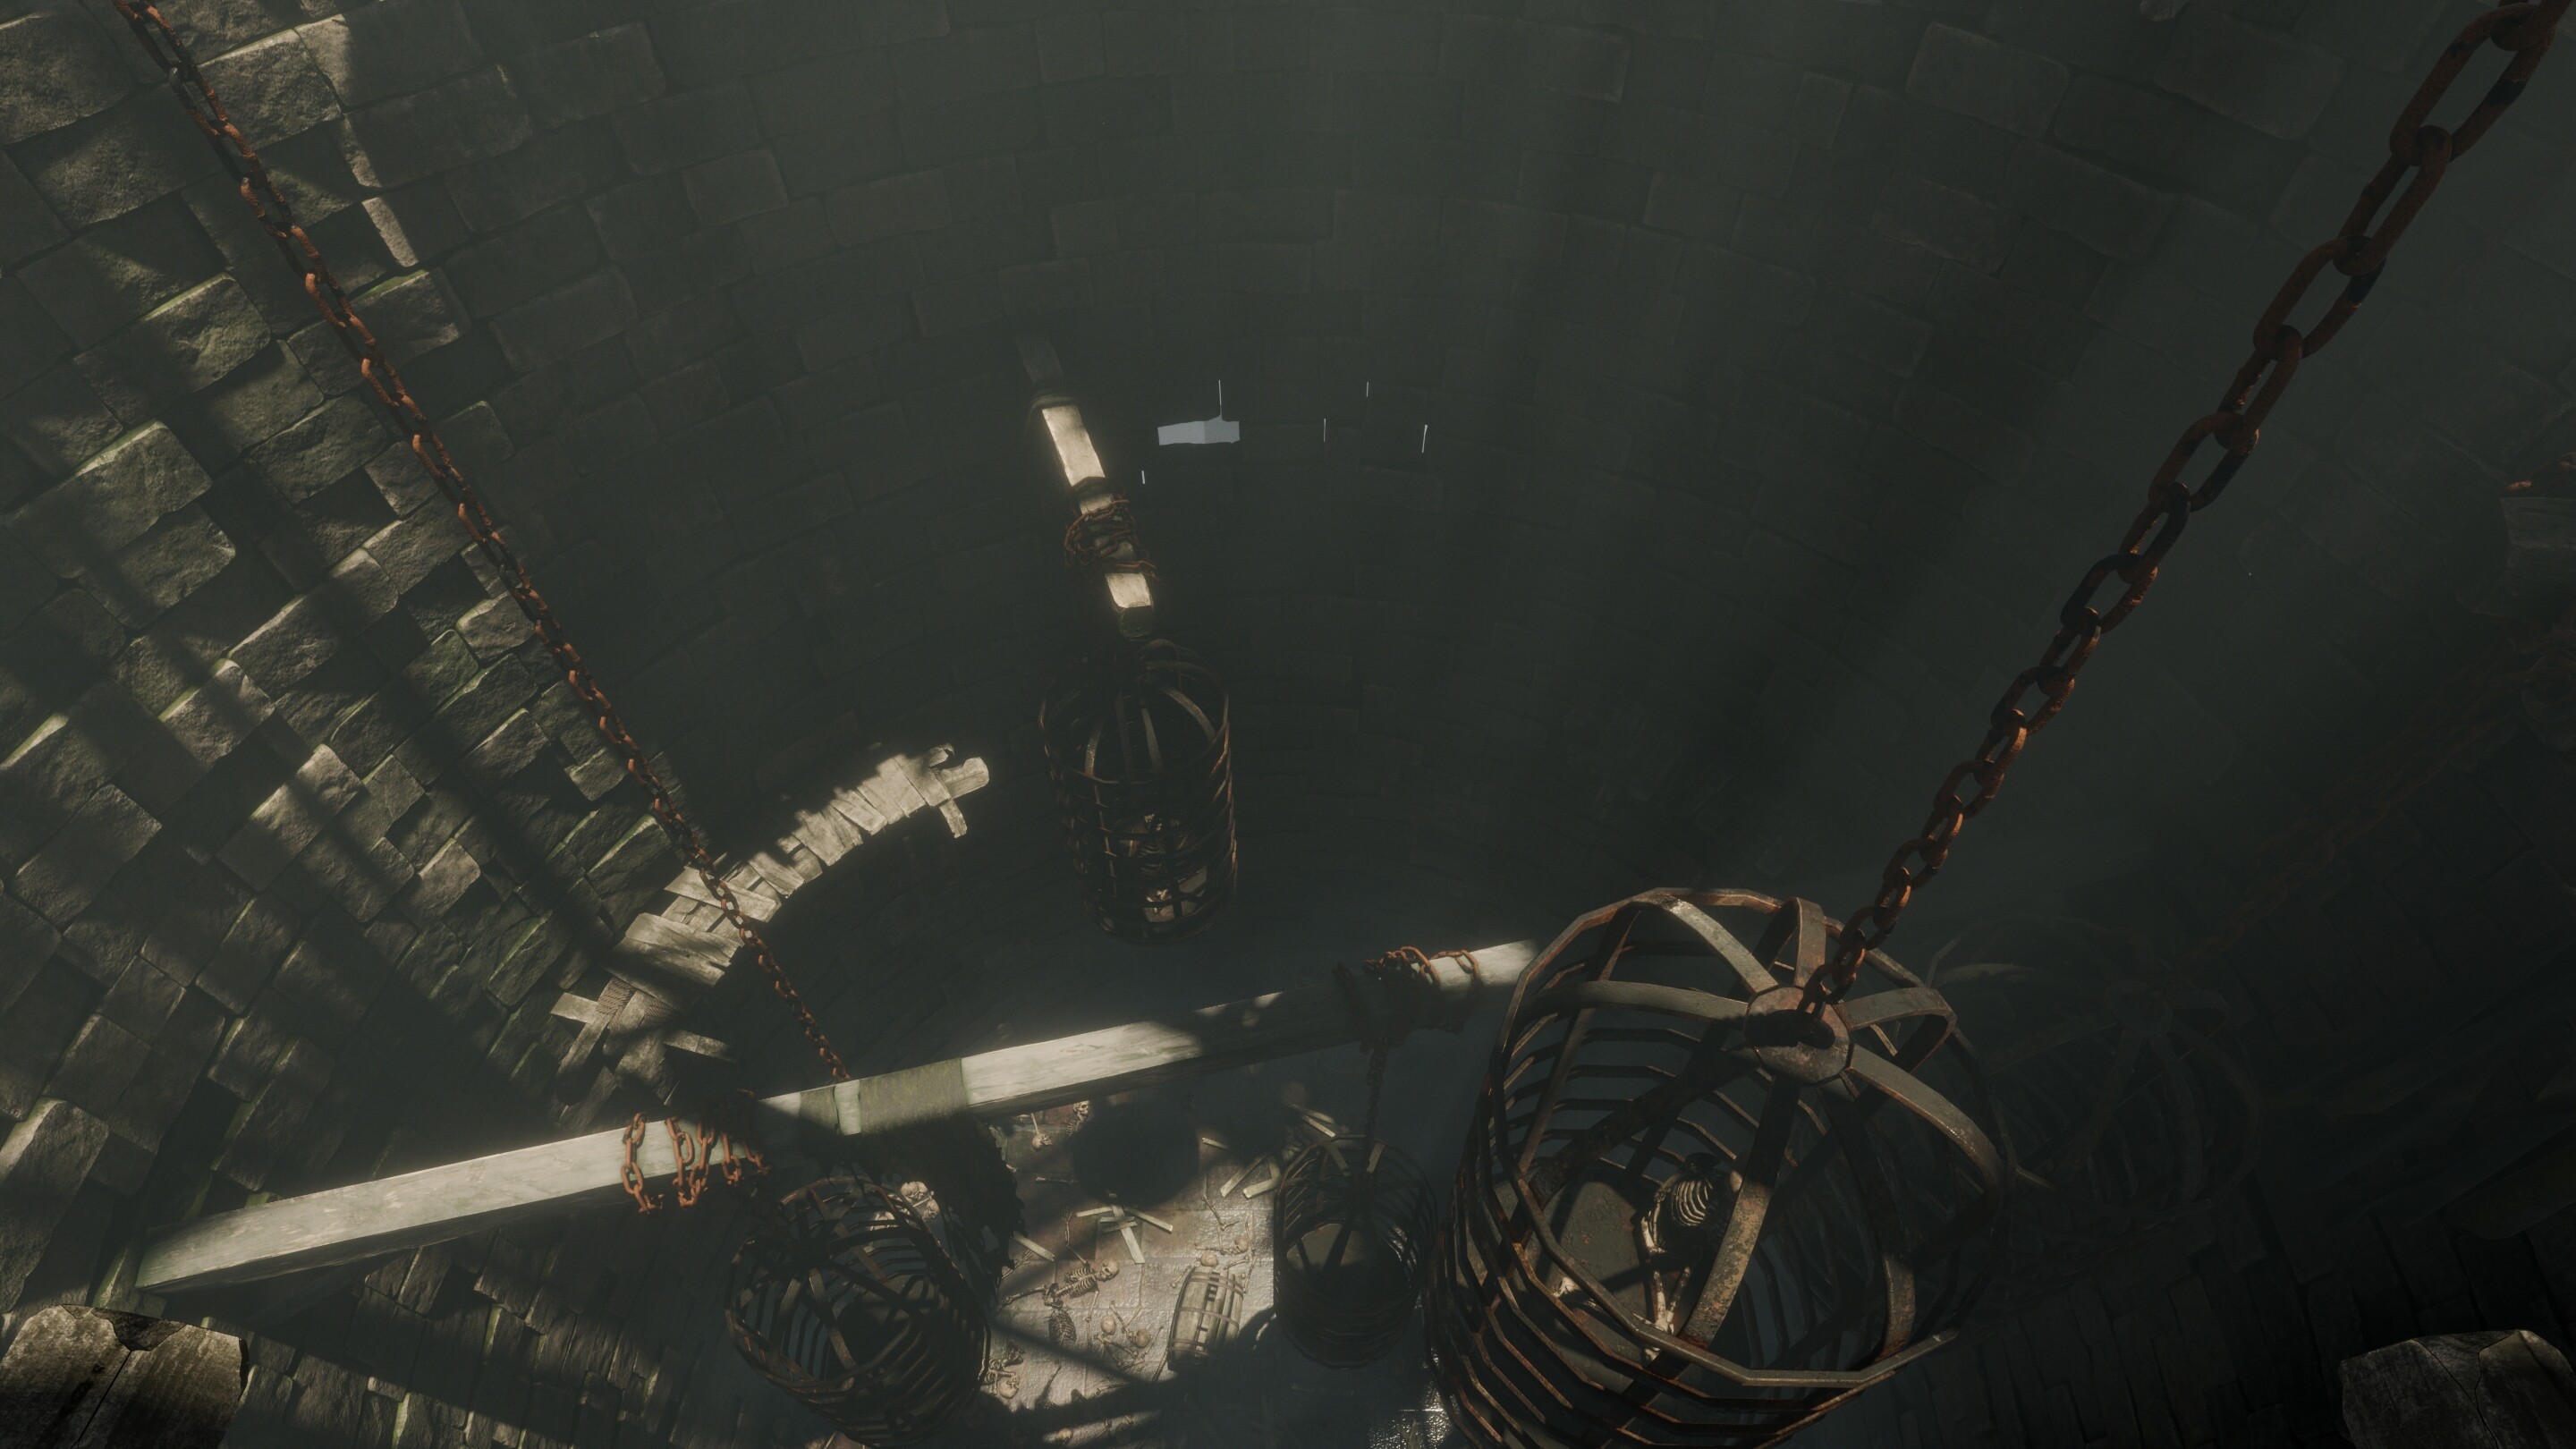
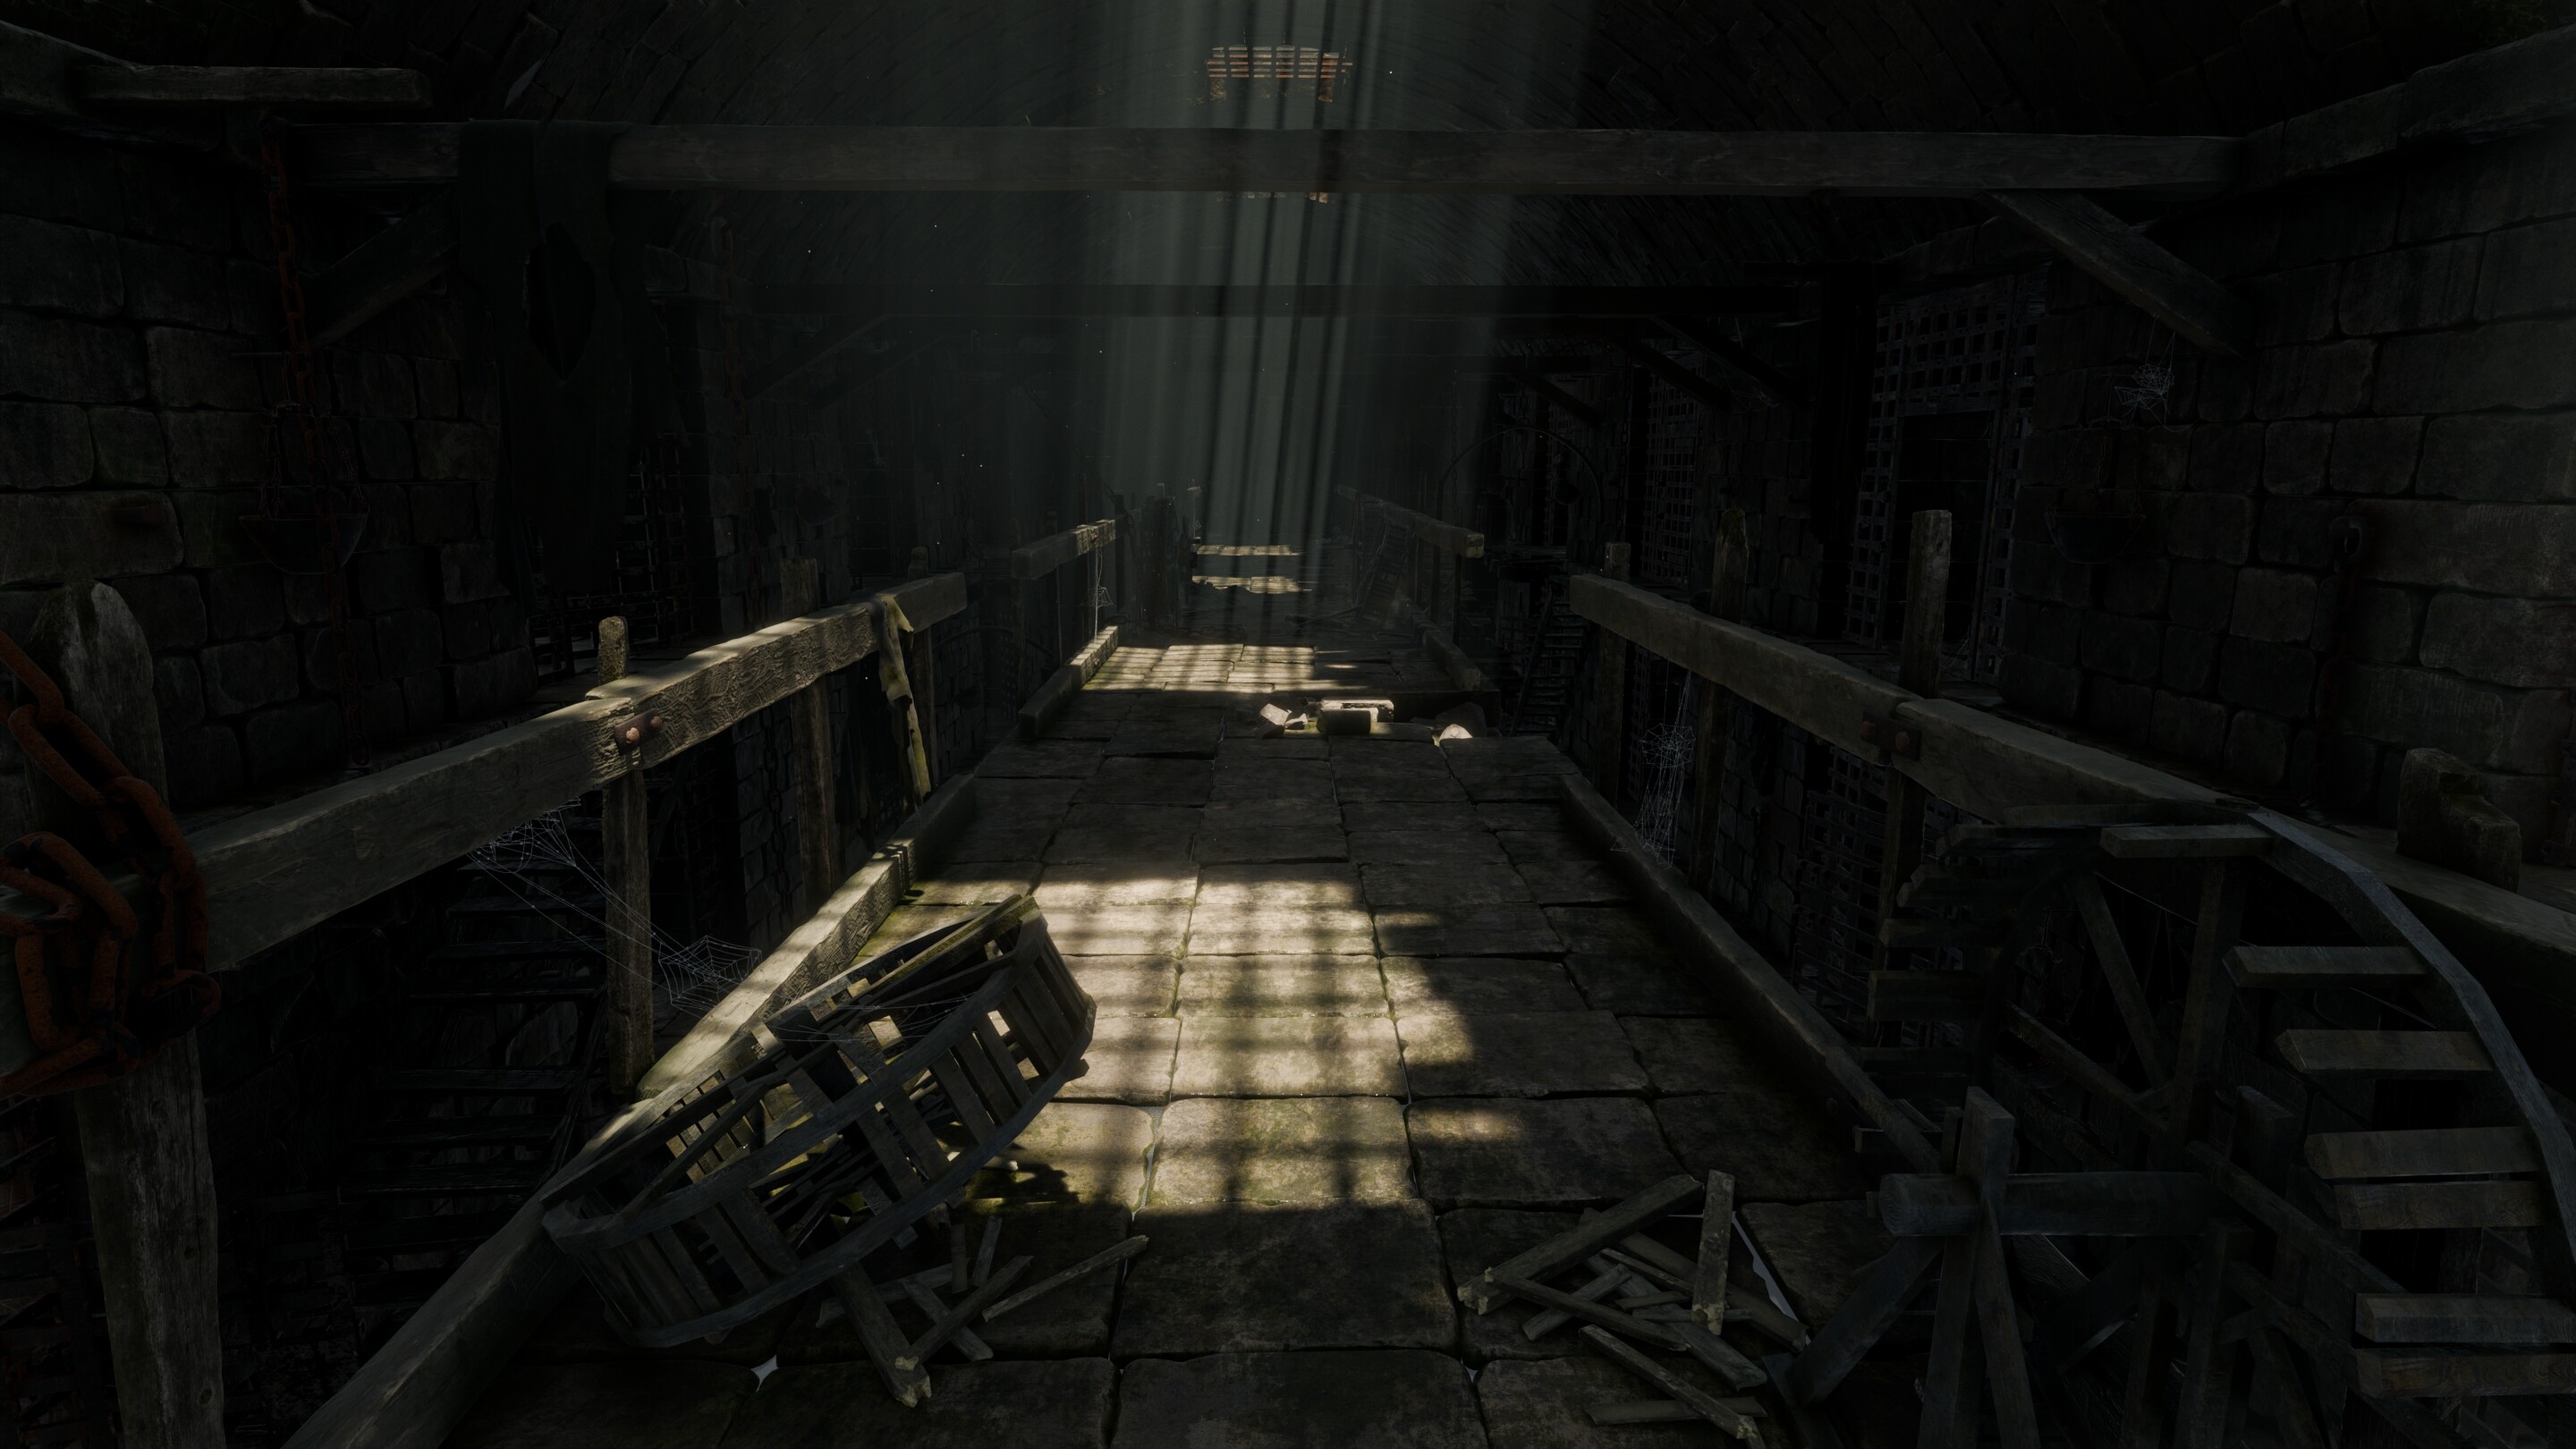
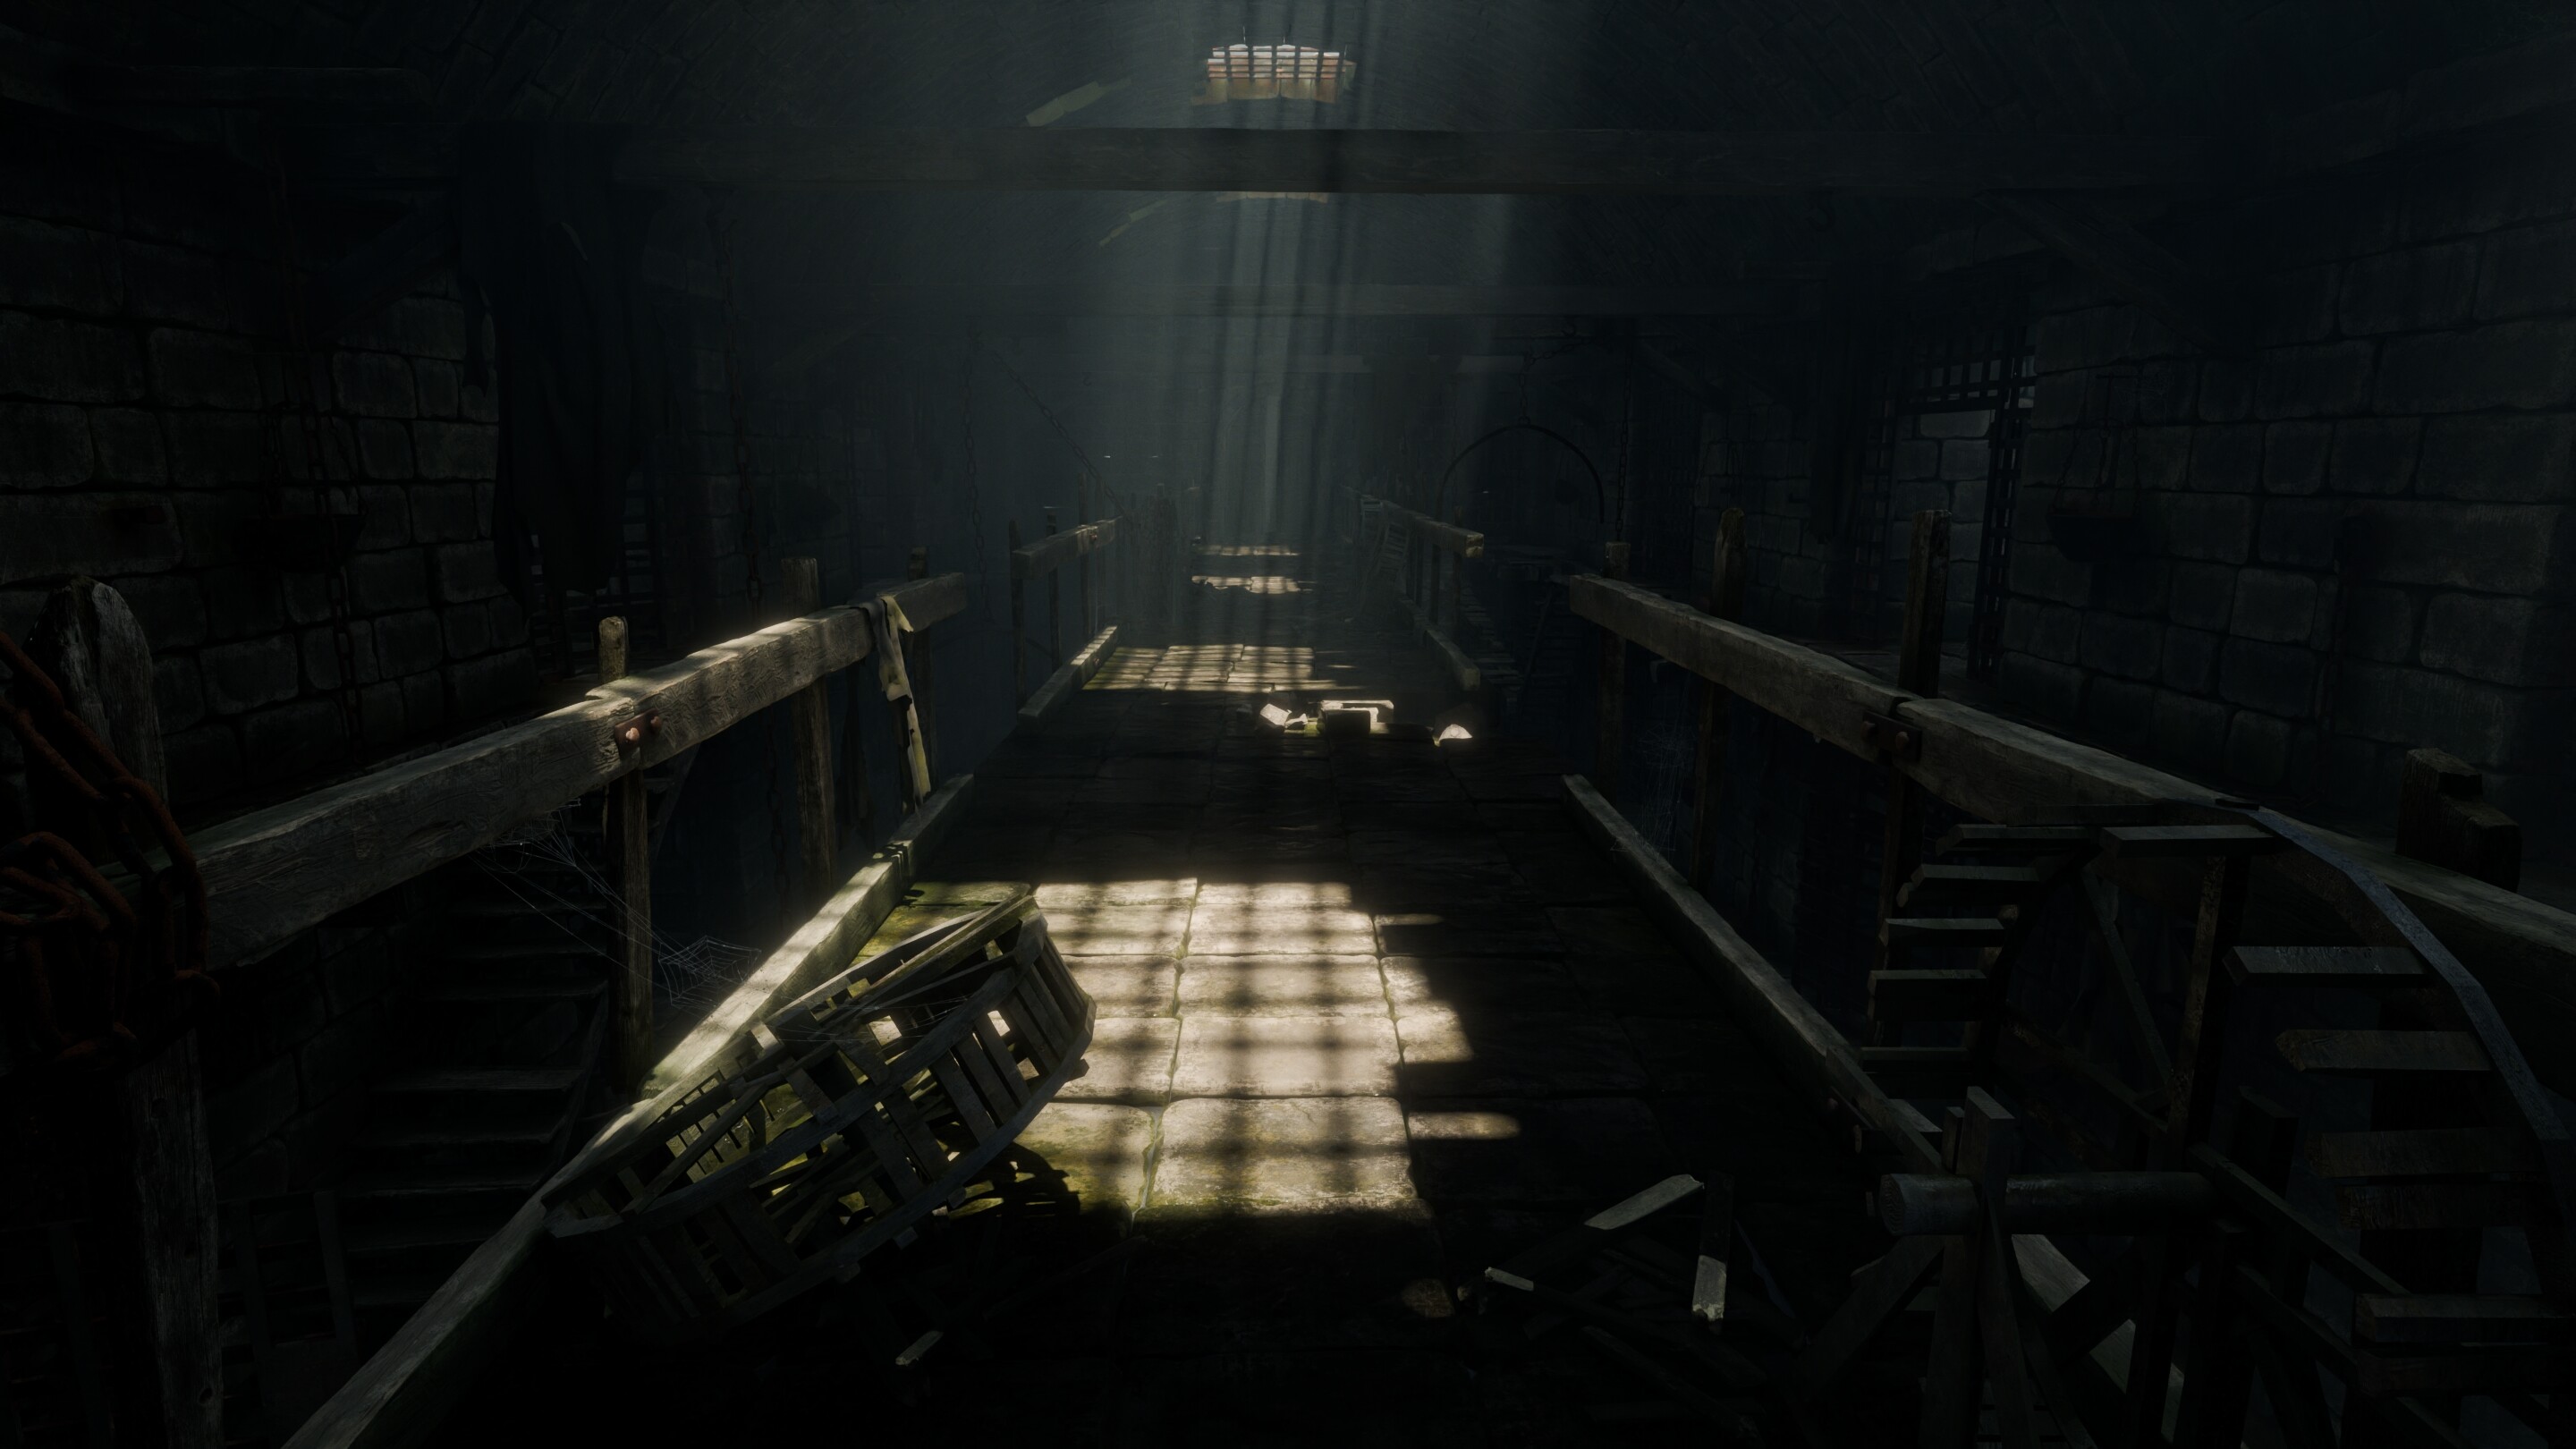
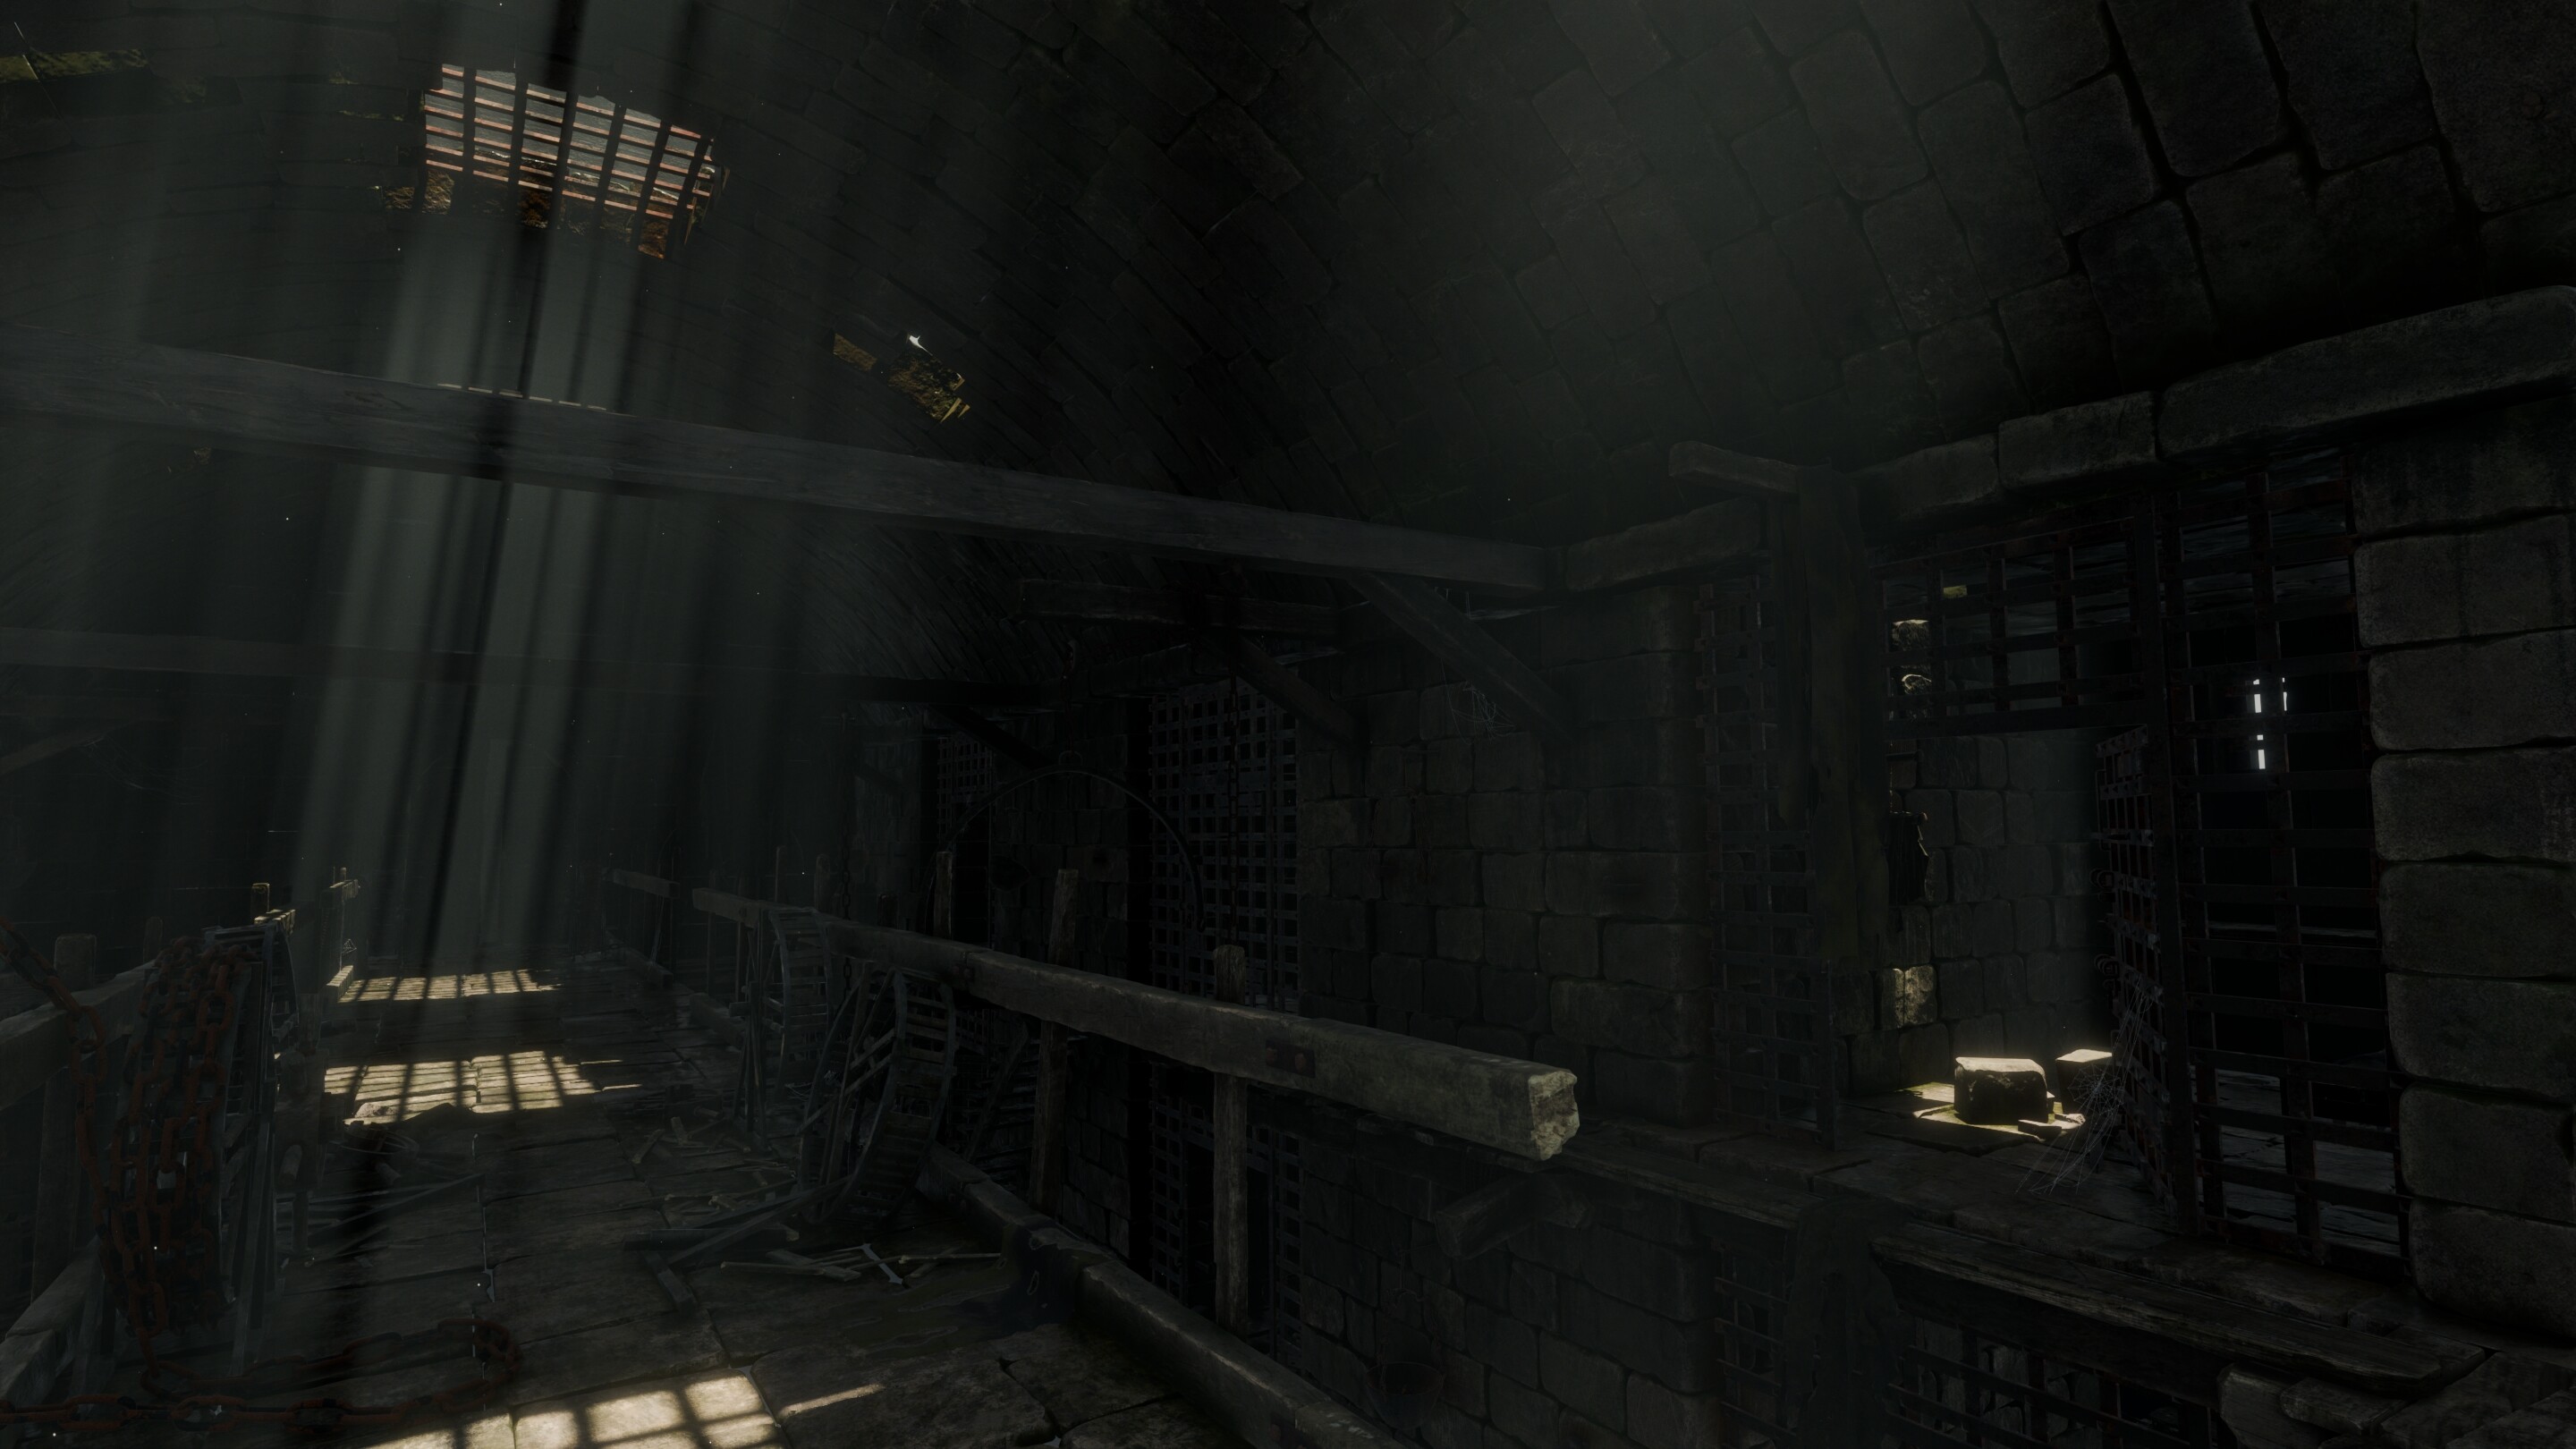
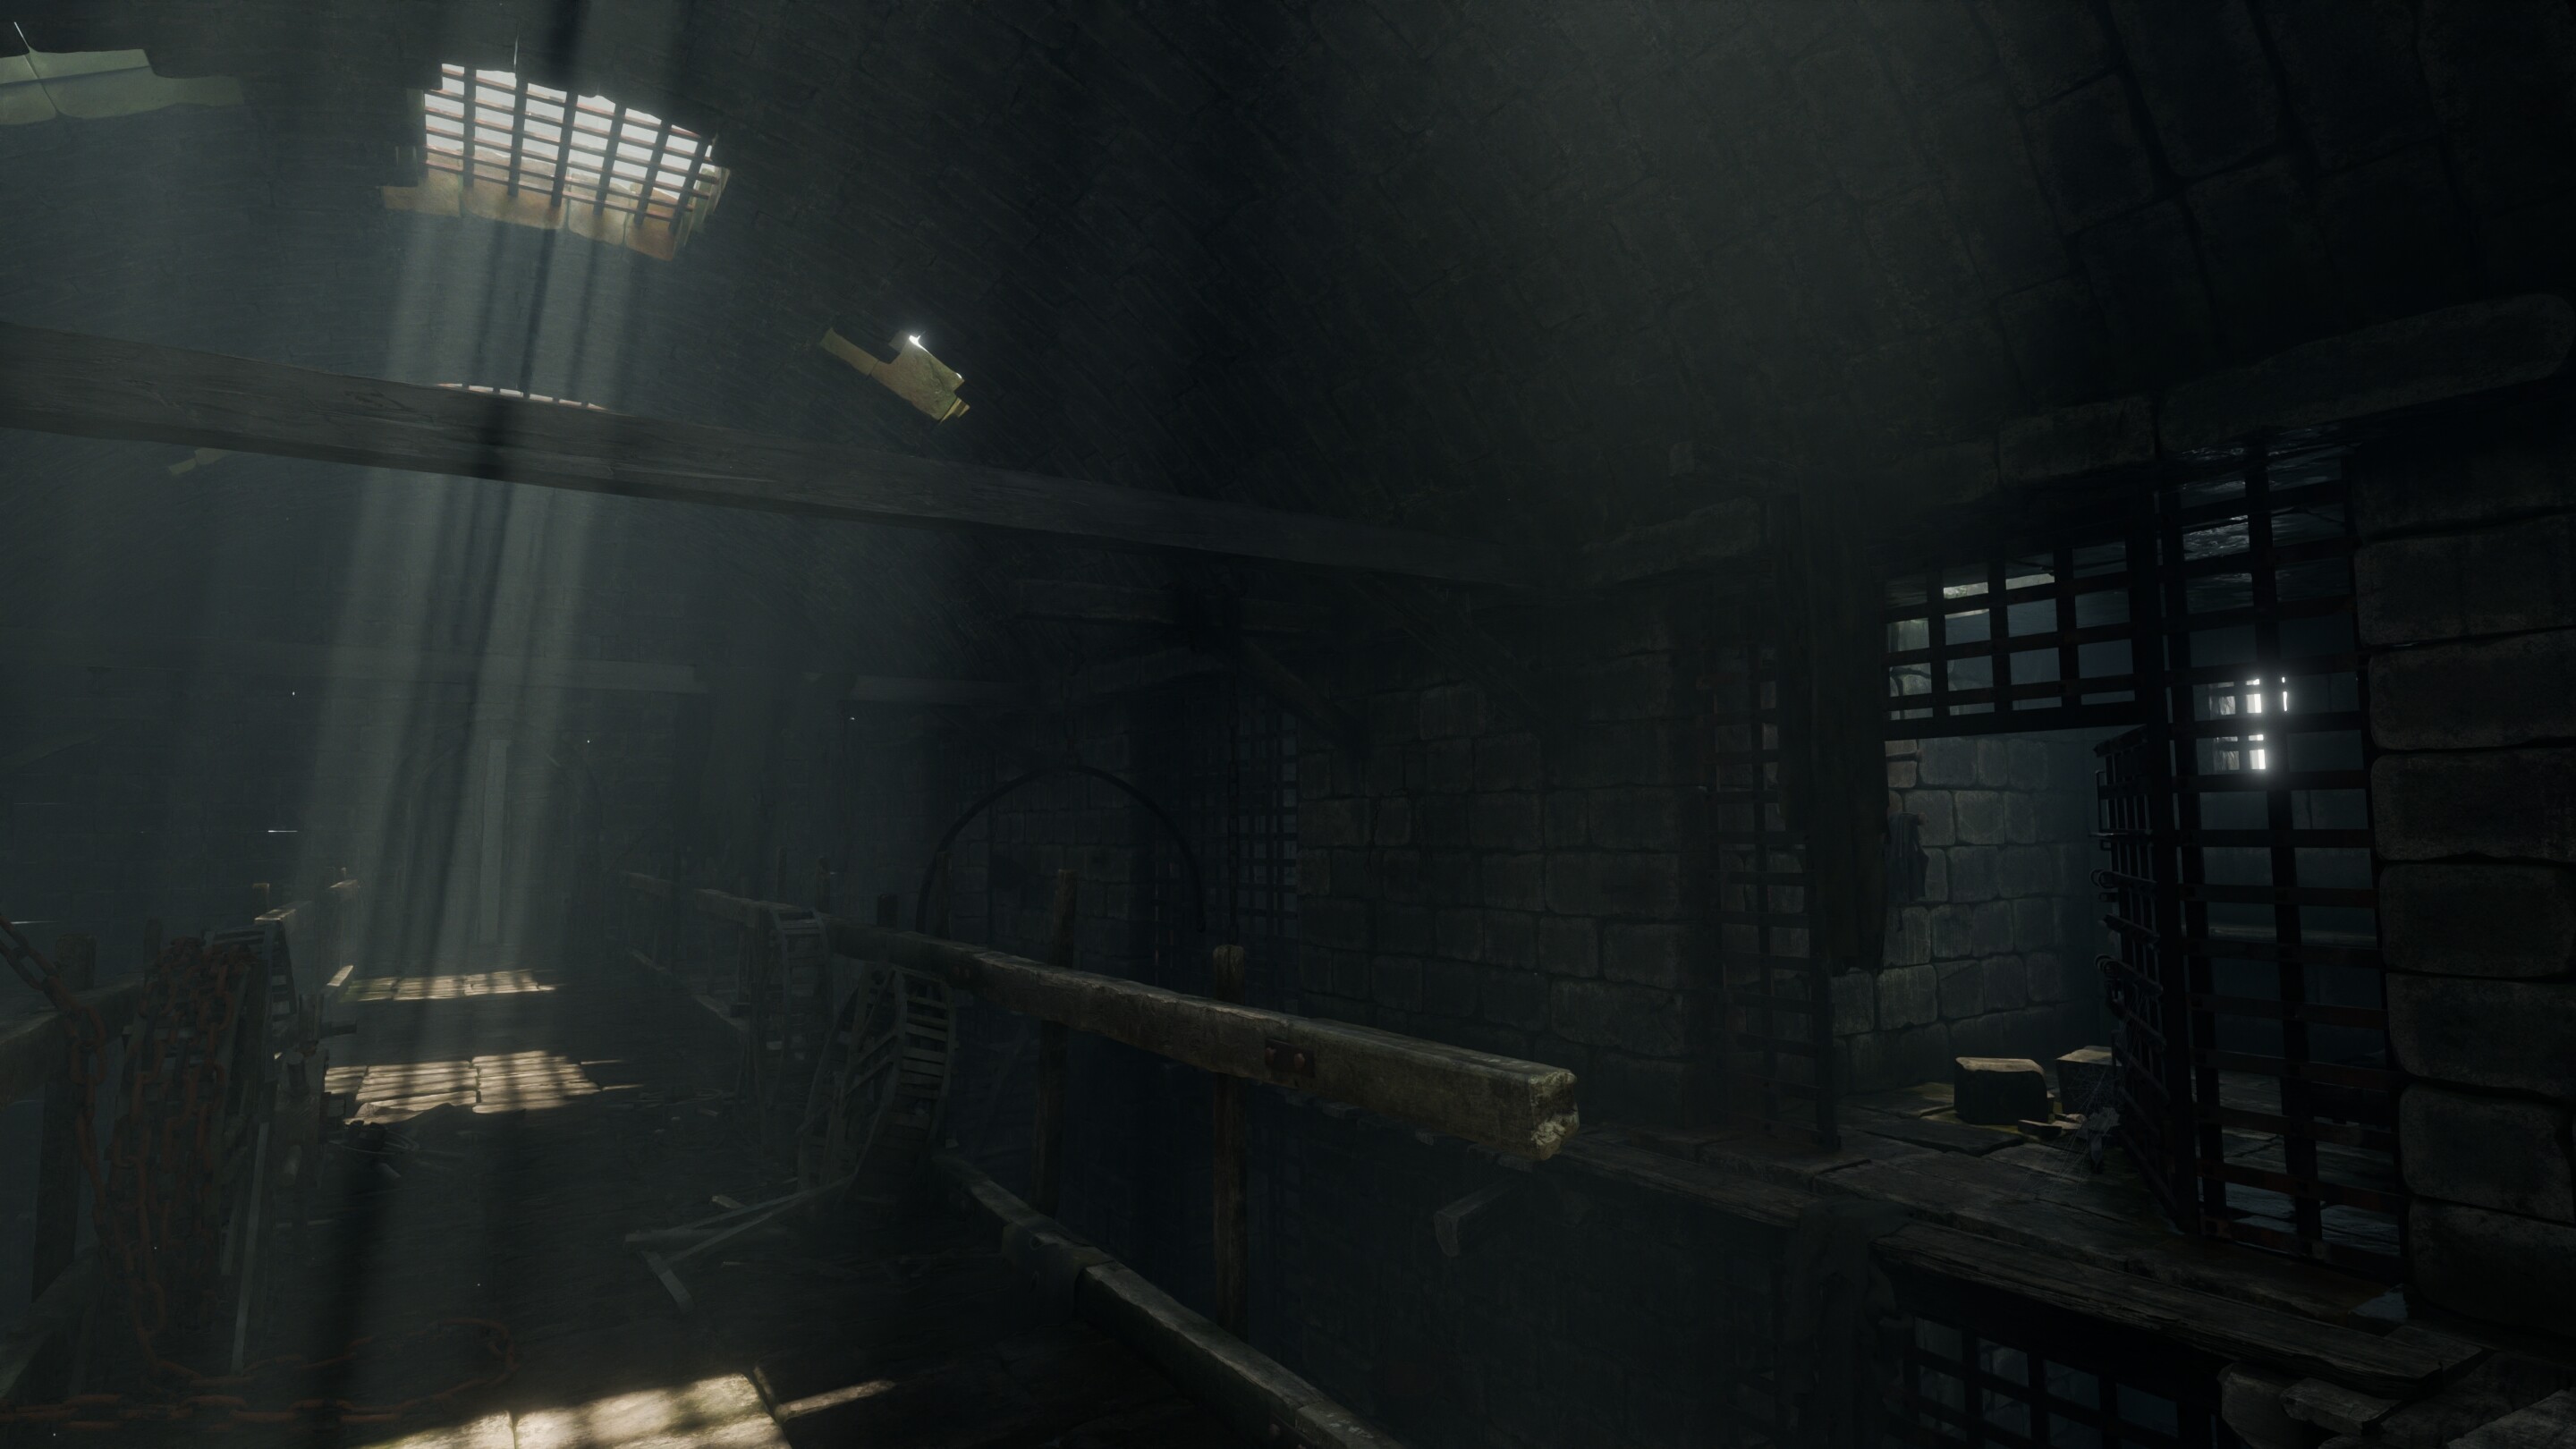
Here for example i definitely prefer the eevee render. The bottom of the building is much more visible behind the volumetrics and this is honestly what I was aiming for.


Here godrays produced from the main light are barely visible in Cycles (not sure why), but the bottom part is well visible.

Well, I guess that’s it for this post. It’s a long one, but I wanted to share everything I could on this experience (I know by now there are also plenty of videos discussing of EEVEE, but whatever).

Hope you like it anyways.

Artstation for more shot details: https://www.artstation.com/artwork/8BmaBE

33 Likes

Fantastic work! I shared it on BlenderNation:

2 Likes

Thank you very much Bart!

EDIT: I reuploaded the video on YT cause the compression made it look waay too dark there

Nice ambiance in it ans a really good audio illustration. Congratulation

1 Like

Do I need to change the url of the video?

Yes I think so for BlenderNation

Thank you!

Amazing work!!!

1 Like

Check! Done.

1 Like

Hey man! thanks a lot! I appreciate very much your comment. Love your works!

1 Like

I featured you on BlenderNation, have a great weekend!

1 Like

You’re on the featured row! :+1:

1 Like

Looks awesome, but my eyes want really hated that “cinematic 24 FPS experience”. It just doesn’t work well with sudden or “unscripted” camera movements (eg. looking around with a mouse).

The ideal would be simply ramp up the framerate (in that case try Pidgeon Toolbag for temporal denoiser, it’s fantastic) or smooth out those camera movements a bit.

Amazing! Thanks!!

1 Like

Thanks for the feedback. Yea, I should have rendered it at 30fps, my bad, but it’s a 2 minutes long animation and I just preferred to go for 24, also for render time. I liked the result nonetheless tbh, not many regrets, I’m sorry you didn’t because of this. I’ll take a look at this tool you linked, but using add-ons for post production was out of scope for this one. Just added a bit of motion blur to avoid the sense of camera stuttering while navigating to smooth a little the movements. that looked enough for me

30 FPS would have had almost the same effect. For such projects, go at least for 50 or 60.

I think you are exaggerating everything a little :slight_smile: and anyway, unfortunately, by now it’s not doable in blender, for a side project, due to render times.
Should have mentioned that in cons I wrote about

No, I’m very serious about this. :slight_smile: Love the stills, but don’t want to watch the animation again due to this. It’s an honest feedback. I’m speaking only for myself here. But it’s a feedback nonetheless.

I know render times can be crazy long, that’s why I recommended that temporal denoising. Together with optimised scene, it can do wonders when it comes to reducing render times. You can simply render very grainy scene and clean it in post with that addon (automatically, of course). I don’t focus on making animation anymore, but that one time I just had to try it, I was stunned how the night scene looked great with just 150 samples in 4k. Again, that animation has many flaws, as it was my first attempt, but maybe you will find it as a useful demonstration for your future rendering efforts. It should make your render times many times faster (unless you’re already using something similar instead).

Hey, thanks for the feedback, but I think that you missed the whole point here. I’m well aware or tools that use temporal stabilizers denoisers, there’s also this one https://3dillusions.gumroad.com/l/turbo_tools for example, huge beast, I used that in other projects with great results. These are designed specifically for Cycles and/or are just meant to work generally better for path traced renders.
However here I used EEVEE, rendering at 100 samples (you also can read the specs in the description). The scene is barely reaching 24-25 fps in the viewport, what’s the point of going higher (or use external add-ons) while the video is intended to be just kind of a “state of the art” perspective?

I appreciate your point of view (it would have been obviously better rendering it at 30 or even 60 fps), but I hope this clarifies a bit the context for you.