Ridix is right if you want to extrude the curves to form a solid block. However you will not get any additional base frame. I picked up ridix’ suggestion to show you how this can be done.
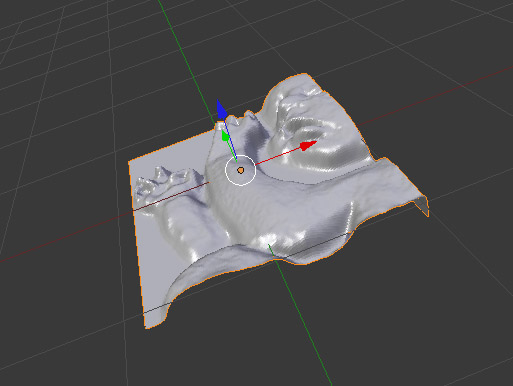
1.) Select your object with RMB.
2.) Go into edit mode by pressing the “tab”-key.
3.) Make sure that the footer panel is set up as below:
4.) Make sure that no orange line is showing up by pressing the “a”-key.
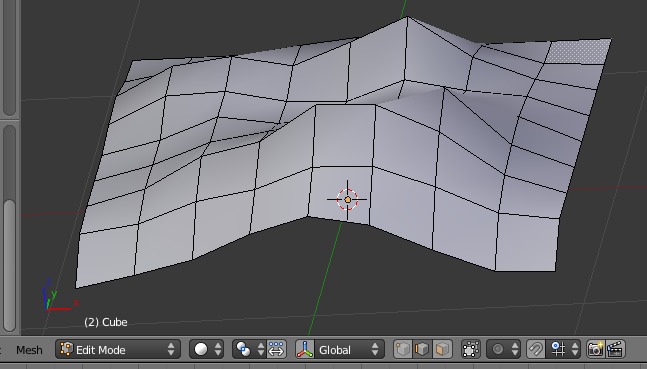
Now hold down “alt”-key and with RMB select one outer edge of your model. The selection will be epanded to the whole edge of the selected side.
You may change your view with the “1” to “9” keys on the numpad.
Then hold down the “shift” and “alt”-key simultaneously an select another outer edge.
Keep holding down “shift” and “alt”- keys while selecting the other two outer edges of your model.
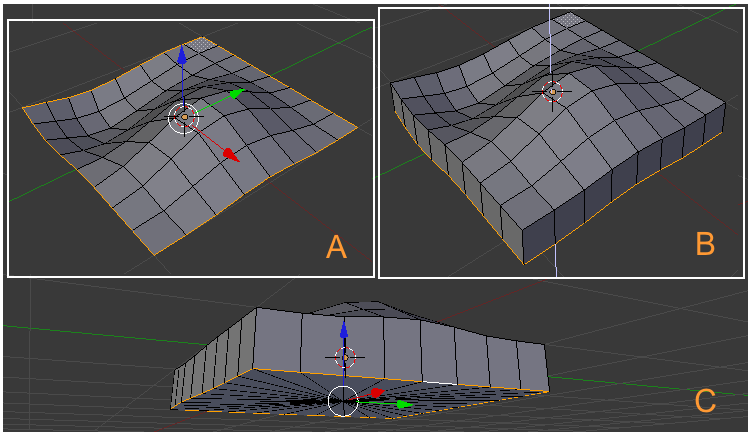
This will leave you with an orange frame around your model.
5.) Press “e”
6.) Press RETURN
This will create a set of new linked vertices at the selection.
7.) Press “s”
8.) Press “z”
9.) Press the numpad zero-key
10.) Press RETURN
This will scale the newly generated vertices in the “Z”- axis only, zero blender units off the object center. Therefore all vertices are leveled out at the same “Z” coordinates.
11.) Press “ctrl” and “tab” simultaneously
Select “Vertex” in the pop-up window
This will select the vertices instead of the edges.
12.) Press “g”
13.) Press “z”
14.) Use the mouse for adjusting the socket of your model. Use RMB to proceed.
This will define the bottom edge of your model.
15.) Press “e”
16.) Press the numpad zero-key
17.) Press RETURN
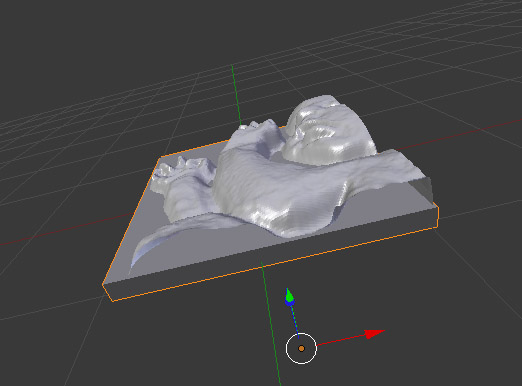
This will close the bottom side of our model.
I really hope that I have not forgotten any step
And if you want to have some kind of wooden socket frame, just adjust the lower edge in step 14 to be leveled with the bottom of the model.
Then proceed with:
14 a) Press “e”
14 b) Press “s”
14 c) Press “shift-Z”
14 d) Use the mouse for adjusting the socket size of the wood block.
For finishing use RMB and proceed with steps 12 to 17
In reality it takes just a few seconds but to jot the steps down is quite challenging.
HTH