have been trying to perform a basic project now for over 5 days. the simple project is to make a coin and wrap the coin images onto the 3d disk. this includes the front and back faces + the sides.
the coin image used as the texture /material contains both faces and the ridged side.
managed to create the coin and is viewable in 3D mode, though when it comes to textures/rendering it all goes wrong.
why can i have a 3d image of the coin onscreen, and not be able to save it. what is the reason for adding texture to the image when it already looks like a 3d coin ?
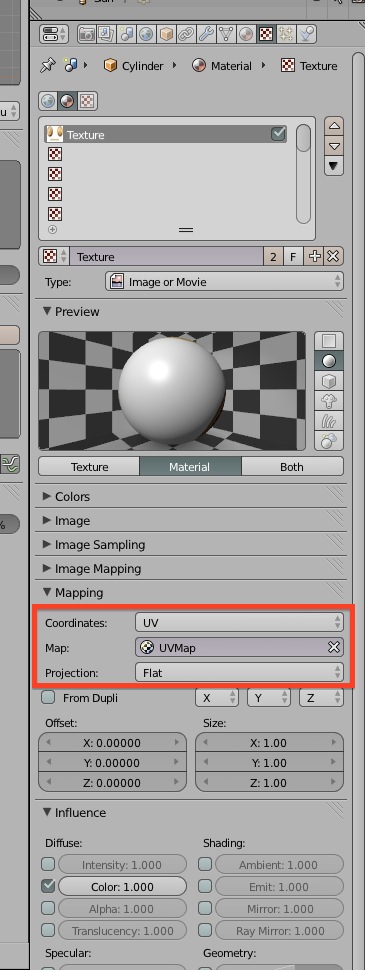
when adding the texture image, the coin now has both faces on the 1 side, had opened the original image used when using the UV editor. followed about 3 you-tube videos to get to this stage, though don’t understand what is happening in blender when trying to apply texture. does it need the original image used when using the UV editor, and does the texture/material tab, map the positions of that image so it knows how to apply the texture on the image. if so what happens when the image contains the side edge of the coin, as it’s applied to a sphere in the materials preview window,does this need to be done in separate stages, with the coin edge texture added later.
tried to trick it, opened the image in gimp, keeping the image in the original size and removing the side edge image of the coin, also renamed it to the name used in the UV editor which didn’t work.
anyone able to help ?
Cheers.